Photo to Sketch Effects for Any Photo
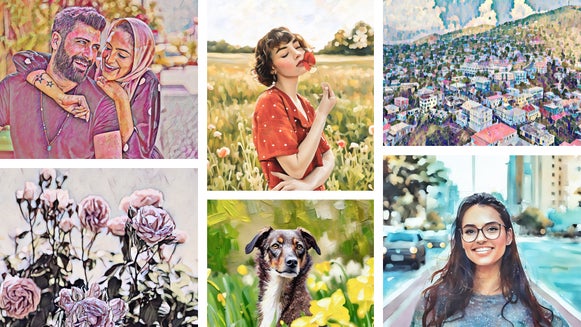
For all the times you want to draw but simply don’t have the skills or time, BeFunky’s photo to sketch effects are the answer. They’re part of the Artsy and all-new GFX effects, available in our Photo Editor, and allow you to create all kinds of cool drawings – no actual art skills required! Let’s take a look at some of these sketch effects, as well as how you can quickly turn a photo into a sketch online.
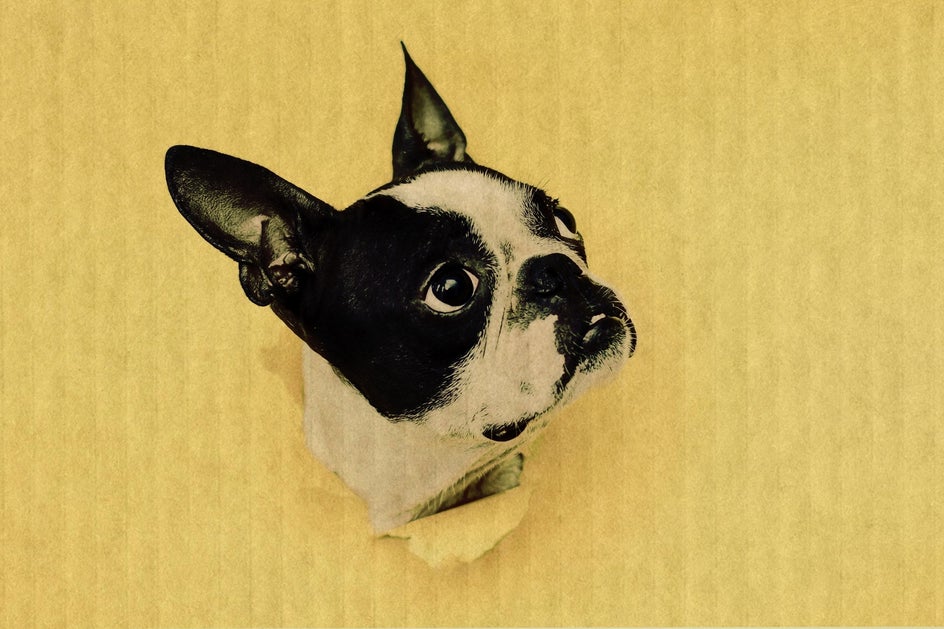
Graphic Novel
If you love the bold lines, dark tones, and high contrast of graphic novels, then prepare to be thrilled. Our Graphic Novel DLX effect, available in the Digital Art section of our Artsy menu, will help you recreate the look using your own photos – all within the click of a button!
The effect also gives you control over elements such as Sharpness and Color Amount. So, whether your photo takes on a cheerful, colorful style or the mysterious dark shades of a crime noir comic, the choice is totally yours!

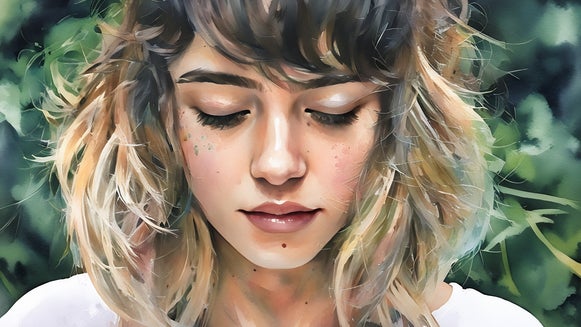
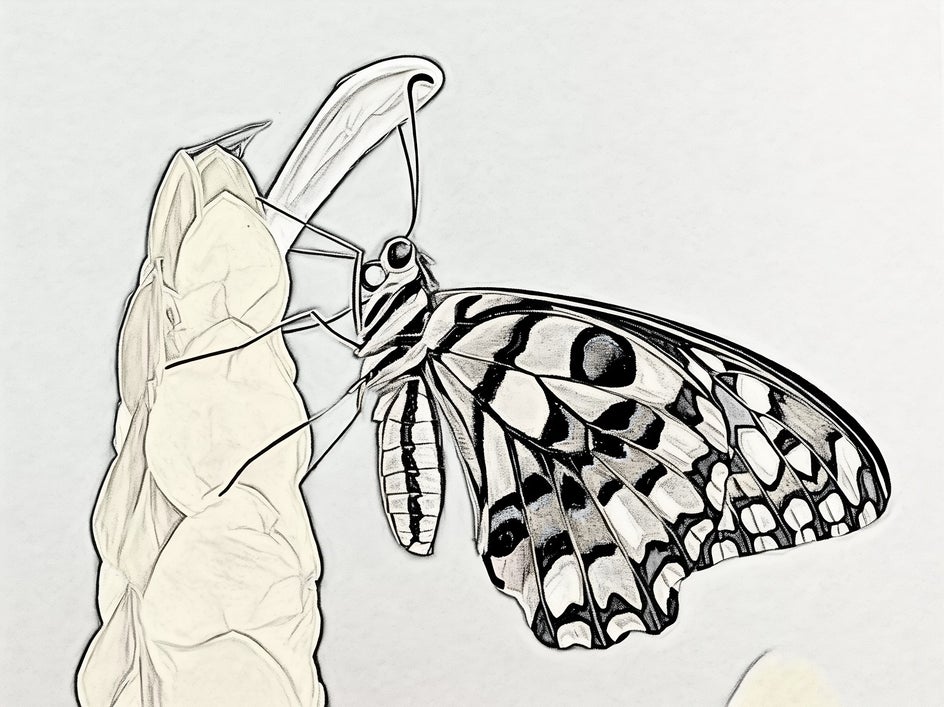
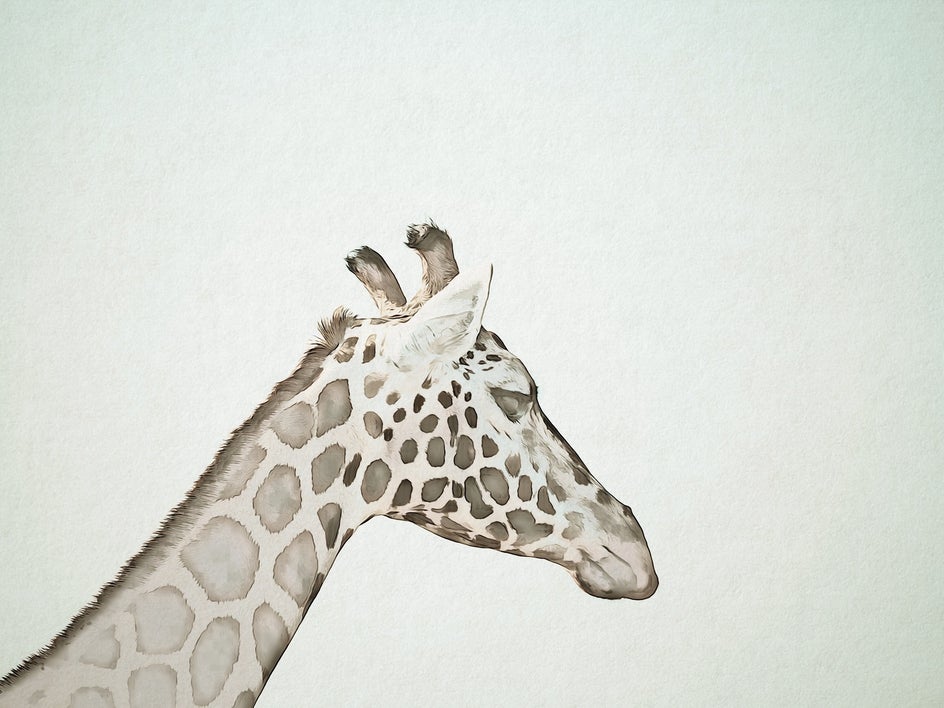
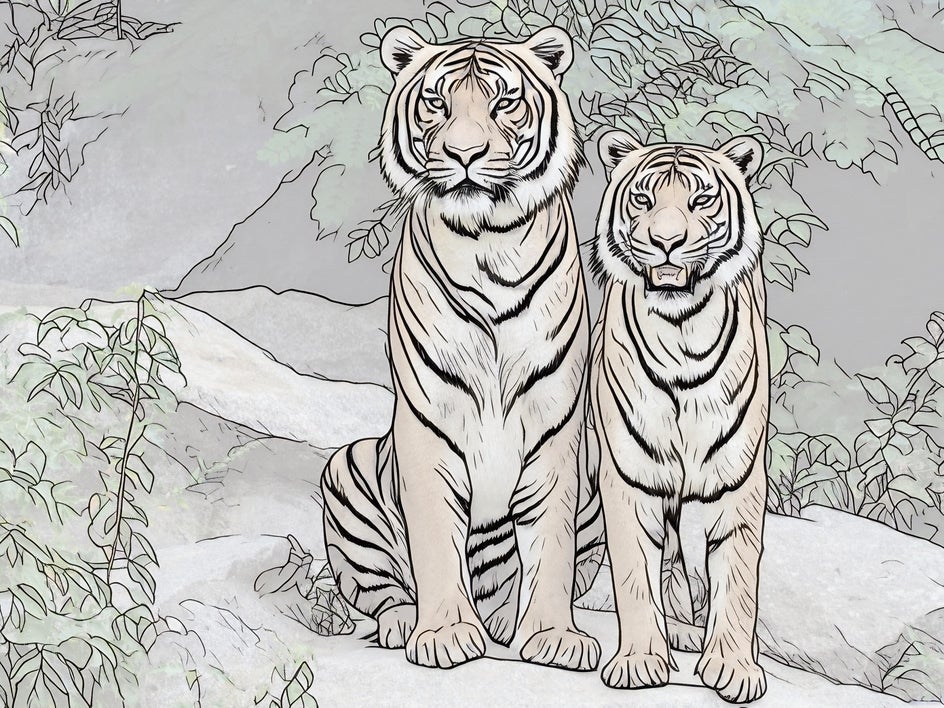
Sketcher
Our Sketcher effects are designed to replicate the detailed lines and subtle shading you'd find in traditional pencil drawings. These effects create fine, delicate lines that mimic the strokes of a pencil, adding depth and texture to your images. Shadows and highlights are carefully rendered to enhance the realistic look, making your photo appear as if it were skillfully sketched by an artist. Whether it's a portrait, artistic landscape, or any other subject, the Sketcher effects add a unique and sophisticated flair, transforming your photos into timeless, monochrome pieces of art.

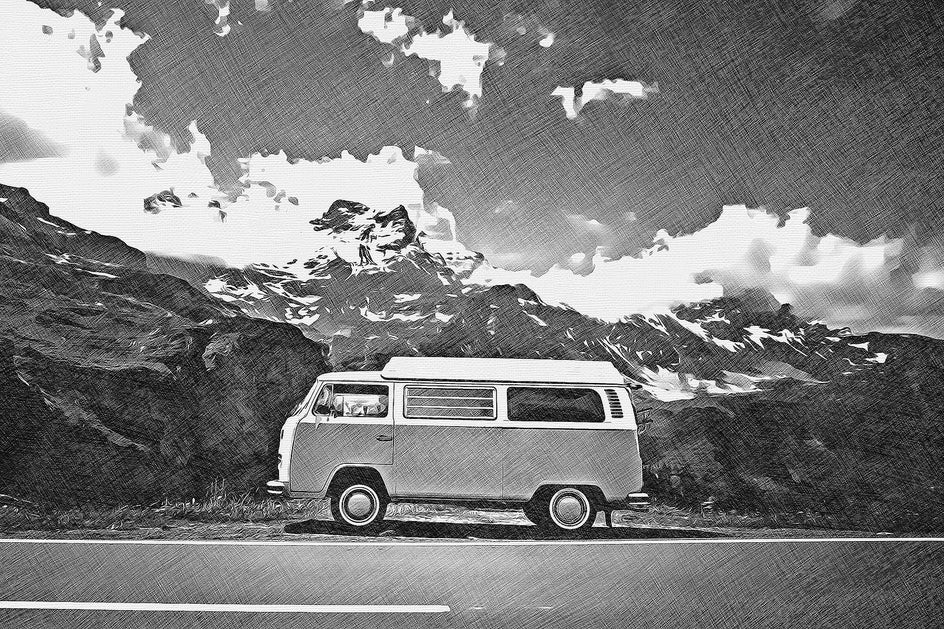
Inkify
Inspired by the inky drawings of ancient civilizations, the Inkify effects will transform your image into a sketch reminiscent of a bygone era.
There is a range of Inkify effects to choose from and each one comes with its own unique look, whether that’s a black and white, line-heavy style, or a soft, brushwork style that’ll transplant your image onto a textured, paper background. From Detail Level and Smoothness to Sharpen, Sketch Color, and more; each Inkify effect comes with its own customization options to bring your artistic vision to life.

Cross Hatch
Do you love the dramatic and linear hand-shading that talented drawers often utilize? So do we, which is why we created a Cross Hatch filter! This technique uses tiny lines to define shadows while drawing out the highlights of your photo with the leftover blank space.
You’ll find the Cross Hatch DLX effect in the Digital Art category. The effect also gives you the option to increase or decrease sharpness, depending on what sort of cross hatch look you’re aiming for!

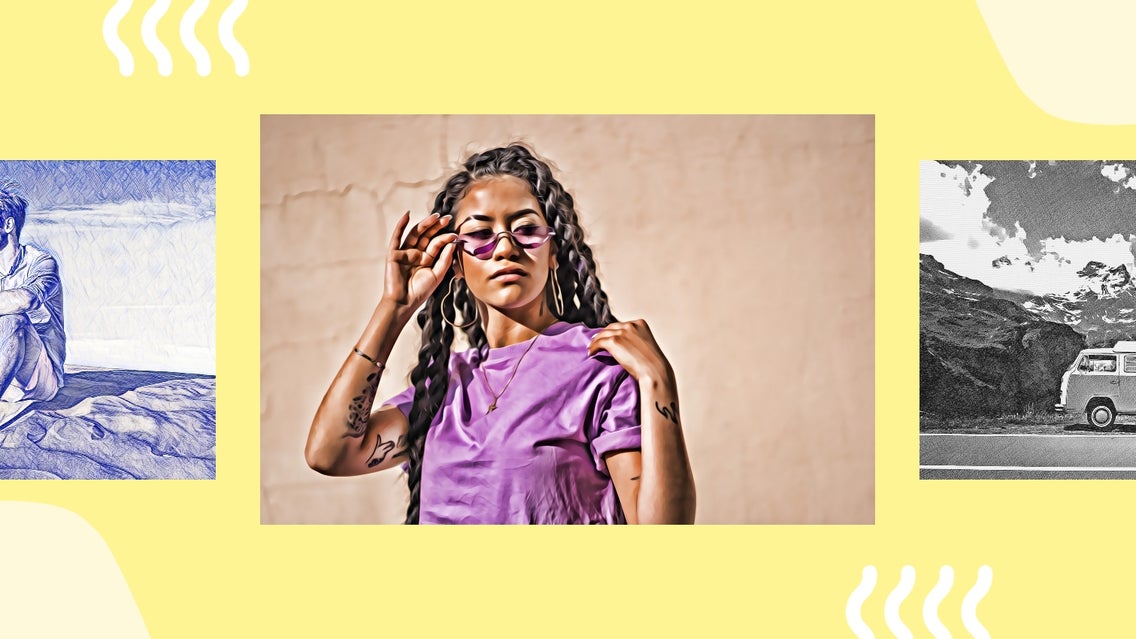
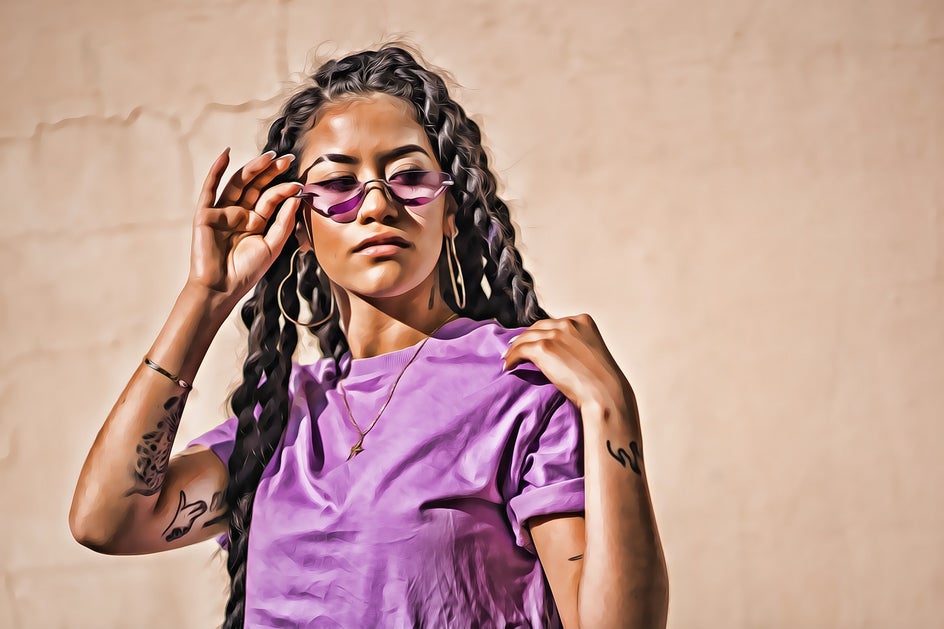
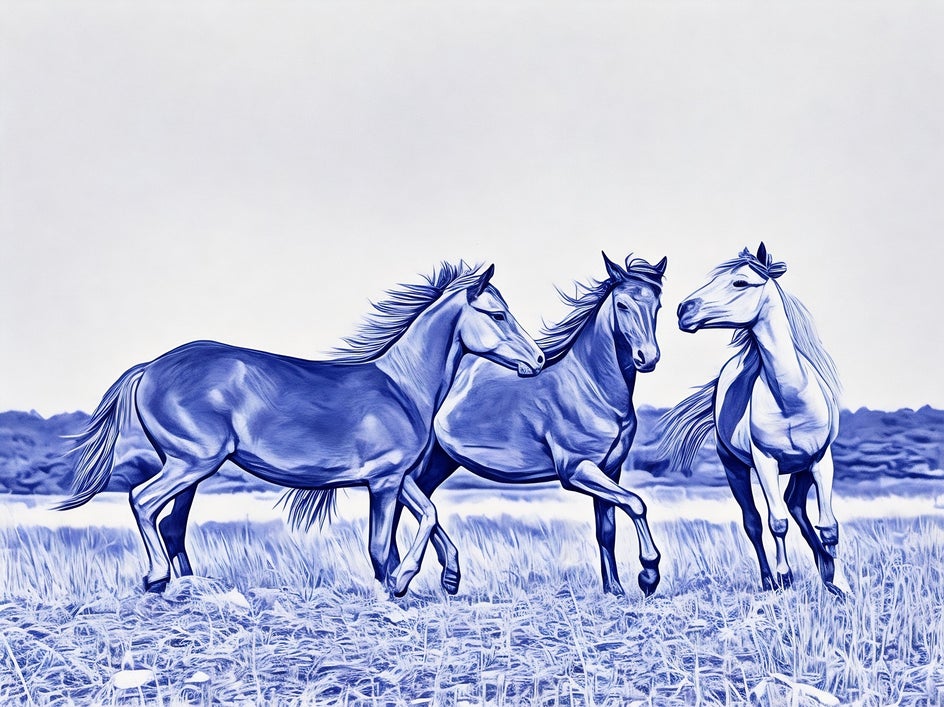
Pen Art
Ever found yourself doodling images with your blue pen while in class or on a long phone conversation? Let’s face it, we’ve all been there, but what if you could create a masterpiece inspired by this blue-ink style? Our Pen Art effects allow you to create a classic sketch in just seconds. For this example, we’ve used the super realistic Pen Art GFX effect.

Ink Wash
For a softer appeal, be sure to check out our Ink Wash effects, including both DLX and GFX versions. These effects feature bold linework and contrasting opaque brushstrokes to create a traditional ink wash drawing.

How to Transform a Photo to Sketch Online Using the Photo Editor
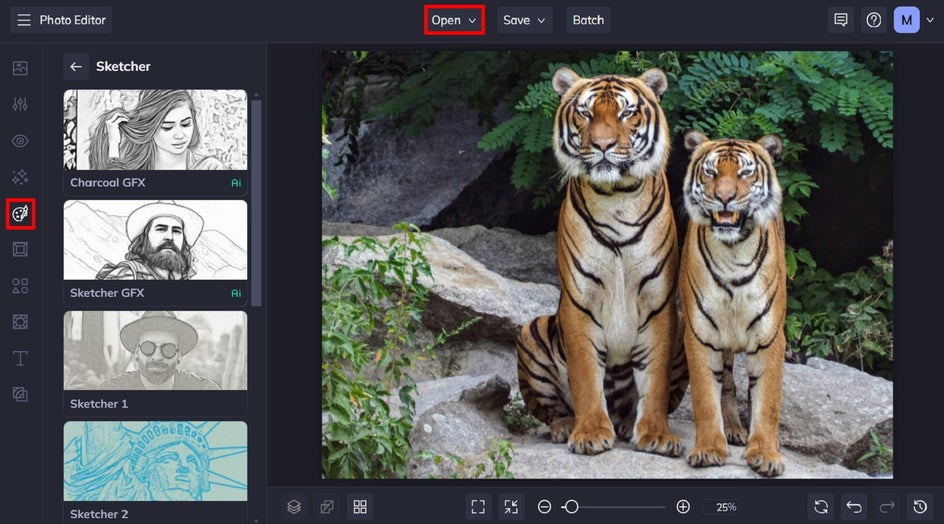
Now that you've learned about our fantastic sketch effects, are you ready to try them out? Head to the Sketcher category of the Artsy effects tab to get started. Open the photo you wish to edit, then follow the 3 simple steps below.
Step 1: Choose Your Sketch Effect
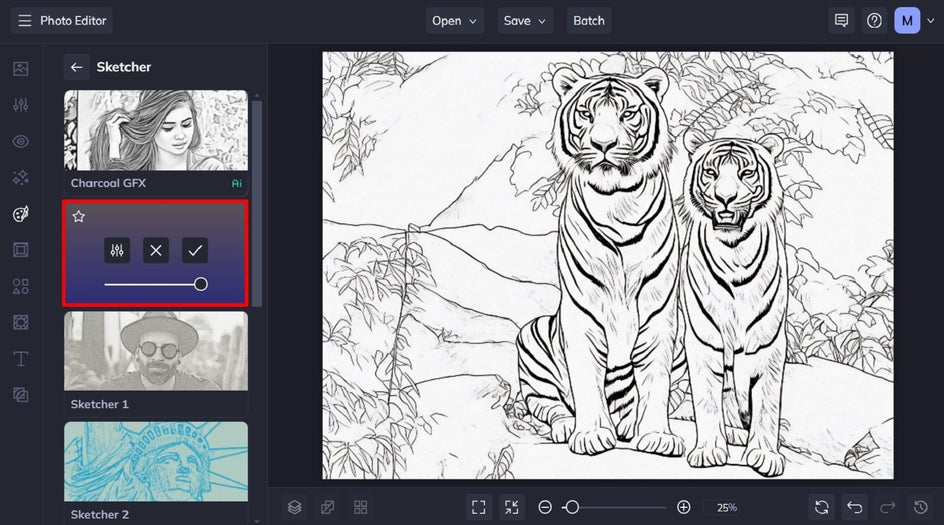
To select a Sketcher effect and sample how it makes your photo look, simply click on it. You’ll notice when you do this, you also have three options: Settings, which allows you to alter the effect further; Cancel, which cancels the selected effect; and Apply, which applies the effect as-is. For this tutorial, we’ll be using the Sketcher GFX effect.
Step 2: Adjust and Apply
Click the left-most icon to open the Settings menu. Depending on which sketch effect you choose, you will have different elements to adjust. For the Sketcher GFX effect, for example, you have the option to customize the Fidelity and Variation.
Fidelity refers to how closely a copy resembles the original image without losing detail. Variation, on the other hand, allows you to toggle through several different variations of your image with the same effect applied to it.
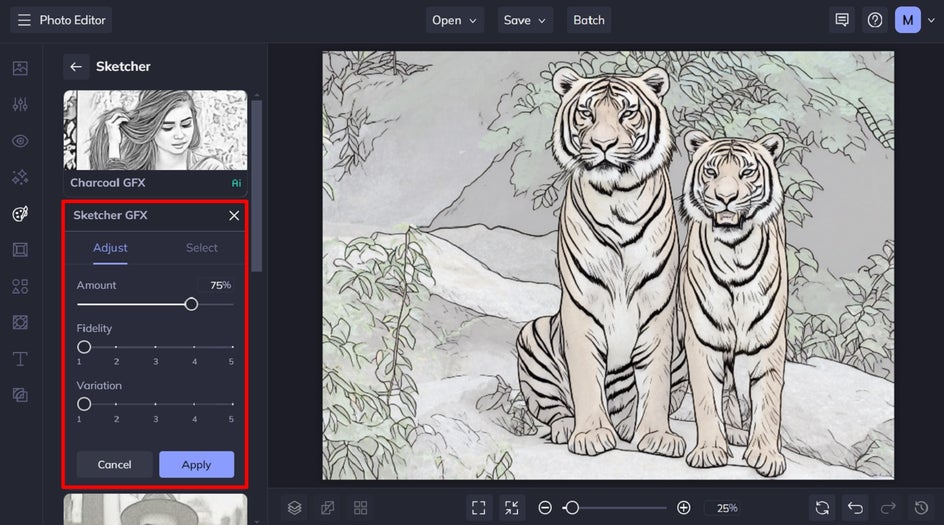
When you’ve finished making your adjustments, click Apply.
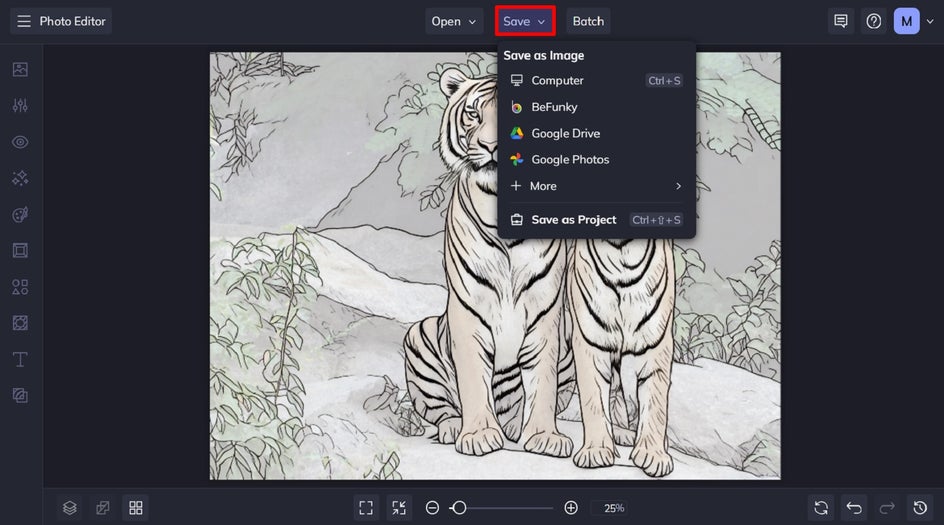
Step 3: Save Your Finished Sketch
Click Save at the top of the screen, then select your desired save location.
A Sketch Photo Editor at Your Fingertips
Thanks to BeFunky’s wide range of drawing effects, turning your favorite images into sketches has never been faster or more fun!

Achieve whatever drawing style you want with BeFunky's photo to sketch effects! Try them out for yourself to see what brilliant artwork you come up with.