How to Turn a Photo Into Pen Art
Whether it’s silly doodles or fine art, pens have been used to create art for decades. This style of art is usually called pen and ink drawing. In the past, ink was frequently used as a medium in other cultures like China and Egypt, along with brushes, feathers, or reed sticks, which were the first pens of their time. During this point, you would dip your tool into the ink and transfer it to your paper. Because we now have ink in our pens, many of these drawings today are done with ballpoint pens of all types.
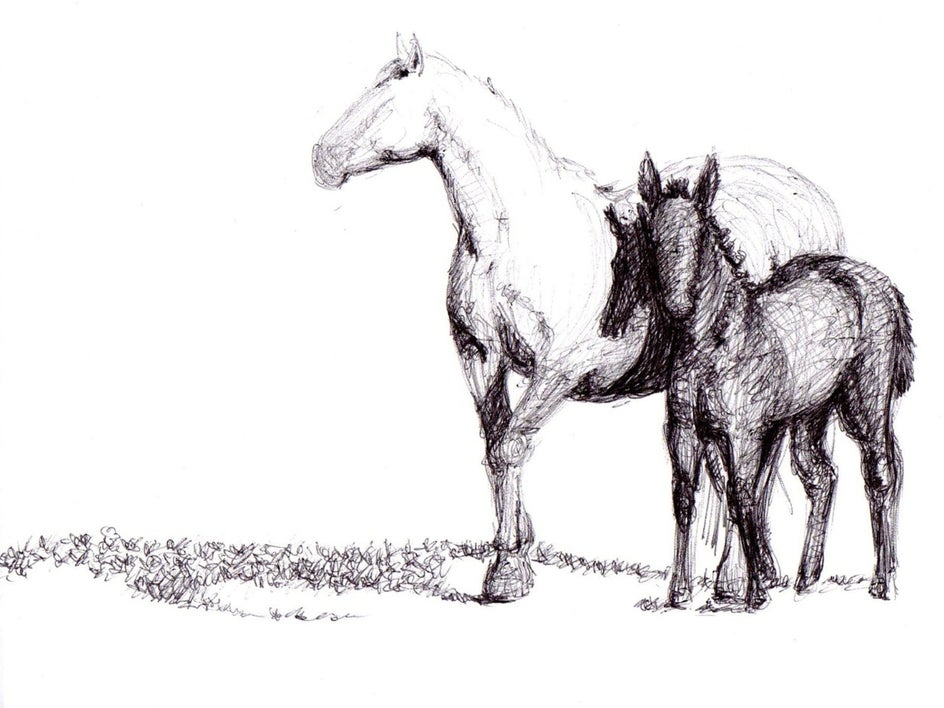
Pen and ink drawings require a lot of skill, since you usually only use one color to depict your subject. For this reason, pen and ink art relies on different techniques to create form and shading. These techniques include hatching, cross-hatching, grazing, and stippling.
If you don’t feel confident about your drawing skill level, it’s okay! BeFunky’s Photo to Art Effects gives you the ability to transform any photo into a work of art. You can turn a photo into an oil painting, a graphic novel with Graphic Novel DLX, or a cartoon! We are going to show you how you can turn your photo into a pen art drawing, but before that, check out some inspiration below:
How to Turn a Picture Into a Pen Art Drawing
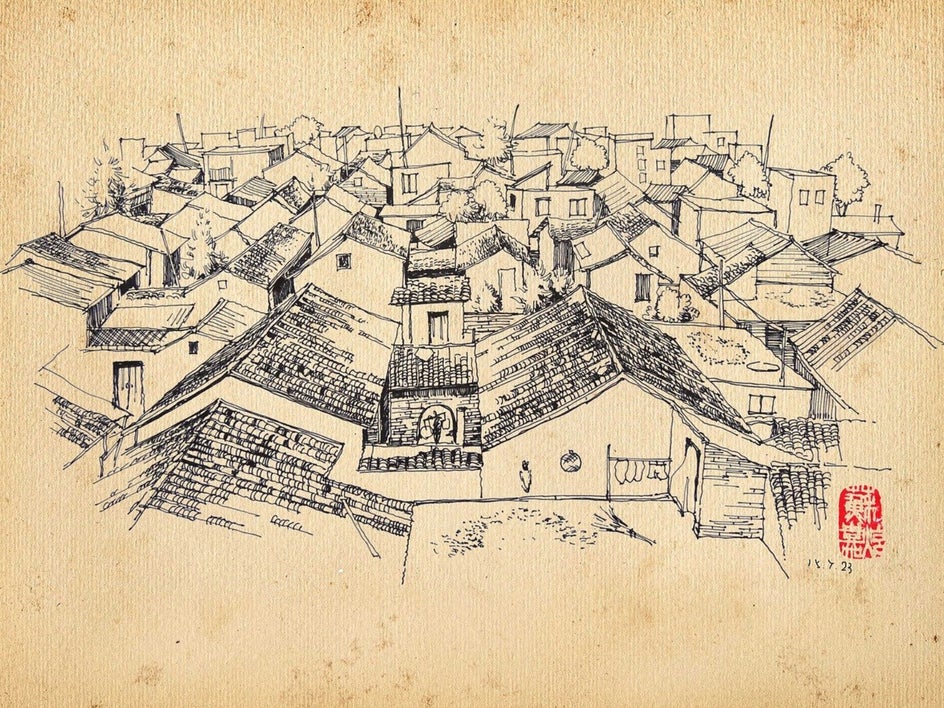
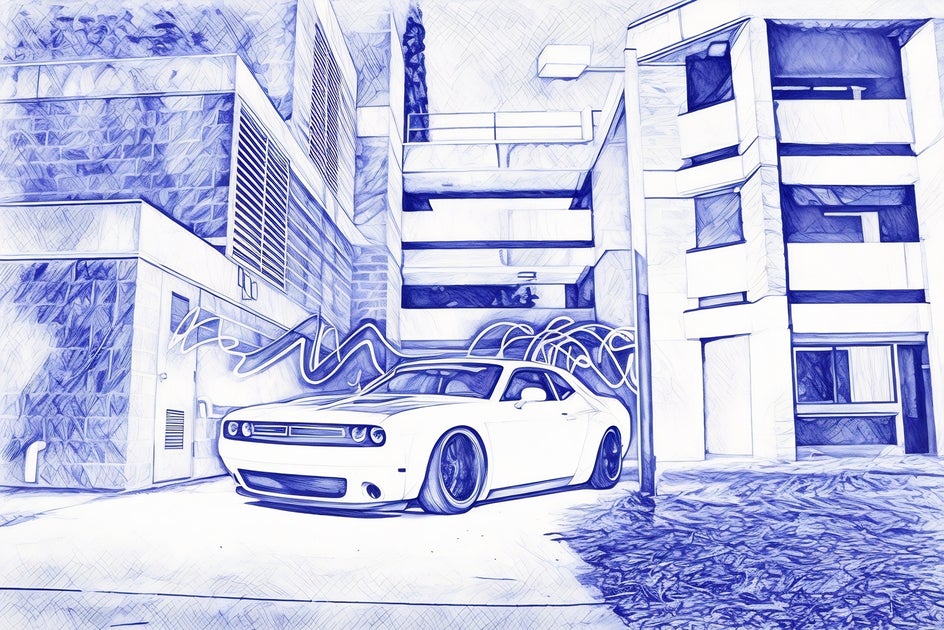
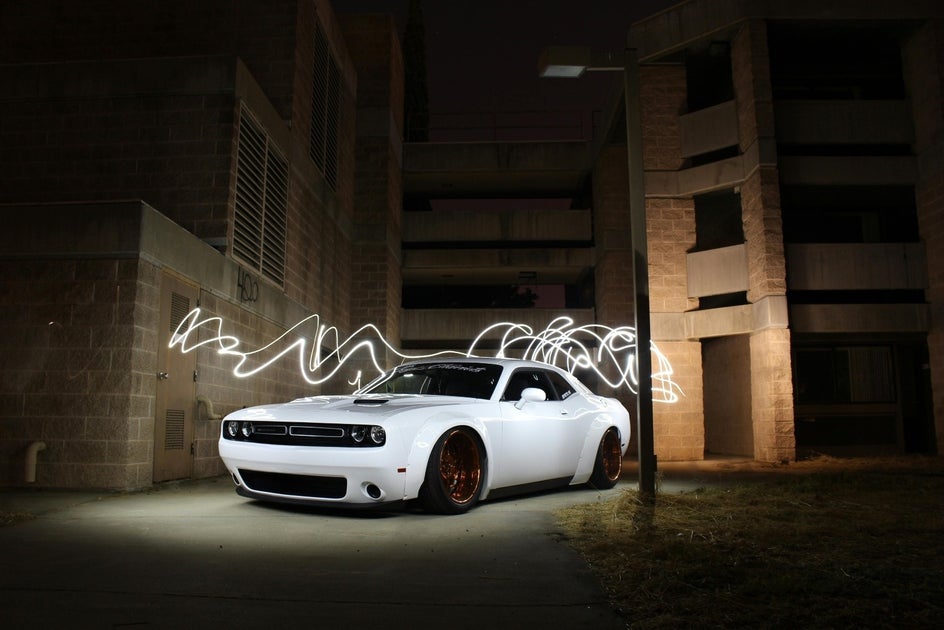
The Pen Art effect replicates the simplistic single-color and texturing techniques of traditional pen art drawings. These effects work best with portraits, nature photography, and architecture shots.
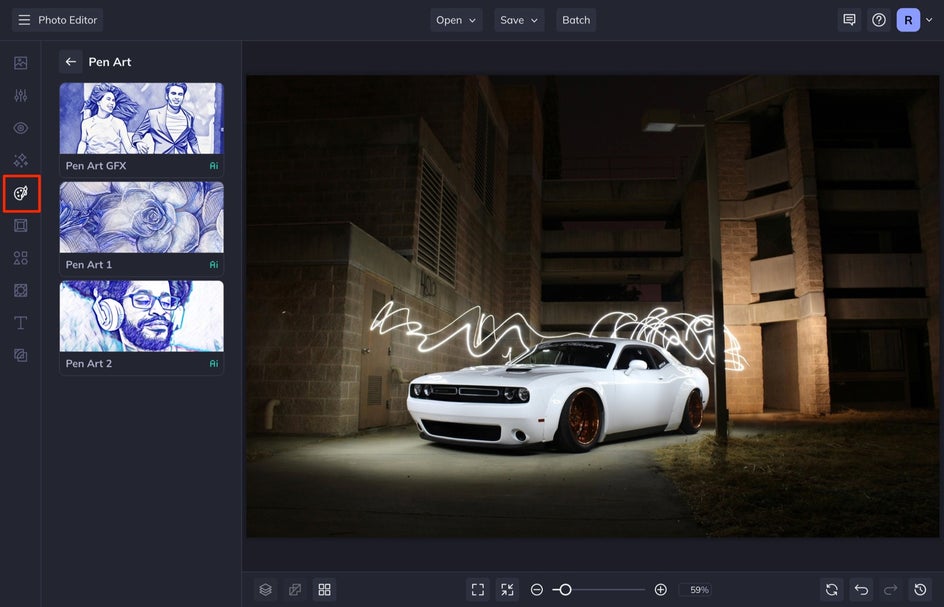
Step 1: Upload a Photo
First, head to the Pen Art category to get started. Next, select the image you want to edit by dragging and dropping the image directly onto the canvas, or select the Open tab to choose another method. After you choose your image, select your favorite Pen Art effect. We’re going to go with Pen Art GFX.
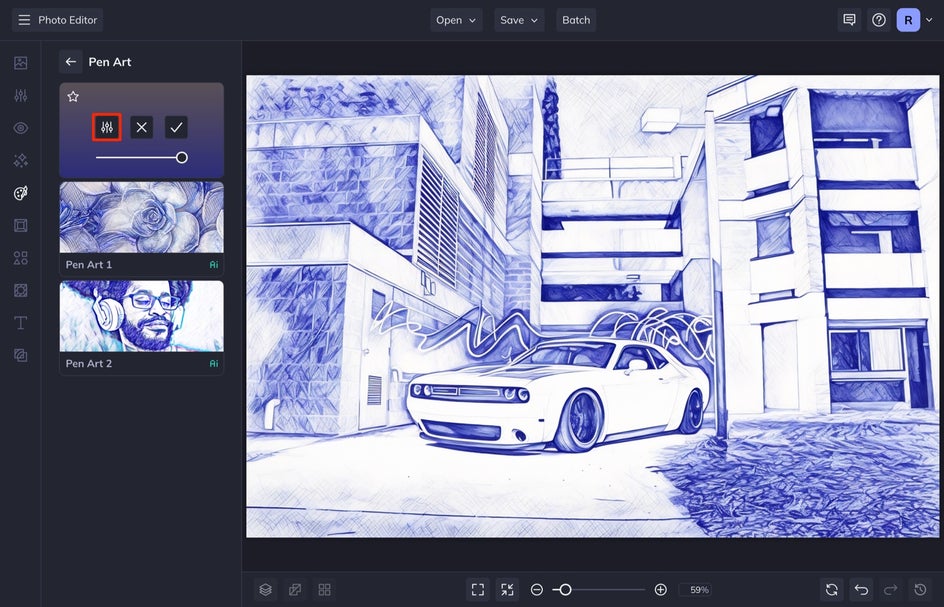
Step 2: Select and Customize Your Pen Art Effect
After selecting the Pen Art GFX effect, you will see your photo instantly transform into a pen art drawing. Select Settings to adjust the Amount, Smoothness, and Variation of the effect.
I play around with each of these settings until I get the desired effect. Smoothness refers to how blended you want the line work to be. The lower this is, the more textured the pen lines will be. Variation allows you to toggle through several different versions of your image. Our AI will produce multiple versions of the same effect for you to choose from. Each option will feature differences in linework and shading. I like my pen art to look more authentic and textured, so I usually leave the Smoothness at a 1 and choose the variation I like best.
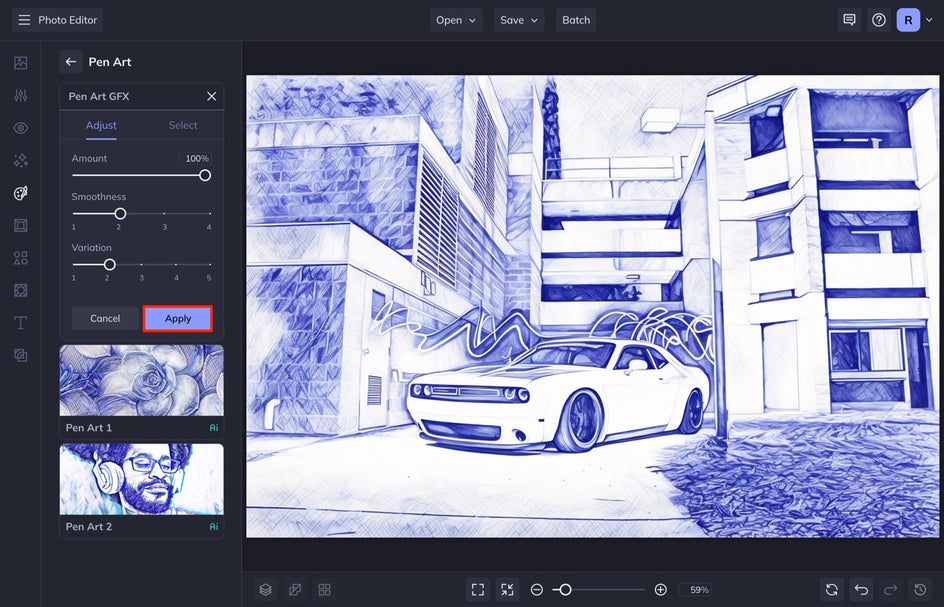
You'll notice the Adjust and Select tabs. Adjust allows you to determine the amount of the effect you want applied to your image, while Select allows you to choose where the effect is applied. Select is a great way to remove certain areas of your image that didn’t look quite right. Once finished, select Apply.
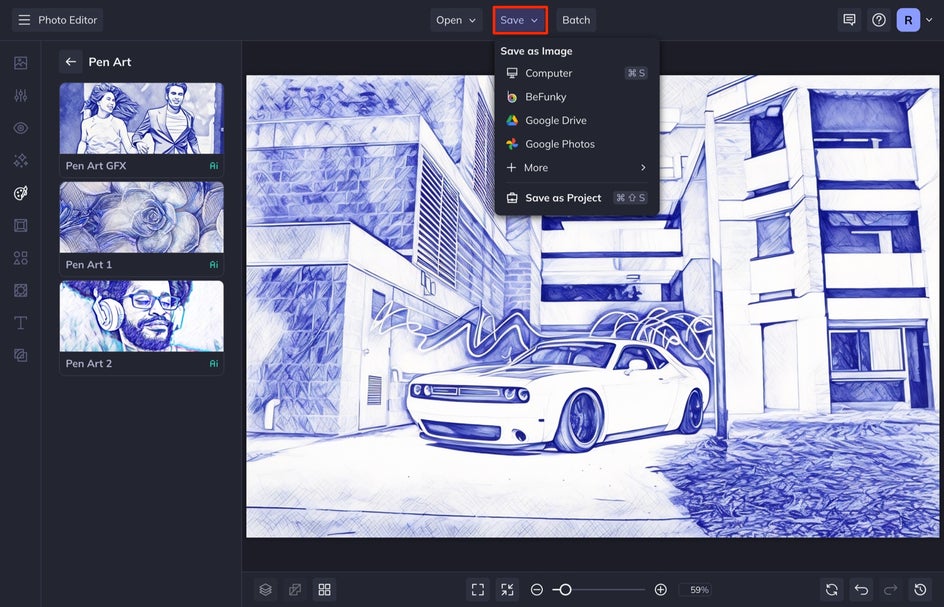
Step 3: Save Your Pen Art Photo
Save your photo by using the Save dropdown menu at the top of the screen. Select your desired location and file type.
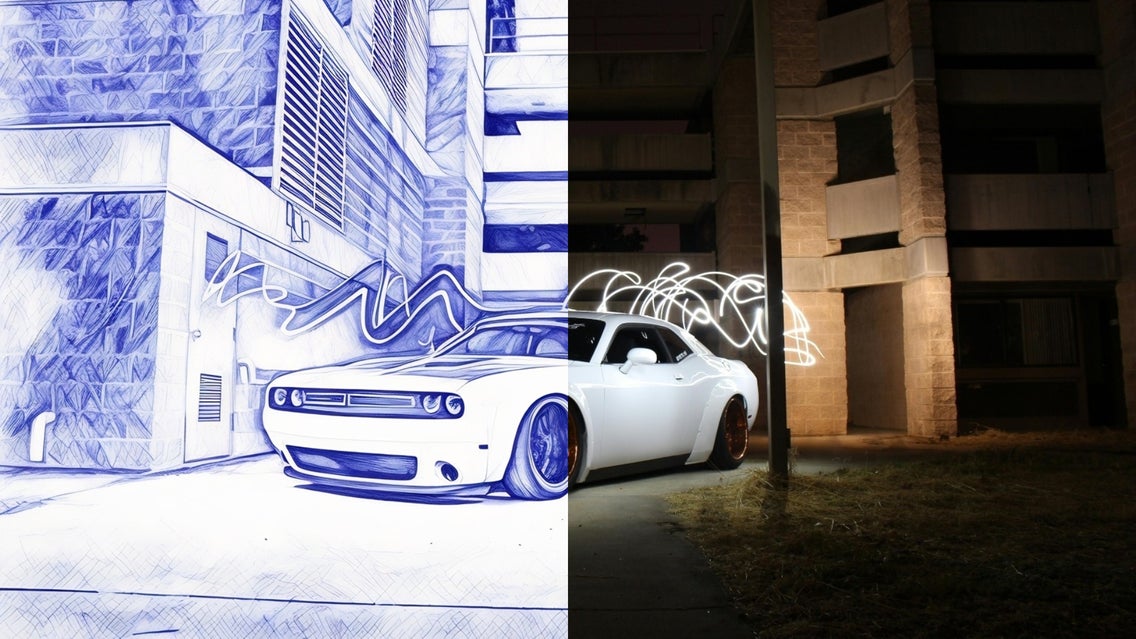
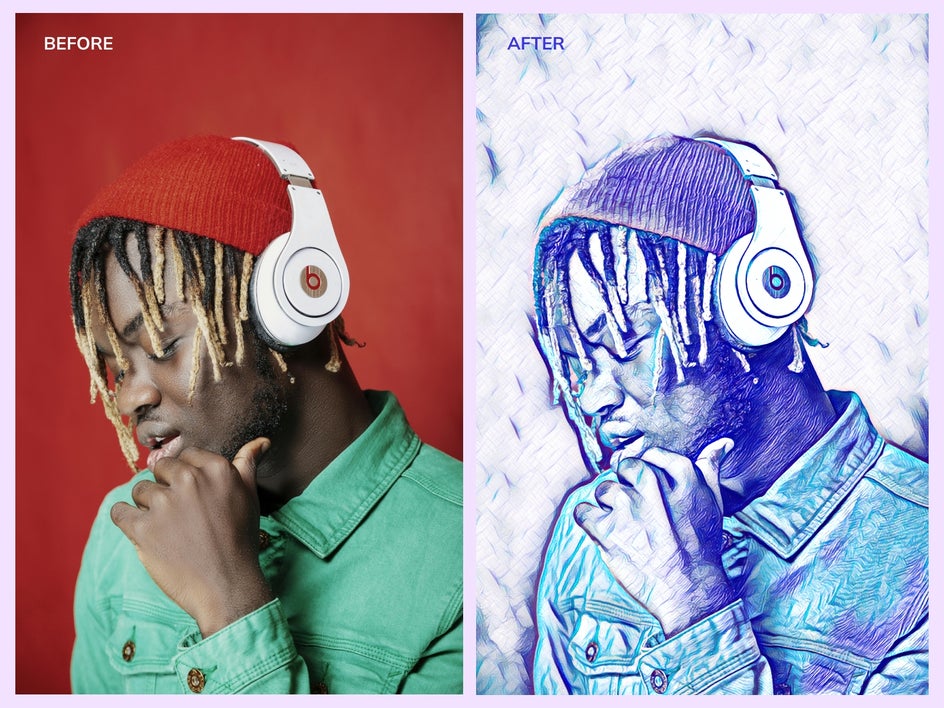
It is that easy to transform your photo into pen art! Take a look at the before and after of this image that transformed from a photo into a pen art drawing:
Pen and Ink Drawing Inspiration
If you want to make your photos into pen art, but aren’t sure where to get started, here are some pen art inspiration photos using our other pen art effects. Follow these tips and tricks for pen art editing.
Pen Art 1
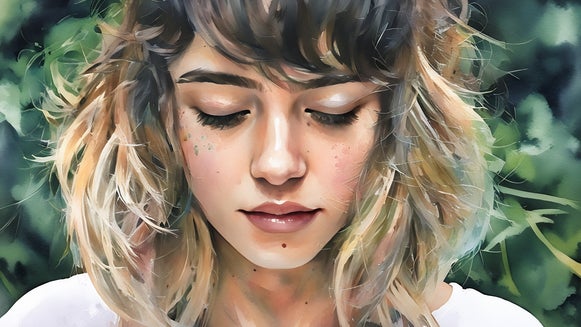
Pen Art 1 utilizes finer lines to emphasize the light and dark spaces in the photo’s subject and its surroundings. If you prefer the simplicity of ballpoint pen art, this is a good effect to play with. You can use the Amount slider to adjust how much of this effect is applied to your photo.
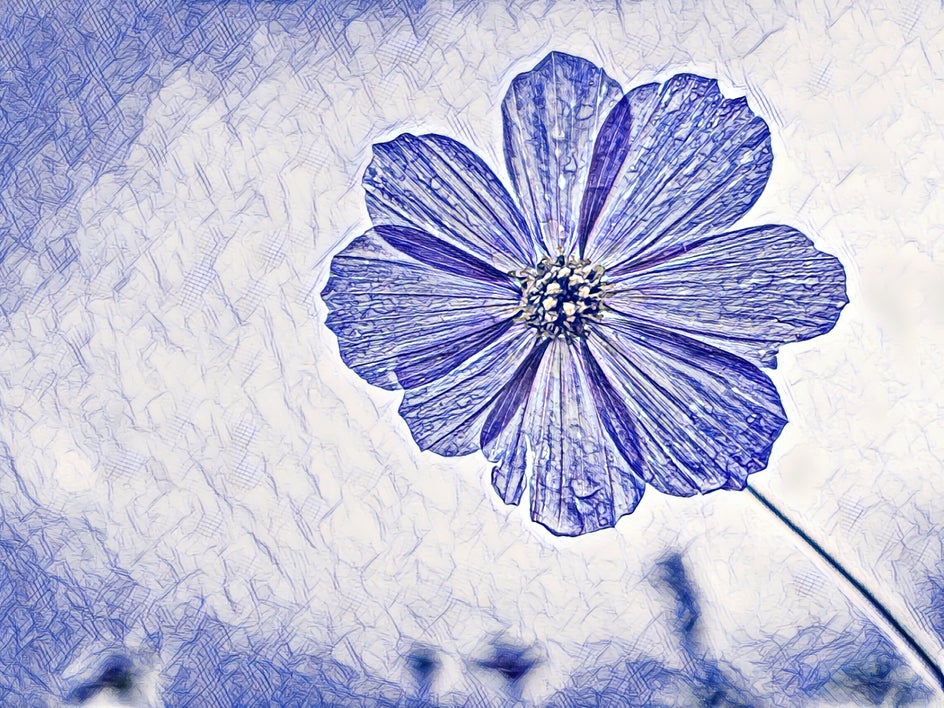
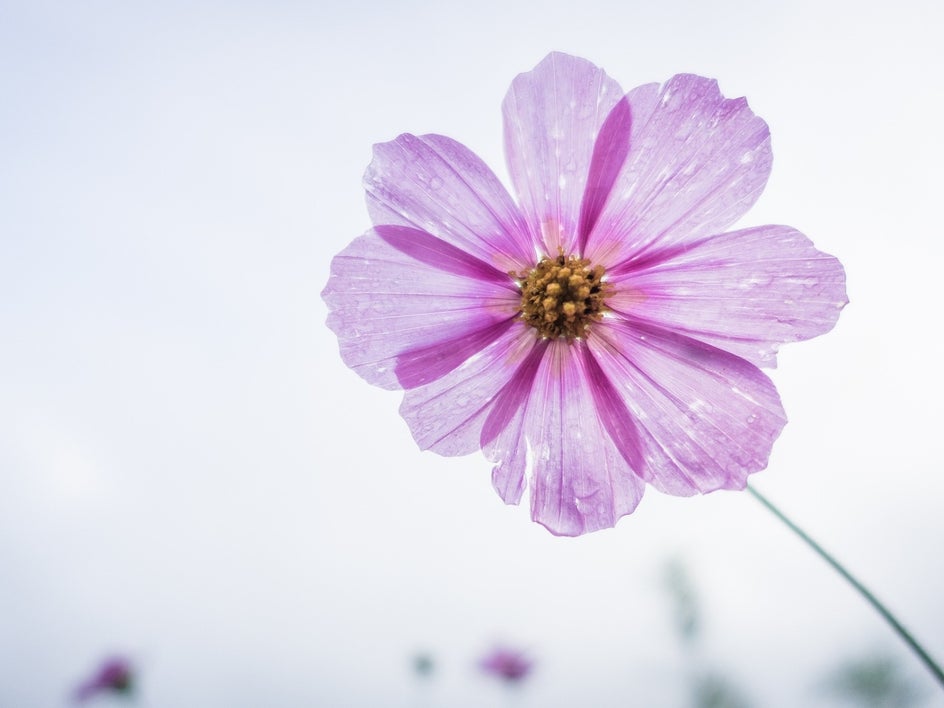
Pen Art 2
Pen Art 2 uses multiple colors to create an artsy pen art effect. You can see the texture and different styles of shading more clearly because of the two colors. It almost creates a pop art effect.
Transform Your Photo Into a Pen Art Drawing
Pen Art is a creative way to transform your photos into art. It is so easy to use but will make it look like you spent hours on your drawing. Try utilizing any of our other art effects in the Photo to Art effects section so that you can turn your photos into graphic novels, oil paintings, and more!