Glow Up Your Marketing With the Portrait Enhancer

If you’re a small business owner or independent creator, then you know that marketing matters. In this case, aesthetics aren’t just for show: A beautiful website, well-designed flyers, eye-catching social media posts, and polished imagery is the difference between snagging that client and being overlooked. But outsourcing work is expensive, and as an entrepreneur, you may not have the resources to hire a photographer or designer. If you don’t have much experience in these creative areas, this can leave you with lackluster marketing materials, or else take up valuable hours of your day.
Luckily, tools like BeFunky’s Portrait Enhancer offer a fast, cost-effective solution for elevating your marketing assets, ensuring your brand stands out both online and in person. Whether you're creating promotional flyers, business cards, or social media posts, enhanced photos can significantly elevate your marketing game. The one-click Portrait Enhancer instantly brightens and smooths any portrait, and the Photo Editor’s other Touch Up Tools allow you to further retouch your images if necessary. Combine these AI-powered photo editing tools with BeFunky’s professionally designed marketing templates, and you’re ready to create stand-out marketing assets in minutes.
Why Enhance Portraits in Your Marketing Materials?
First impressions matter immensely, especially for small businesses and independent professionals who have to compete with bigger brands. A polished, professional-looking portrait not only captures attention but also conveys credibility, trustworthiness, and quality. Real estate agents, online store owners, and freelancers alike can benefit immensely from high-quality portraits on their marketing collateral. BeFunky’s easy-to-use Portrait Enhancer transforms ordinary photos into professional-level images effortlessly, improving your overall brand image without requiring professional photography or costly, difficult equipment.
Enhanced portraits can significantly improve the appeal of various marketing materials – both in print and online. For instance, real estate flyers or freelancer Facebook ads are more likely to catch attention and earn clients’ trust if their imagery looks clean and professional. Business cards leave a more lasting positive impression if they use a portrait that’s well-lit and well-defined. On your professional website or brand social media, consistent, high-quality imagery strengthens your brand identity and fosters greater audience engagement.
How to Enhance Your Marketing Materials Online
In this tutorial, we’ll walk through how to enhance a portrait for a real estate flyer, in an industry where it’s particularly necessary to create a trustworthy, professional image. To begin, head on over to the Graphic Designer.
Step 1: Choose a Template
Once you’re in the Graphic Designer, you’ll be able to pick from dozens of handcrafted templates. In the left-hand sidebar, choose the template category that best fits your purpose – in this case, Business Marketing to Flyer. Then, browse through the available templates and select one that’s specifically designed for real estate.

You’ll be able to adjust the color palette and typeface later on, so at this stage, just focus on the composition that works best for you. Click Use This Template to open your new canvas.

Step 2: Replace the Placeholder Image
Upload your headshot to the Image Manager. You can do this directly from your computer, or upload a photo from Google Drive or Dropbox. Then, drag your portrait onto the template to replace the existing image. To adjust the crop on your photo, you can always double-click the image to zoom in or fix the placement.

Step 3: Enhance Your Portrait
Click on your portrait to select it, then hit the Edit Image button to transition seamlessly to BeFunky's Photo Editor.

Here you’ll have all the tools of the Editor at your disposal without ever leaving the Graphic Designer. To instantly elevate your real estate flyer, first head on over to the Touch Up tab and select Portrait Enhancer.

In just one click, this powerful AI tool smooths skin, brightens eyes, whitens teeth, adjusts lighting, and sharpens your image for a photo that looks professionally taken and edited. For more natural results, you can lower the adjustment slider slightly. Click Apply to save your adjustments.

The Touch Up tab also offers other tools such as makeup and hair color adjustments to help add more definition to your portrait. Here we’ve added a bit of lipstick, blush, and mascara. You can also smooth out wrinkles if needed.

Step 4: Finalize Your Marketing Template
Once you’re finished in the Photo Editor, just click the Done Editing Image button in the top left corner to return to the Designer. Now you can finish customizing your enhanced flyer by replacing the text, typefaces, colors, and logos. (Check out our in-depth tutorial on editing marketing templates!)

Once you’re satisfied, just click Save at the top of the page your file in your preferred format. Note that a high-quality print PDF will work best for a printed flyer like this one.

And just like that, your entire marketing flyer has had a complete glow-up!


Enhanced Inspiration for Your Marketing Assets
The Portrait Enhancer comes in handy for marketing materials across multiple industries, whether you’re a real estate agent, a tattoo artist or hair stylist, an online store owner, or a freelance creative. Here’s some ideas on how to promote your products, network, and improve your brand trust using the Portrait Enhancer.
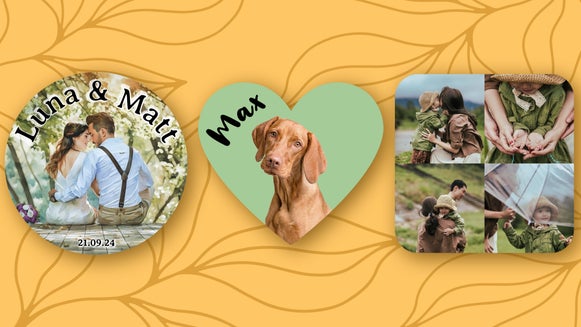
Business Cards
Business cards with grainy, poorly lit portraits may not make a lasting first impression. Using the Portrait Enhancer, your headshot instantly appears brighter, smoother, and more professional. This makes your business card more memorable and can make you a more notable candidate for potential clients or employers.


Promotional Postcards
With just one click, the Portrait Enhancer can make your postcard photos more vibrant and inviting, increasing your likelihood of customer engagement. Combined with BeFunky's Postcard Maker, your newly enhanced marketing postcard is sure to grab attention.


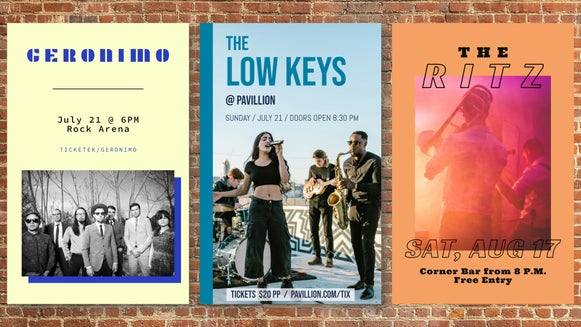
Social Media Graphics
Inconsistent, low-quality portraits across your social media accounts can negatively impact people’s perception of your brand and lower your engagement numbers. The Portrait Enhancer can provide your social media posts with a more consistent and elevated brand identity, particularly if you don’t have the money for a professional photographer. The Graphic Designer has plenty of social media templates that make posting daily across all your platforms a breeze.


Elevate Your Brand With the Portrait Enhancer
As a small business owner, you may often feel like you have to choose between what looks best and what you can afford. But the truth is, creating eye-catching marketing materials doesn’t need to break the bank. With the Portrait Enhancer, you can make any photo look like it was shot in a professional studio. With the Graphic Designer’s marketing templates, you can produce marketing assets in just a few clicks. And with these two powerful tools combined, you’re sure to stand out from the competition. Try it out for yourself in the Graphic Designer and glow up your brand today!