How to Add Depth & Dimension With a Background Texture

Sometimes, all it takes to add depth and dimension to an image is a little texture. That’s why our Photo Editor offers an entire collection of textures that can be applied to your photos in a single click. Whether you’re looking to incorporate dreamy bokeh, cinematic light leaks, painterly brushstrokes, or distressed effects like scratches and film grain, there are plenty of ways to instantly elevate your images and add visual interest.
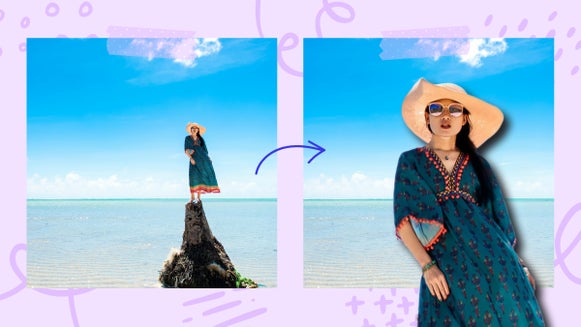
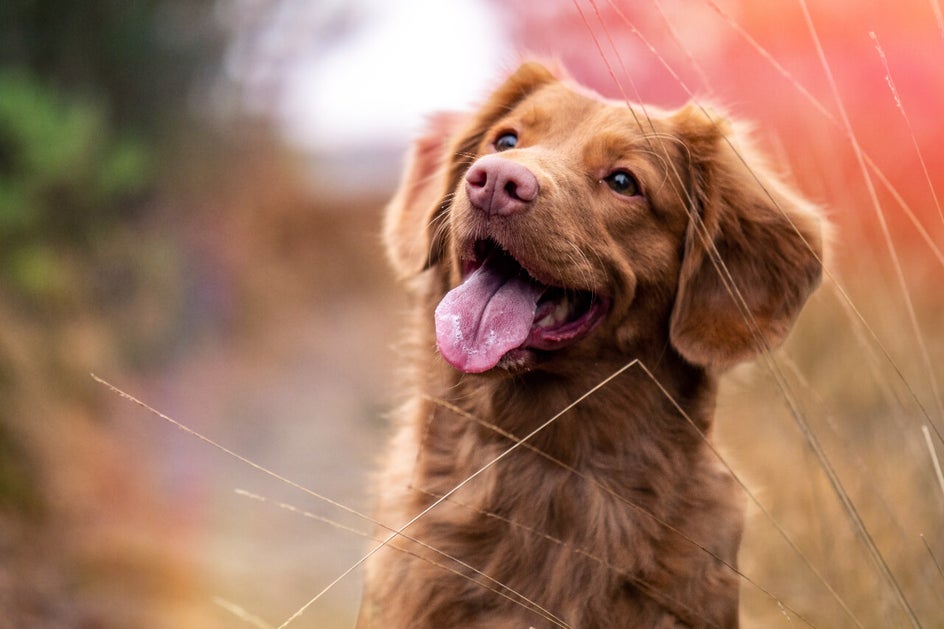
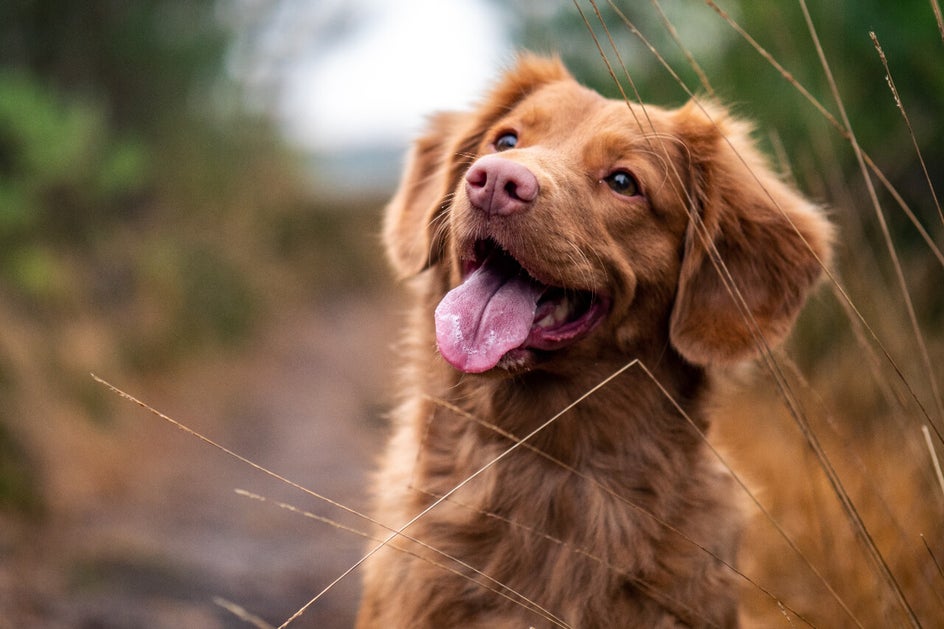
But what if you’d prefer to keep your subject crisp and clear while adding texture only to the background? The good news is that it’s easier than ever. Our A.I. technology can automatically detect and isolate the subject of your photo, making it simple to create beautifully textured backgrounds for portraits, pet photos, product photography, and more – all in just a few clicks.
How to Create Textured Backgrounds in BeFunky
To add a textured background to your own photo, head directly to the Textures category within our Photo Editor and open the image you wish to edit.
Keep in mind that it’s easiest to add background texture to an image with an easy-to-isolate subject.

Step 1: Choose a Texture
There are several Textures categories to choose from. Click on any texture to sample it on your photo. Once you’ve found which texture you wish to use for the background of your photo, click the Settings button.

Step 2: Adjust and Apply Your Background Texture
Within the Adjust section of your selected texture, you can alter the blend mode or change the opacity, as well as rotate or flip the texture to better suit your photo’s aesthetic.

When you’re happy with how your texture looks, click the Select tab.
Underneath Apply To, click Background. The tool will then automatically detect your subject and place the texture behind them – no fiddly editing on your part.
Finally, click Apply to keep your changes.

Pro Tip: You can repeat the steps above and add additional textures to your photo, creating a unique, layered look.
Step 3: Save Your Textured Background Photo
Click Save at the top of the screen, then select your desired save format and location.

Final Results: A Textured Background That’s Anything but Boring
In just three simple steps you can transform your ordinary, everyday photos into the extraordinary! What texture will you choose?


Background Texture Inspiration
Each of the textures in our Photo Editor comes with its own settings menu, which means you’ve got tons of options for customizing the way it looks on your image. Here are our favorite Textures to inspire your next project!
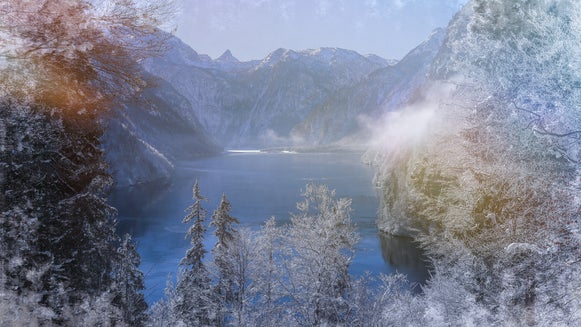
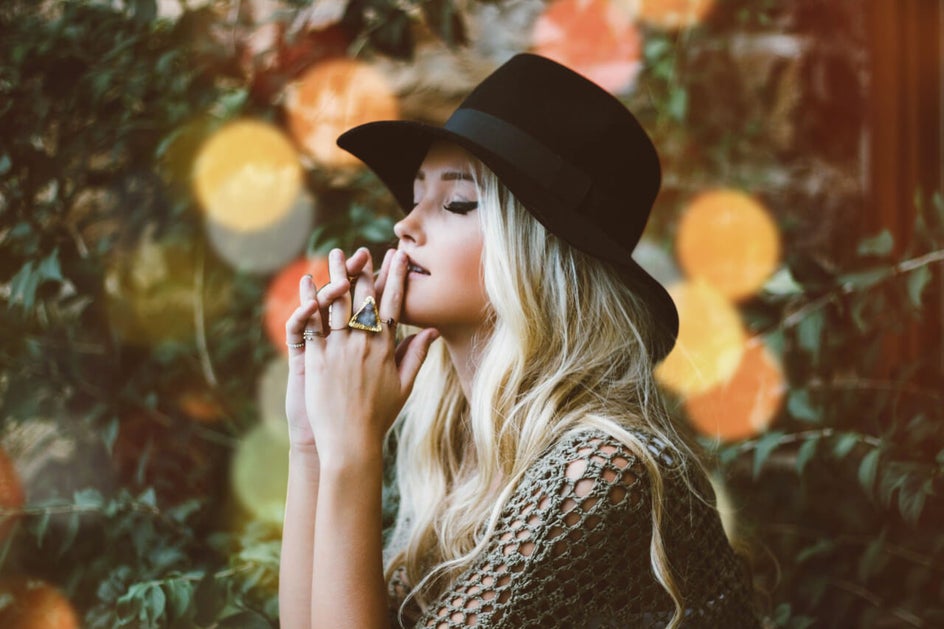
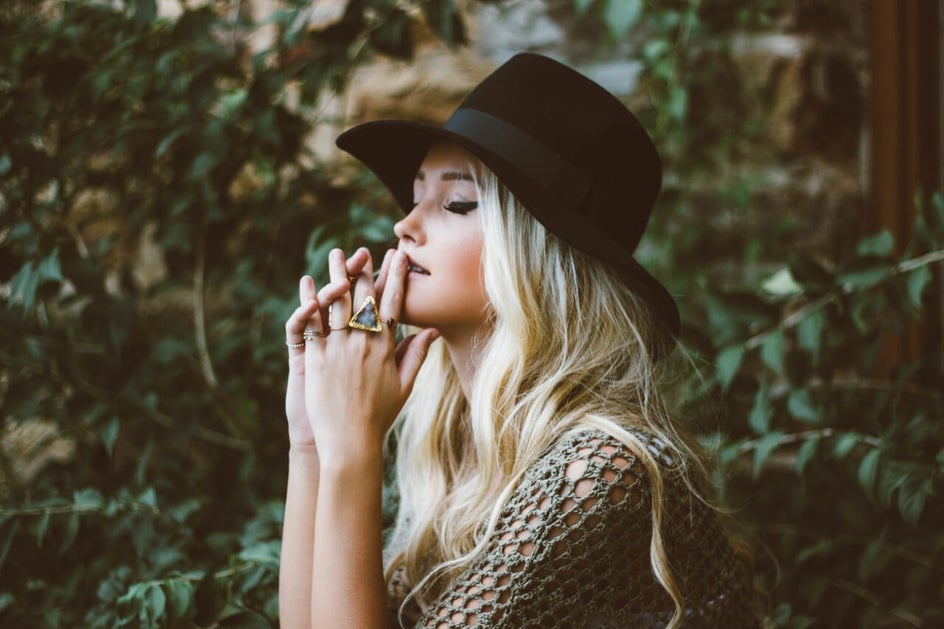
Add Light Effects to Backgrounds
The Textures tab is home to some brilliant light effects like Light Leaks and Light Trails. Adding these light effects to your backgrounds is an easy way to recreate the look of long exposures or film photography – the original way to create these dreamy effects, often by accident.
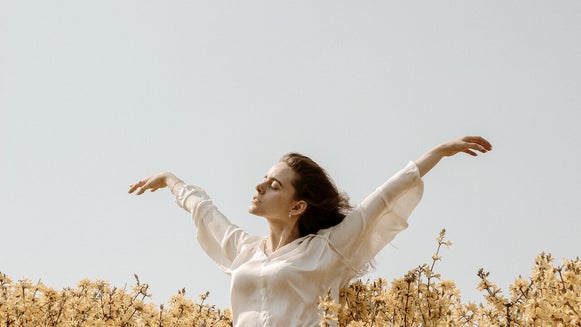
Textures that incorporate light tend to warm up your photos, offering an ethereal and softened look to them. They're perfect for portraits and landscapes.
Create Beautiful Bokeh
Bokeh is a texture that’s composed of clustered, diffused lights. It’s been a popular photography aesthetic for years and for good reason, as it adds some serious magic to your photos.
In photography, bokeh can happen when you focus on your subject and blur light sources in the background or use a dedicated Bokeh lens. With our Bokeh textures, you can now easily achieve this look post-process.
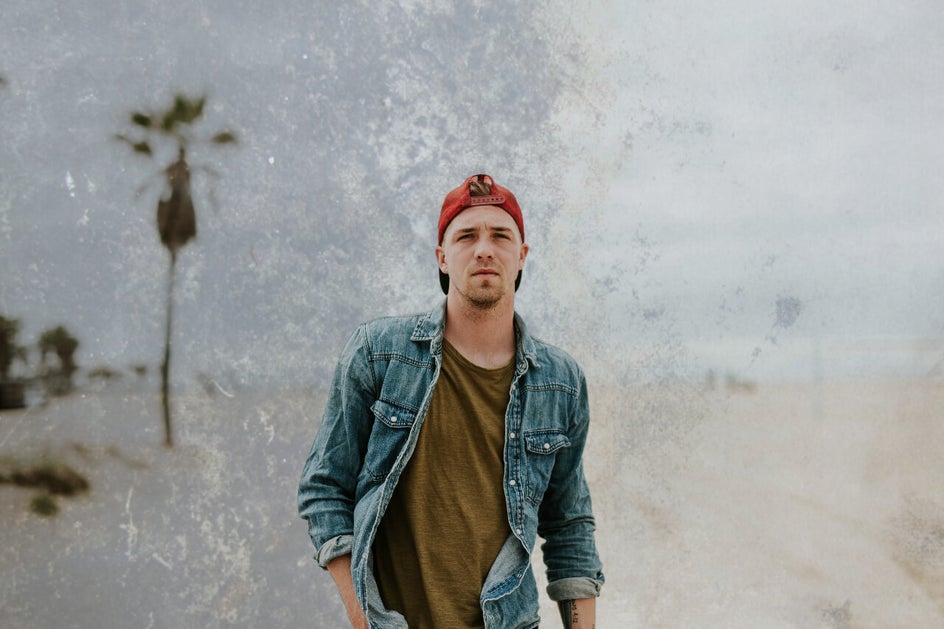
Make Backgrounds Look Distressed
Adding our distressed textures (like Grunge and Scratches) to your image’s background can instantly add interest and change the feel of your image. Just look at how it amplifies this solid-colored background.
Whether you’re going for a grungy and distressed vibe or a pretty patterned vibe, these effects are sure to give your photo some serious wow-factor.

Create Crafty Image Backgrounds
When you want to give your image a crafty look without applying an effect to the entire image, adding textures from the Paint, Paper, and Fabric categories is a great idea. Think brushstroke backgrounds, crinkly paper, burlap textures, and more.
Want to get even more creative? You can also layer different textures on top of one another to create dimension and diversity.

Ready to Add a Texture to Your Photo’s Background?
From adding an intriguing background to making your subject pop, our textures transform your photos in the click of a button. Add Bokeh, Light Trails, or Light Leaks for instant magic, or consider Scratches, Grunge, or Paint for something that looks edgier and distressed. Plus, with other categories like Fabric, Metal, Bricks, or Paper, it’s easy to create the exact aesthetic you have in mind.
Want to experiment with your own textured photo background? Check out our textures for yourself!