How To Add Long-Exposure Light Trails To Photos
Photography is often about capturing light and getting the clearest images, but have you ever experimented with capturing light when you don’t have much light to capture? The results start to get a bit funky - our favorite!
The process of capturing limited light over a longer period of time is called long exposure photography. You can achieve it when you set your camera settings to a slow shutter speed, increasing the amount of time the lens is exposed to the light. When done at night, the only light there is to capture becomes illuminated and since the shutter is open longer, when this light moves, the movement of that light is captured and light trails appear.
Long exposures are often created by professionals with a lot of extra time on their hands - which isn’t always ideal for the average photographer. Sometimes it takes someone all night to capture one long exposure photo. Luckily, in BeFunky’s Photo Editor, there are plenty of Texture effects that can help you add the look of long exposure to your photos in post process - one texture, in particular, are Light Trails.
What Are Light Trails Exactly
Unless you have a light source at night, nighttime photography will look pretty boring, given that the only thing that will appear when taking a photo without light is a darkness. When there are sources of light in motion (car headlights and taillights, fireworks, etc), you can set your camera up to capture light trails - the movement of light over the course of time - all in one photo.
Light trails are captured when your camera increases the amount of time the shutter is exposed to the light. This means that you are able to capture how light moves when you set your camera up correctly. In short, slow your shutter speed down to its lowest setting (the slowest speed equals the highest number) and you will be ready to start capturing the movement of light.
Pay attention to what kinds of lights exist at night. The best place to explore this is in a city since the farther away you get from a city center, the less light pollution, meaning your only sources of light are going to be the stars or the moon. Cities are filled with ample amounts of light and are a good place to practice shooting light trails from sources like cars, traffic lights, street lights, sparklers and fireworks, phone screens, embers, and more.
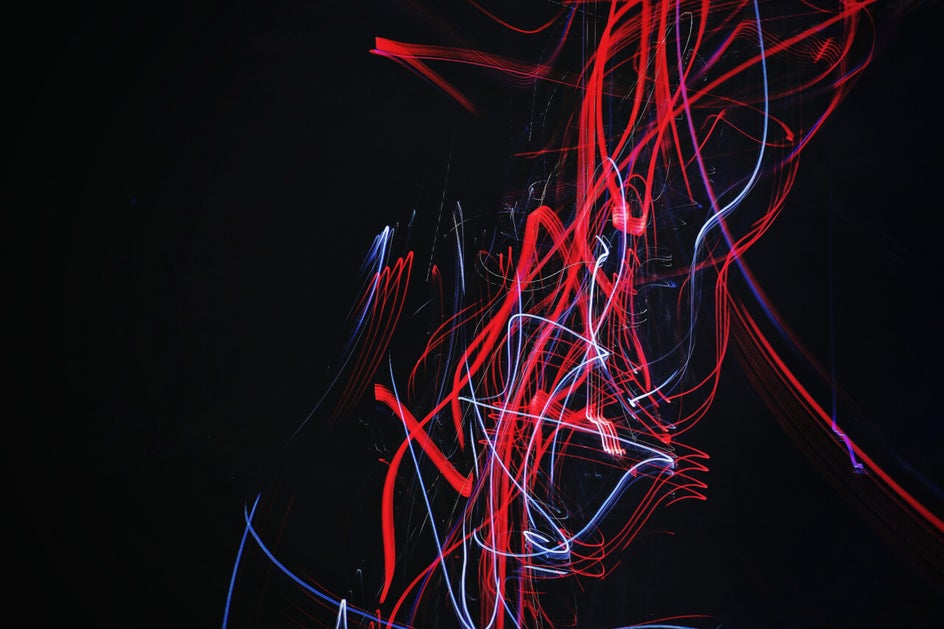
Examples Of Light Trails
Whether you have the time to capture Light Trails with your camera or not, there are plenty of Light Trail textures you can add to your photography in BeFunky’s Photo Editor. We’ll show you a few examples as inspiration to get those creative juices flowing:
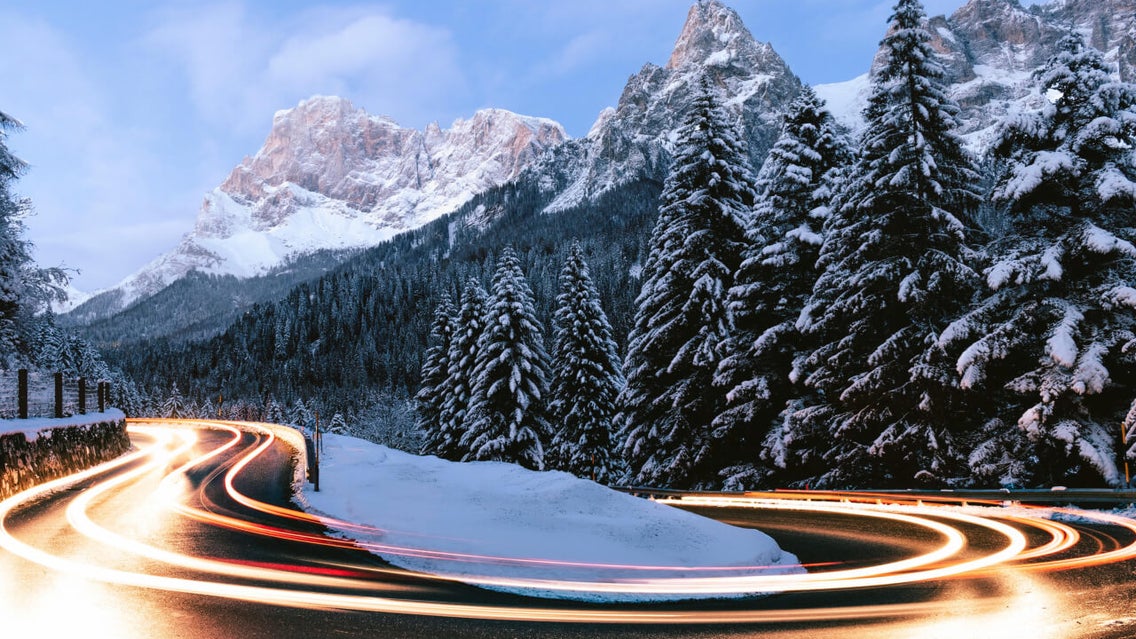
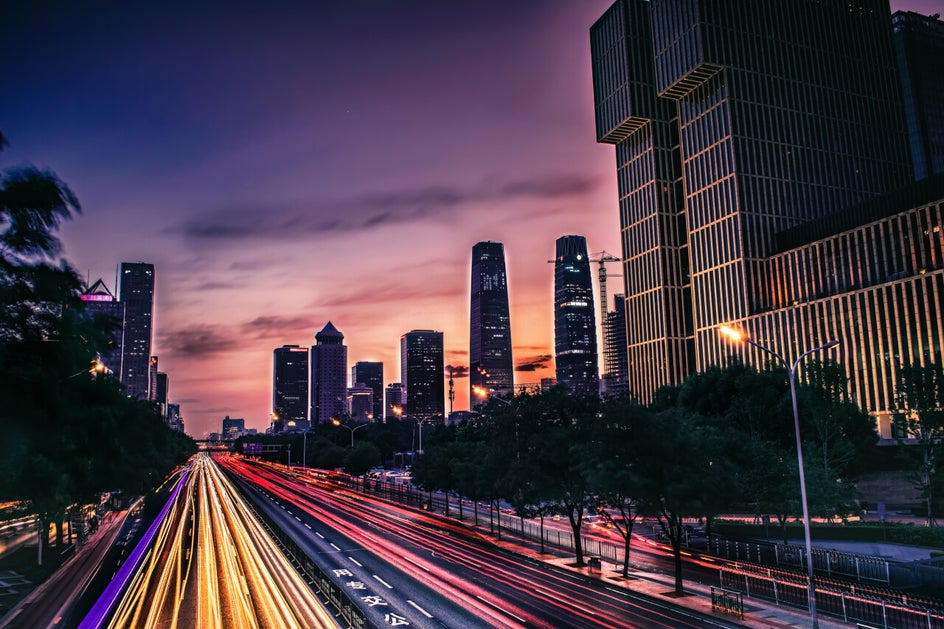
Light Trails From Cars
Catching light trails on cars is a really fun technique to practice since you don’t have to do any extra work. Simply set up your camera and let the cars do the rest! Depending on what time of day you shoot and how long you set your exposure for, your background might actually look like daytime due to the long exposure!
And if you don’t have time (or the right camera) to capture true light trails, just snap a quick photo of a highway overpass or busy street at night, then add some Light Trails from the Textures tab in BeFunky. You can get the look in just a few clicks!
Portrait Photography
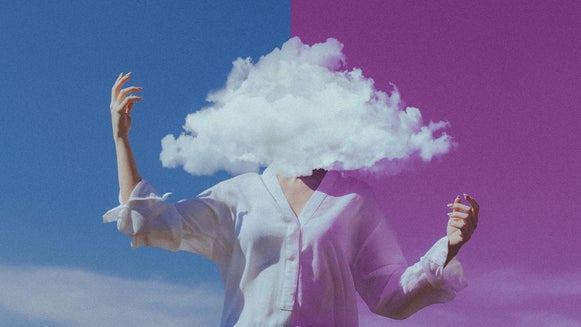
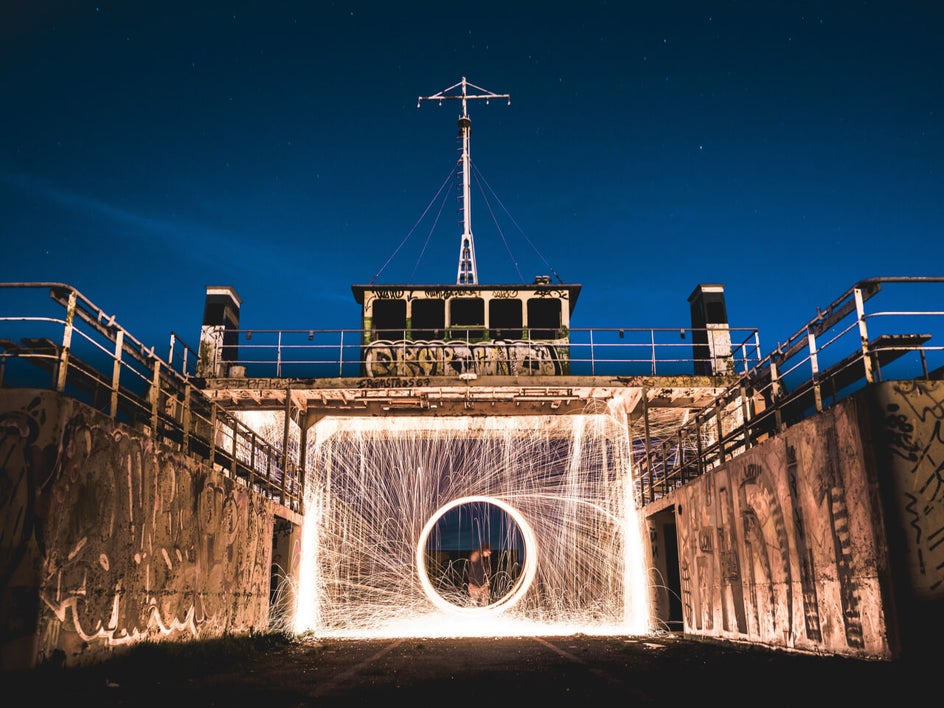
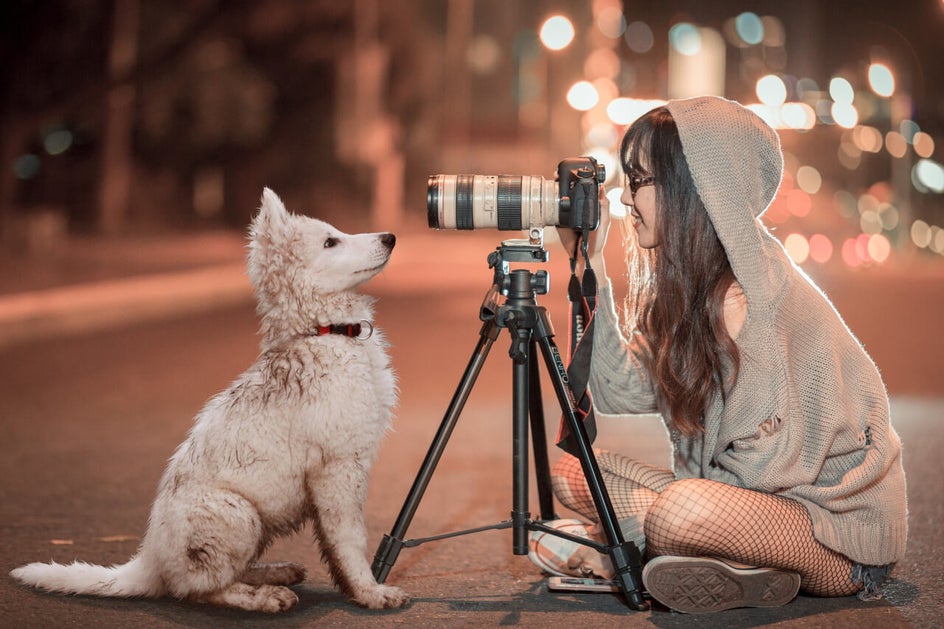
Adding light trails to a portrait can be a fun way to add some dimension and depth to the story you’re wanting to tell. If you’re capturing with your camera, try taking some long-exposed portrait photos while your subject moves a light source around (a phone screen, sparkler, etc).
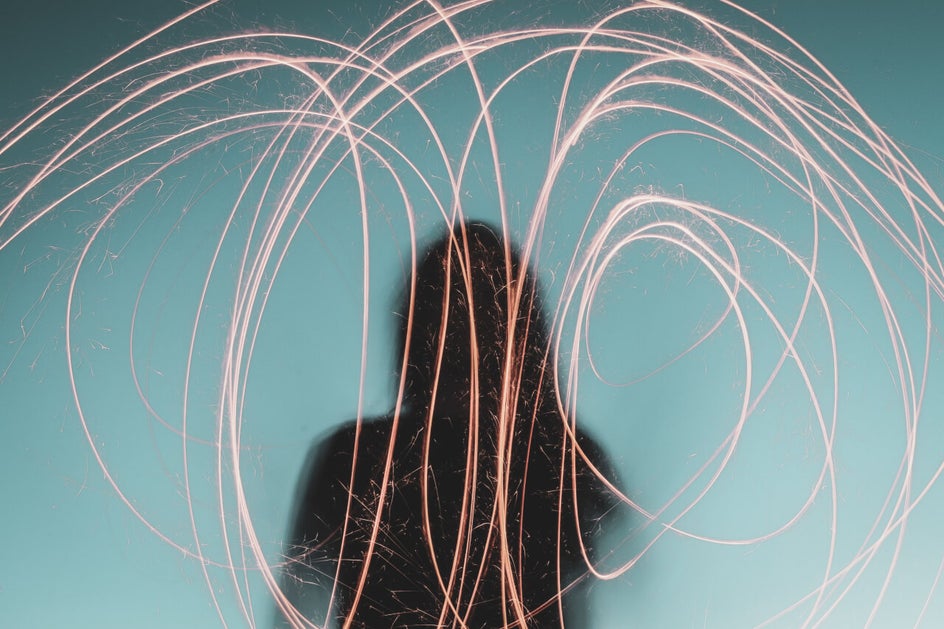
Or, you can add one of BeFunky’s Light Trail effects right over your portrait in the editing process. Either way, you’ll add just the right amount of depth and intrigue.
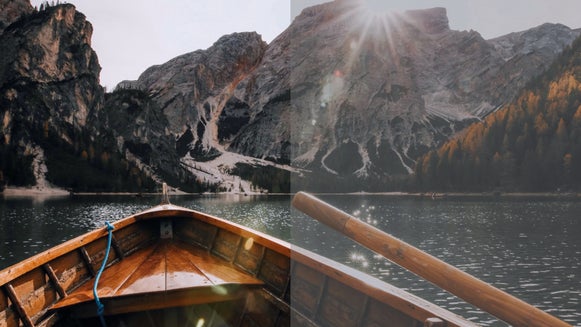
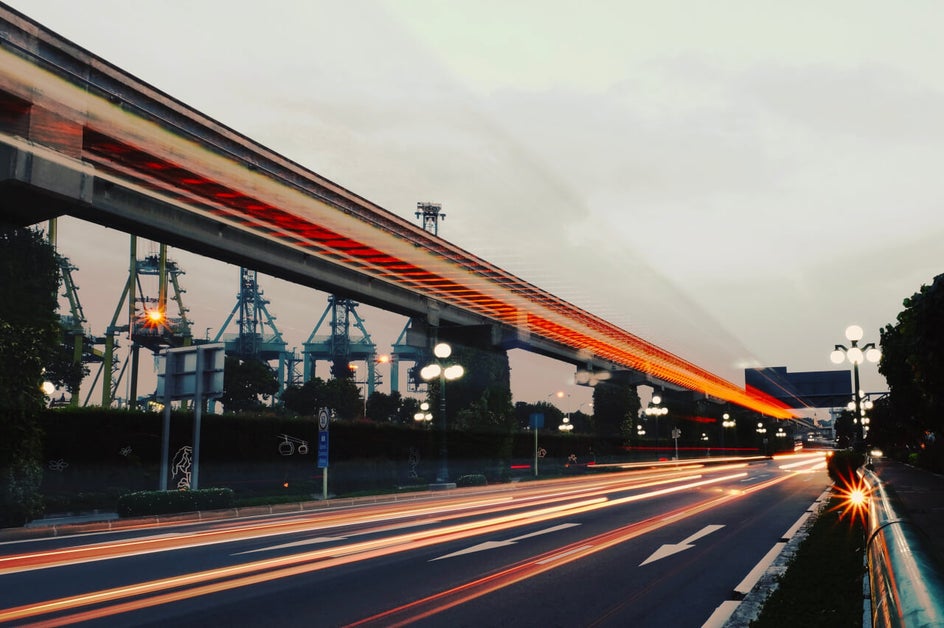
Landscape Photography
Landscape photography is beautiful by itself without any light trails, but by adding in a light trail from a car driving around a bend, this photo was elevated!
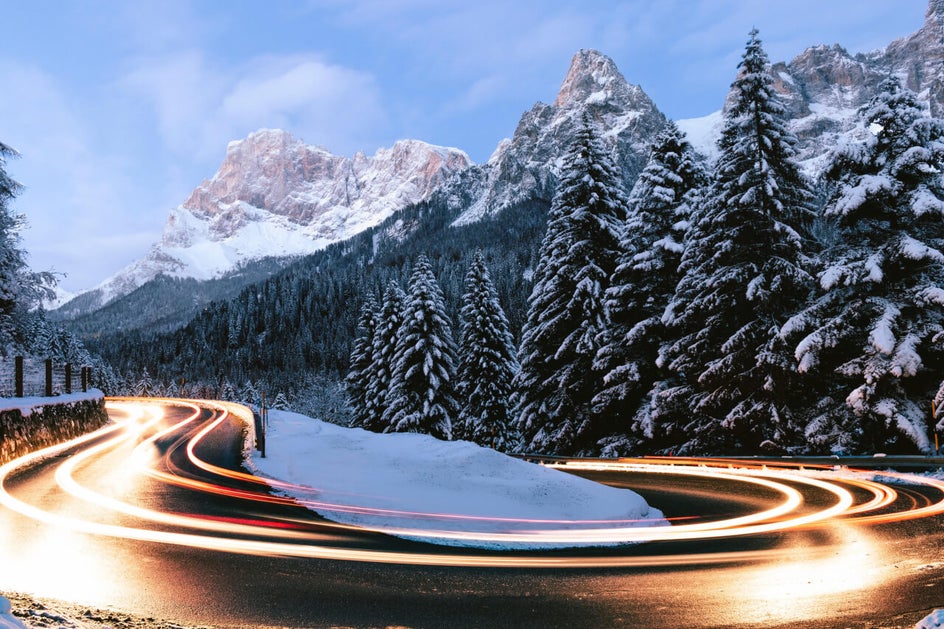
Try experimenting with BeFunky’s Light Trail textures on any kind of photo. Even if it’s not dark nighttime photography, you’re sure to add something unique to your images. We’ll show you how next!
How To Add Light Trails To Your Photos
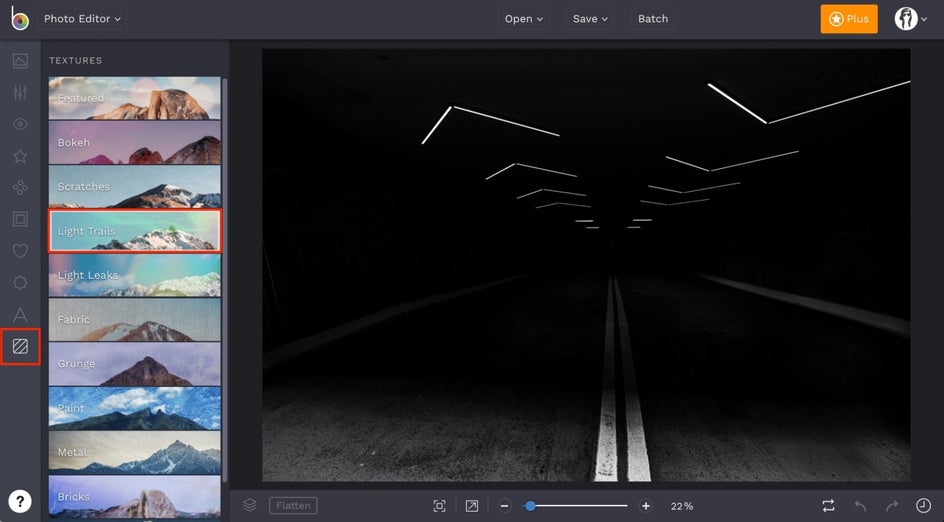
Ready to start experimenting with Light Trail effects? We bet you are! To get started, head to BeFunky’s Photo Editor and upload a photo using the Open button at the top of the screen. You can alternatively drag and drop your image file into the Photo Editor interface to upload it. Once your image is uploaded, select the Textures tab (the bottom icon) from the menu on the left. You will see many categories of unique Textures to choose from, but for this tutorial, open the Light Trails category.
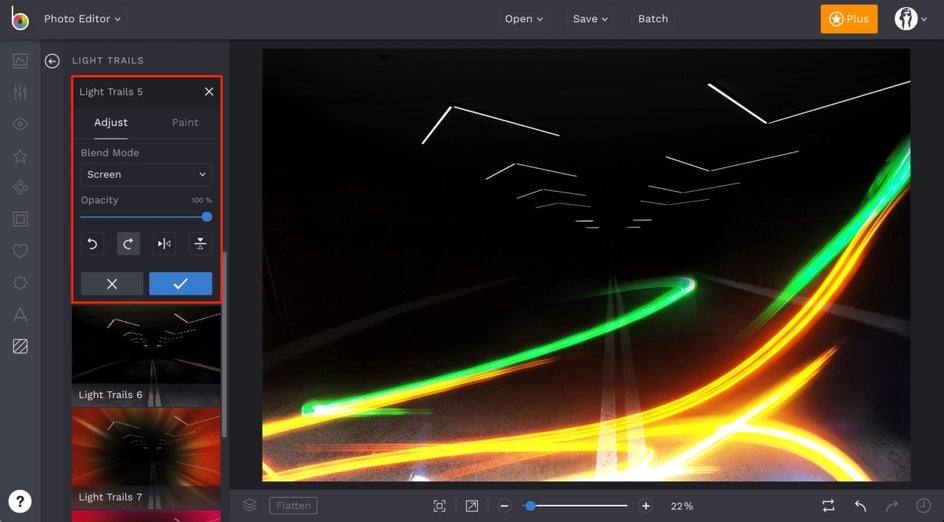
Clicking on the different Light Trail options will let you preview them on your photo. When you find one you love, you can adjust the Strength of the Light trail using the slider on the thumbnail and click Apply if you like the way it looks. If you want to customize your Light Trail effect, click the Settings menu on the thumbnail (the mixing board icon) for even more options.
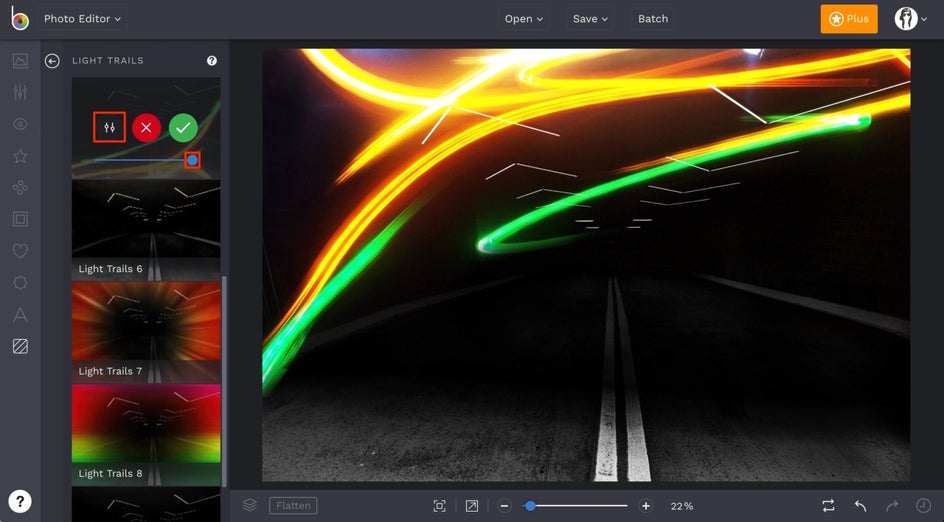
In the Settings menu, you can change the orientation of the Light Trail by clicking the Rotate and Flip icons. You can also adjust the Blend Mode and Opacity. The Blend Mode is automatically set to Screen on the Light Trails. This makes the effect look as if it is superimposed onto your image and is the most natural looking Blend Mode.
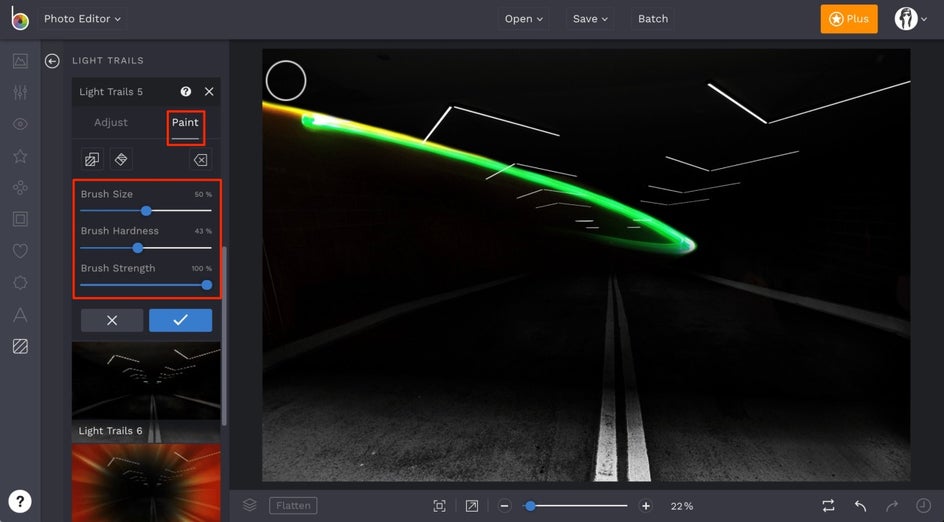
You can also access the Paint tab in the Settings menu if you want to selectively paint the effect over your image where you want it. To use Paint Mode, click the Paint tab (next to Adjust), adjust the Brush Size and Brush Hardness accordingly, and click and drag with your mouse to erase parts of the Light Trail.
Once you are finished and feel your Light Trail is how you want it for your image, click the Save button at the top of the Photo Editor to save your photo to your Computer, share on social media platforms, and more!
Before And After
Just look at how adding a Light Trail adds serious intrigue to an otherwise ordinary image:
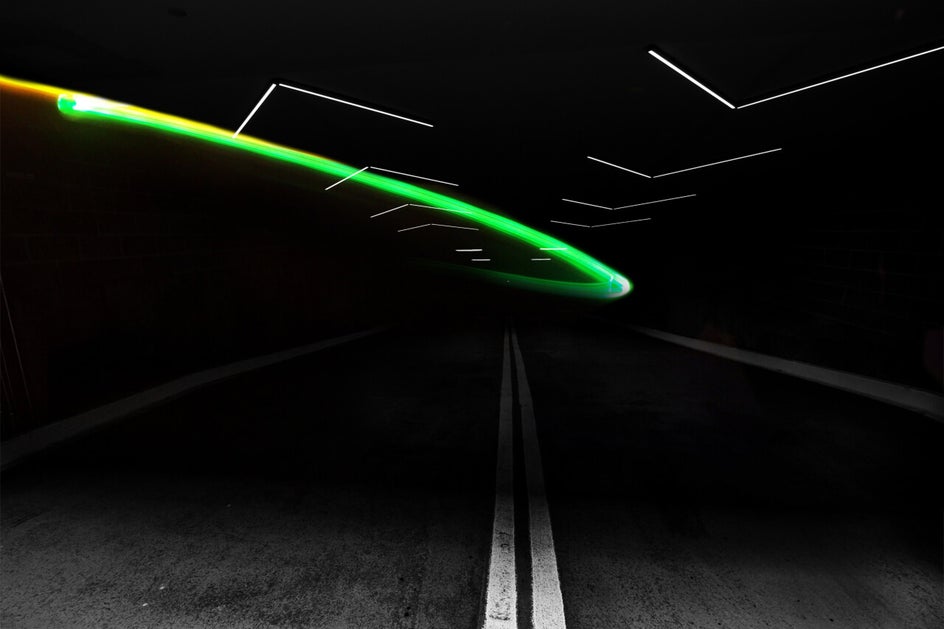
Light Trails are a fun way to add depth and a unique flare to an image. Try experimenting with BeFunky’s Light Trail Textures (you can even layer multiple Textures) to create unique pieces of art! Your friends will think that this effect took you hours when it only took a few minutes.