The Art of Still Life Photography
Still life photography is a style of photography in which inanimate items or subjects are represented. It takes its inspiration from the still life painting genre, made famous by artists such as Paul Cézanne, Vincent van Gogh, and Pieter Claesz.
Perhaps what’s most loved about still life photography is that it allows us to artfully arrange objects in a way that’s both inspiring and aesthetically pleasing. As a result, photographers tend to have more control over their work than when shooting other subjects, such as animals or people.
How to Take and Edit Still Life Photos Like a Pro
If you’ve ever wondered, “how do I start a still life photograph at home?”, then you’re in luck. We’ve included our top still life photography ideas for beginners to help you get started!
Step 1: Plan Your Subject
Before you determine what your still life photography subject is, you’ll first want to brush up on the medium. You see, there are two main types of still life photography, including found and created still life.
- Found still life photos feature spontaneous arrangements of objects that are organized without any outside assistance. In other words, you haven't rearranged anything to make your image appear a certain way.
- Created still life photos, on the other hand, showcase things that have been organized in a particular fashion. Created still life photos often contain a theme, such as similar colors or types of objects, for example.
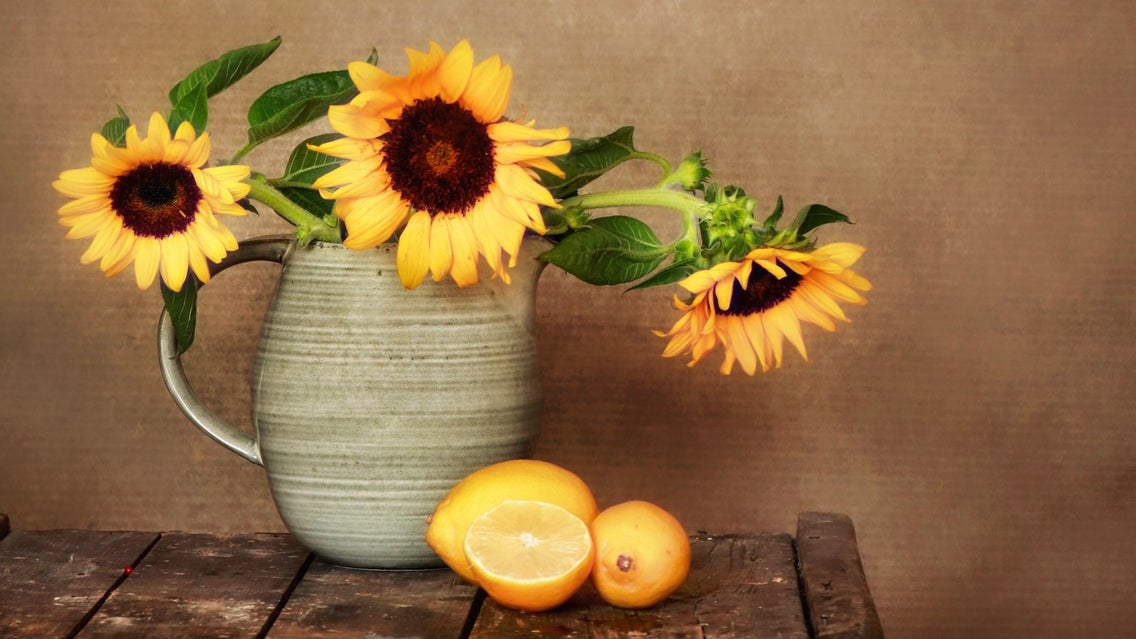
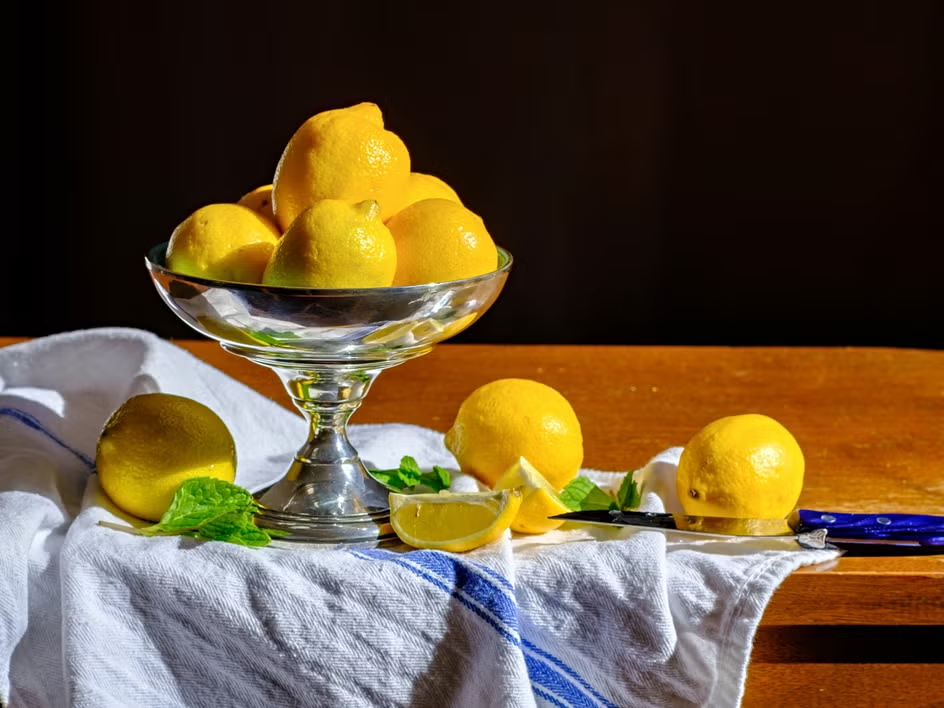
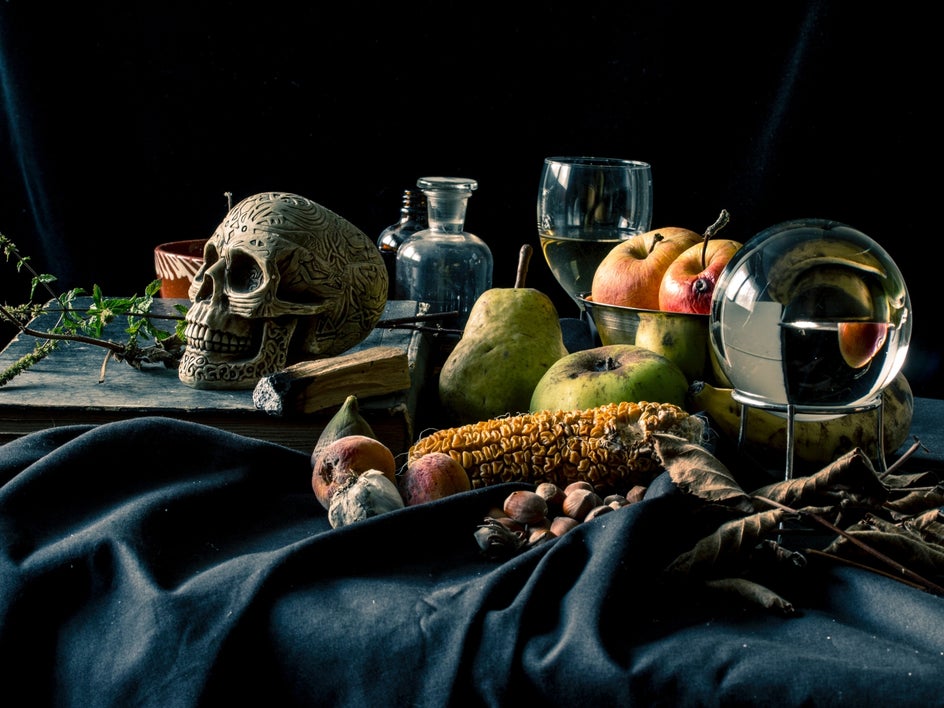
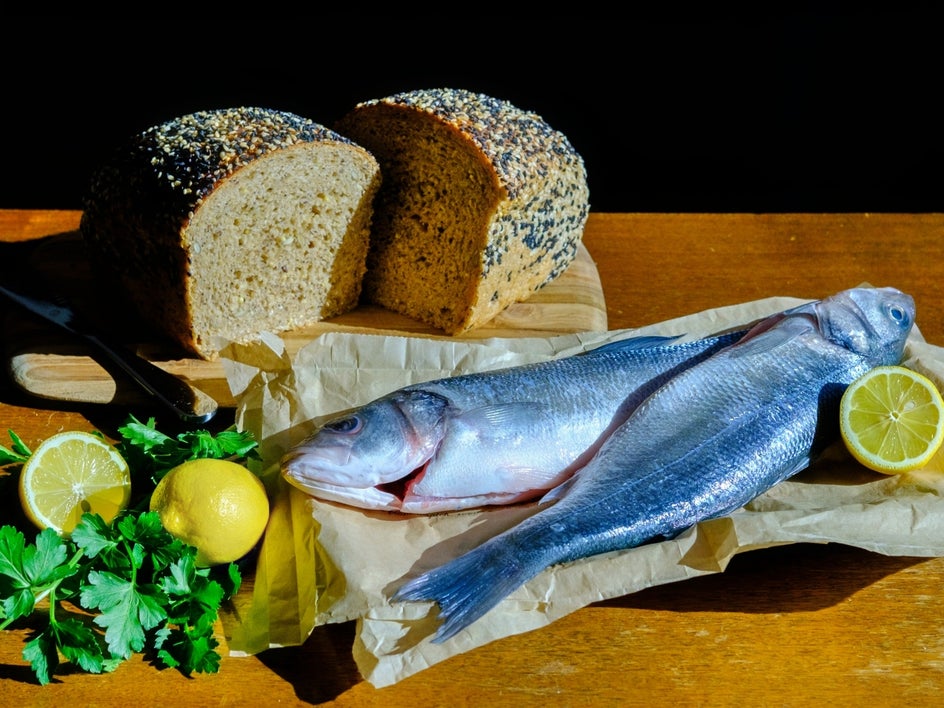
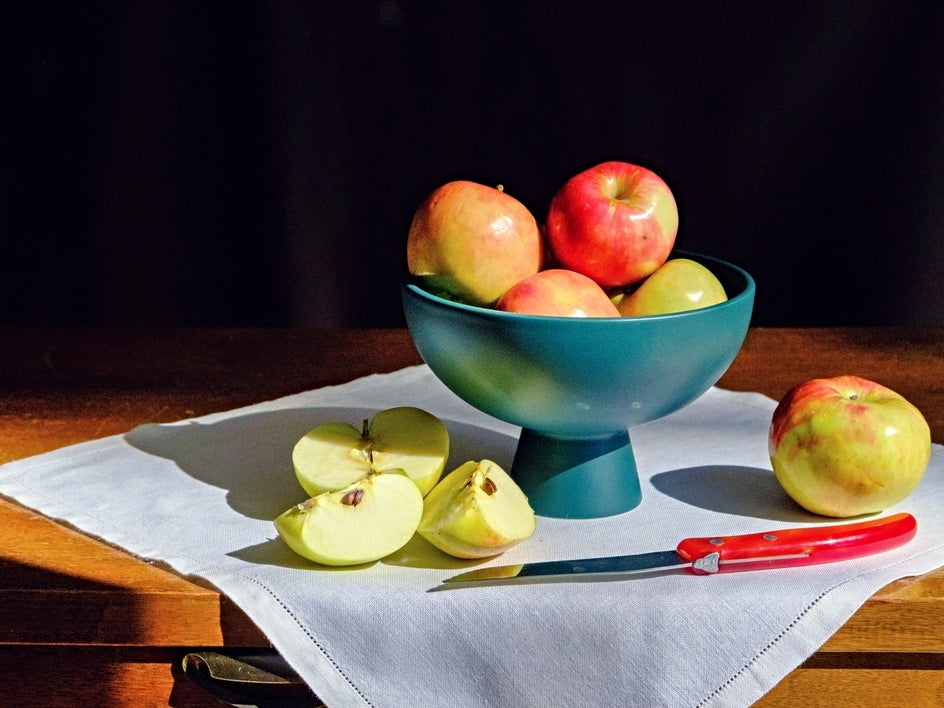
Look around your home for any examples of found still life scenes that inspire you, whether it’s fruit arranged in a bowl, sunlight streaming onto a vase of flowers, or an artful arrangement of half-prepared food in your kitchen.
Alternatively, you can get to creating a still life scene from scratch using objects around you. What theme would you like to explore? Consider nature, pottery, fruit, food, or a specific color palette, for example.
Step 2: Determine the Composition
First, experiment with various layouts and combinations of the items in your still life photo. Consider composition principles such as the rule of thirds. Change and refine your arrangement as you go to improve the overall composition and figure out what makes your shot most appealing. Try adjusting your camera's position to observe how the composition changes. You could just find an even better angle on your subject than you had planned.
You should also try to give your still life photo a ‘hero’, or main component, within the image. Think of the one object that you want the viewer to focus on first, before their eyes take in the rest of the image. You don’t have to place this object within the center of your image, but arrange it in a way so that the other objects complement, rather than detract from it.
You can also emphasize volume and depth within your still life photography by overlapping items. This also assists to create the look of a more unstructured arrangement, if that’s the look you’re going for.
Finally, don't be afraid to play around with depth of field. Consider the focal length and experiment with a prime lens or a zoom lens to provide even more variety.
Step 3: Edit Your Still Life Photo for Intrigue
Now that you’ve picked your still life photography subject and composed your image perfectly, you might be thinking: how can I make my still life photography more interesting? The answer lies in how you edit your still life photo.
Thankfully, BeFunky’s Photo Editor has all of the tools and features you need to transform a simple still life scene into a photographic masterpiece.
Take the A.I Image Enhancer, for example, which harnesses the power of Artificial Intelligence to automatically balance image exposure, adjust highlights and shadows, and enhance the colors in your image. It’s a one-click solution to give your still life photo the instant boost it needs.
If you’ve got any distracting elements in your still life scene that you’d rather remove (without having to recapture the image), then the Clone tool will also come in handy. Located within the Touch Up tab, it seamlessly recreates areas of your photo, such as your background, to flawlessly fill in any unwanted parts.
Finally, you might also consider adding a flattering Photo Effect to your still life photo to further bring your vision to life. For a warmly lit look, try the Warmer Tones, or for a still life that’s completely devoid of color, add a B&W Tones effect instead. Alternatively, to give your still life photo a vintage appearance, you can experiment with Analog Tones, Grunge, or Tintype effects.
Inspiration: Still Life Photography Examples
Bowls of fruit and artfully arranged food are just two examples of famous still life photography subjects. But what other subjects, or types of still life photos, can you create?
We’ve rounded up three more inspiring ideas below!
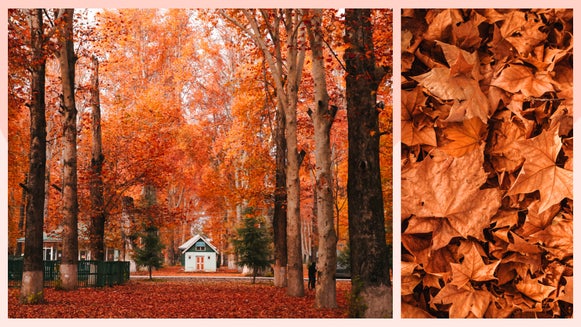
Nature
Nature is full of inanimate objects, so why not go for a walk and see what wonderful still life scenes you can spot along the way? Look for leaves which have fallen to the ground, or even a single-picked flower against an interesting background. It may be a more challenging subject than the inanimate objects around your home, but it’ll be sure to get your creative juices flowing!

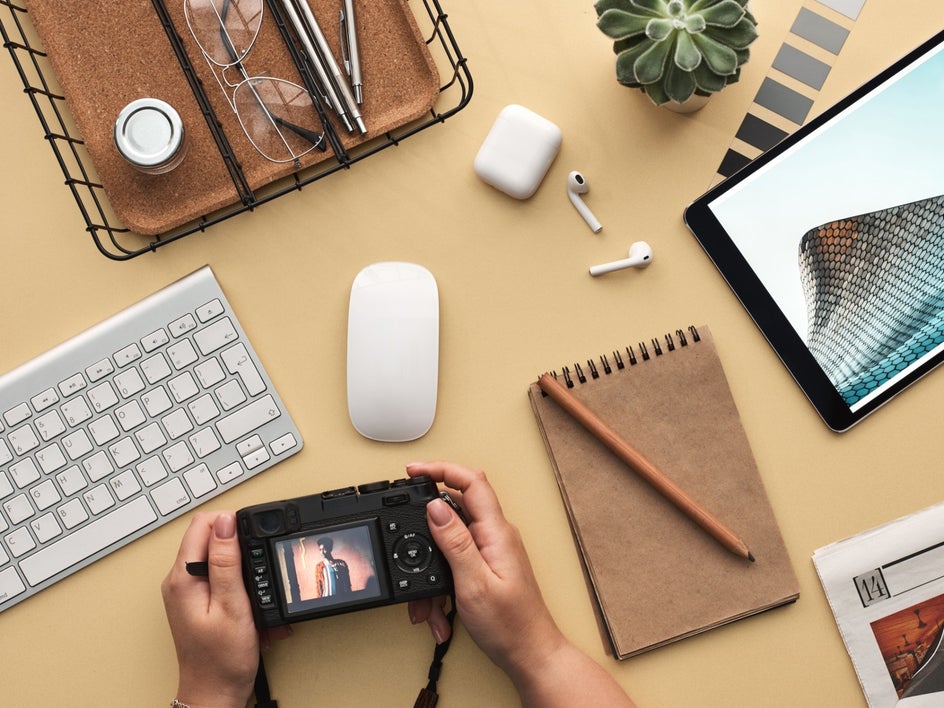
Desk Flatlay
Did you know that flatlays are a modern version of traditional still life photography? In this example, we’ve chosen the popular scene of a desk shot from above to show you another theme you can embrace for your own still life photo. When arranging your flatlay scene, think about the story you can convey with your chosen objects and their placement.
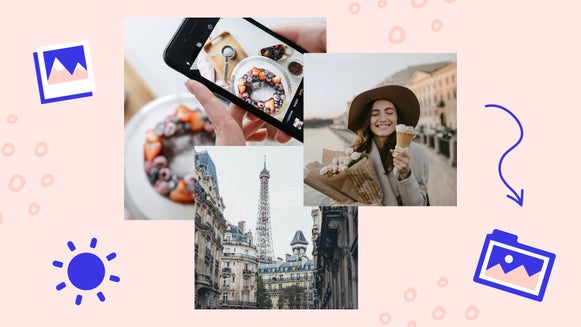
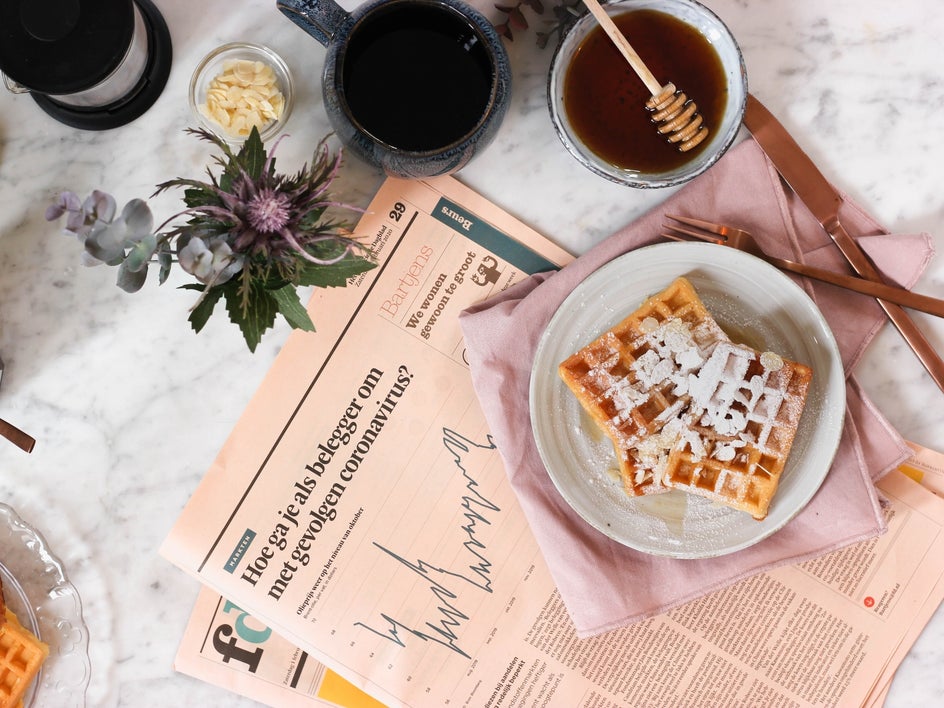
Café Scene
If you’re really struggling for inspiration, then you may only need to go as far as your local café to find it. This is because even the objects placed on your table can provide you with the perfect still life scene.
In this example, some newspapers, waffles, condiments, and other related objects serve as an eye-catching still life photo.
Take Your Still Life Photography to New Heights
Now that you know the three simple steps to embrace still life photography at home, you’re ready to embark on your very own project!
Remember, BeFunky has all of the wonderful tools and features you need to create your best still life photo yet. Try the Photo Editor today to see what’s on offer!