Bring Out Hidden Details With the Clarity Tool

Even with an excellent camera, photos can lack sharpness and clarity when taken in imperfect lighting conditions. There are also occasions when a subject moves slightly out of focus or the camera’s shutter speed is too slow. Sharpen tools exist to help fix these issues in post, but applying traditional sharpening software can make an image look grainy, cause halo effects, or simply make a photo look over-edited.
Enter the Clarity tool. This powerful feature of the Photo Editor instantly clarifies photos to rescue them from unwanted softness, blurriness, and muddied tones without looking unnatural. It’s perfect for photos taken in particularly dim lighting or images that might have accidentally ended up out of focus.
In this article, we’ll go over the best ways to clarify and sharpen your photos, and show you how to use the Clarity tool to rescue a blurry or low-contrast image in seconds.
Clarity or Sharpen? How to Choose the Right Tool
BeFunky’s Sharpen and Clarity tools have the same goal in common – to bring out lost details in a photo by increasing contrast. However, the Sharpen tool works by adding contrast to the edges of objects within your frame, affecting mainly shadows and highlights. It’s best when used sparingly to add definition to a slightly soft image, like the kind that can result from shooting in RAW format, or instances where the subject is just a touch out of focus. Too much image sharpening produces excessive contrast, which can cause a photo to look grainy and pixelated. It also has the potential to create a halo effect – an unnatural hazy glow – around people and objects.
Conversely, the Clarity tool allows you to enhance a wider area of an image by adding contrast to the midtones. That results in clearer details and increased depth in an image without the negative effects of an oversharpened photo. The effect is more natural and ultimately more effective for images that are muddied and undefined, such as a shaky photo or a snapshot taken in a dim room.
Here you can see the difference between the clarified photo on the left and the sharpened on the right. The Sharpen tool has made lights brighter and darks darker, increasing definition but also graininess. Meanwhile, the Clarity tool has brought out details without causing any unnatural texture or contrast.


Each tool has its uses, and much of it is up to the photographer’s preference. If you’re not sure which tool to use for a photo, try both to see which result you prefer! For particularly blurry images, you can also try out the AI Deblur tool.
How to Clarify an Image Online
Clarity can make blurry photos clearer with a single click – and the best part is that it can be done online, without the need to download any bulky or expensive software. Just open up the Clarity tool in the Photo Editor to get started.
Upload any blurry or low-contrast image. The Clarity tool will instantly take effect, increasing the contrast in the image’s midtones and resulting in a higher level of definition. Use the Amount slider to adjust the intensity of the effect – you may find that even a low percentage helps achieve the desired clarity, or you may want to turn the dial all the way up.

If there are any areas of the image you want to leave unaffected by the Clarity tool, simply use the Select tab. Here the tool can be adjusted to affect just the foreground or background; alternatively, use the brush tool to customize which parts of the photo are clarified. Once you’re satisfied, click Apply.

Finally, Save the newly clarified image using the button at the top of the canvas.

In just a few clicks, this simple clarifying tool has made a big impact, sharpening our subject so that her features are clearer while keeping the lights’ soft glow in the background.


More Ways to Elevate Your Projects With the Clarity Tool
The Clarity tool can help boost creative projects by adding depth, increasing contrast, and adding lost definition to blurred or old photos. Here are a few possible ideas:
Enhance Posters and Flyers
Give soft, fuzzy portraits a boost with the Clarity tool to make posters and flyers even more eye-catching. Promote a band, enhance a real estate flyer, or add sharpness to a workshop announcement – anything’s possible with the combined power of the Photo Editor and Graphic Designer.


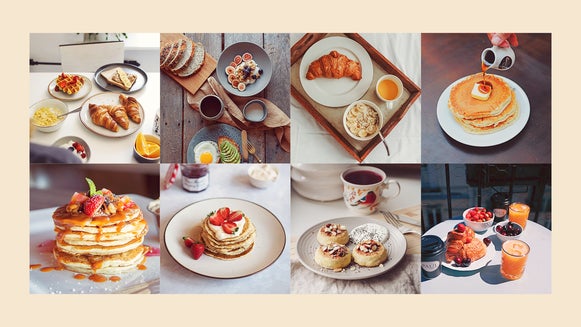
Make Food Photos Pop
Food photos can lose some of their appetizing shine and color due to especially dim or especially bright lighting conditions. Try using the Clarity tool to add contrast and crispness to hazy images and elevate your food blog or social media page.


Restore Vintage Photos
The Photo Editor offers powerful AI restoration tools for antique photos like the Old Photo Restorer, but for newer photos that need just a little bit more definition, a simple Clarity adjustment works wonders. Use newly sharpened vintage photos to create meaningful collages or digital scrapbooks! Here we’ve used it to restore several Polaroids for a scrapbook:


See Things Clearer With the Clarity Tool
With the right tools, a photo is rarely unsalvagable, no matter how blurry or out of focus it might be. Whether you’re preparing an image for printing or using it for a design project, Clarity can bring back lost definition, make blurry subjects clear, and increase contrast all in one click. Try it out for yourself today and clarify a photo in the Photo Editor!