5 Ways to Brighten Photos With BeFunky’s Photo Editor
We’ve learned the essentials of the Edit tab in BeFunky’s Photo Editor and the basics of removing and replacing elements with the Remove/Replace category. Now, we are moving forward with learning the basics of BeFunky’s Brightness tab!
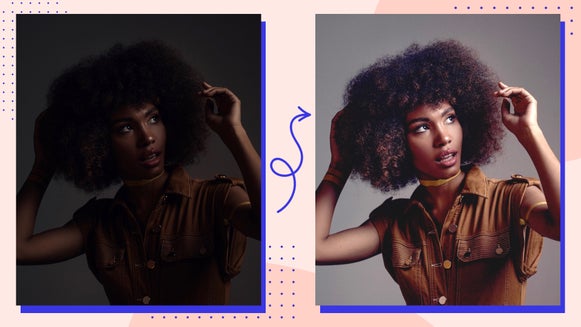
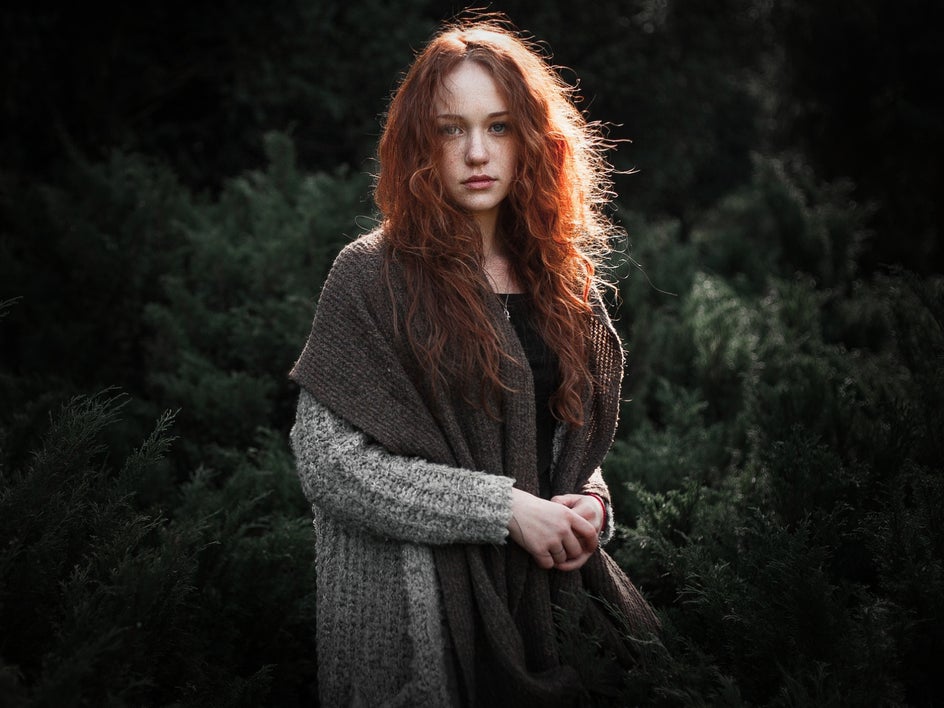
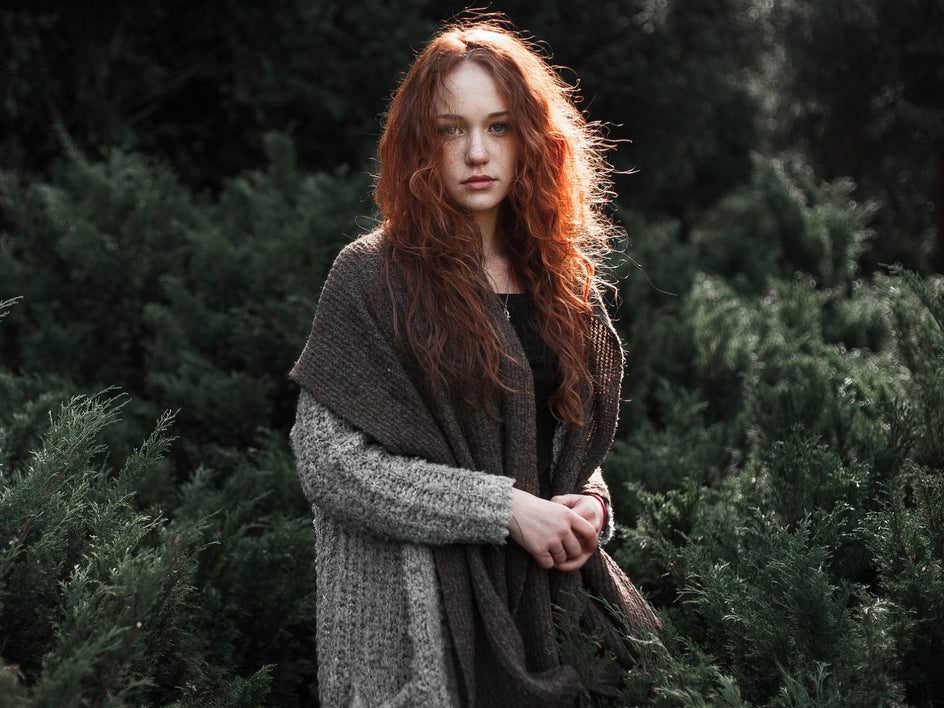
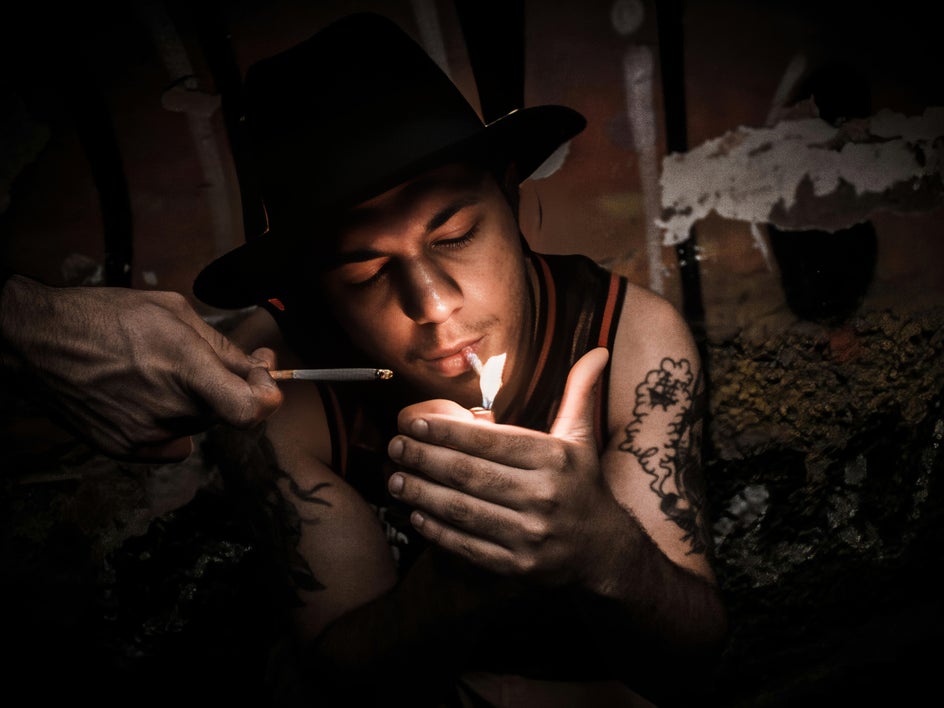
Brightening photos is the single most important edit that you can do on a photo. There are many ways to brighten a photo – but each brightening tool accomplishes brightening differently. The other thing to keep in mind when brightening a photo is that you need to make sure the light is balanced, as you don’t want the photo to be blown out. Take a look at the before and after when each of these tools is used in an image:

You can try each of these brightening tools out with BeFunky’s Photo Editor. Let’s learn the basics of the Brightness tab.
The 5 Best Tools for Brightening Photos
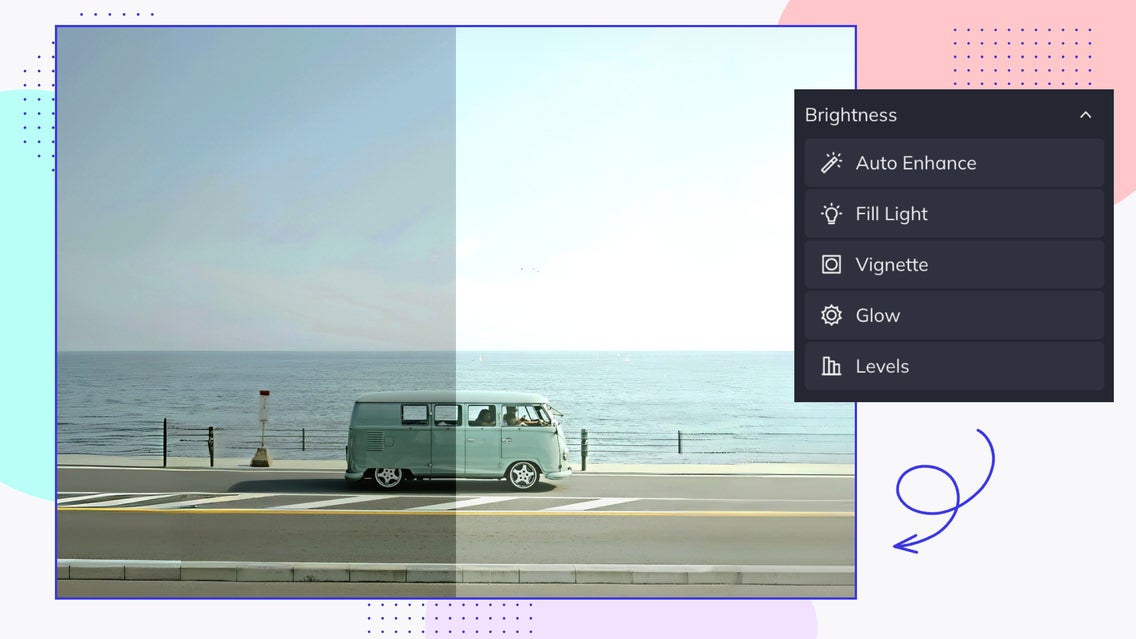
We are going to look at the top five tools in the Brightness tab. These include Auto Enhance, Fill Light, Vignette, Glow, and Levels. Each of these tools performs differently and can adjust the brightness of your image in different ways. Let’s learn how to use these tools in BeFunky’s Photo Editor.
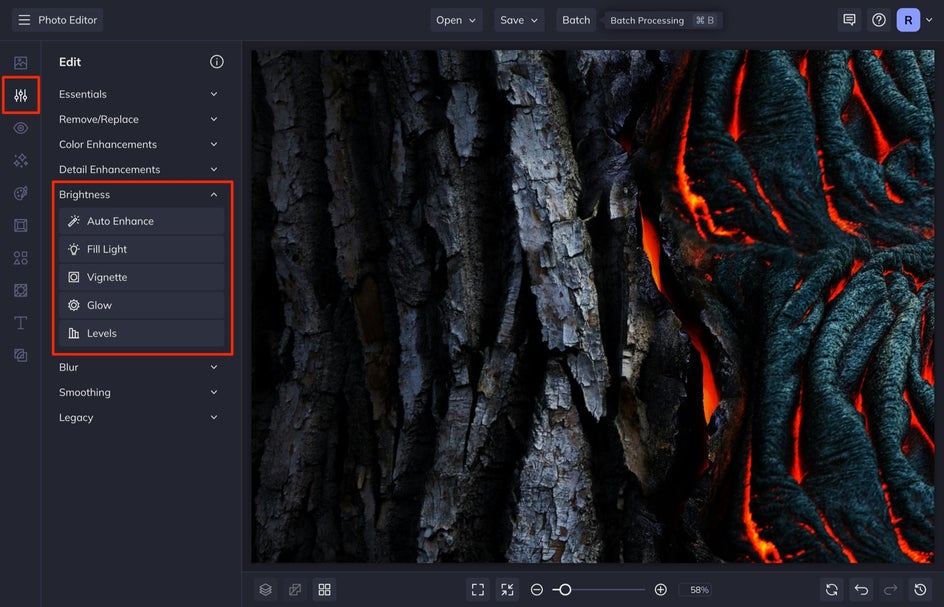
To start using the Brightness tools, upload an image to BeFunky’s Photo Editor by selecting Open and then Computer, or simply dragging and dropping your image straight onto the Photo Editor. After you do this, select Edit from the left-hand menu. We are going to use the top five tools in the Brightness tab. Getting the right lighting in photos is the most important part of the editing process, so let’s get into it and see what each of these tools can do!
1. Auto Enhance
The Auto Enhance tool uses the photo-perfecting power of several different photo effects in one, which makes photo editing a breeze.
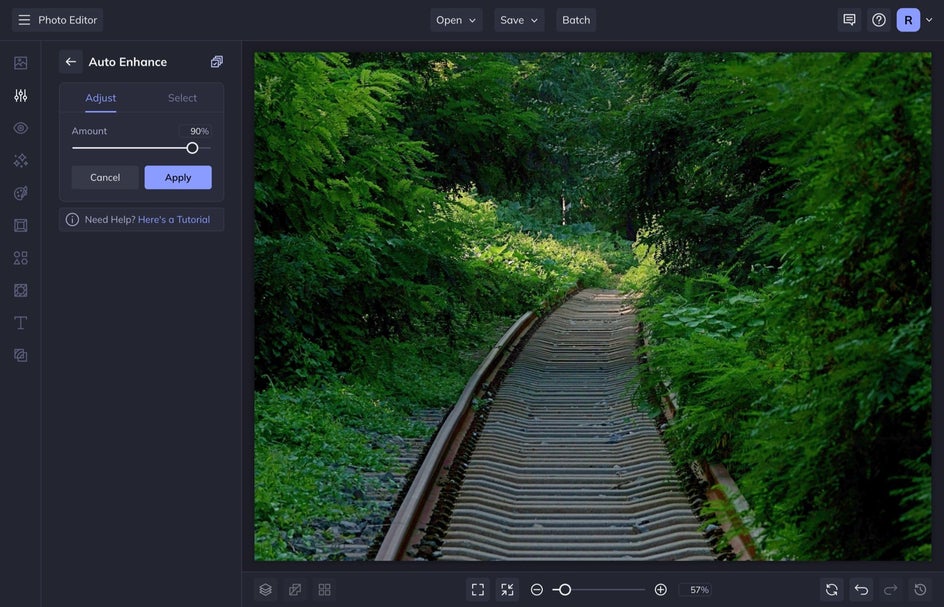
This tool targets key elements that are essential to good lighting composition – sharp colors and balanced exposure. Auto Enhance automatically transforms dull photos into ones that are balanced and well-lit all in just a single click. All you have to do is select Auto Enhance from the Brightness tab from the Edit menu.
Next, adjust the slider left or right to apply a subtle or stronger effect. You can even head into the Select tab to paint this tool’s effect over specific parts of the photo, without affecting the photo as a whole. When you are finished with editing, select Apply.


As you can see, it enhances the brightness in your image and balances it with the fill light and contrast. Auto Enhance works particularly well with images that are underexposed and need brightening.
2. Fill Light
With the Fill Light tool, you can bring details out of the shadows of your image to make it more balanced. Usually with modern-day photography, we use a single light source which makes the highlights bright and the shadows dark. To fix this imbalance while taking a photo, you need to compensate with multiple light sources. Fill Light mimics a professional photography setup, providing a secondary light source to better balance the light on your subject.
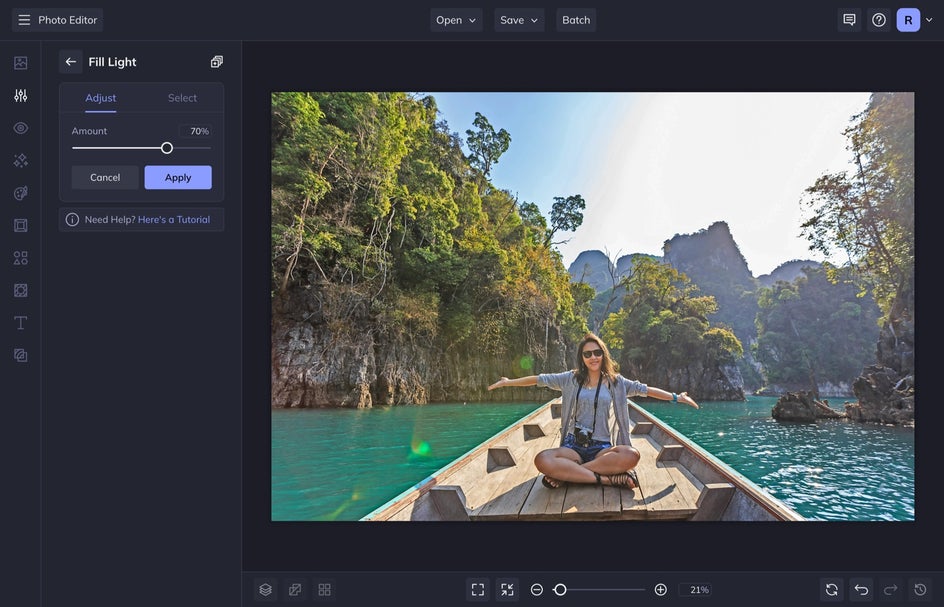
Select Fill Light from the Edit menu. Next, you can increase or decrease the amount by adjusting the slider. Use the Select tab to selectively edit the effect.


You can see that the fill light fills in the perfect amount of light to the darker areas, leaving the bright areas of the photo untouched. When using the Fill Light tool, start with a lower percentage first and increase the fill ever so slightly. You will notice that if you go too high, the photo will start to look a bit cartoonish. Keep it subtle for the best effects!
3. Vignette
In photography, a vignette adds deep shadows at the edges of the image, drawing attention to the brightest part of the photo. The intended effect should be to draw your attention toward the most powerful elements of a photograph. The Vignette tool is the best way to achieve this.
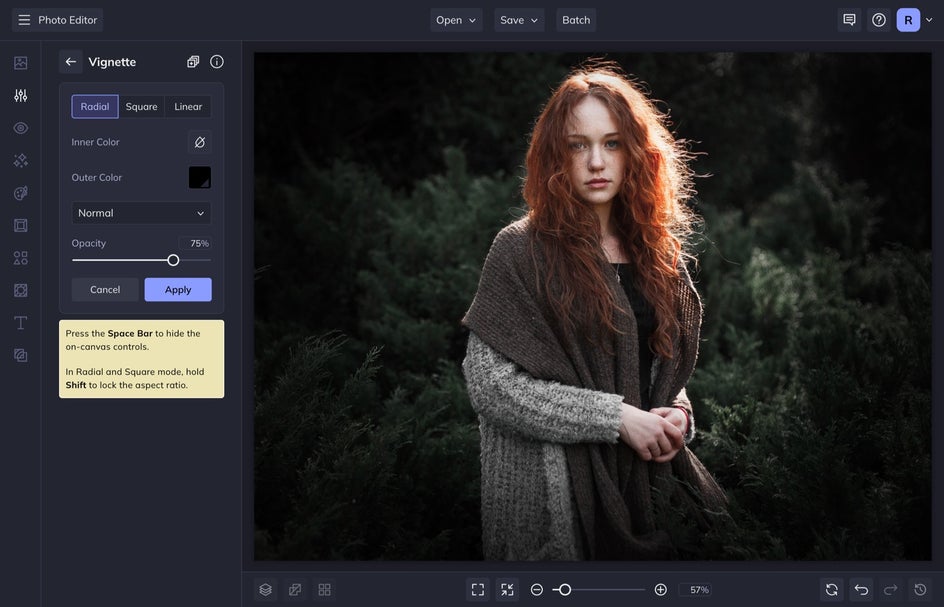
To use this tool, select Vignette from the Edit menu. Next, you can choose a Radian, Square, or Linear vignette. You can also change the Inner Color and Outer Color if you want a more subtle vignette like making the shadow more brown instead of black.
After you do this, when you hover over your image, you will want to adjust the inner and outer blue dots. The outer blue dots adjust the shape of the vignette, while the inner blue dots control the harshness of the effect. If you want a more feathered look, create distance between the inner and outer dots. If you want a harsher line, move them closer together. I like making a subtle and feathered vignette in my photos.
Lastly, adjust the Opacity of the effect for a bolder or more subtle look.
4. Glow
The Glow Tool will wake your photo up by enhancing the highlights and giving them a subtle glow. This tool brightens the highlights in your image to naturally make shiny objects appear even shinier.
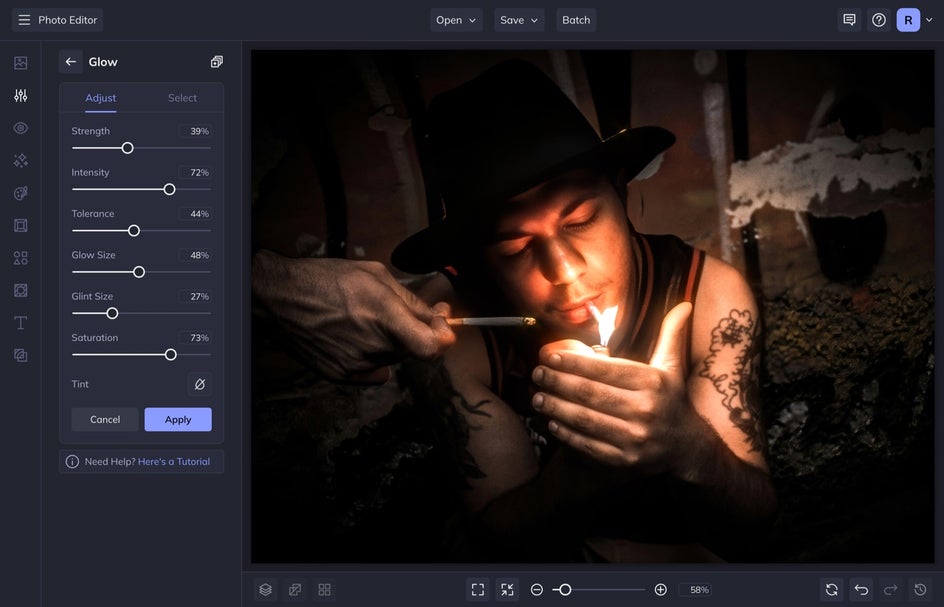
To use this tool, select Glow from the Edit menu. Next, adjust the sliders to get the perfect glow effect. You’ll notice several options for customizing this effect. Each of the options works together to create a customized glow effect. Keep in mind that finding a balance between them all is key.
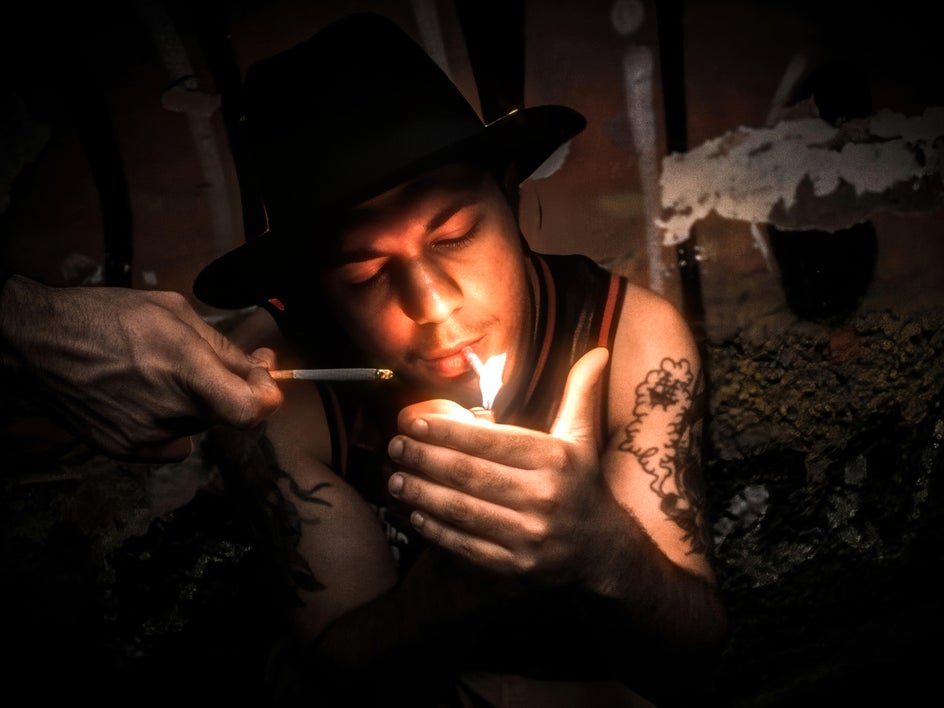
When adjusted perfectly, this tool can enhance the lights in your photos and bring brightness to the areas that will make them pop.
5. Levels
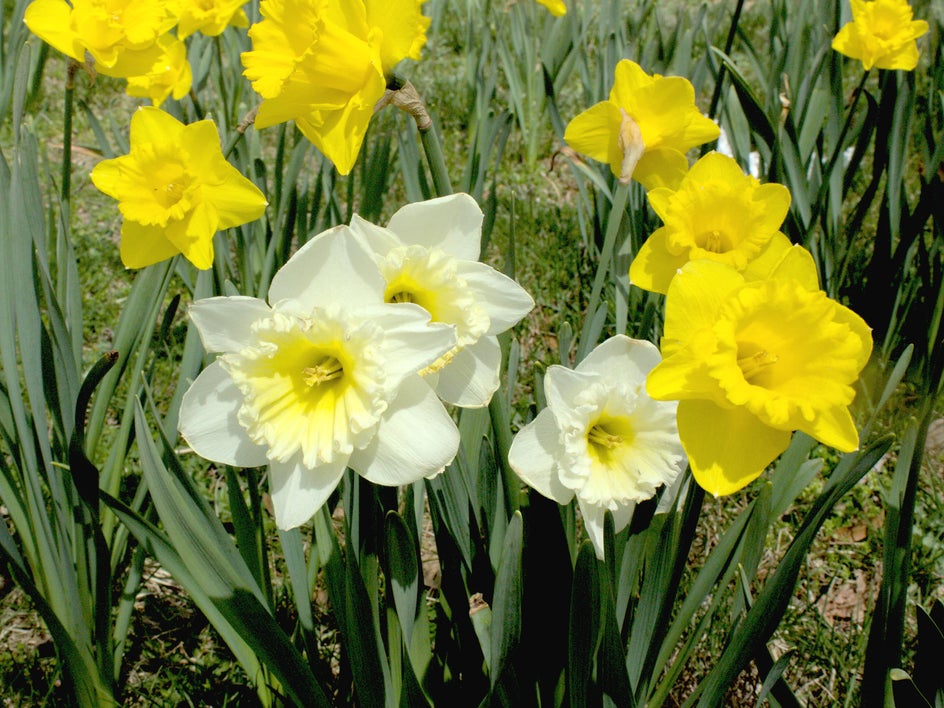
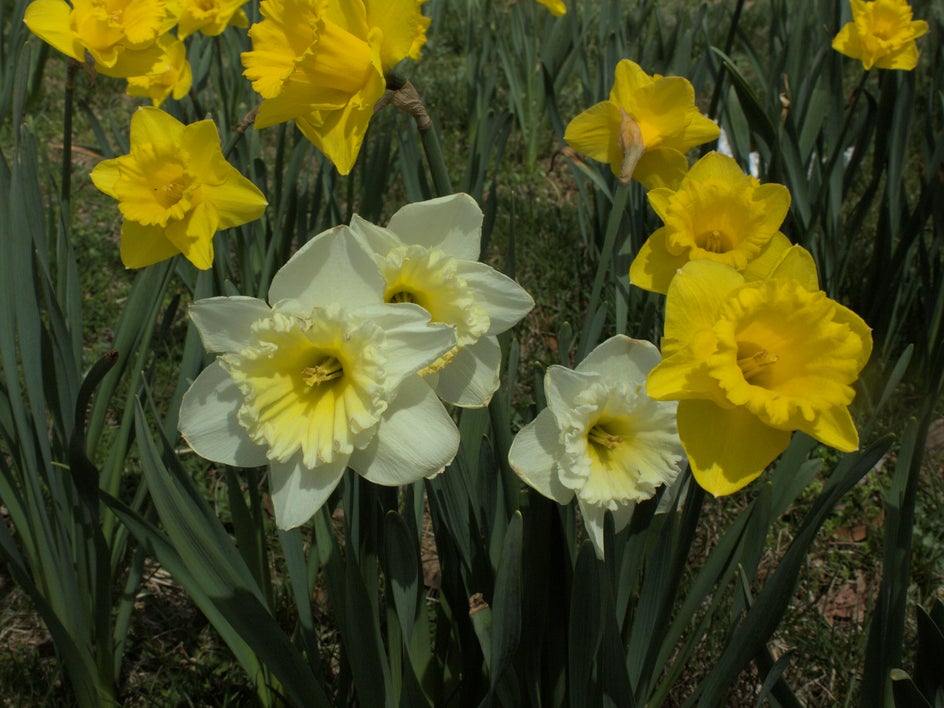
The Levels tool is the best tool for fixing photo brightness. A general rule in photography is to shoot under-exposed. This is because it is easier to brighten photos in the editing process than to bring back detail in blown-out highlights. The Levels tool controls all exposure levels in your photo, including Shadows, Highlights, and overall Brightness. It’s a versatile tool that can also create matte photo effects, deepen shadows, or brighten your photo while enhancing detail.
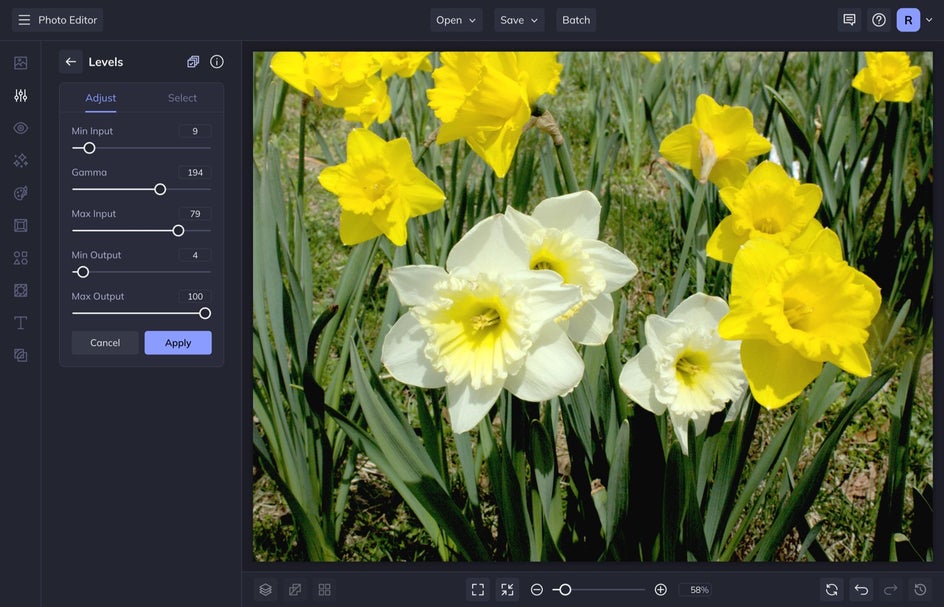
To use this tool, select Levels from the Edit menu. Next, you’ll adjust the Min Input and Max Input, Min Output and Max Output, and Gamma sliders. The goal, like with the Glow tool, is to find a balance between all of these adjustments. For details on what each of these selections does, check out this article. The most important ones for fixing brightness are the Gamma, Max Input, and Min Output. The other two options will help you bring back detail in the shadows.
Brighten Photos in Seconds With BeFunky’s Photo Editor
These tools in the Brightness drop-down are the best tools to use when you need to adjust the brightness in your image. Once you feel you have these tools down, it is time to start using them in your photography to fix or enhance the brightness in your photos. BeFunky’s Photo Editor has so many tools for you to master that will take your photos to the next level. Once you learn the Essentials, these Brightness tools will be yours to master next.