Create Standout Before and After Photos
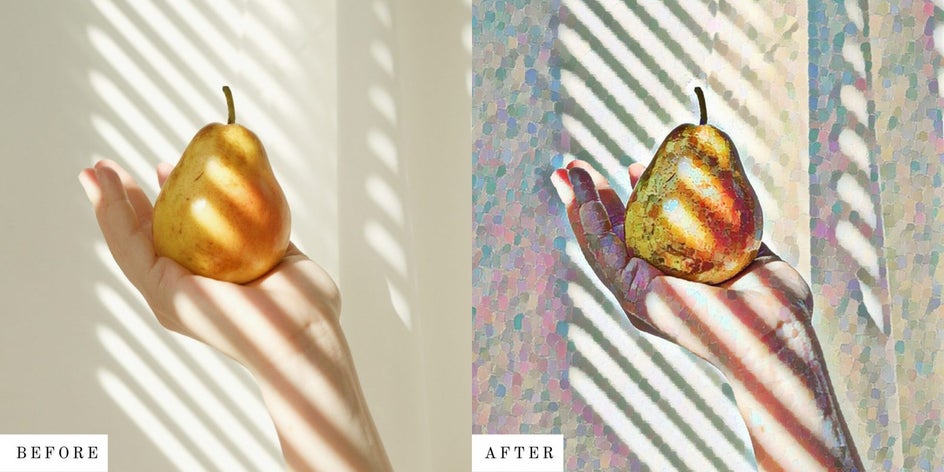
When it comes to your DIY projects, is there anything more effective than a Before and After image? Whether it’s a fixer-upper, a hair and beauty makeover, upcycling furniture, or a photo with a filter – there’s something about a visual comparison that makes us feel so proud of how far we’ve come.
It also comes as no surprise that these types of images perform so well on blogs and across social media, but let’s not deny it: creating them can be fiddly and time-consuming.
Well, here’s the good part: BeFunky’s Collage Maker makes it easier than ever to create Before and After images, all with quick customization and drag-and-drop simplicity. It doesn’t matter what size, layout, or design style you want – with our side-by-side image templates, the world is your oyster!
How to Make Before and After Images In Just a Few Clicks
For this tutorial, we're going to create a before and after photo using the Collage Maker. It's the easiest tool to use for creating and customizing Before and After images. All you need are a couple of photos to get started.
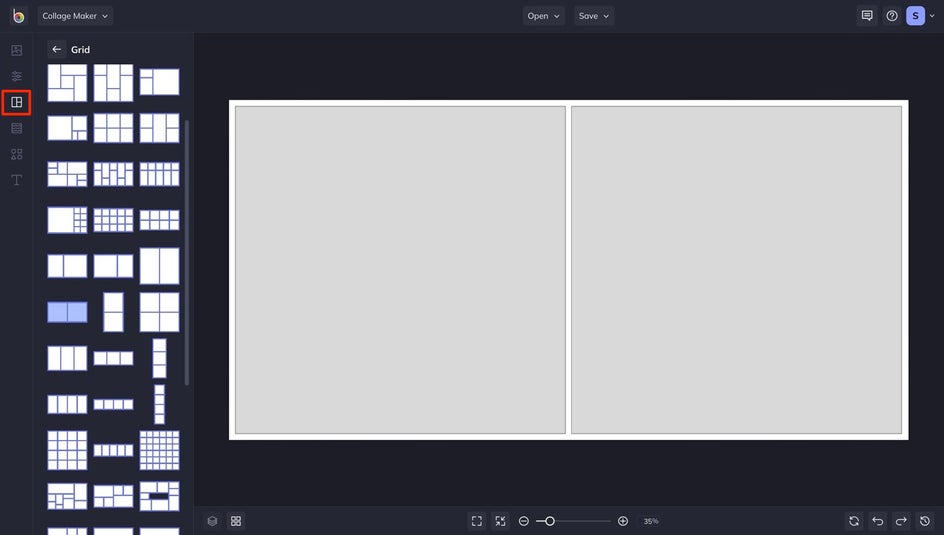
Step 1: Choose a Layout
Click here to head to the Collage Maker. Then, click on the Layouts tab to find the perfect side-by-side image layout for your Before and After. If you don't see exactly what you're looking for, don't worry. Just choose whatever template is best and we'll go into layout customization in just a bit.
Step 2: Add Your Before and After Photos
Next, head to the Image Manager and choose your preferred method of adding your photos. You can even drag and drop your images directly into a collage cell! Once they're in your collage, a single click on an image will give you three options. Edit Image allows you to access photo editing straight through the Collage Maker.
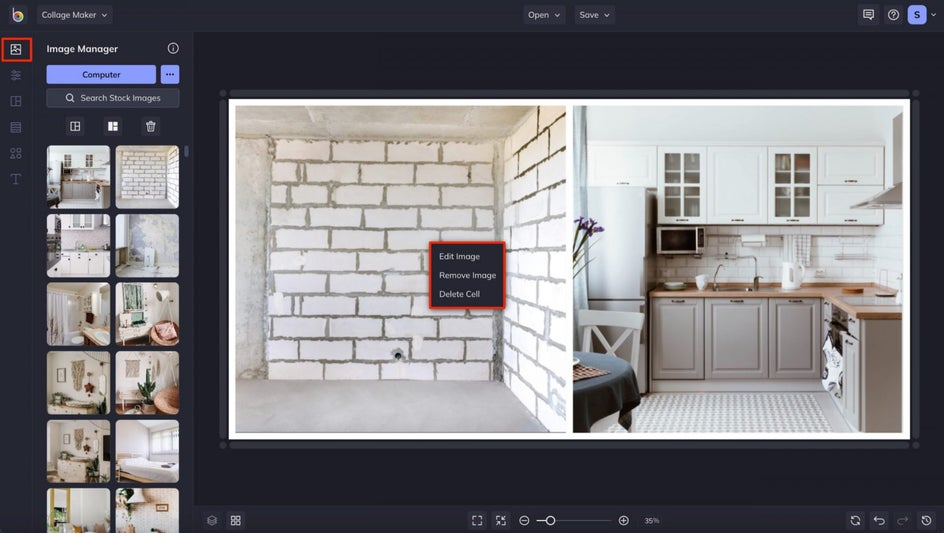
Change the size of your images, flip or rotate them, or edit your images with filters and effects to create a truly unique look and make your pictures stand out. Remove Image will delete your picture, and Delete Cell will remove the picture and delete the cell from the template. And by simply clicking and dragging, you can reposition the image without opening a separate menu.
Step 3: Customize Your Layout
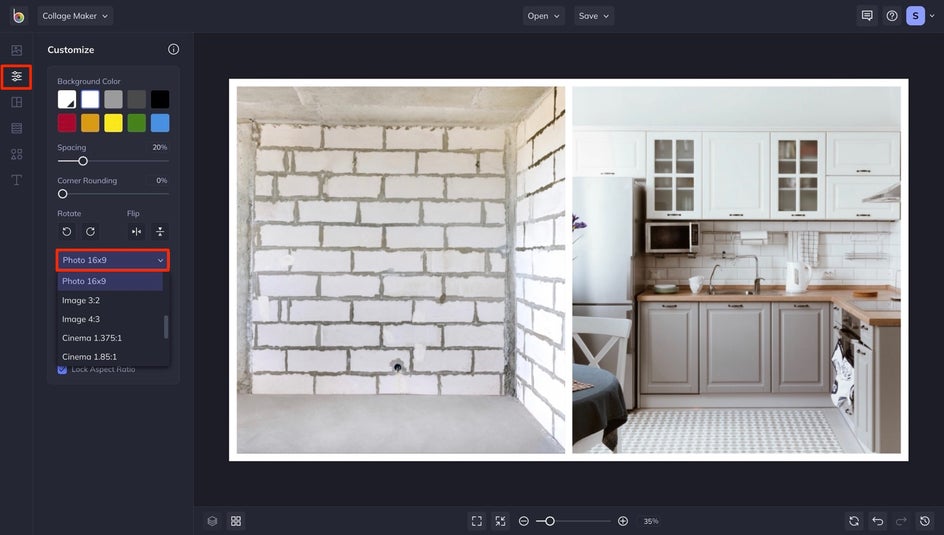
Now, you can edit the dimensions, orientation, spacing, and background color of your template by going to the Customize tab. For our Before and After images, we changed the orientation to 16:9, which flatters the composition of our images more.
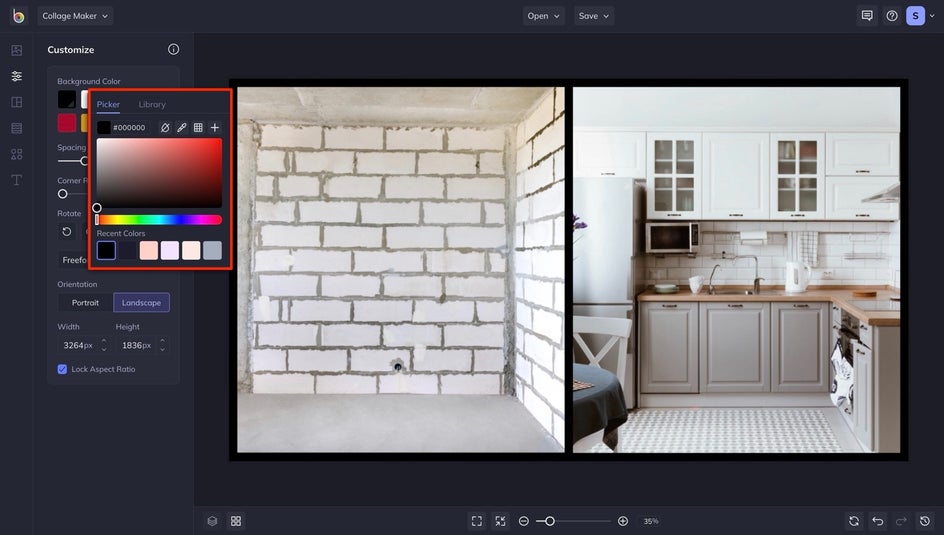
Then, we changed the background color of our collage, as white blended the two pictures together. Use the Color Picker to find the perfect color for your collage or plug in a HEX code if you already have one in mind.
You can also change the spacing between your two images to offer more contrast or achieve a more blended look. And rounding corners can make everything look softer or draw more attention to the center of the images.
Step 4: Add "Before" and "After" Text
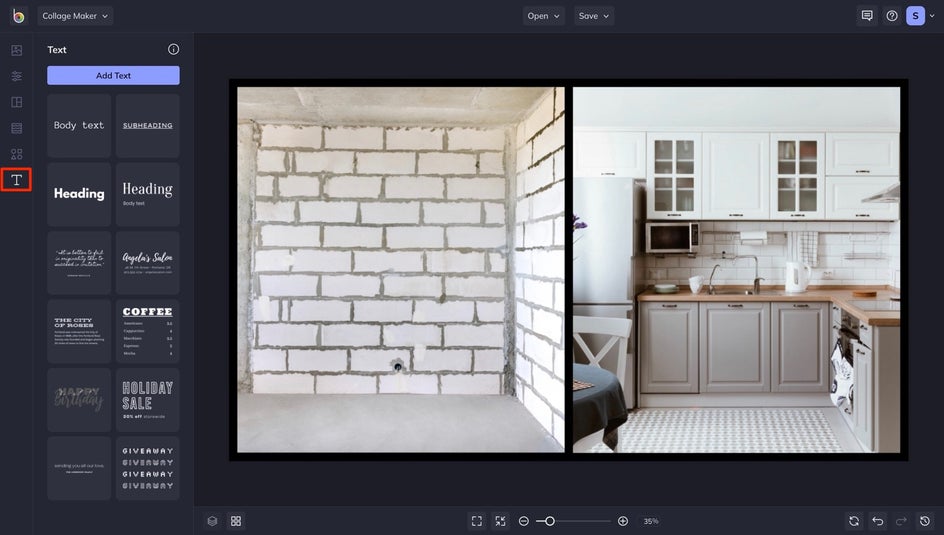
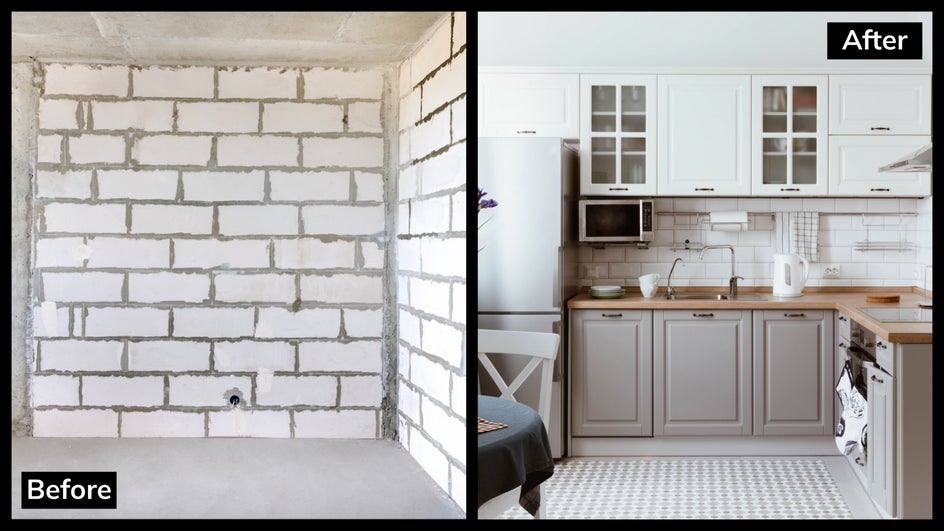
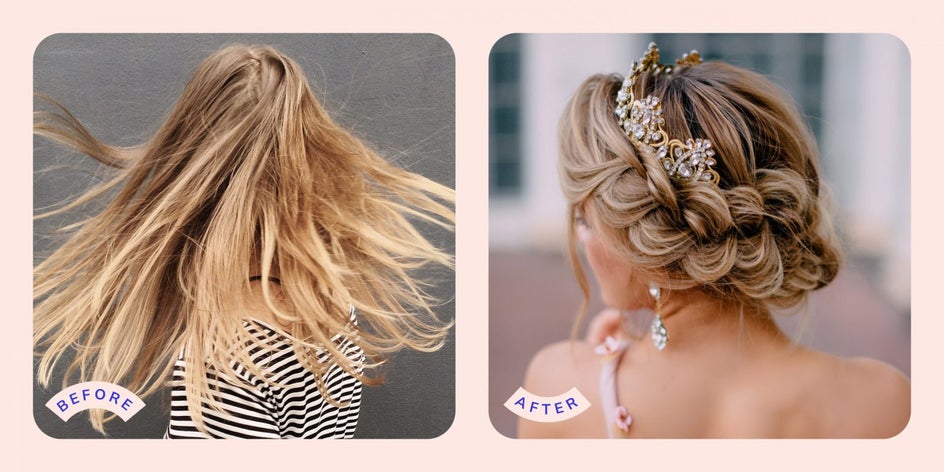
Adding "Before" and "After" labels isn't necessary, but it's recommended. Especially if you've made a very drastic change, as we did here. To add text, click on the Text tab, followed by Add Text. Or, you can choose one of the available presets.
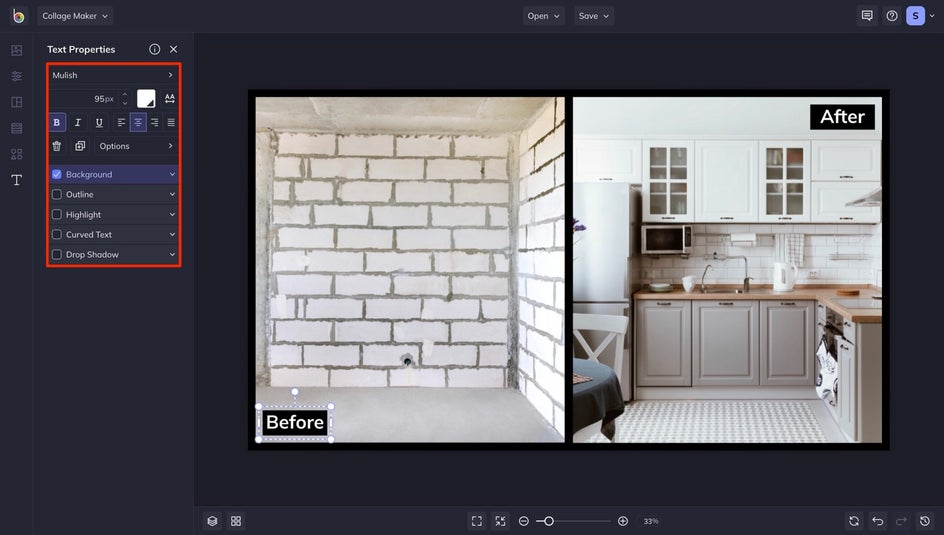
Next, choose your favorite font and use the Text Properties menu that pops up to customize it. We added a background to make sure the text stands out. Once you've completed one of the labels, press the D key while the text box is selected to duplicate it. Then, edit the text appropriately. This assures that both labels are the same size and use the same text customizations.
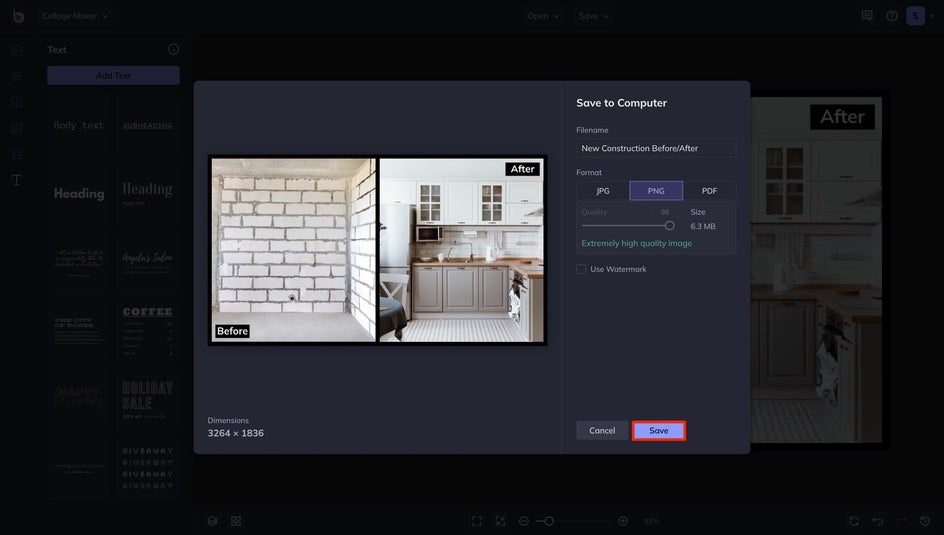
Step 5: Save Your Before and After Image
Once you're satisfied, click the Save button, which can be found at the top of your canvas. Then, choose whatever destination you prefer. If you're sharing it online, a high-quality PNG image is suitable. But if you are looking to print it, be sure to save it as a PDF with Print quality.
Create Standout Before/Afters With BeFunky's Before and After Photo Maker
Now that you've done all the hard work, let us make it easy to showcase your work. With BeFunky's Collage Maker, it's easy to create standout Before and After images – you can even do this on your mobile device with the BeFunky app! Each side-by-side template is completely customizable, so you're sure to get the exact look you want in just a few clicks. Be sure to play around with all the Collage Maker and Photo Editor has to offer!
Easy Before and After DIY Projects
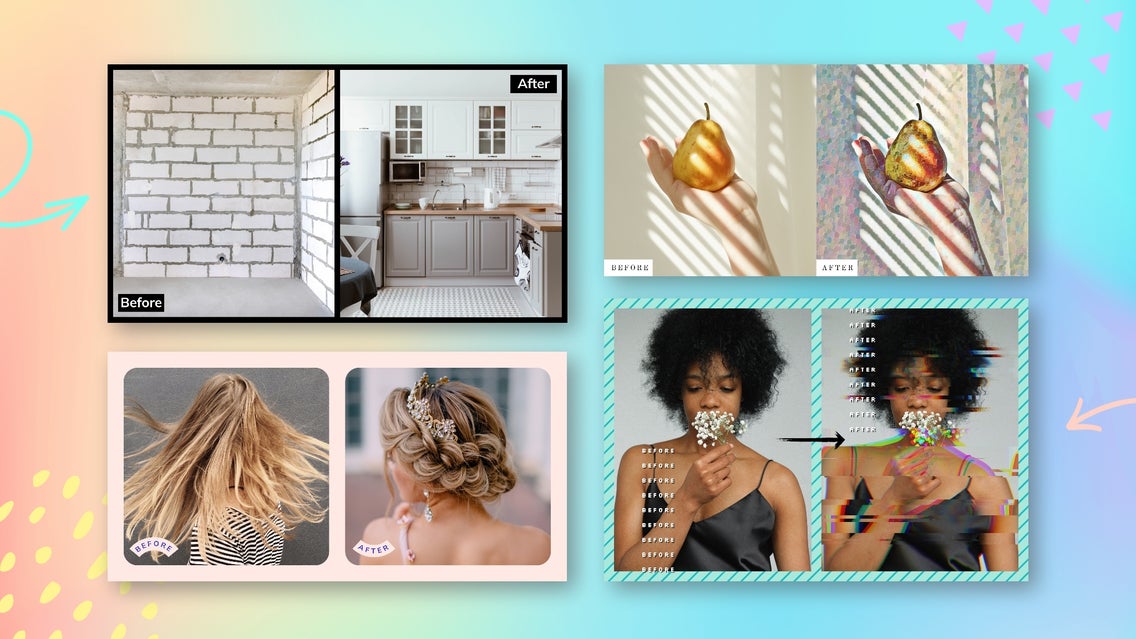
Our tutorial went over the basics of making a Before and After image. But don't forget that you can create something unique by thinking outside the box with patterns, text effects, and more. Here are a few examples:
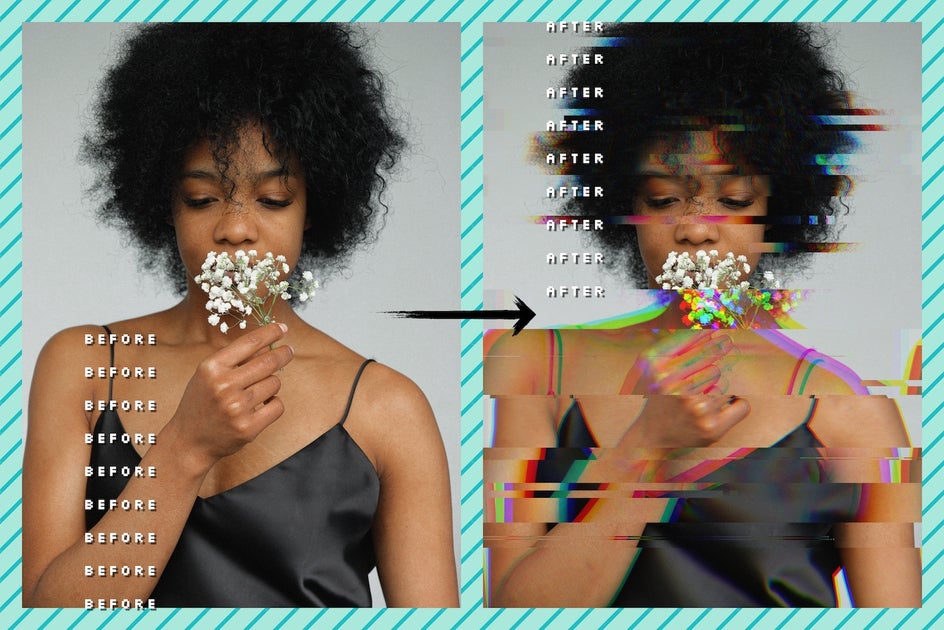
Patterned
Adding a pattern to the background of your collage template can complement your Before and After when layered with effects or unique text. Here, a Glitch Art effect is combined with a striped background for an even more distorted look.
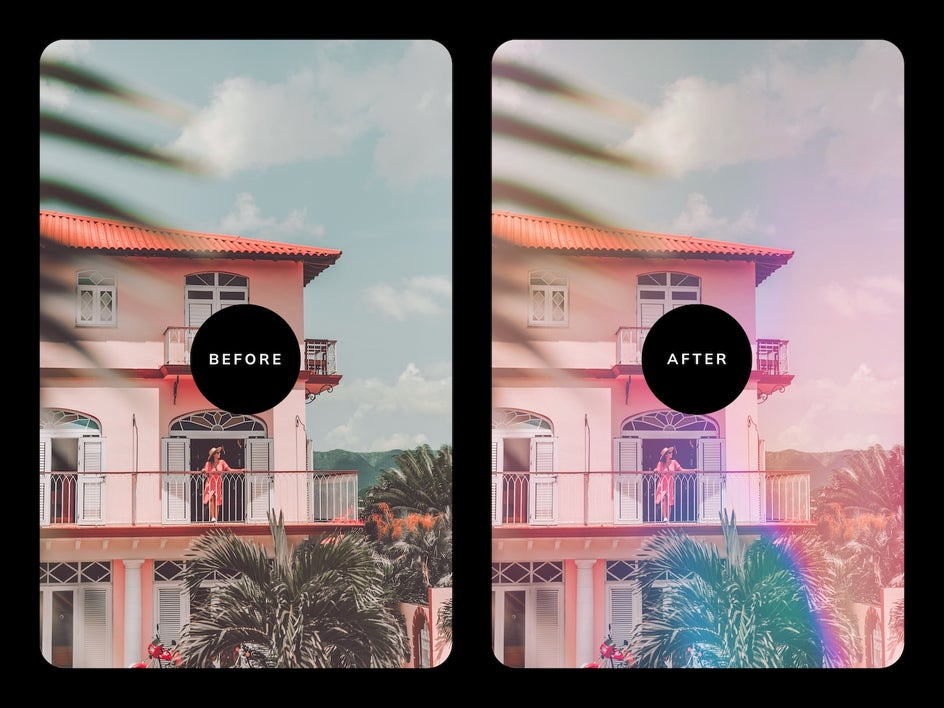
Bold
Choosing a thick border and placing the text directly in the center of each photo is a bold choice – but it pays off when done right. Here, we made a Before and After with one of our Light Leak textures. And the effect is exaggerated thanks to the stark contrast of the black border.
Soft
Going with a lighter color scheme is good for more subtle Before and After images. Here, we added a tint to the images to blend with the background. We rounded the cells and curved the text as well to make the collage look even softer.
Minimal
You can make your Before and After even simpler if your photos contrast enough. Just set Spacing to 0% for a clean side-by-side with no border. Then, add some simple, no-frills text. This look works great for our Artsy effect Before and After image.