3 Ways You Can Use BeFunky to Create an Instagram Reel

Reels have dominated Instagram ever since the conception of TikTok. The reason Instagram started pushing Reels was so that they could compete with the fastest-growing social media platform without becoming obsolete – much like what happened to Vine once Instagram introduced Stories. This is typically a repeated pattern and it takes veteran social media platforms to pivot and innovate in order to stay relevant.
Because TikTok grew so rapidly, Instagram changed the way it allowed users to share videos and really pushed Reels. Reels are short video clips that last up to 90 seconds max and can be easily created in BeFunky’s Photo Editor.
Why Should I Start Creating Instagram Reels?
Reels are popular for a few main reasons. First, they allow you to share concentrated information in a fast-paced format, much like TikTok and YouTube Shorts. This works because you can create really personal or meaningful posts, but share them in a way that resembles commercials – a format proven to initiate high viewer rates. I call this valuable content. When you can take simple photos, and turn them into a video that people can interact with in different ways, you’ve turned your assets into valuable content.
Secondly, they create more user engagement than static Instagram Post images and standard video posts, with Reels generating 40-60% more viewership than Posts. This is a huge opportunity for you to create better user engagement. Part of this engagement stems from their vast music library that you can sync with your Reel, allowing you to participate in trending sounds that will also amplify your engagement.
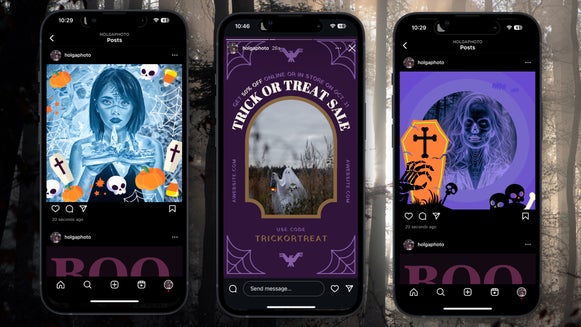
The cool part about audio clips is that you can see how many people have used these audio clips in all of Instagram. Some audio clips are more popular than others and if you are using the audio in order to get seen on the audio’s explore page, you may get lost and it is best to choose audios that are between 30k and 50k users. If you are using audio clips in order to build your own Reel library, choose whatever one you want and mix some super trendy ones in there.

Thirdly, it’s free. You can be your own marketer. Purchasing ad space can be valuable if you need help marketing yourself and have the ads designed that you want to post, but it can also be a bit pricey without knowing how much return you are going to get for the investment. Marketing consists of a lot of market testing, it isn’t always reliable. The best way to test your market is by creating and posting your own ads or Reels, creating viral content, and then posting them for free to your account. Low risk with the potential for high reward.
In order to create Reels, you need to either compile various static imagery, post videos, or turn your static images into a moving video. We are going to look at a few examples to gain a little inspiration.
3 Ways to Make Instagram Reels With BeFunky
If you have no idea where to begin and need a few starting points, check out the options below for some inspiration. There are three beginner-friendly options to try now.
Compile Static Images Into a Montage
Have you ever wondered how creators make a travel reel on Instagram with pictures? It is actually fairly simple and you can create a Reel like this for any topic of your choosing. Shorter reels (7-11 seconds) are trending more than longer videos (up to 90 seconds). Pair your reels with audio that is already trending on Instagram – find this via the “Reels Explore” page. Click on the upward arrow next to the song title. Here are a few audio clips (here, here, and here) that are trending for travel Reels. This is the one we are going to create. There are 16 photos in total, with each of them lasting .5 seconds.
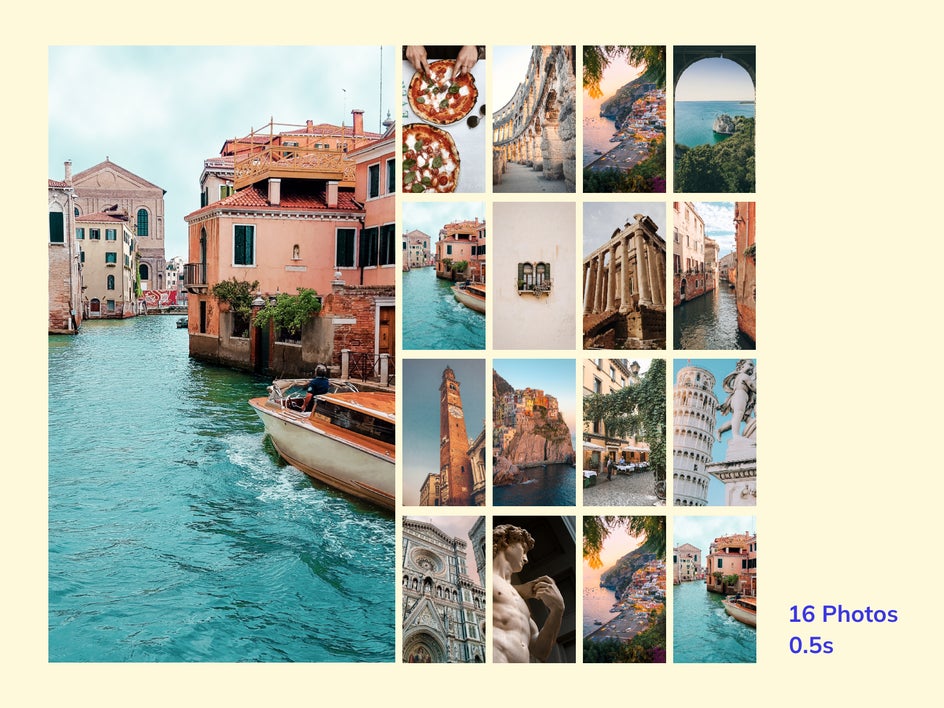
To create your montage, select 1 still photo for every half second of your audio clip. I would recommend editing your photos with BeFunky so that they are all consistent and portray a certain type of aesthetic. You can check this account out if you want to see the details on how to create different types of Reel montages and what their specs are.
If I don’t have enough photos, I often repeat certain photos twice, so you can also just collect 8 photos, but repeat them so that you have 16 images in total. This kind of Reel is meant to be fast-paced and eye-catching, inspiring someone so much that they save or share your Reel. For more help in creating your Reel, check out this article for 10 Tips for Creating Travel Reels on Instagram.
2. Create a Before/After Instagram Reel
Can you create an Instagram Reel from two photos? Yes. Creating a before/after Reel is super easy, very satisfying, and can be done with 2 static images. Many people love to post videos of their before and after projects, but this can be done with edited images as well.
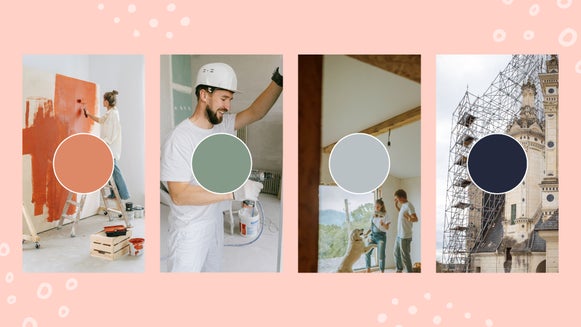
Let’s say you are posting a before/after Reel of a furniture piece you just upcycled. Make sure to capture a before image – you can even leave this one unedited, simply just change the exposure so that it is bright enough. Take a stylized after photo and edit it with BeFunky’s Photo Editor to enhance the brightness, sharpness, color, and depth.
There are so many trending audio clips related to before/after Reels – like this one, and this one. You can even do a before/after Reel if you’re a photographer showing off your editing or a designer showing off your design process. A quick search for before/after Instagram Reel audio will give you some options to work with and some inspiration for your own Reel. We are going to use this audio selection and create a Reel similar to it.
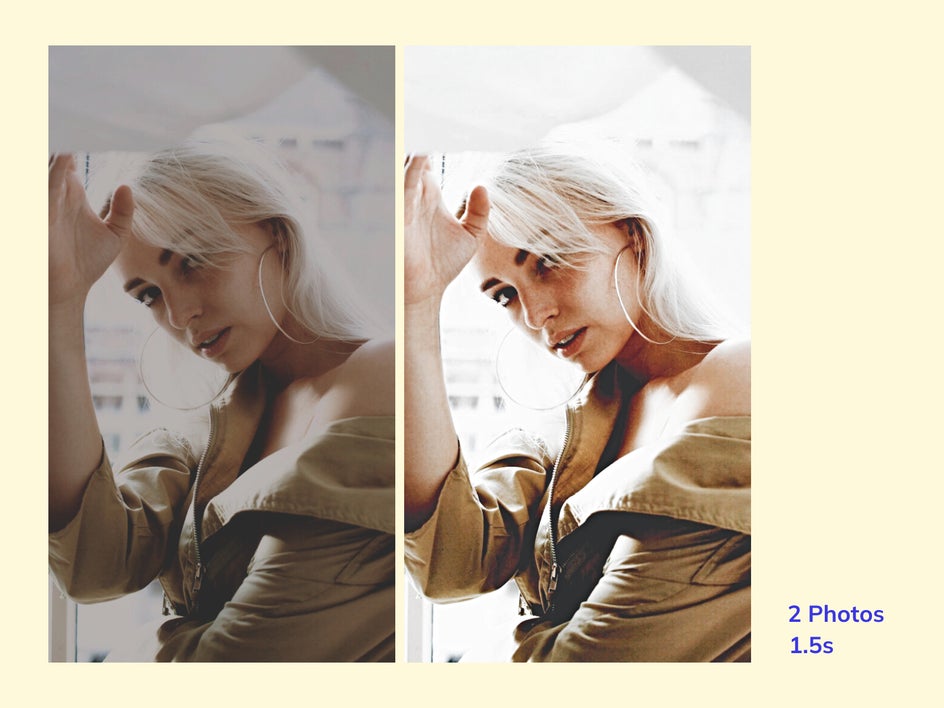
Once you have your two images and an audio clip, put your first image in the Reel and then select your second image, aligning it at the proper time with this audio clip. This one is so simple to do and is very quick and generated a lot of engagement.
3. Create a GIF or Moving Picture
GIFs have been popular for ages and are fairly simple to make. They are short, looping videos. All you need are two or more images and a GIF-maker like Giphy, Ezgif, or Imgflip. The benefit of creating GIFs is that you can set the length of each clip outside of Reels, so rather than scrubbing back and forth to create the right length for each clip, you can set the limits in the GIF-maker, and since this was exported as a looping GIF, you can set the length of the whole Reel within Instagram once you upload it.
Creating this one is pretty straightforward. You can either create a GIF with two separate images or with the same image edited slightly differently. Simply edit the photo with BeFunky’s Photo Editor, using Effects. We are going to apply a glitch effect here. Leave the first image as is. For the second image, apply the effect at 60% capacity. For the third image, apply the effect at 20% capacity. Save each image.
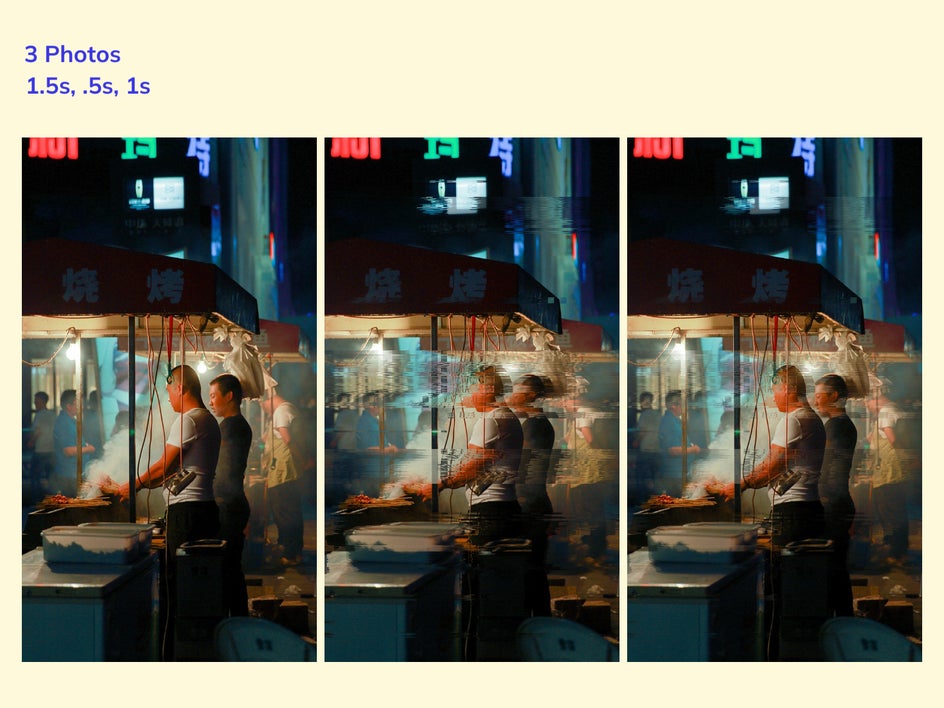
Once you are finished, you can use a GIF-maker, upload the photos and then make sure you select an option for creating a continual loop. You will see your effect animate as a looped file. After you do this, upload the file to Instagram Reels. This is a simple and straightforward way to create GIFs for Reel content.
Instagram Reels are Easy with BeFunky
Creating Reel content is easy with BeFunky’s Photo Editor. With a handful of photos, you can create valuable Reels that are engaged with more than 40% compared to your other static content. All you need is ten to fifteen minutes, and you’ll be able to create the content that you interact with on a daily basis. This is the basis for creating these beginner-friendly Reels, but we are going to go into depth with Reels in future articles so you will have more ideas to execute.