Create Before/After Instagram Reels With BeFunky

Instagram Reels have quickly become one of the most effective ways to reach new audiences and boost engagement. Designed for short-form, scrollable video, Reels make it easy to share eye-catching content using videos, photos, audio, and creative effects.
Because Reels are prioritized in Instagram’s algorithm and shown beyond your existing followers, they offer a powerful opportunity to grow your presence.
If you’re not sure where to start, before-and-after Reels are one of the easiest formats to try. They’re simple to create, instantly satisfying to watch, and perfect for showcasing transformations of any kind.
Below, we’ll walk through how to create your own using BeFunky’s Photo Editor, plus explore a few inspiring before-and-after Reel ideas!
How to Create a Before/After Instagram Reel With Your Photos
To start, head to the Photo Editor and open your ‘before’ image. Then, follow the 3 steps below.

Step 1: Crop Your Image for a Reel
In the Edit menu, locate the Crop tool, then select Social Media Story as your crop preset. This will crop your ‘before’ image into the perfect aspect ratio for an Instagram Reel.
Hit Apply to keep your changes.

Step 2: Resize for Instagram
Next, click on Resize, which is also in the Edit menu. Type in the recommended Reel dimensions in the corresponding boxes:
- Width: 1080 pixels
- Height: 1920 pixels
Then, click Apply.

Step 3: Save, Repeat, and Share
Finally, save your image, ensuring that you include the term ‘before’ in your file name so you know which image to display first.

Then, all that’s left to do is to repeat the steps above with your ‘after’ image so it’s ready to share.

Once your before-and-after images are perfectly cropped and resized for Instagram’s requirements, open the app and follow these steps under Make an Instagram Reel.
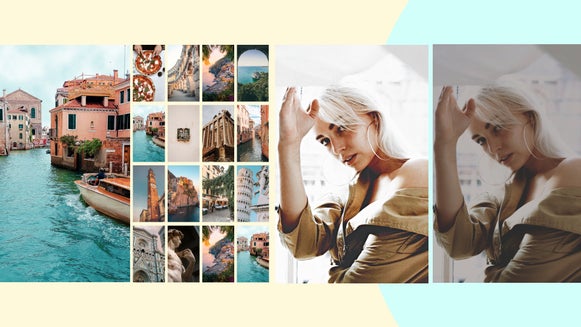
Before/After Reel Results
This before-and-after Instagram Reel is perfect for a wedding photographer wanting to showcase their photo editing skills, but there are plenty of other powerful ways you can use this popular Instagram feature.
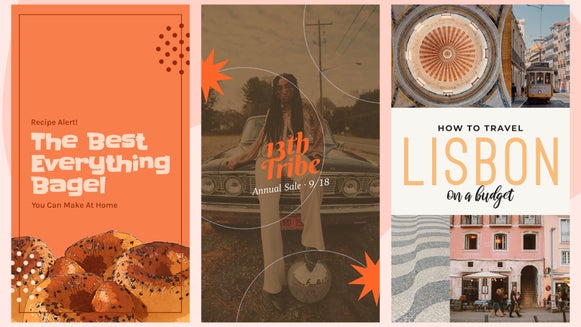
Reel Ideas To Inspire Your Next Post
Looking for creative ways to jump on the before-and-after trend? Whether you’re showcasing your work, building a brand, or documenting progress, here are a few powerful ideas to inspire your next post.
Makeup Transformations
Makeup transformations are some of the most captivating before-and-after Reels out there. From soft, natural looks to full glam, the contrast between bare skin and a finished makeup look creates an instant visual impact.
This style is especially popular among wedding makeup artists, beauty creators, and freelance MUAs who want to showcase their skills and attract new clients. For example, a bridal makeup artist might share a quick clip of a bride or bridesmaid before application, followed by the final polished look – highlighting their ability to enhance natural beauty.
Fitness Transformations
Fitness transformations go beyond aesthetics, as they tell a story of dedication, discipline, and progress. These Reels are incredibly motivating and tend to resonate with a wide audience, making them highly shareable.
Personal trainers, fitness coaches, and even individuals documenting their own journeys often use this format to highlight results over time. This could be a side-by-side comparison of a client’s progress or a quick transition from a “before” clip to a more confident, strong “after” moment.
To make your Reel more engaging, consider adding context with text overlays – such as the timeframe of the transformation or the goal achieved. You can also use editing tools to balance lighting and color so both images feel cohesive while still showcasing the difference.
House or Room Makeovers
There’s something incredibly satisfying about a space transformation. Whether it’s a full renovation or a simple refresh, before-and-after home makeovers are perfect for grabbing attention and inspiring viewers.
Interior designers, home stagers, DIY enthusiasts, and real estate professionals all benefit from this style of content. A cluttered or outdated room can quickly transform into a clean, styled, and functional space – making the “after” reveal especially impactful.
For best results, try to capture your before-and-after shots from the same angle. This creates a smooth, almost magical transition when the scene changes. You can also enhance your final image using the Photo Editor to brighten the space or sharpen details so the finished room looks as inviting as possible.
Show Your Transformation With a Before/After Instagram Reel
Thanks to the simple tools available in our Photo Editor, all it takes is a few minutes to perfect your before-and-after photos and get them Instagram Reel-ready. What powerful transformations will you share with your audience?
Start your Instagram Reel in our Photo Editor today!