Smooth Out Your Photos With BeFunky’s Smoothing Tools
We’ve learned the essentials of the Edit tab in BeFunky’s Photo Editor, as well as learned the basics of removing and replacing elements with the Remove/Replace category. Now, we are moving forward with learning how to use BeFunky’s Smoothing tools!
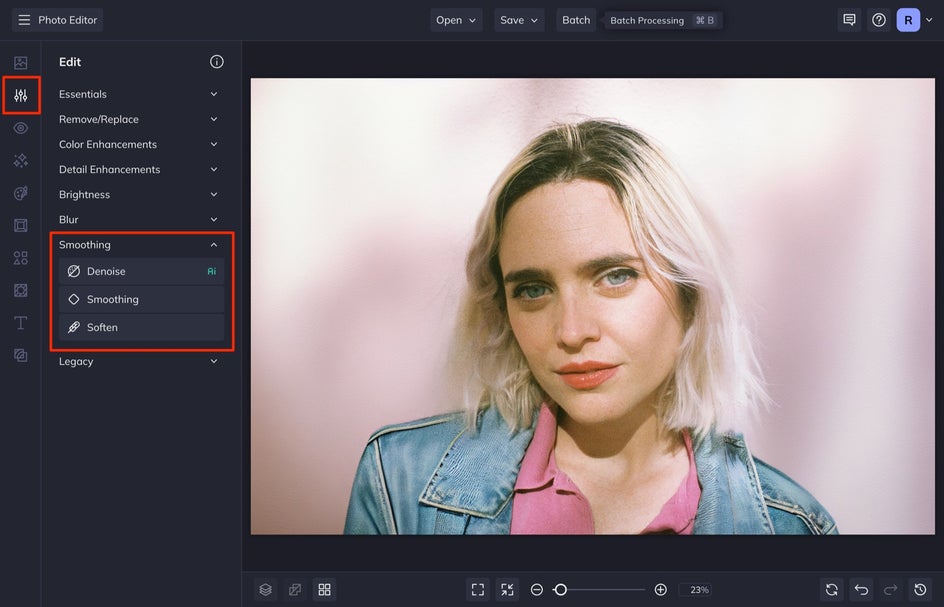
Smoothing tools are great for removing noise, softening portraits, or even smoothing skin. BeFunk’s Photo Editor makes photo smoothing easier than ever. Each of these tools can be applied to your whole photo or it can be applied to a specific area by selecting the Edit tab in each tool and then using the brush to paint over the area you want to apply the tool. Let’s learn the basics of the Smoothing tab.
The Basics of the Smoothing Tab
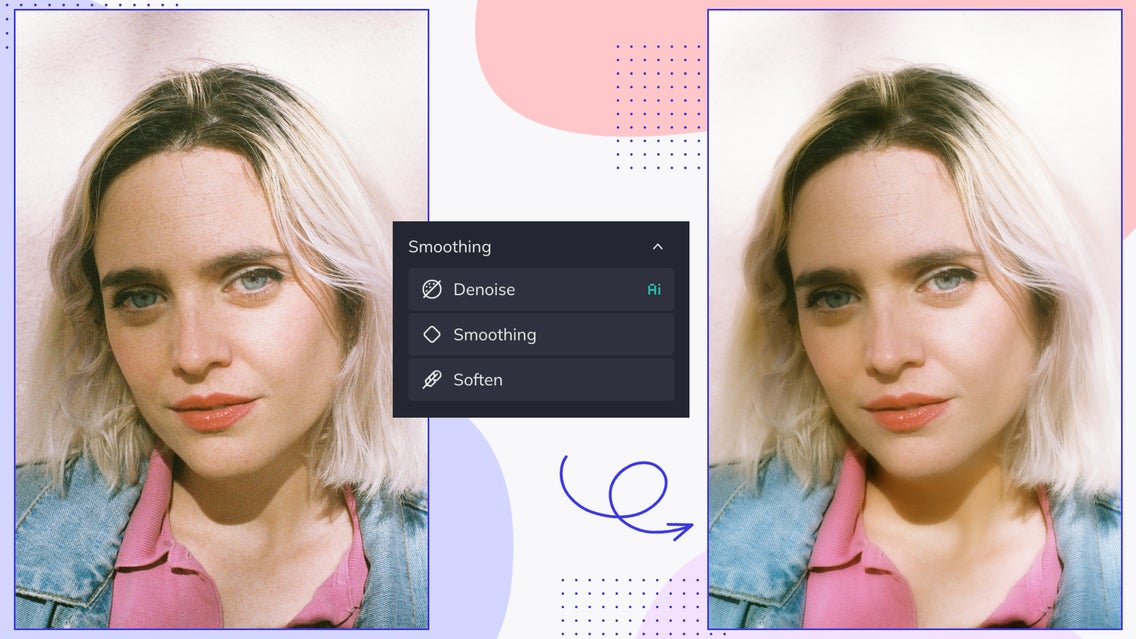
We are going to look at the top five tools in the Smoothing tab. These include Denoise, Smoothing, and Soften. Each of these tools performs differently and can smooth your photo in specific ways. Let’s learn how to use these tools in BeFunky’s Photo Editor.
Denoise
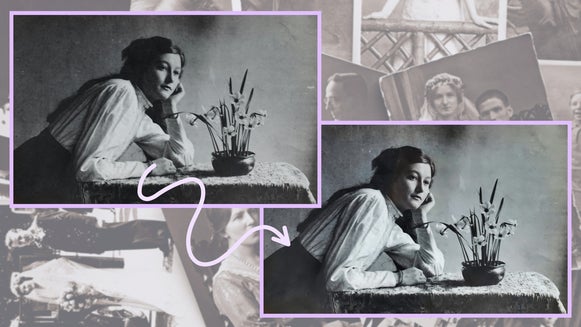
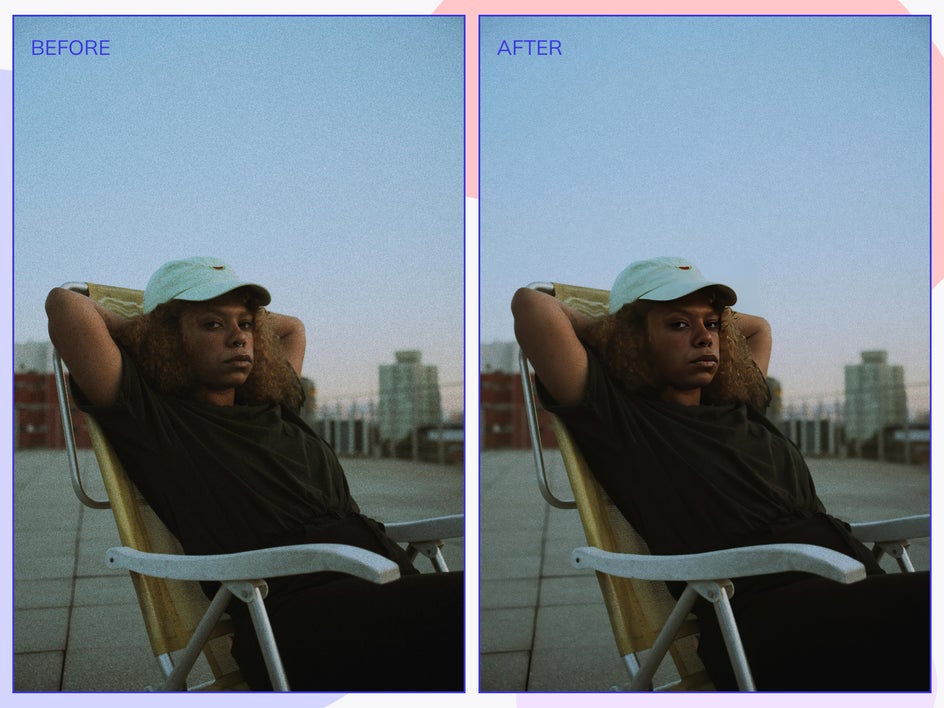
When it comes to photography, noise is a term used to describe a type of visual distortion that looks grainy or gritty. It happens most commonly in two situations: low light conditions or when the ISO setting on your camera is too high. The other time noise shows up is with old cameras and film – it is even a visual look that many people love to recreate when editing their photos. This tool is great to use when you need to reduce noise in low-light photos, night photography, or old photographs.
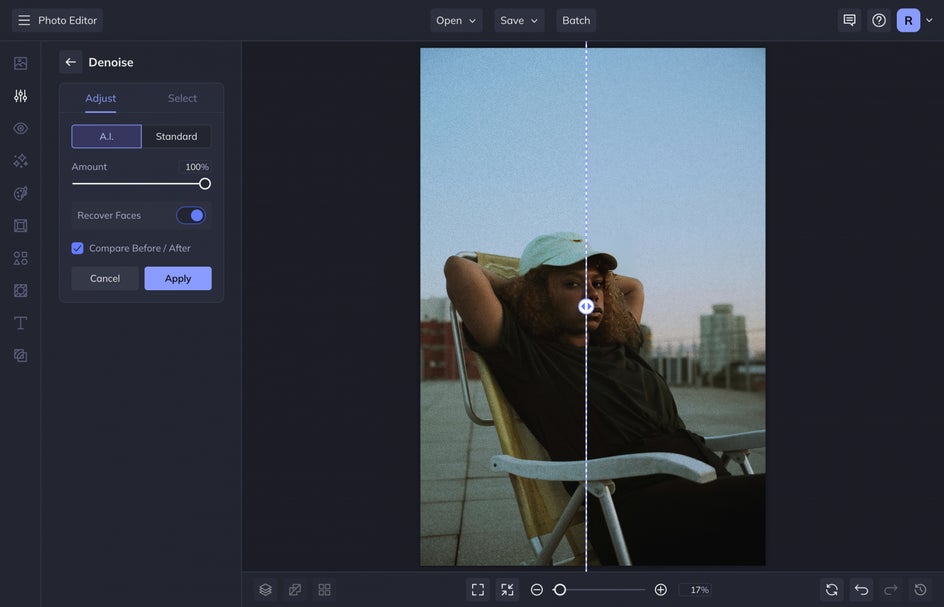
To head right to this tool, click here. Once here, use A.I. to smooth out the pixels in your photo by selecting the A.I. tab and then adjusting the Denoise slider to the level you’d like. If there are faces in your photo, you can also choose to select Recover Faces. This will keep the faces in your photograph sharp. When you like the results, select Apply.
Try it out with your grandparents’ old film photos, low-light pictures, compressed JPEGs, and any other images you have that might need a clean-up.
Smoothing
The Smoothing tool is a great way to smooth out specific parts of your photo or give the photo a dreamy appearance if you decide to apply it to your image as a whole. This tool can soften up rough edges, textures, and blemishes
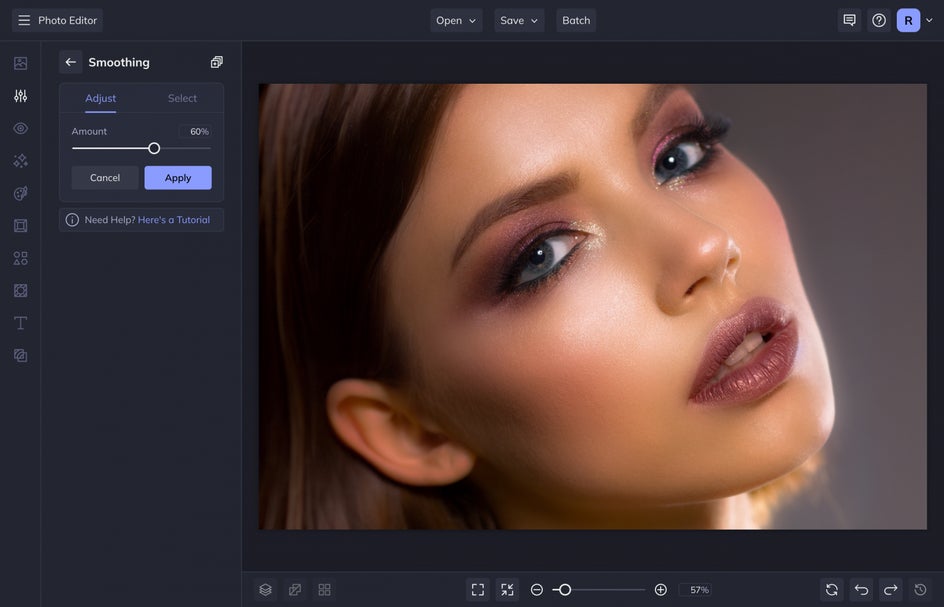
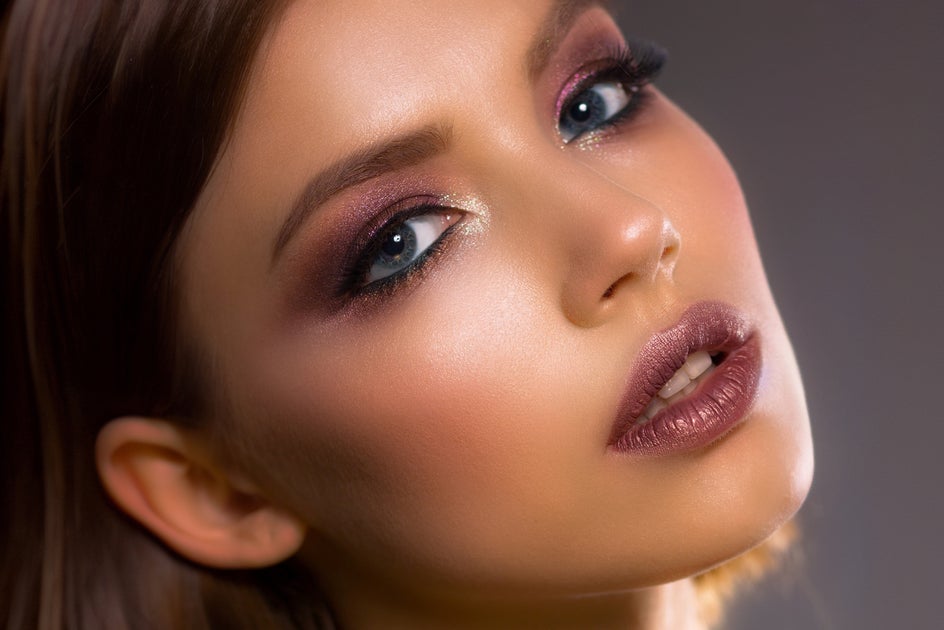
I love using this tool for portraits. When I switch to the Select tab, I can brush this effect on specific areas of my photo and apply the smoothing effect on the skin to give it an airbrushed look.
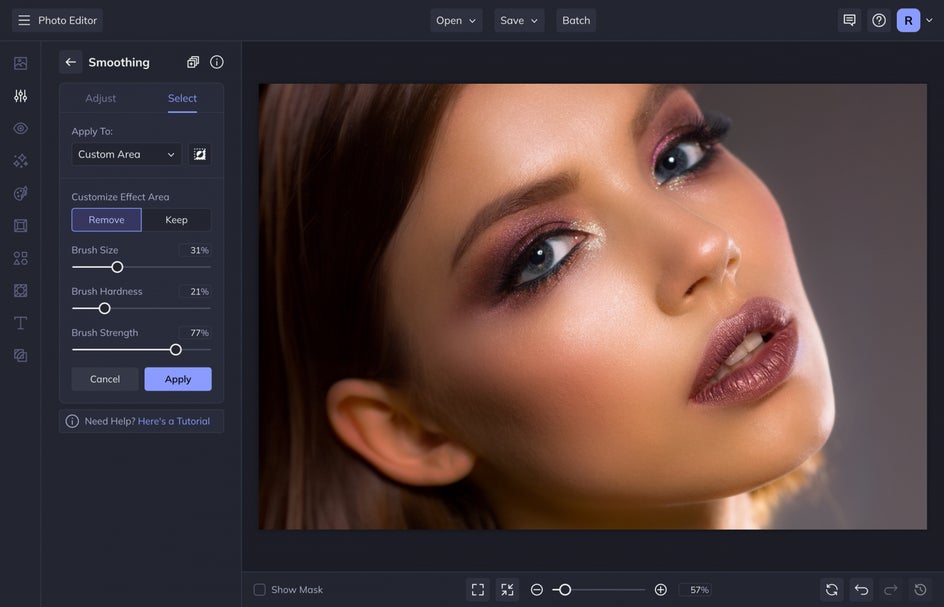
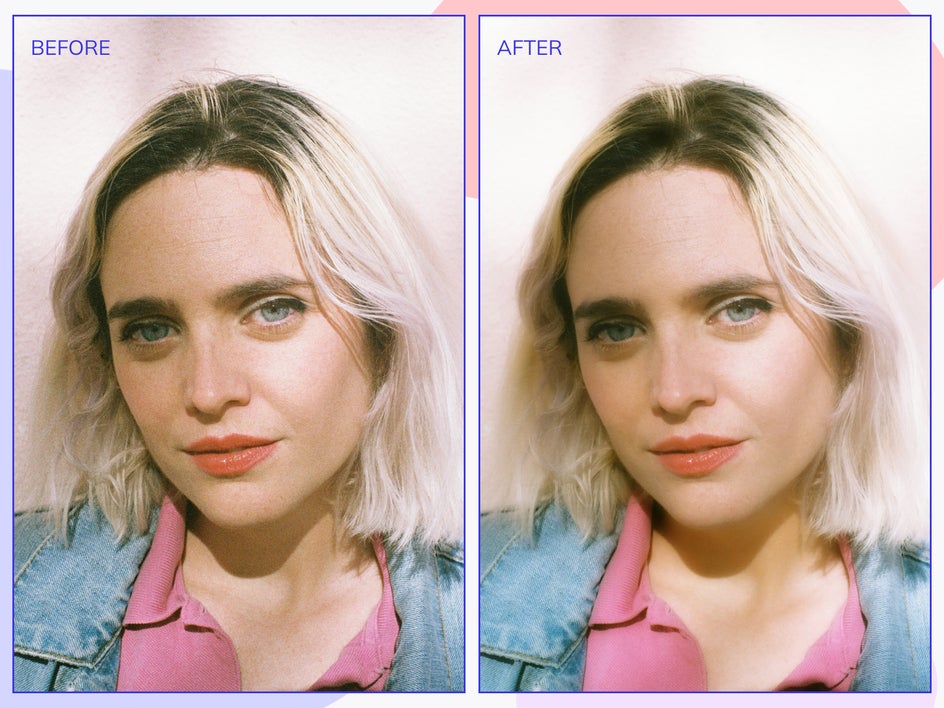
For a more natural look, reselect the Adjust tab before pressing Apply to lower the tool’s intensity. I like making sure that I remove the effect from the eyes and other facial features that we want to look sharp.

If you want to create a dreamy or whimsical effect, apply the Smoothing tool to your whole photo. A smoothing surface blur is applied to lower-frequency (detail) areas while leaving the higher-frequency (detail) areas untouched. This gives an ethereal effect, which is great when paired with light flares.
Soften
Using the Soften tool is essential for creating romantic, dreamlike photography, and typically involves the use of a soft-focus camera lens while shooting. By slightly blurring some of the details and giving the image a slight glow, the soft focus effect is great for editing fantastical images or creating a unique effect for your photography aesthetic. My friend uses a lens like this in her photography, and it is great for headlights, house lights, or sunsets.
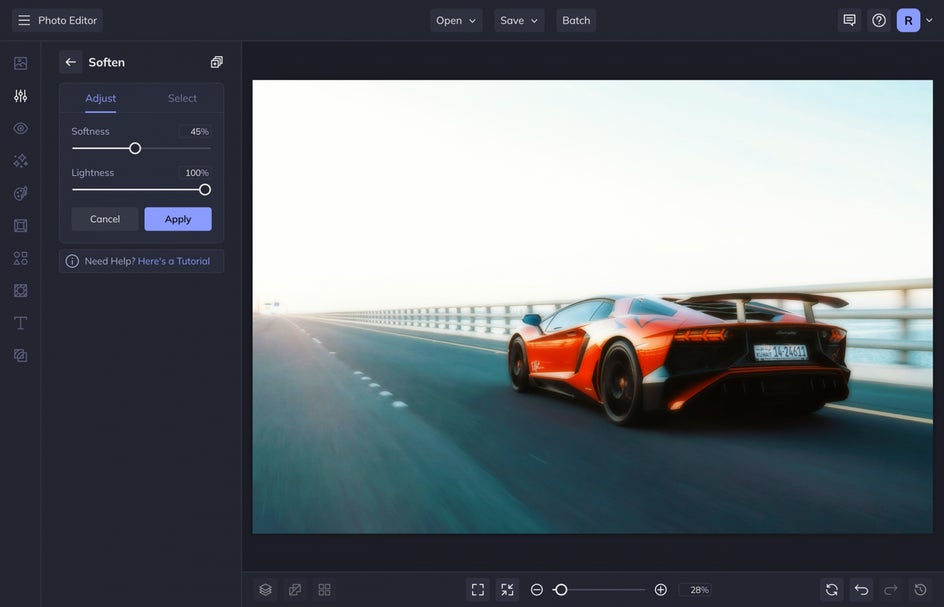
When you select Soften, the effect will automatically be applied to your image. You’ll then have the option to adjust the softness and lightness with the corresponding sliders. Increasing the Softness slider will add blur to the mid-tones in your image, making them appear softer. Increasing the Lightness slider will add more highlights to light areas of the image, which creates the soft glow effect without washing out your subject. I love using this tool for auto and car photography, as it gives a cool aesthetic.


The Soften tool acts like an Orton-style effect, where a copy of the original image is blurred and layered on top of the original image with some sort of adjustable lightening or screen blend mode. The difference between the Smoothing tool and the Soften tool is that the Soften tool can add highlights, creating that soft glow effect.
As with the Smoothing tool, you can also apply the Soften tool selectively by pressing the Select tab and painting over the region you want to give more of a glow tool. This is a great tool to use for areas of light in your images.
Smooth Photos Easily With BeFunky’s Photo Editor
The tools in the Smoothing drop-down are the best tools to use when you need to smooth, soften, or denoise your image. BeFunky’s Photo Editor has so many tools for you to master. Once you learn the Essentials, Remove/Replace, Color Enhancement, and Detail Enhancement tools, it’s time to master the Smoothing tools.