


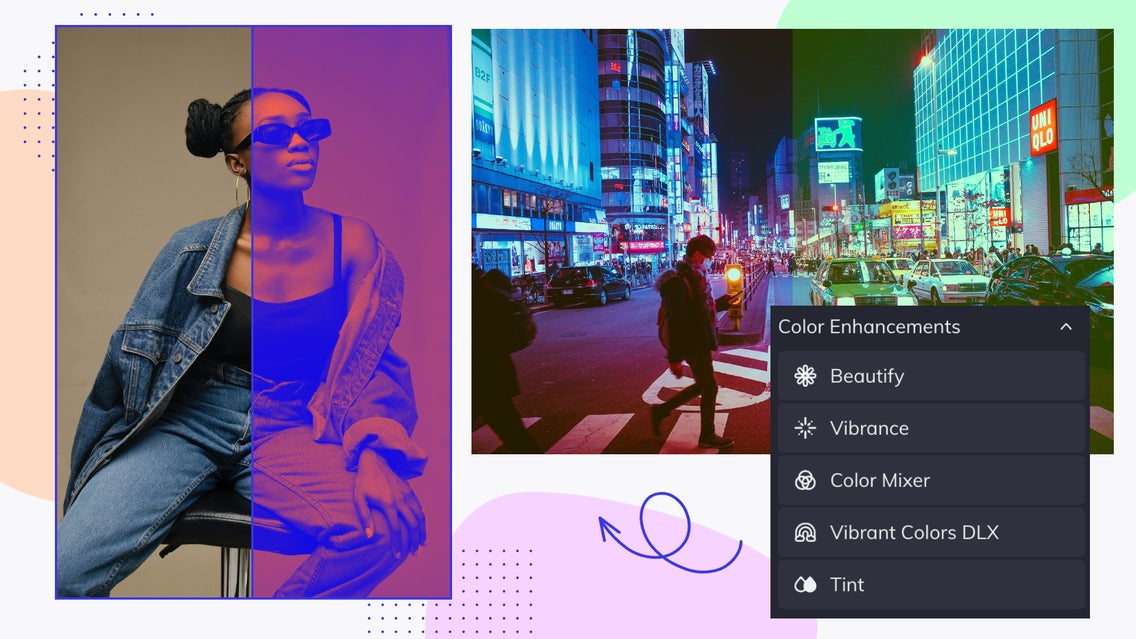
Learn the Basics of Color Enhancement in BeFunky’s Photo Editor
We’ve learned the essentials of the Edit tab in BeFunky’s Photo Editor, as well as learned the basics of removing and replacing elements with the Remove/Replace category. Now, we are moving forward with learning the basics of BeFunky’s Color Enhancement tab!
Color editing can be one of the trickiest parts of the editing process. There are so many cool filters aesthetics and styles to choose from – but color grading can go south pretty quickly if you don’t know how to utilize color enhancement tools. Thankfully, BeFunk’s Photo Editor makes adjusting and editing color easier than ever. Let’s learn the basics of the Color Enhancement tab.
The Basics of the Color Enhancement Tab
We are going to look at the top five tools in the Color Enhancement tab. These include Beautify, Vibrance, Color Mixer, Vibrant Colors DLX, and Tint. Each of these tools performs differently and can enhance the color of your image in unique ways. Let’s learn how to use these tools in BeFunky’s Photo Editor.
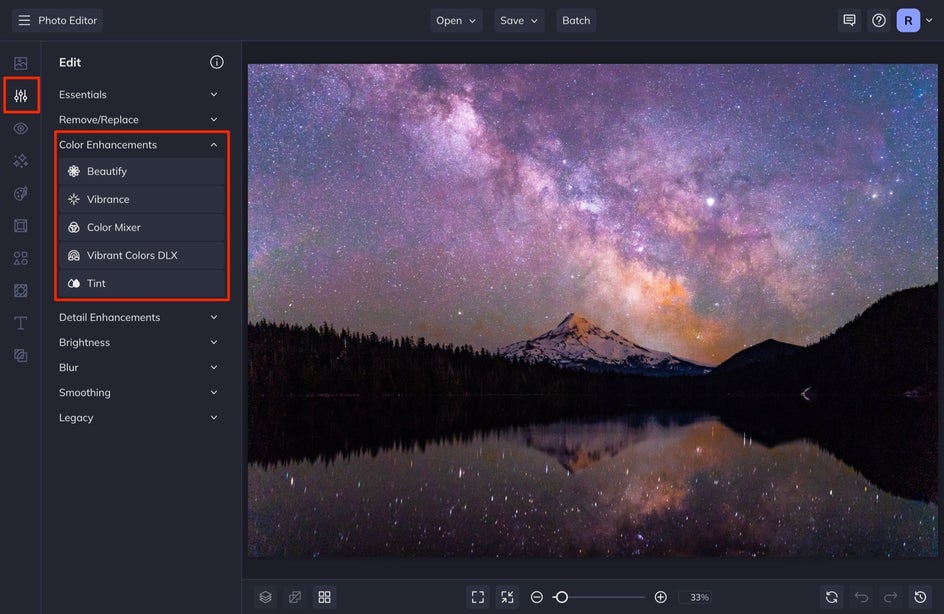
To start using the Color Enhancement tools, upload an image to BeFunky’s Photo Editor by selecting Open and then Computer, or simply dragging and dropping your image straight onto the Photo Editor. After you do this, select Edit from the left-hand menu. We are going to use the top five tools in the Color Enhancement tab. Color grading and color enhancement is my favorite part of the editing process, so let’s get into it!
The Beautify Tool
The Beautify tool uses the photo-perfecting power of five different photo effects in one, which makes photo editing a breeze.
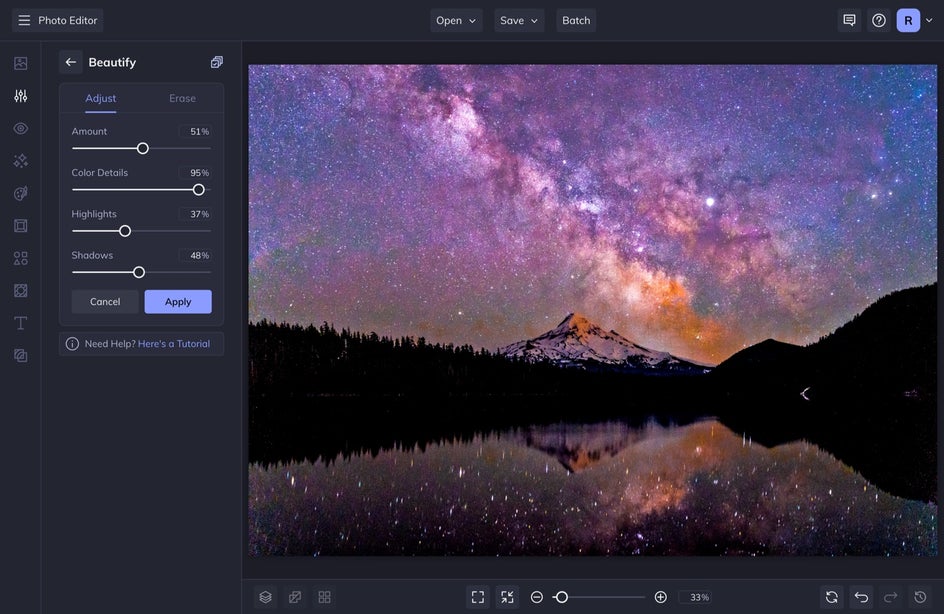
This tool corrects color, improves saturation, adds fill light, sharpens lines, and enhances contrast all in just a single click. All you have to do is select Beautify from the Color Enhancement tab from the Edit menu. Next, you can adjust the Amount, Color Detail, Highlights, and Shadows in the Adjust tab. You can even select the Edit tab to paint this tool’s effect over specific parts of the photo, without affecting the photo as a whole. When you are finished with the editing, select Apply.
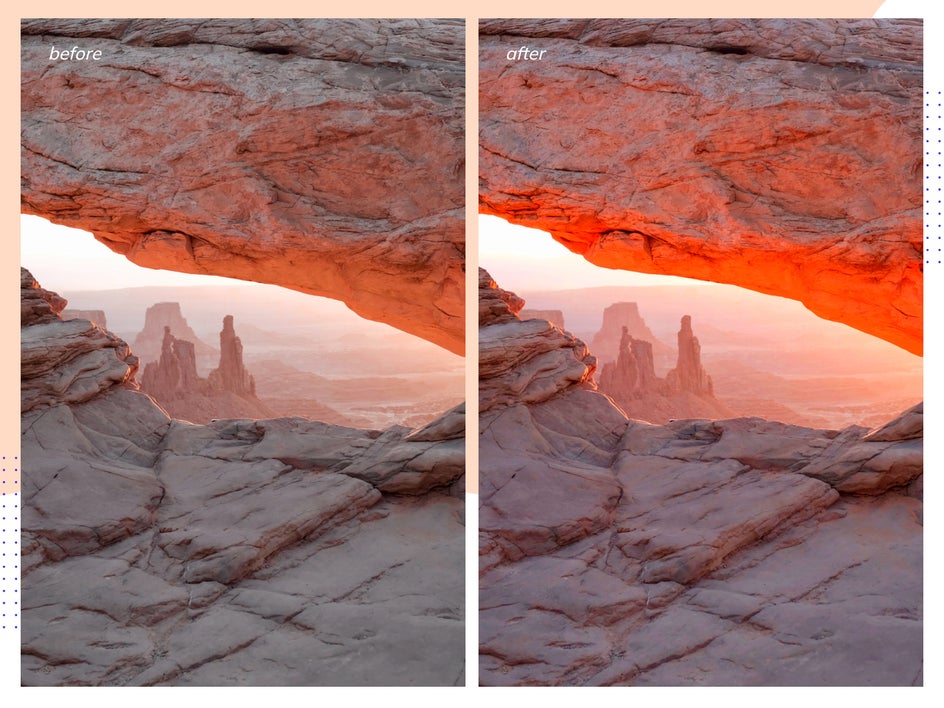
Take a look at what it can do:
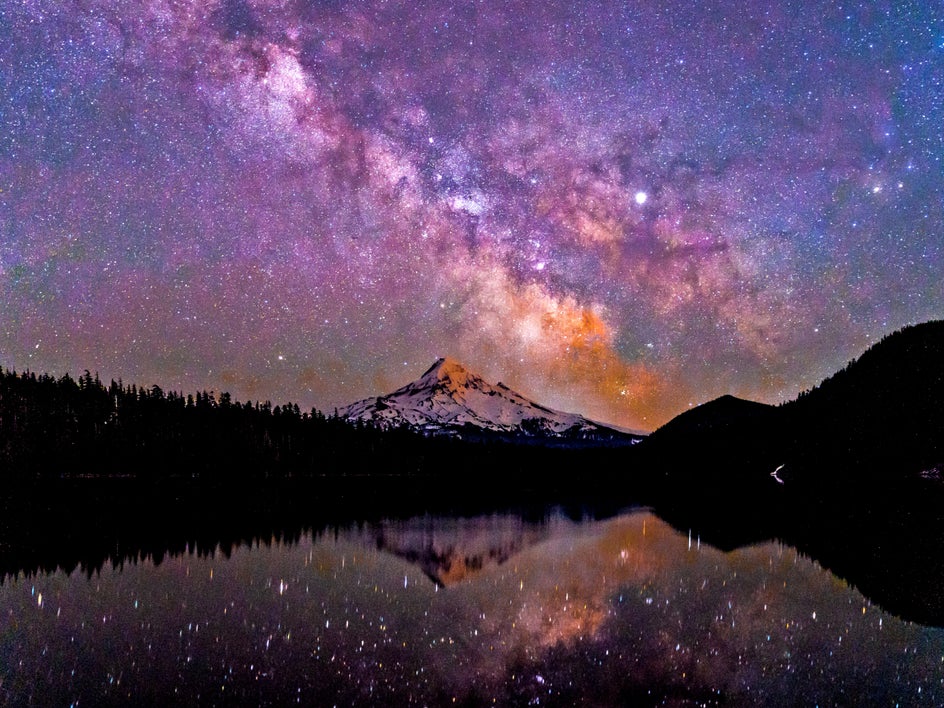
As you can see, it really brings out the color in your image and balances it with the fill light and contrast. When you are in a pinch and need to save time in the editing process, this is the tool to use!
The Vibrance Tool
The Vibrance tool selectively boosts muted colors to complement the hues in your photo that are already well-saturated. If you feel like your image needs a bit of a color boost, but increasing the saturation made it look too color-harsh, try using the vibrance tool.

Select Vibrance from the Edit menu. Next, you can increase or decrease the amount by adjusting the slider. Use the Edit tab to selectively edit the part of your image you want to apply this effect to. Take a look at the difference between applying saturation to this image compared to applying Vibrance.
You can see that the vibrancy is great at selectively balancing the hues in this image, whereas the saturation will affect every color to the point that you lose fine details in your image.
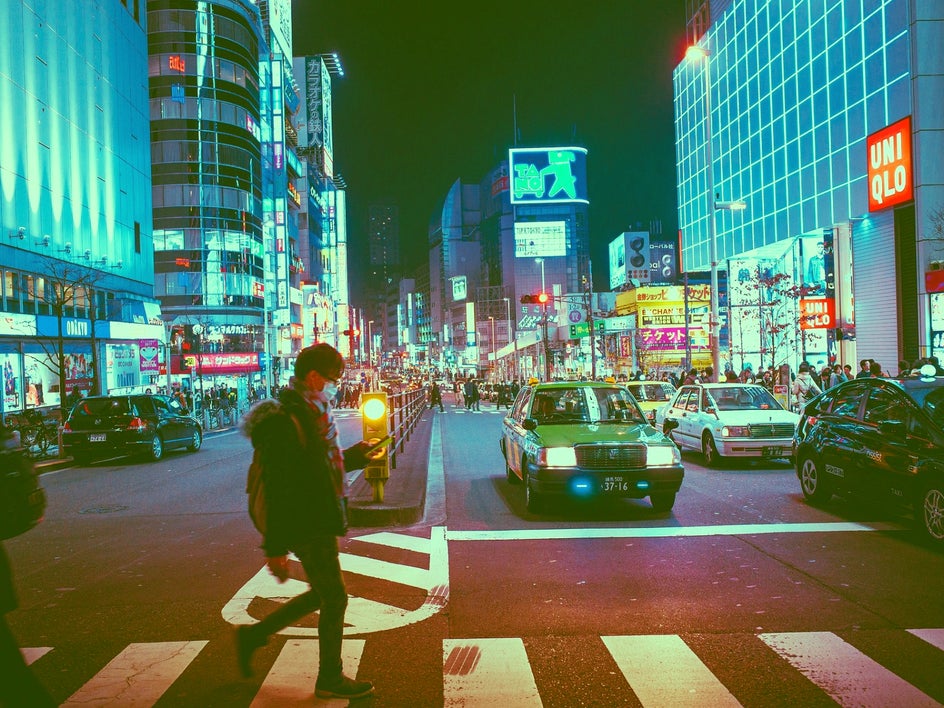
The Color Mixer Tool
When color mixing an image, you are essentially manipulating the amount of Red, Green, and Blue that shows up in both the Highlights, Midtones, and Shadows. This is going to help you out when using the Color Mixer tool.
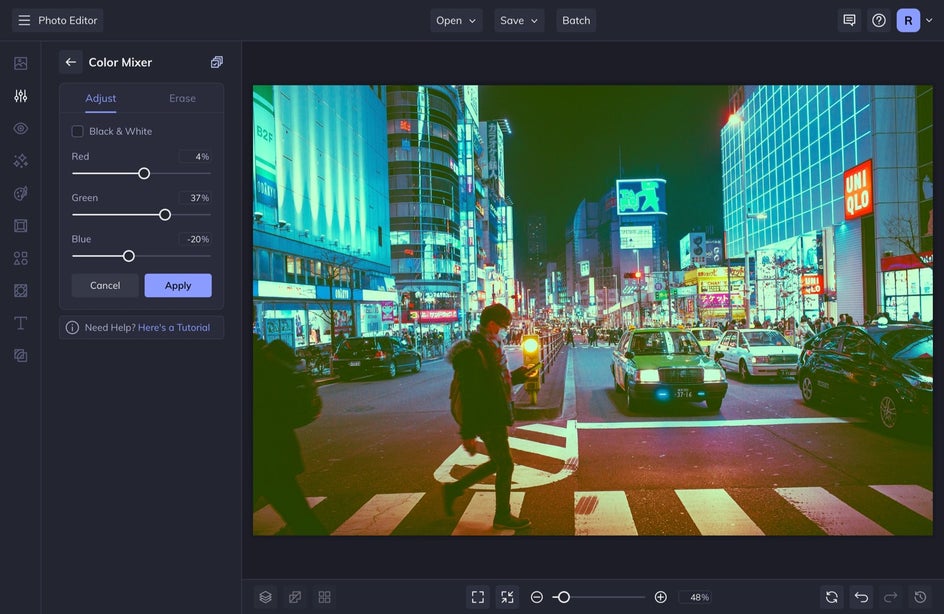
To use this tool, select Color Mixer from the Edit menu. Next, adjust the Red, Green, and Blue sliders to get your desired effect. This is the tool to use if you want to boost the colors in your image or if you want to create a customized photo aesthetic and change the color profile entirely.
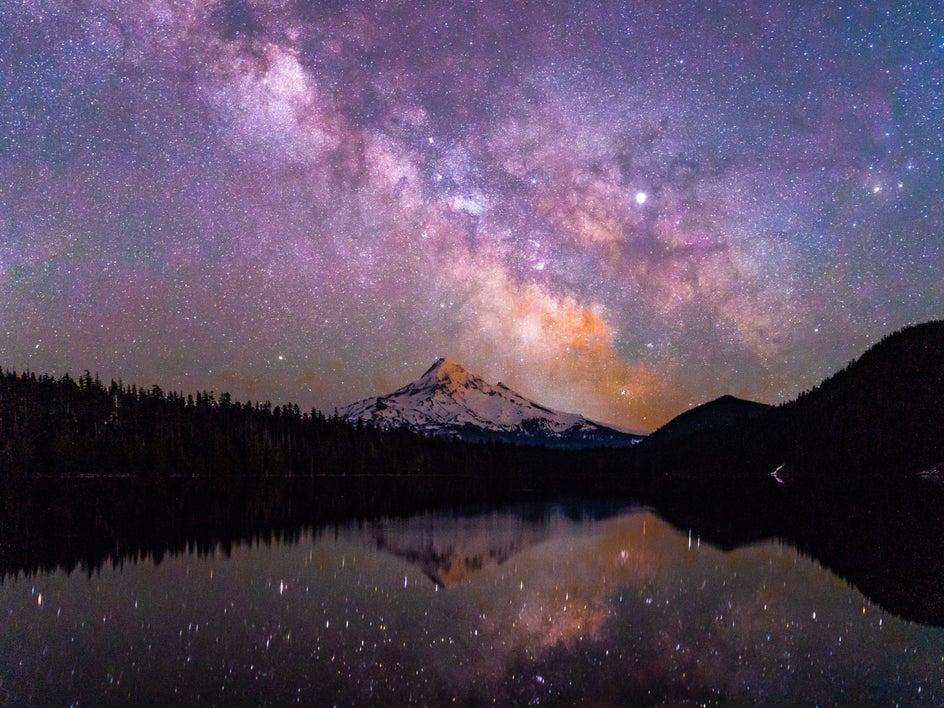
The Vibrant Colors DLX Tool
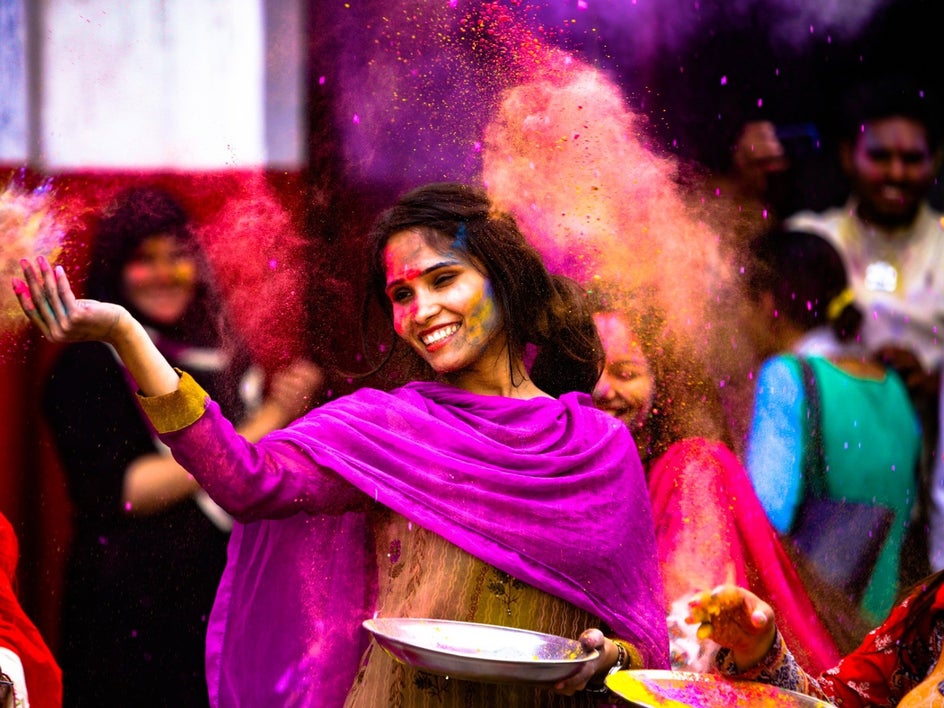
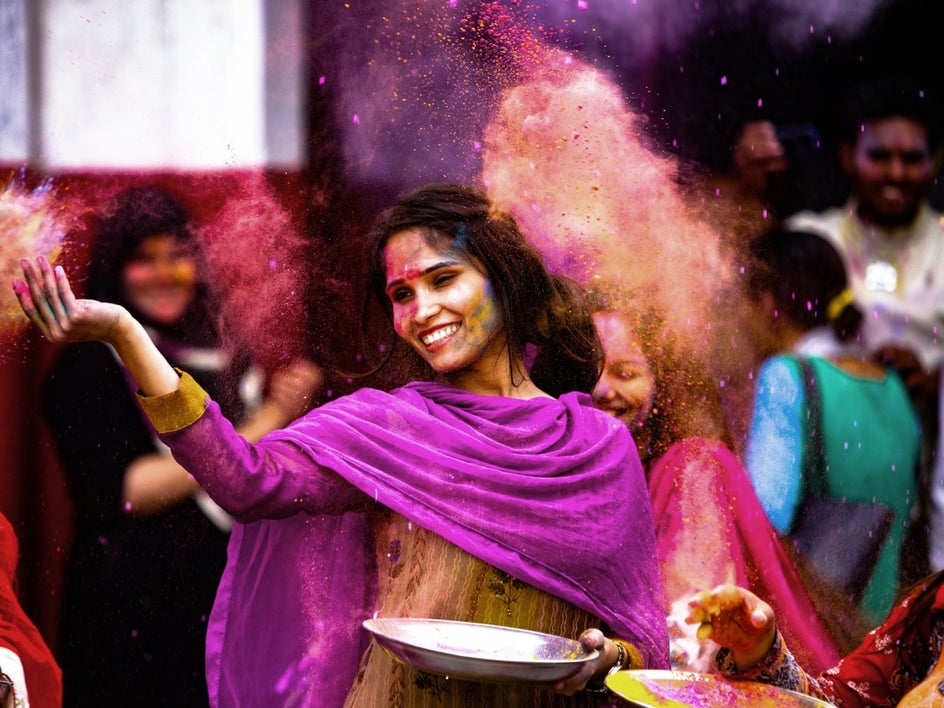
Built entirely by our in-house team, Vibrant Colors DLX technology uses artificial intelligence to increase saturation only in the places that need it, while the places that don’t, remain minimally processed or untouched. Vibrant Colors DLX effect will wake your photo up by enhancing the overall dullness and transforming it into a photo with vibrancy and life.
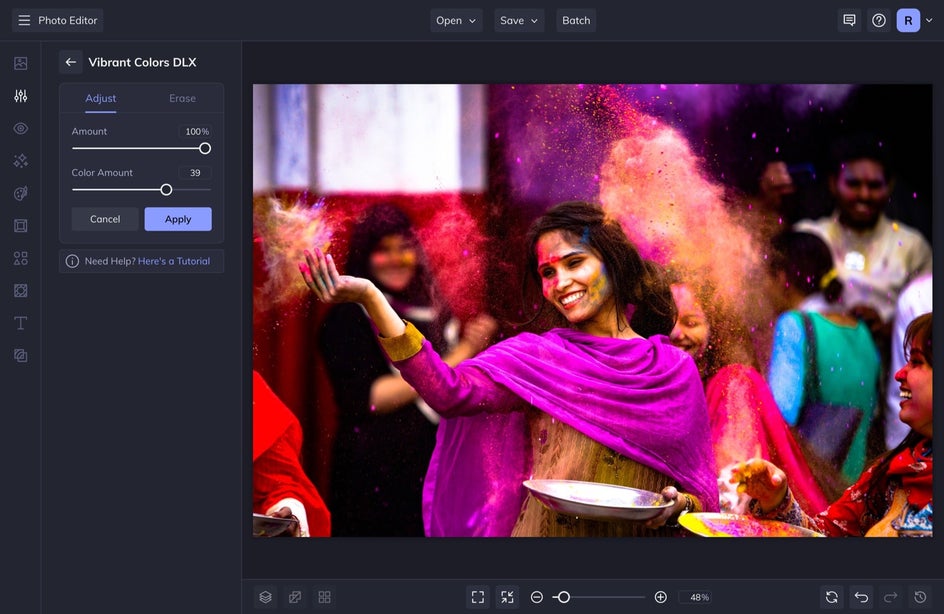
To use this tool, select Vibrant Colors DLX from the Edit menu. Next, adjust the Amount and Color Amount sliders to get the desired effect. The best time to use Vibrant Colors DLX is when your photo looks like it needs a pick-me-up and you want some correctly placed saturation. It makes hues look more realistic in all types of color photography.
The Tint Tool
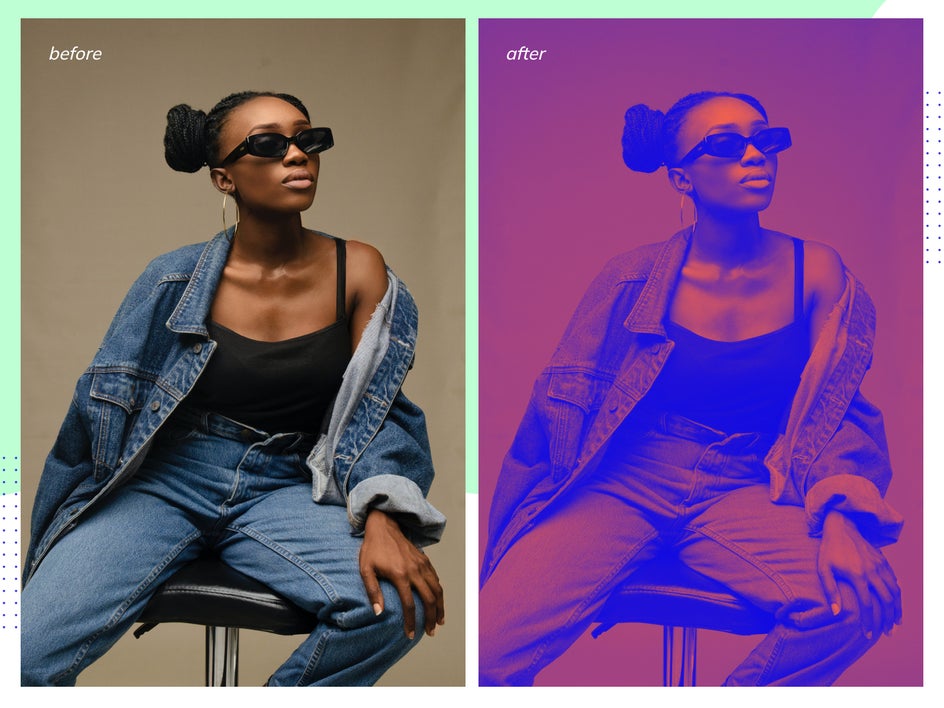
The Tint tool allows you to create your own custom photo filters or apply a duotone or split-toning effect. The Tint tool allows you to assign one color to the highlights of your photo (Color Value 1) and a separate color to the shadows (Color Value 2) of your photo. This photo editing technique is known as split toning and is the perfect tool to enhance your photo editing creativity in multiple ways.
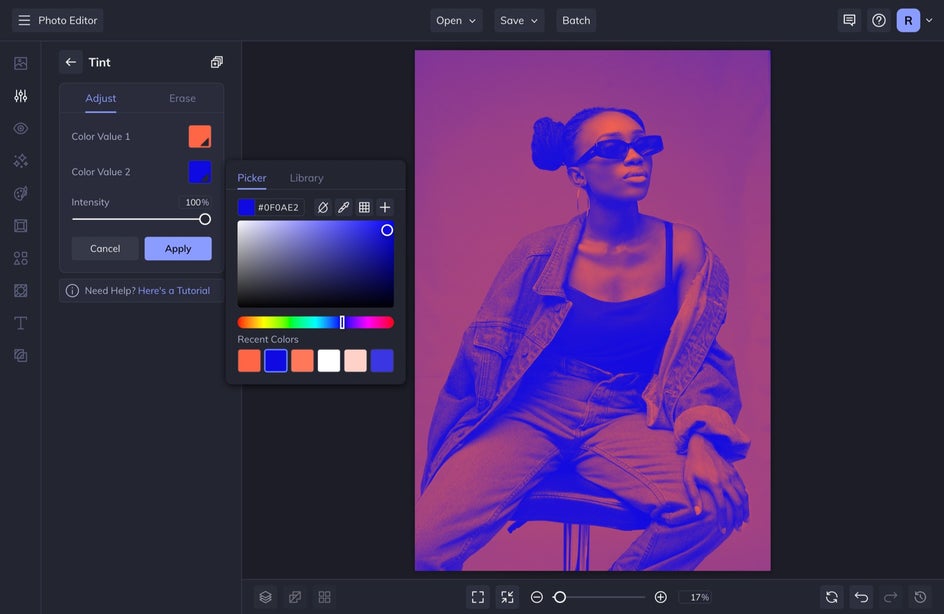
To use this tool, select Tint from the Edit menu. Next, you’re going to assign a color to the Color Value 1 swatch and then another color to the Color Value 2 swatch. You can use bright colors like this to create a duotone effect or use more neutral colors to create a custom photo filter.
Easily Enhance Colors With BeFunky’s Photo Editor
These tools in the Color Enhancements drop-down are the best tools to use when you need to adust the colors in your image. Once you feel you have these tools down, it is time to start using them for bigger design projects like creating a hero image or creating a Marketing Campaign That Boosts Sales. BeFunky’s Photo Editor has so many tools for you to master. Once you learn the Essentials, and the Remove/Replace tools, these Color Enhancements tools will be yours to master next.


