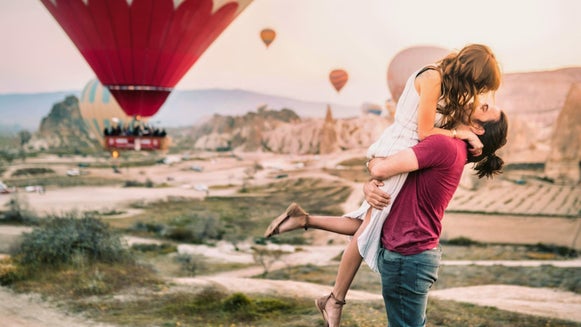
How to Photograph Your Proposal
Proposing to your love can be an exciting and momentous occasion. So momentous, in fact, that you’ll want to capture some photos to preserve those beautiful memories. Hiring a professional photographer is one option. However, doing so can be expensive. This is why many are opting to photograph their own special moment with their future wife- or husband-to-be.
So, how do you take good pictures for a proposal? Thankfully, there are some simple things you can do to make sure your proposal photos turn out great. Keep reading to find out!
The Best Proposal Photography Tips
From choosing your location, to getting the crispest photo in the best lighting conditions; there’s a lot to consider when photographing your own proposal. These tips will ensure you capture this special moment in all of its glory.
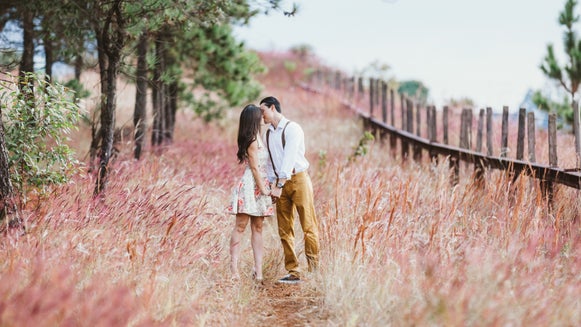
1. Consider Your Location
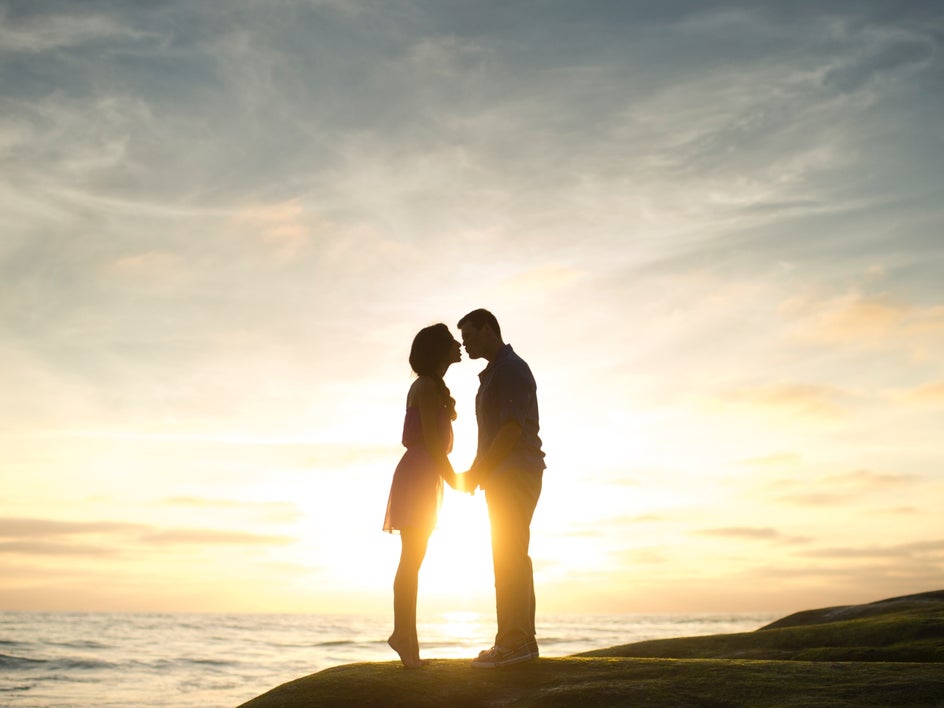
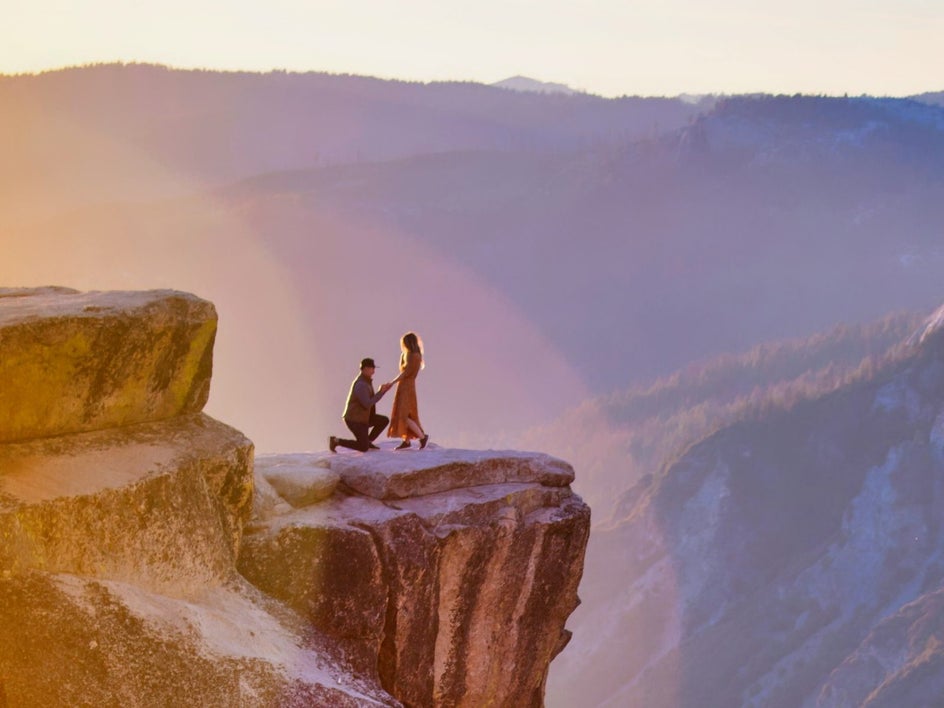
When deciding upon a proposal location, you can find a lot of inspiration on social media platforms like Instagram. However, it's important to remember that your proposal should be unique and memorable. Therefore, pick a spot where both of you feel happy, relaxed, and comfortable. It may even be somewhere that has special meaning for both of you.
If possible, it’s always best to visit your chosen proposal location in person before the big moment. This will allow you to scope out the best backdrop for your proposal, as well as allow you to envision how you can frame your shot. Look out for interesting backdrops that can help your proposal photos stand out, whether it’s a water view, flowers, or any interesting landmarks, for example.
2. Lighting Is Super Important
Light is a powerful tool in photography, so you should use it to your advantage. You don't have to be an expert to take beautiful proposal photos, but you do need to know some basic principles of light to achieve the best results.
Natural light is often best for photography, and this is most easily achieved when shooting outdoors. If possible, try to shoot during the golden hour (the hour before sunset or just after sunrise). This is the optimal time when there's still plenty of sunlight but not too much glare on your subjects.
If proposing in an indoor location where there is little natural light, you can get creative with your artificial lighting. From simple lamps and candles to fairy lights; it’s easy to add illumination from sources other than sunlight alone. Doing so could even give your proposal photography a romantic vibe, especially if you’re able to add some bokeh too.
If you need to increase your photo’s brightness during the editing process, BeFunky’s Exposure tool can help you out.
3. Take Test Shots Before the Big Moment
You won't want to be dealing with any technical issues when you're trying to get the perfect shot, so be sure to test out your camera settings and make sure you're happy with how your images look before the big moment.
You might be wondering “What is the best shutter speed for proposals?”, as well as what other camera settings you can use to capture the most beautiful images on the day. As a general rule, you’ll want to photograph a proposal in the same way you would capture any other type of action photography. If your camera is set up on a tripod (and therefore not subject to movement), use a minimum shutter speed of 1/60th of a second. This will allow you to capture crisp proposal photos, even in the middle of a quick hug, shocked expression, or any other type of rapid movement. As a result, you may have to increase your ISO to work alongside this faster shutter speed. This can result in additional noise. But thankfully, BeFunky’s Denoise DLX tool can smooth this out within a single click.
4. Don’t Use Flash
One of the biggest mistakes people make when taking pictures of proposals is using flash. Flash can ruin an otherwise perfect moment by making everyone look washed out or overexposed. If you and your partner are set quite a distance away from your camera (as is often the case when secretly photographing a proposal), the flash may even illuminate objects in the foreground of your image, leaving you both in the dark.
As we mentioned earlier, the best way to achieve perfect lighting in your proposal photos is to work in optimal natural lighting conditions.
5. Invest in the Right Tools
In order to set up your camera to take photos of your proposal as it happens, you’ll need two important pieces of equipment: a tripod and a remote control for the shutter release.
You can use your tripod to set up your camera and perfectly frame your photos. Regardless of the lighting situation, a tripod can assist with eliminating blur. Using a tripod also allows you to securely fix your framing, ensuring that it won't shift and cut out vital elements.
A remote control, on the other hand, lets you discreetly fire the shutter of your camera at precise times. Alternatively, you could utilize an interval timer to snap multiple photos in a row automatically.
6. It’s All About Angles
When setting up your proposal shot, you’ll also want to consider the best angle from which you can capture the action. Unless you’re planning on using a professional proposal photographer (or asking a friend to help out), you’ll likely only be able to snap your proposal from a single angle, which will be from wherever you set up your camera. In this scenario, it’s always best to photograph your proposal from front on, ensuring both you and your partner are in the frame. You can then use the Crop tool during the editing process to create better composition, if necessary.
It’s only with the assistance of another camera that you’ll be able to photograph close-ups of your partner’s reaction, the ring, and your own face as you pop the question, for example.
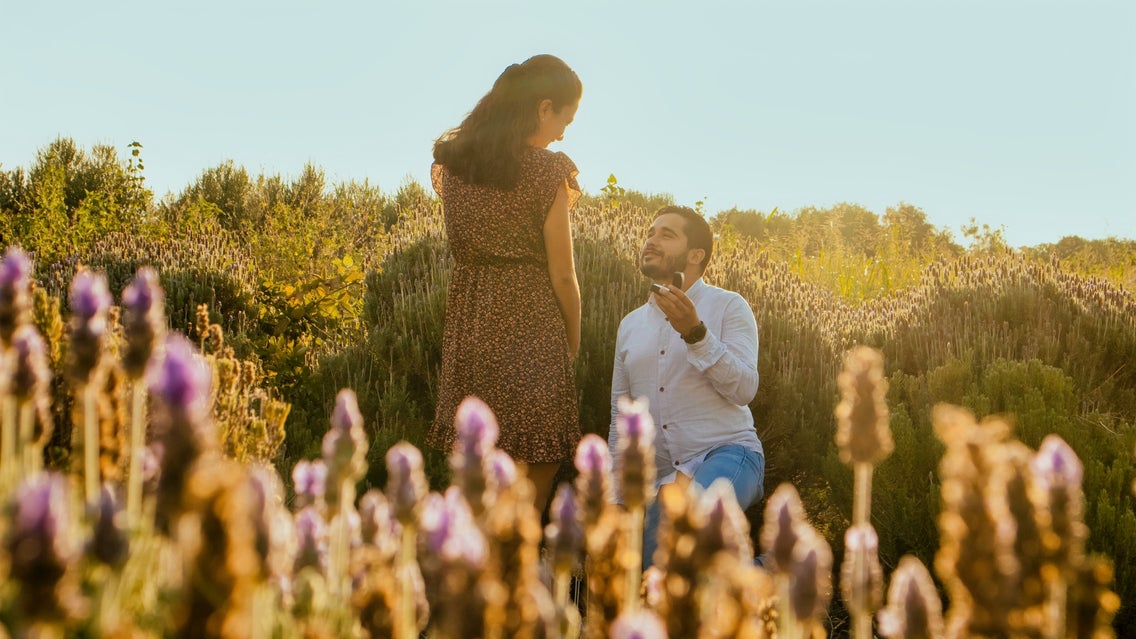
7. Perfect Your Pose
People often wonder “How do you pose for a proposal?”, and for good reasons too. After all, you want your photos to be flattering, yet candid. It can be extremely difficult to keep your pose at the forefront of your mind while you’re asking the most important question of your life.
It can be beneficial to know the golden rules of proposal posing, however, in order to create the most stunning photos that you can as it unfolds. Ensure you and your partner are both standing in optimal positions to ensure no one is out of the frame. Additionally, make sure nobody obstructs you both from your camera’s lens. Finally, be sure to keep a relaxed posture, as hard as that may be. This will prevent you from looking stiff and unnatural in your images.
8. Take Plenty of Photos
Finally, you will want to make sure you capture heaps of photos as your proposal unfolds. It goes without saying, but your proposal is a special moment in time that you simply cannot get back; it goes in the blink of an eye!
If you’re using a remote-control shutter release, ensure you remember to continuously press it as our proposal unfolds. If you’re worried you may get swept up in the moment and forget, set your camera up to use an interval timer. Alternatively, consider outsourcing this very important task to a trusted friend, relative, or professional photographer.
How to Secretly Record a Proposal
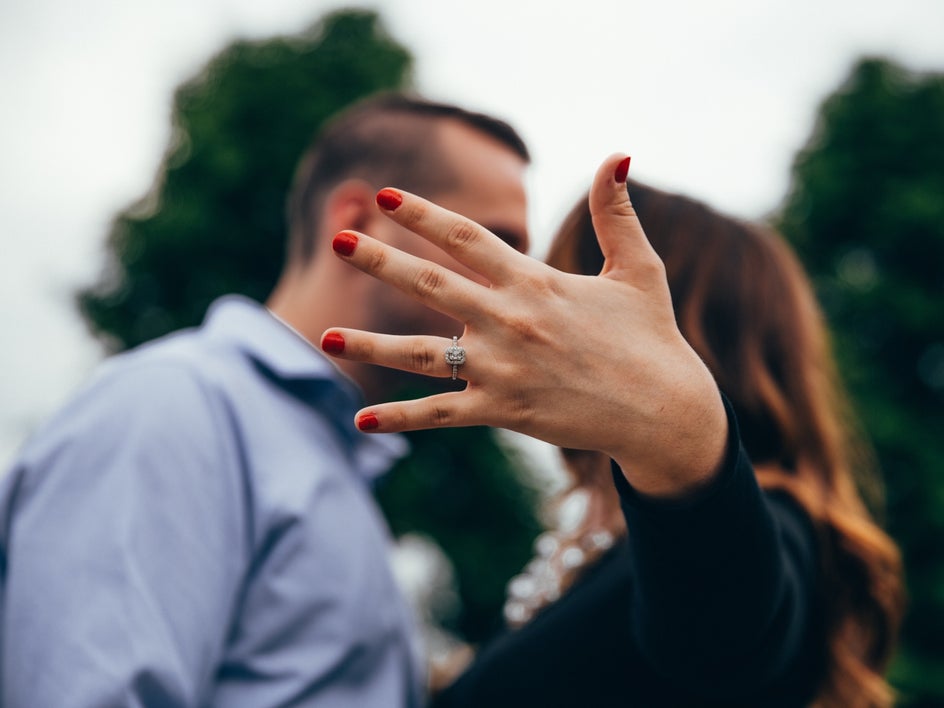
Many couples tend to take photos after the proposal has occurred to show off their partner’s exhilarated smile and ring-adorned finger. While these are both important photos to have, you gain such special memories from also secretly recording your proposal with your camera.
The best way to do this is to safely and securely set up your camera out of sight and on a tripod. Consider concealing it slightly behind some bushes, but ensure the lens (and therefore your proposal scene) remains unobstructed.
If this is too difficult, ask a professional photographer or someone else you can trust to capture the photos instead. They can stand back from the action and use a telephoto or superzoom lens to photograph you and your partner up close.
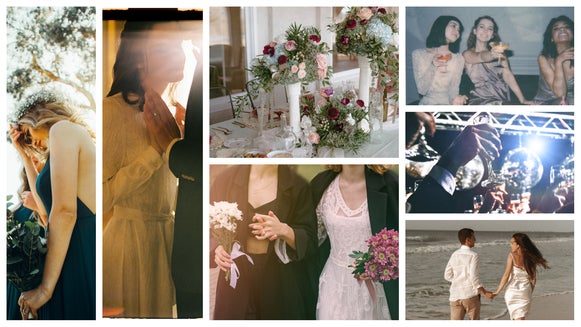
Proposal Photos vs. Engagement Photos: What’s the Difference?
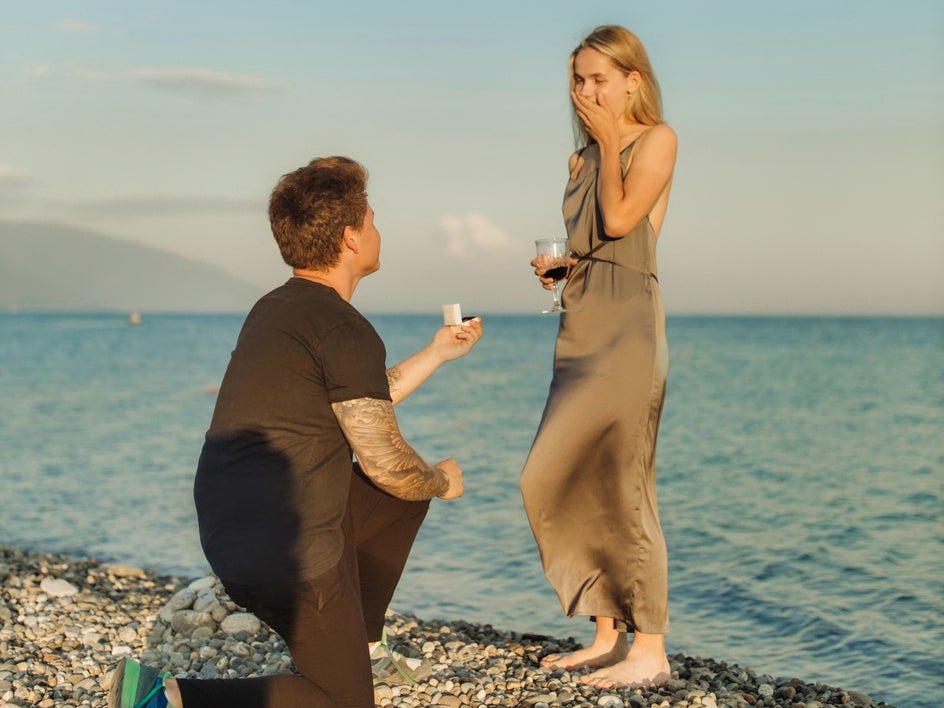
Some people tend to get proposal photos and engagement photos confused, or believe they’re the same thing. When we talk about proposal photos, we are referring to images capturing a couple as one asks the other to marry them. In other words, they bend down on one leg and produce a ring. It’s usually a surprise to the partner being asked.
Engagement photos, on the other hand, refer to those taken during a planned engagement photoshoot. This is often organized by the couple to take place with a professional engagement and wedding photographer. The images can even be used on the couple’s Save the Date, wedding invitation, or holiday card.
When Should You Hire a Proposal Photographer?
This article provides tips for those wanting to photograph their own proposal, but there are some cases where you might consider hiring a proposal photographer instead. Perhaps you’re worried your nerves will get the better of you and make you forget to set up the shot correctly. Or, you might want your proposal scene captured from many different angles at once – something that would be close to impossible to achieve on your own.
Just keep in mind that professional proposal photography costs far more than the DIY option!

DIY Proposal Photography Made Easy
By following the tips above, you’ll be well on your way to capturing stunning proposal images that you and your partner can admire for decades to come. Plus, thanks to our Photo Editor’s clever tools and features, perfecting your proposal images is now easier than ever before.
Check out the Photo Editor to see just how helpful it is!