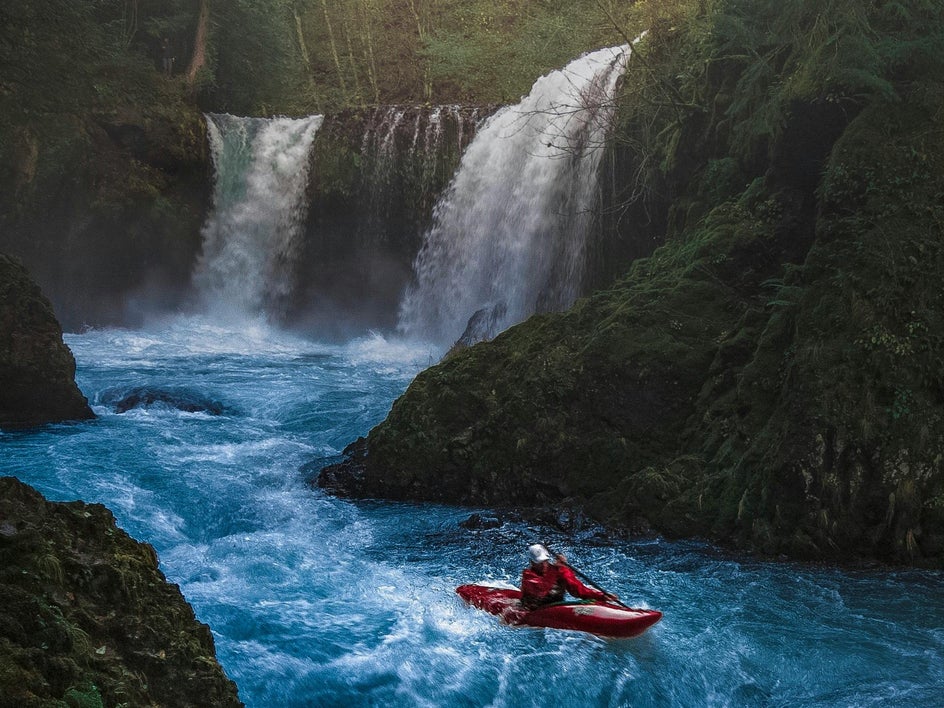
6 Ways to Increase the Vibrancy of Photos
Vibrance gives you the ability to enhance your photos, without oversaturating them. Simply enough, most editing software is equipped with a vibrance tool, making enhancing the colors in your image a breeze. Did you know that there are multiple ways to adjust the vibrancy of your images with other editing tools? As smart as a vibrance tool is, it needs to work in perfect balance with other tools like exposure, saturation, and contrast for your colors to pop.

Let’s learn what vibrance is in photography and then go through different methods to achieve the perfect vibrancy in your photos using all of the tools that BeFunky’s Photo Editor has in its arsenal.
What Is Vibrance in Photography?
To understand vibrancy, we need to understand saturation and the relationship between the two. Saturation, or 'chroma,' refers to the intensity of color, or how bright your colors reveal themselves. I spoke about this in "How to Enhance Colors in Your Photos Without Oversaturating" but it is important to revisit.
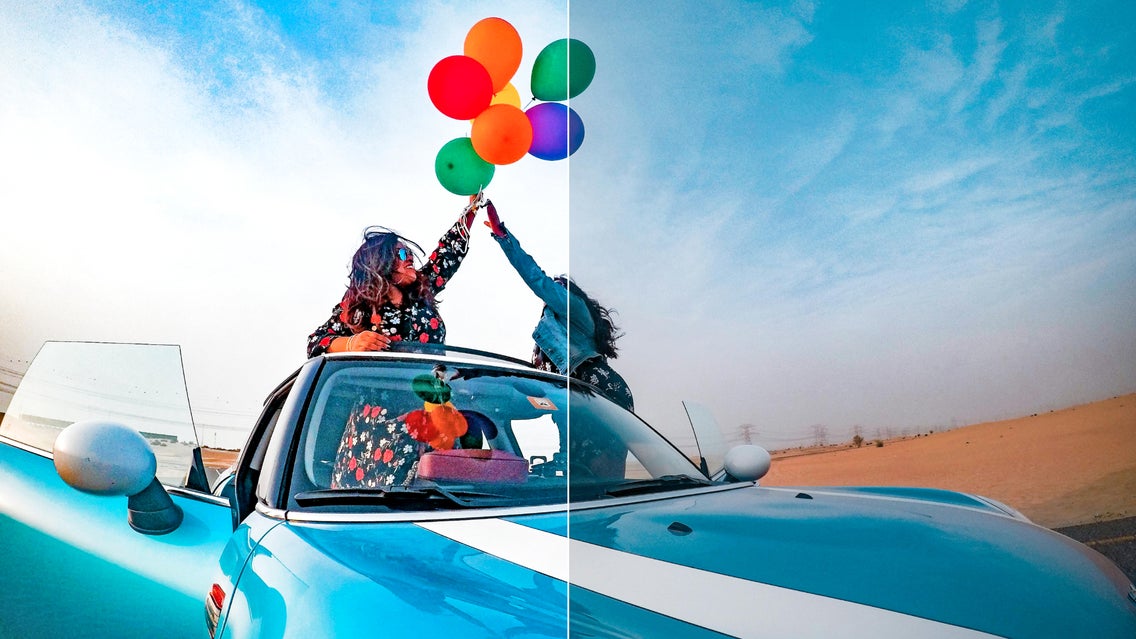
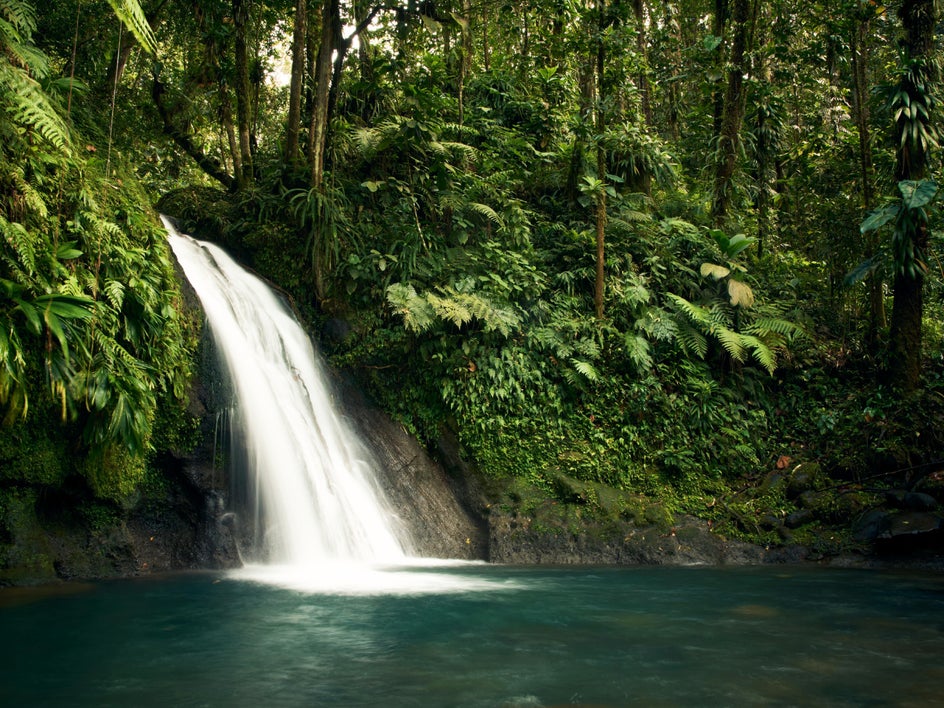
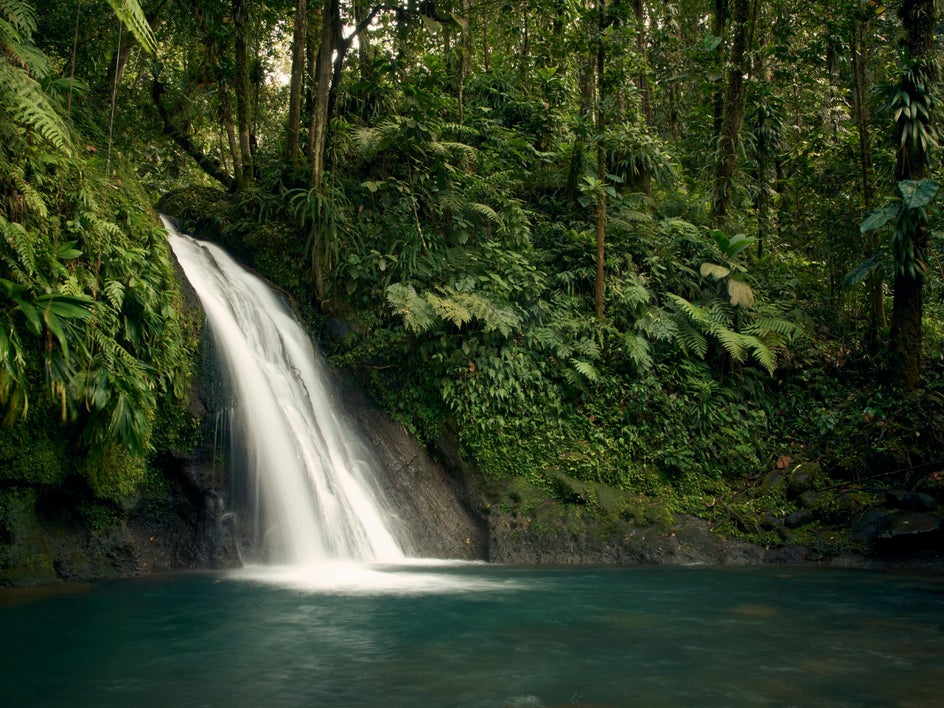
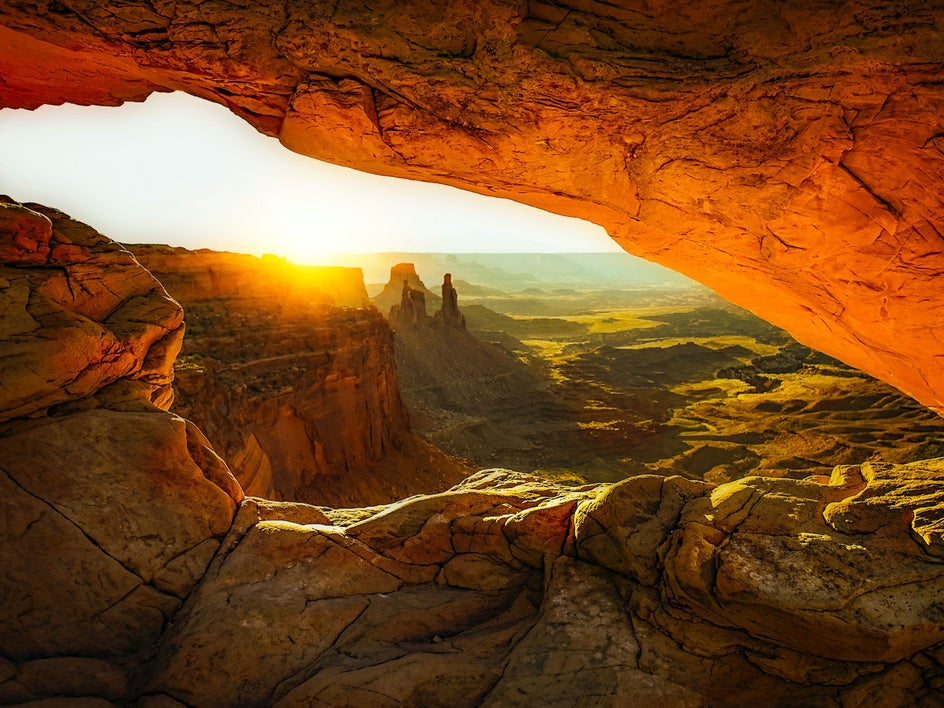
With most photo-enhancing software, increasing the saturation slider results in the uniform boosting of every color in your photo. If certain colors are already well-saturated, this leads to color clipping, which is when a color is so far beyond its normal range that all the details in that area become lost.
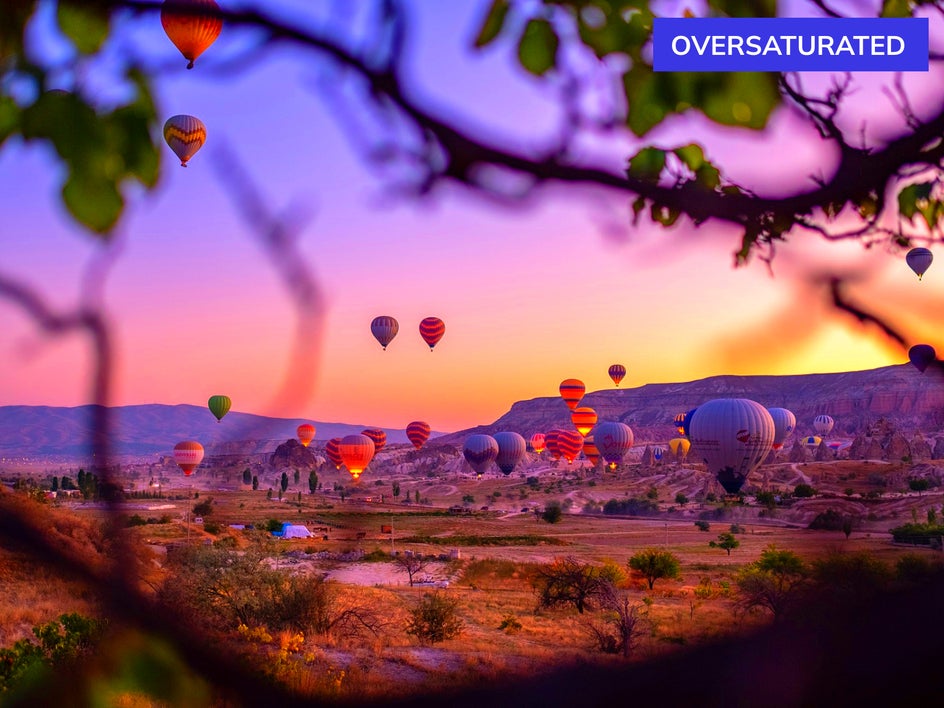
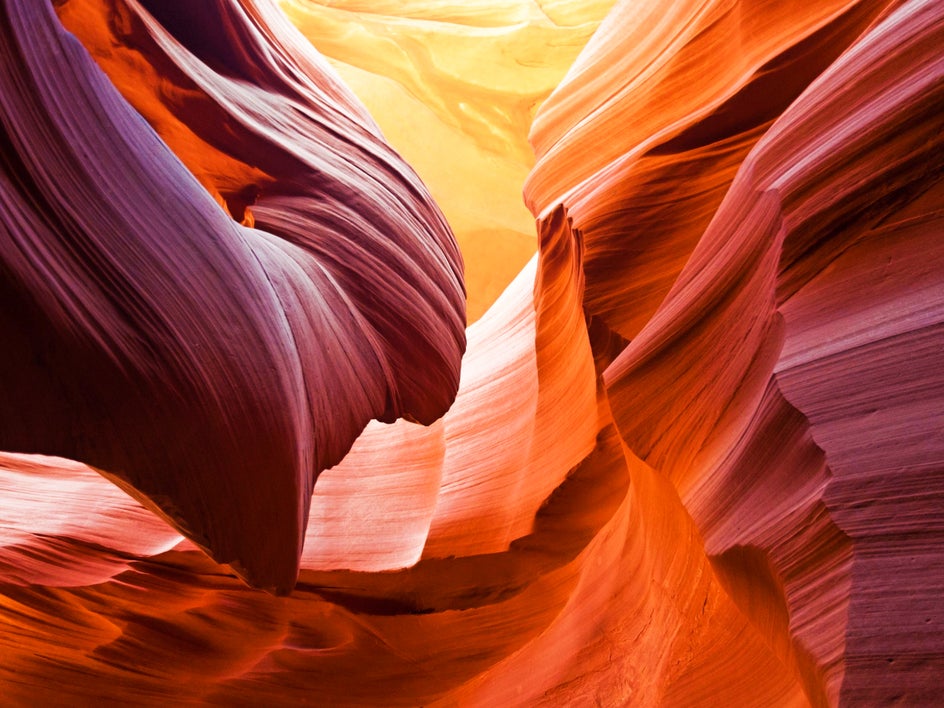
It is the same idea – when you overexpose a photo and can no longer see certain objects or details in the image. One of the huge tells of oversaturation is that the colors do not look real; they leave skin tones looking orange, trees looking neon, and oceans looking an unrealistic shade of blue.
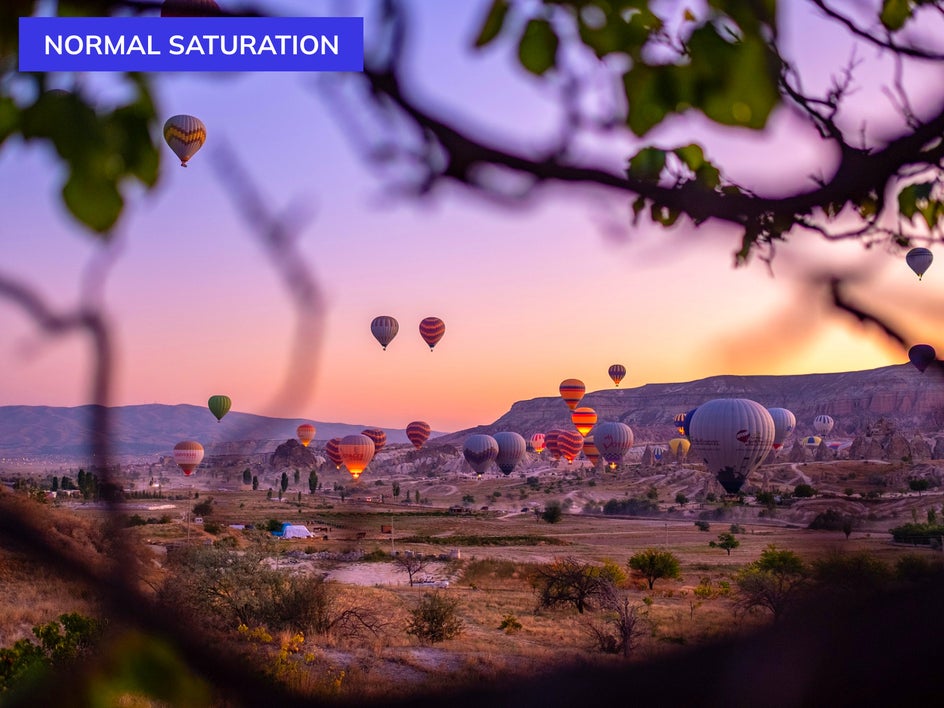
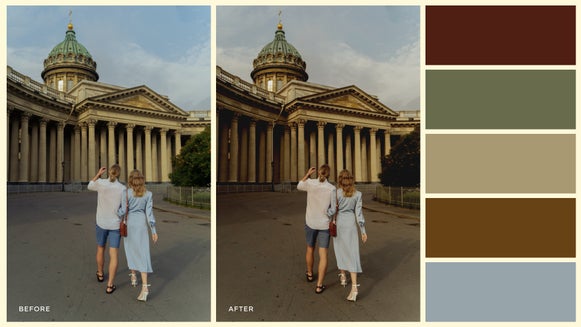
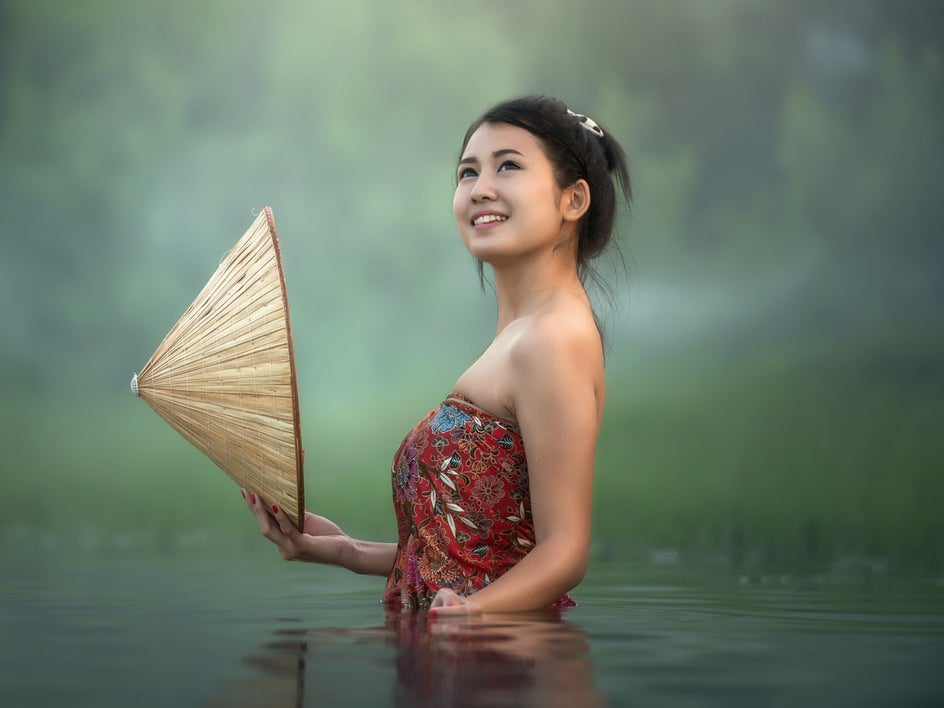
Vibrance is more specific when selecting which colors to enhance and which to leave alone. Vibrancy saturates the parts of a photo that aren’t as colorful so that the photo as a whole has tonal balance.
According to Wix Photography, vibrancy is not an actual photography term, as it was coined by Adobe when they developed a smart tool for their editing programs. This tool, which is now widely used by most editing software, allows photographers to increase the intensity of dulled colors, all while leaving the colors that are already saturated untouched.
How Do I Make My Photos Vibrant?
If you’re wondering how to make your photos vibrant, here are five tools that we are going to highlight that can affect the vibrancy of your image. When you are ready to enhance the colors in your image, try out each of these tools with the Photo Editor.
1. Vibrance
Obviously, BeFunky’s Vibrance tool can probably help increase the vibrance of your photo! This tool has smart sensing capabilities to balance the colors and achieve a more natural final result.


This tool can be found under the Edit tab in the left-hand menu. Select the Vibrance tool under the Essentials section. If you want a detailed tutorial, check out this article.
2. Exposure
Exposure determines how light or dark your image is and also determines the quality of your image. Overexposing will produce a blown-out photo with faded colors, and underexposing will make it difficult to see details of any kind including color. Correctly balancing exposure in your image with the Exposure tool will make your colors appear more vibrant.
This tool can be found under the Edit tab in the left-hand menu. Select the Exposure tool under the Essentials section.
3. Beautify
The Beautify tool uses AI to color correct, improve saturation, add fill light, sharpen lines, and enhance contrast – all in just a single click. Within this tool, you can control the Color Amount that gets adjusted in your photo – but it intuitively adjusts it, much like the Vibrance tool but smarter since it includes the enhancement of exposure and other tools. If you simply need a tool to do the work for you so that you don’t have to second guess your vibrancy-editing skills, this is the tool for you.
This tool can be found under the Edit tab in the left-hand menu. Select the Beautify tool under the Color Enhancements section.
4. Vibrant Colors
Because Vibrant Colors DLX is a smart Photo Enhancer, the saturation in your photo will be increased only in the places that need it, while the places that don’t, remain minimally processed or untouched. This brilliant tool can sense the difference between mid-tones that need a color boost and well-saturated colors that need to be left alone so that your photos come out looking realistic every time.
This tool can be found under the Edit tab. Click Vibrant Colors DLX under Color Enhancements.
5. Image Enhancer
Our AI Image Enhancer uses advanced deep-learning algorithms to analyze an image and figure out what's in it, such as objects, people, and backgrounds. Then, it analyzes the image’s lighting, color, and texture so that it can enhance each analysis independently. The outcome is a photo that is balanced in sharpness, exposure, contrast, and color. So, if you are looking for a vibrant, perfectly balanced image, this is a great tool to use!
You can find this tool in the Edit menu under the Essentials tab.
6. Auto Enhance
Our Auto Enhance tool is a smart exposure tool. As we stated with the Exposure tool, when used properly, it can enhance the vibrancy of a photo. This tool increases the brightness of your photo – so all of the colors in the shadows that went unseen can now be seen!
You can find this tool in the Edit menu under the Brightness tab.
Increase the Vibrancy in Your Photos
Increasing the vibrancy in a photo is a great way to make your colors pop without oversaturating. Remember that there should be a balance between each tool’s effect. When you are ready to start enhancing your images, try out each of these tools in the Photo Editor to figure out which one is the best for you.