Create a Gradient Background With the Vignette Tool
In the age of digital design, there are new techniques that pop up all the time. Most of them are inspired by designs of the past, one of those is gradient design. This design aesthetic that was popular in the 90s has made its way back into the mainstream. So you may be asking yourself, what is gradient design?
Gradient design has become increasingly popular in the last few years, it is a technique used that blends one color seamlessly into another color, creating endless new colors in the blend. You can use this technique with complementary colors, or with different shades of the same color. There are countless options for creativity when it comes to gradients and you can achieve them with the help of BeFunky’s Photo Editor.
Go Gradient With the Vignette Tool
To get started, upload any image into the Photo Editor and navigate to the edit tab. The image you choose to upload isn’t too important, as we will be layering on top of it. After you upload your image, you can adjust the pixel size or crop it to your desired size.
Step 1: Navigate to Vignette
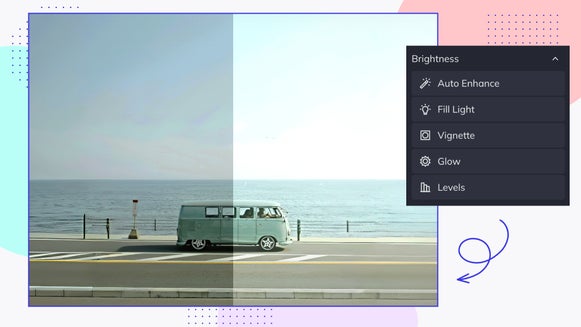
Select the Vignette section under the Essentials section of the Edit tab. When you select Vignette, it will automatically populate as a classic, radial vignette. From here, there are three types of vignettes you can choose from to create your gradient background; Radial, Square, or Linear. Experiment with the different options to see which shape creates your preferred gradient.

Step 2: Set the Opacity to 100%
To achieve the gradient background aesthetic, you need to make sure that the opacity is set to 100% so that it covers the photo on your canvas completely.
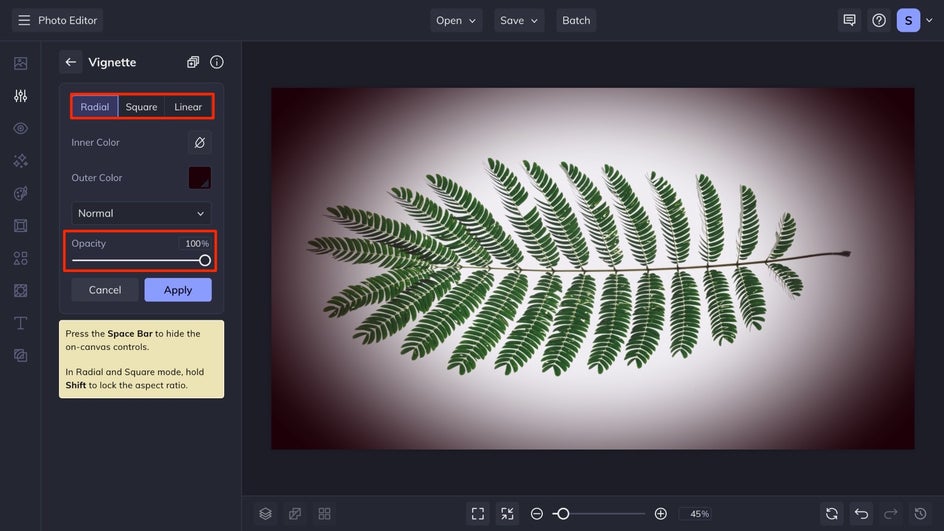
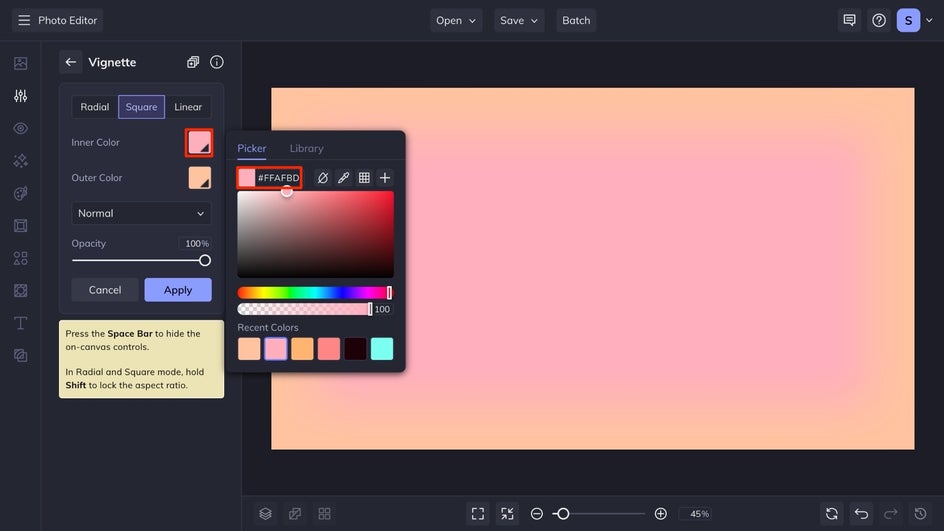
Step 3: Select Your Gradient Colors
As was mentioned earlier, the automatic setting is for the inner color to be transparent, and the outer color to be set to black. To achieve the gradient background aesthetic, you will need to select complementary colors. If you know the HEX color code you want to use, you can input it in your color selection. If you don’t know the HEX codes, you can play around with the color sliders until you find some that you think look stellar together.
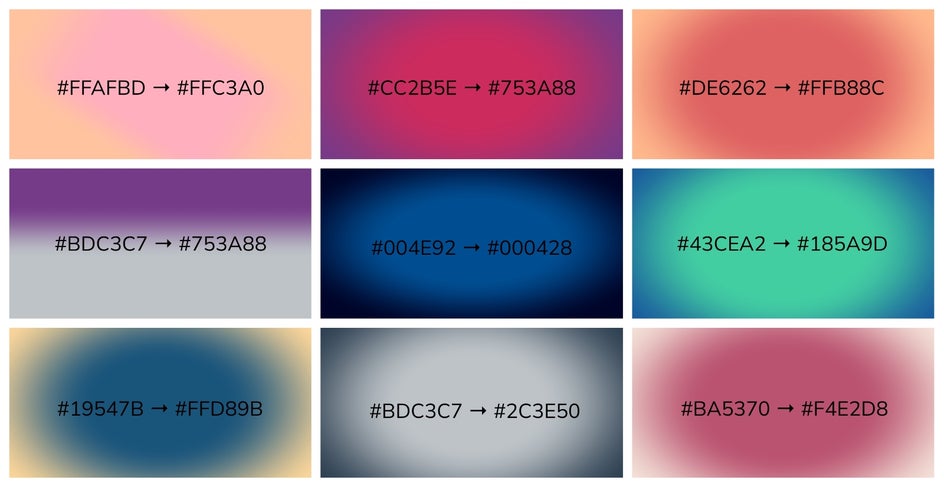
Here are some examples of our favorite combinations. You can try them on your own, or tweak them to be your own creation! If you need more inspiration, you can get some color combination ideas here.
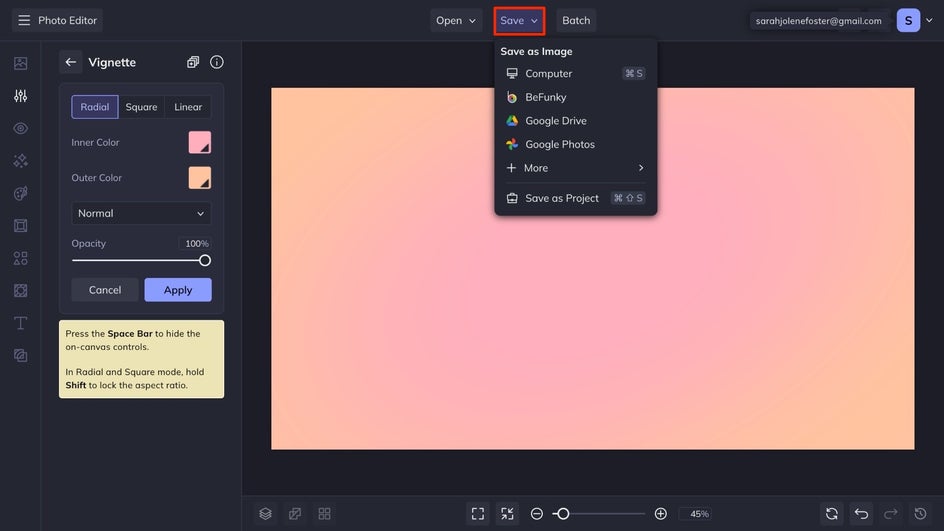
Step 4: Save Your Gradient Background
Once you are satisfied with the colors you have chosen and how the Vignette appears, click the Save button at the top of your canvas and select your desired save location.
Gradient Inspiration
In just a few clicks you have the gradient background of your dreams! There are many ways you can use gradient backgrounds but here are three of our favorite ways to use gradient backgrounds with the Vignette tool.
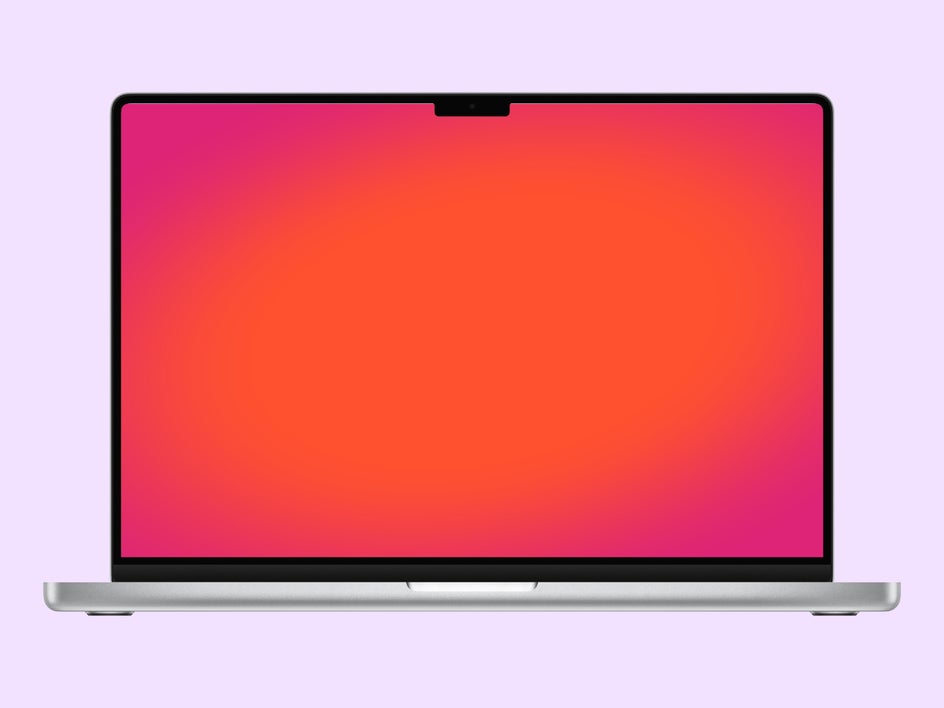
Computer Background
Using a canvas with a pixel size of 1920X1080 is the perfect size for a computer background You can make the gradient background of your dreams.
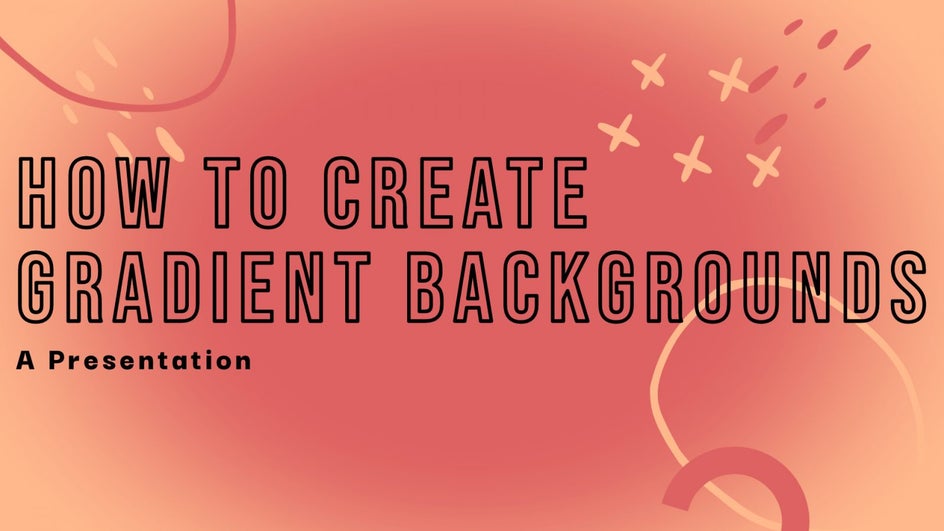
Presentation Slides
If you have a presentation coming up, a great way to wow your crowd is to use gradient backgrounds throughout your slide deck. This is a fun way to keep your presentation engaging, and tied together well.
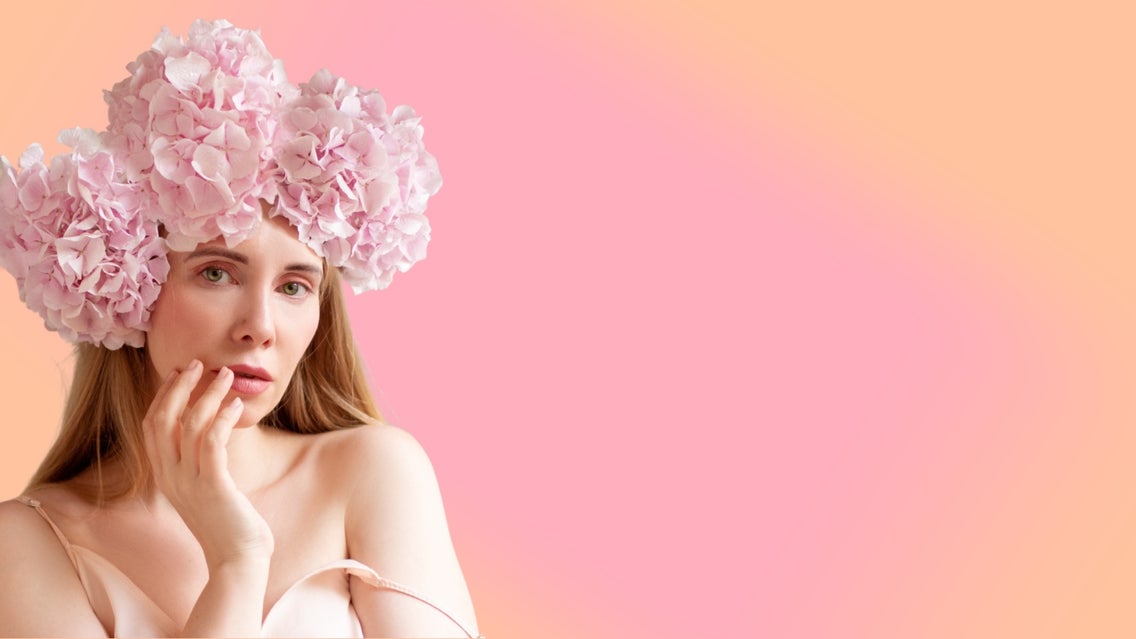
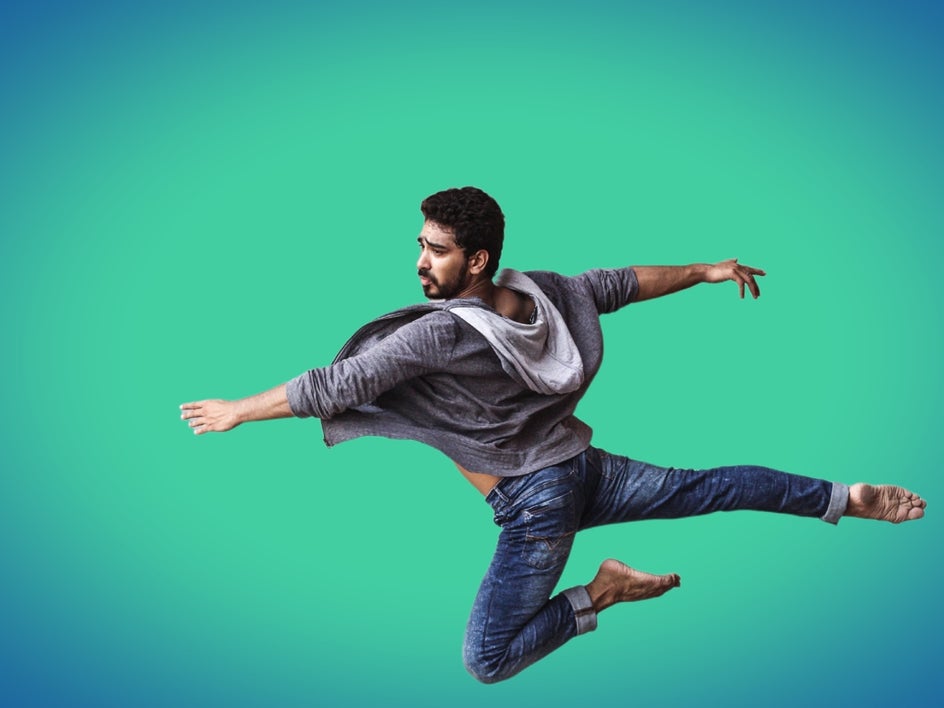
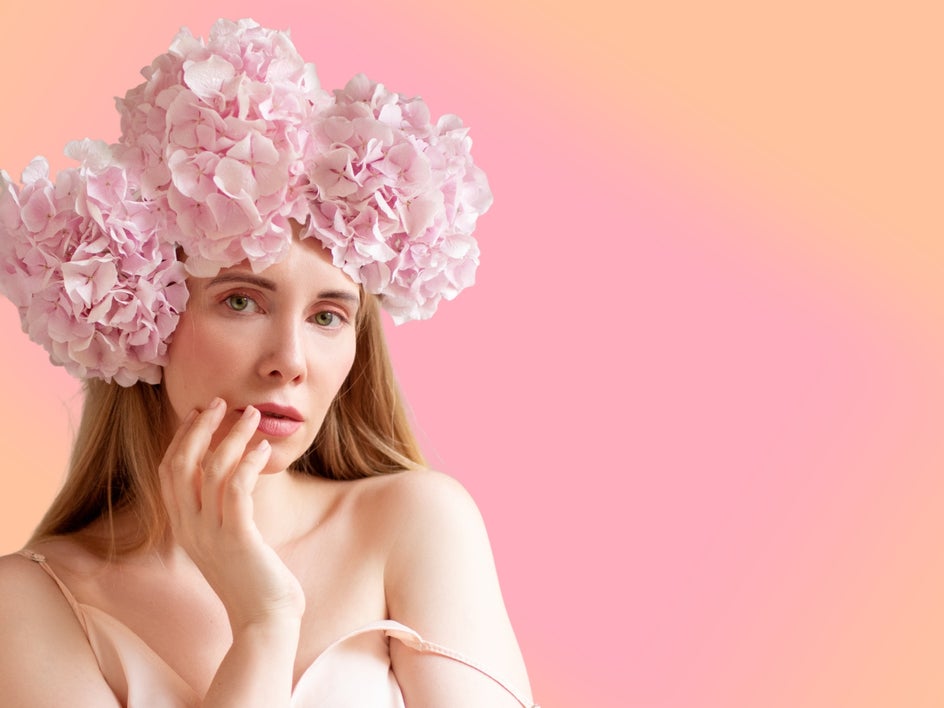
Portrait Backgrounds
Our absolute favorite way to use gradient backgrounds is to use them to replace the background in portrait photography. Remove the background of your favorite portrait, and upload it as a layer to your gradient background.
Start Creating Your Own Gradient Backgrounds
There are endless color combinations waiting to be turned into a gradient background with BeFunky’s Vignette. You can create your own perfect color combination for your gradient background with the help of the Photo Editor.