Editing Tips for Better OOTD Photos
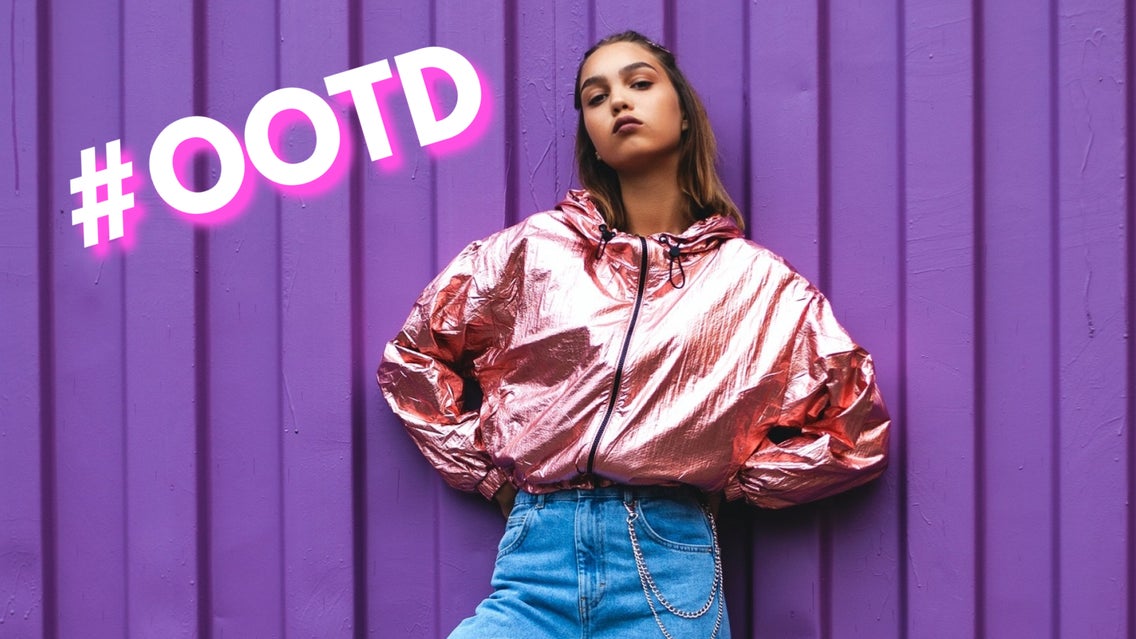
#OOTD, or “outfit of the day” photos, have been dominating social media feeds for years now. Invented by fashion bloggers, the tag is used to showcase what a person is wearing on any particular day for any given reason – whether it’s a morning at the beach, a fancy dinner, or a day in the office.
If you love sharing your outfits on social media, you may be wondering how you can level up your #OOTD game. Thankfully, BeFunky’s Photo Editor has tons of helpful tools to perfect your outfit photography. Keep reading for our top 5 #OOTD photo editing tips!
1. Rotate and Crop
Once you’ve captured your #OOTD, the first thing you’ll want to do before publishing it is to straighten and crop your photo. Nothing is more distracting than an outfit photo that’s slightly askew or features an unflattering composition.
You can find the Rotate and Crop tools in the Edit tab of the Photo Editor. Simply move the slider underneath Straighten to correctly rotate your image. Pay close attention to any horizontal or vertical lines in your photo’s background, as you’ll want to ensure these are as straight as possible. The grid that appears as you Straighten makes this a whole lot easier!
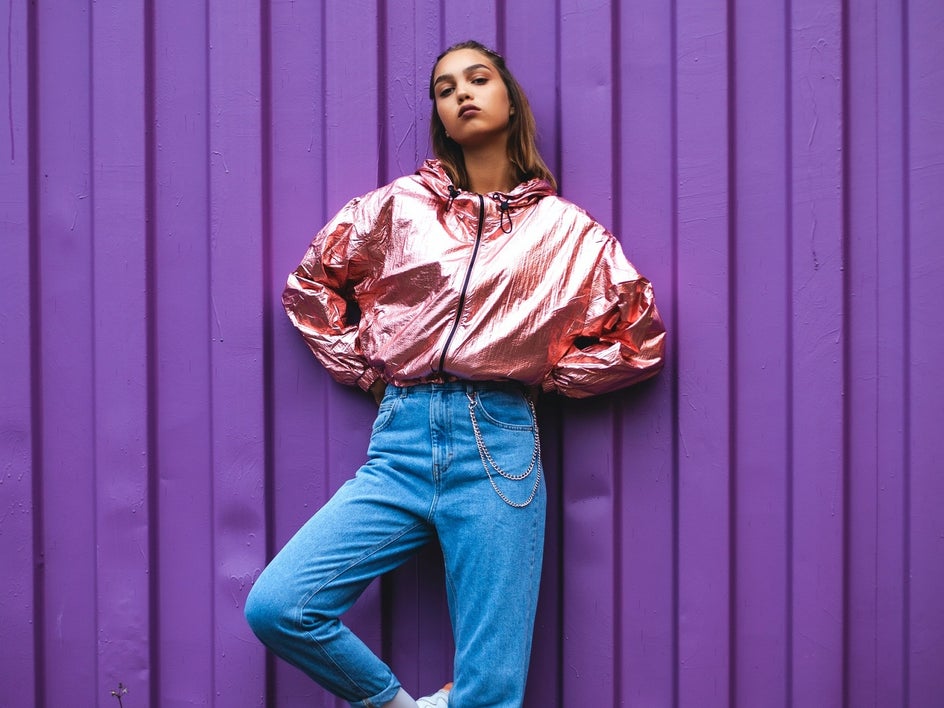
Then, simply use the Crop tool to get the perfect Aspect Ratio with your #OOTD photo. In the dropdown menu, you’ll notice plenty of Aspect Ratio presets exist to instantly transform your photo without the hard work.
The Square 1x1 ratio is perfect for photos you wish to upload to Instagram, while photos optimized for a blog generally look best in landscape orientation with aspect ratios such as Image 3:2 and Image 4:3. Finally, if you want to upload your photo to Pinterest, use the Pinterest aspect ratio in portrait orientation.
2. Adjust the Exposure
No matter how great your #OOTD photo looks once you capture it, it’ll likely require some additional tweaks to the Brightness, Contrast, Highlights, and Shadows to really make it pop. Luckily, you can fine-tune each of these within the Exposure tool, located in the Edit tab.
Brightness will turn up the overall exposure on your image, while contrast increases both the lights and darks to make details stand out more. Highlights make the brights of your photo even brighter, while Shadows pull out details from the darker areas of your images.
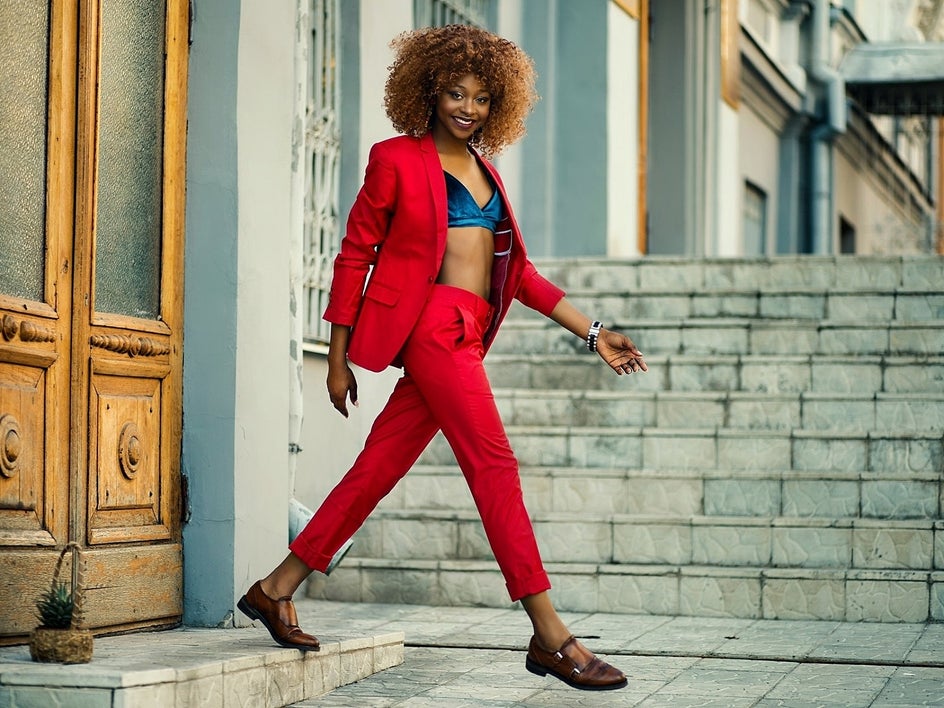
You can choose to adjust exposure on your entire photograph, or you can use the Erase mode feature (located to the right of Adjust) to only enhance exposure on selected areas.
3. Get the Temperature Right
Temperature refers to an image's coolness or warmth. If your #OOTD is looking a little on the blue side, it needs to be made warmer by adding orange and brown tones. If your outfit photo is looking a bit too orange, however, then it needs to be made cooler by adding blue tones.
With the Photo Editor’s Color tool, you can easily adjust your photo’s temperature in a single click. Using the Temperature slider, slide the adjuster towards the blue scale to add a cooler, blue tone to your image. Alternatively, sliding it toward the orange side of the slider will add a warm tint by adding brown and orange tones.
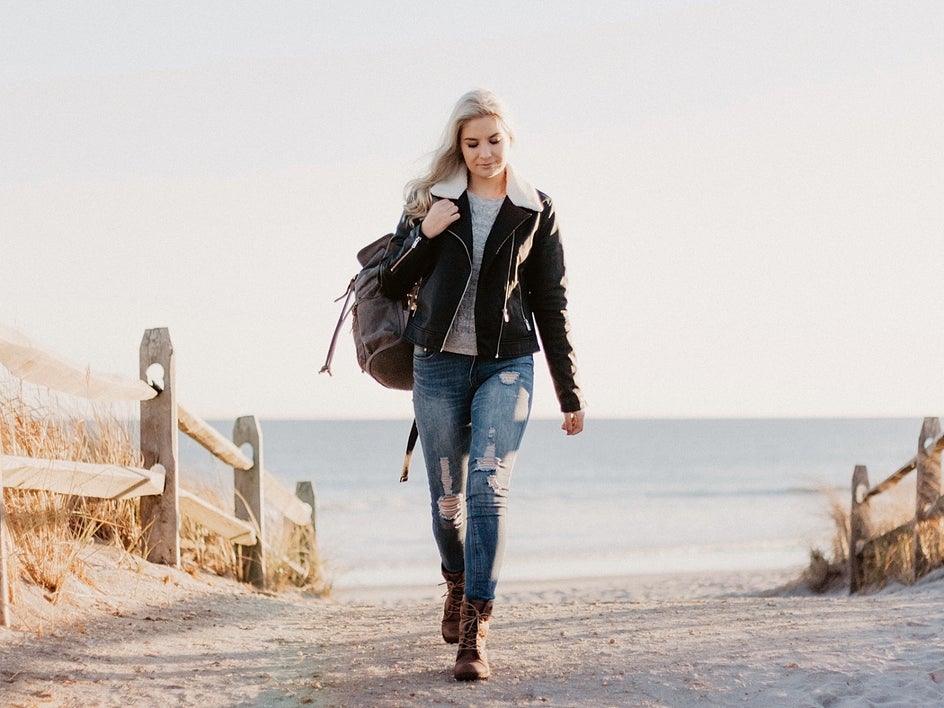
Want to also bump up your photo’s color so it’s more vibrant? Simply adjust the Saturation slider (located above the Temperature slider) to do just that!
4. Create a Distraction-Free Background
When taking your #OOTD photos, you want the focus to be on your outfit, obviously! However, sometimes an unsightly element in your background or an overpowering backdrop can capture the viewer’s attention instead.
To avoid this, there are a number of things you can do during the editing process. Using the Blur tool just on your background is one solution. Simply use the Erase mode feature (located to the right of Adjust) to “paint” the Blur effect onto the background areas of your image only.
The Vignette tool is another great way to ensure the focus is kept on you and your outfit. This creates a darkened border around your #OOTD photo and draws the eye to the subject instead of the surrounding background.
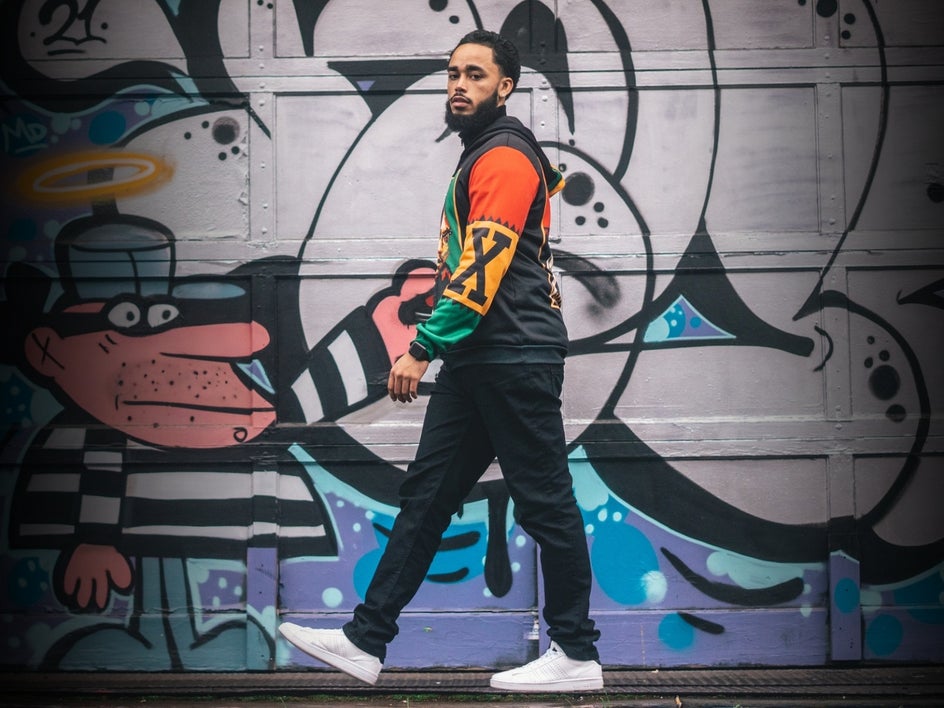
Once you’ve selected the shape of your Vignette and sized your target, click and drag to place it over the part of your photo you want your audience to focus on. Then, simply adjust the Opacity to change the intensity of the effect, before choosing a Color (if you want something different from the default black).
5. Retouch Any Imperfections
Once you’ve dealt with an overpowering background, you may find that there are other distractions or imperfections in your #OOTD. This might include a stray hair on your face, an unsightly crinkle on your outfit, or a scuff on your shoe, for example.
Thankfully, these little details can be fixed in just seconds using the Photo Editor’s Touch Up tools. To locate these, navigate to the Touch Up tab.
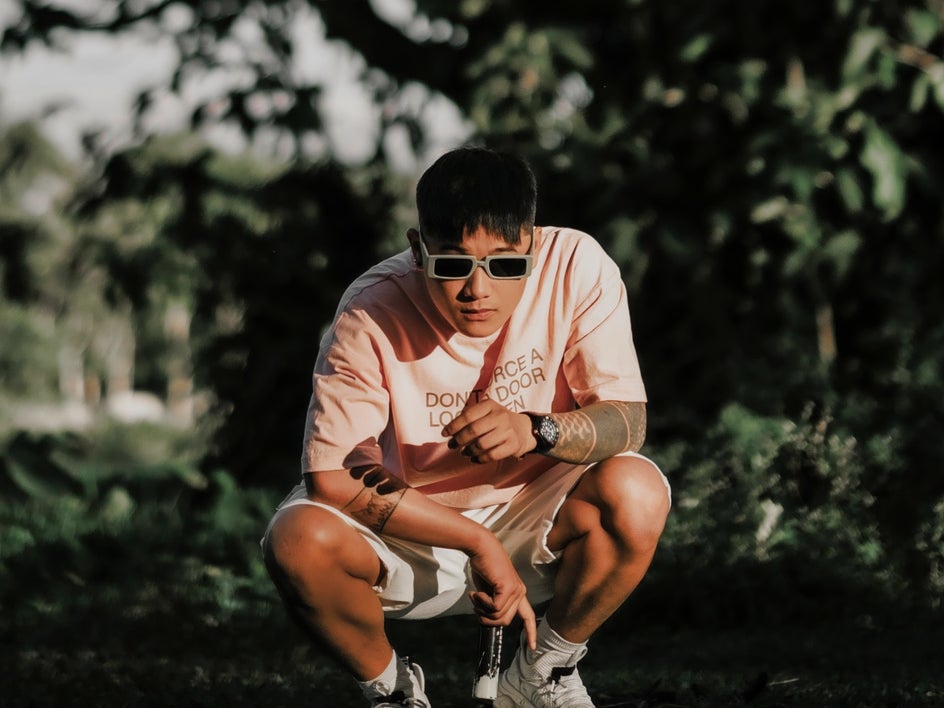
Blemish Fix is a quick way to reduce the appearance of any marks or imperfections on your subject while maintaining the natural texture and color of the photo. Alternatively, the Clone tool can help you replace parts of your image with the pixels surrounding it. This is another excellent way to get rid of any minor distractions or imperfections. We also suggest taking advantage of the A.I. Portrait Enhancer for an all-encompassing glow-up.
Level Up Your #OOTD Photos
#OOTD photos might be one of the most trending topics on Instagram, but there are some simple editing tips you can follow to ensure yours stand out from the pack. By keeping our top 5 editing tips in mind, you can showcase your incredible style in the most flattering way!
Ready to edit your own #OOTD photos to perfection? Head to the Photo Editor to get started!


