A How-To Guide for Wedding Thank You Cards
You may be coming to the end of your wedding planning journey, and as you see your to-do list slowly dwindling, the excitement for your big day is sure to be building. Your thoughts are probably wrapped up in trying not to trip while you walk down the aisle, but there is still one major component that you have to think about: your thank you cards.

How to Create Your Own Thank You Cards
If you used BeFunky to design your other Wedding printables, you may already have an idea of what you want your thank you cards to look like. But with BeFunky’s Thank You Card Maker, you can create custom thank you cards fit for any wedding theme in just a few simple steps.
Step 1: Find a Wedding Thank You Template
After you navigate to the Thank You Card Maker, add the word “Weddings” before “thank you” in the search bar if you want to filter the results! If you designed your invites with BeFunky, there is likely a thank you card that matches since they come in sets. Once you find a template that calls to you, select it and start editing it to fit your wedding's aesthetic by clicking Use This Template.

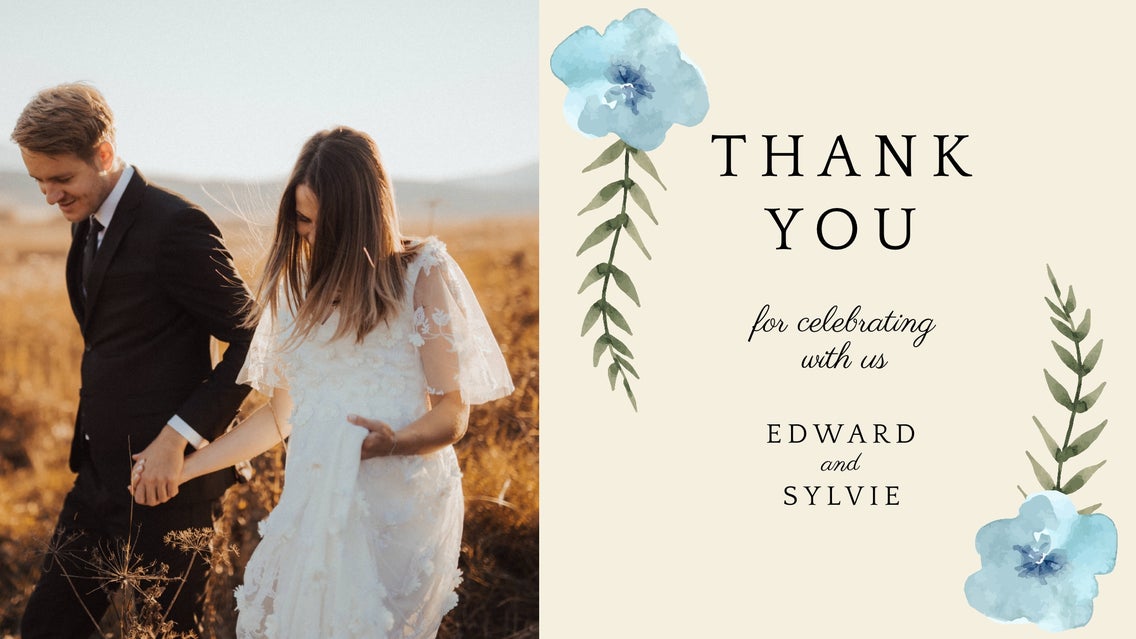
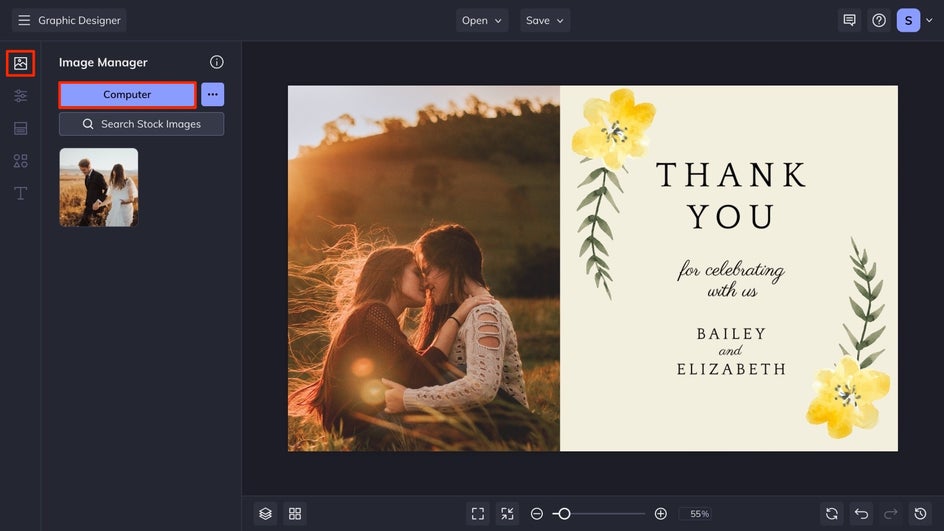
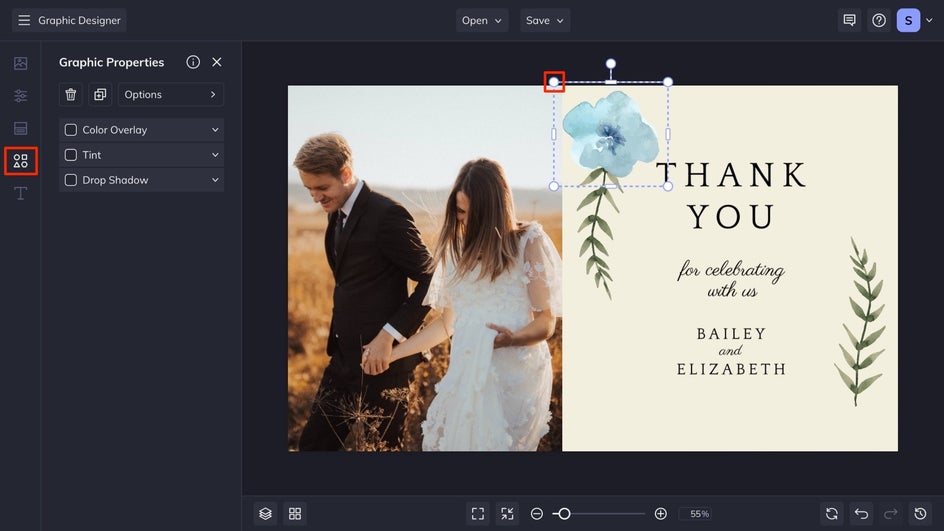
Step 2: Add Your Own Photo
Add your own image to the template with the Image Manager. Drag and drop your image onto the canvas, or upload it from your computer.
Step 3: Adjust the Graphics
Next, adjust the graphics – if there are any – by navigating to the Graphics tab on the left side of your interface and searching the Graphic Library for what you are looking for. When you find the graphic you want, click it and it will be added to Your Graphics section.
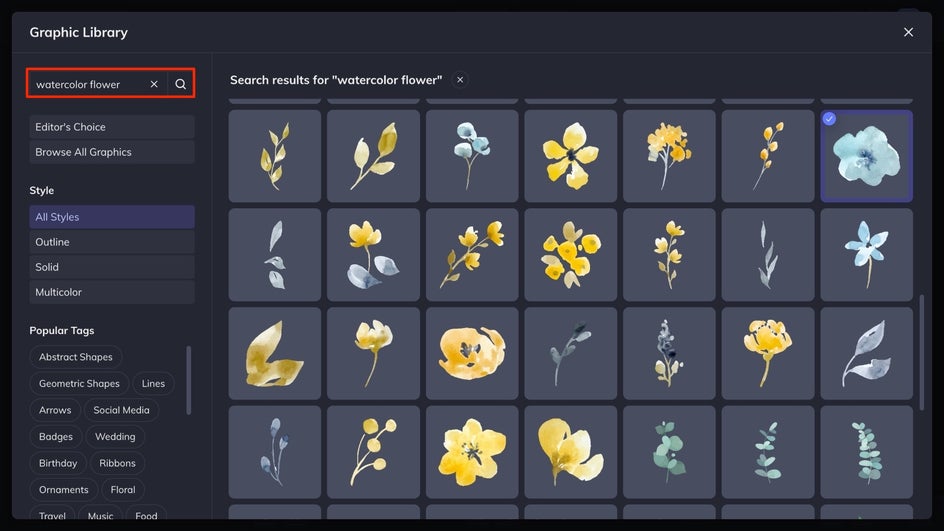
Drag and drop the graphic onto your canvas or double-click to add it and make adjustments with the guides to achieve your desired result.
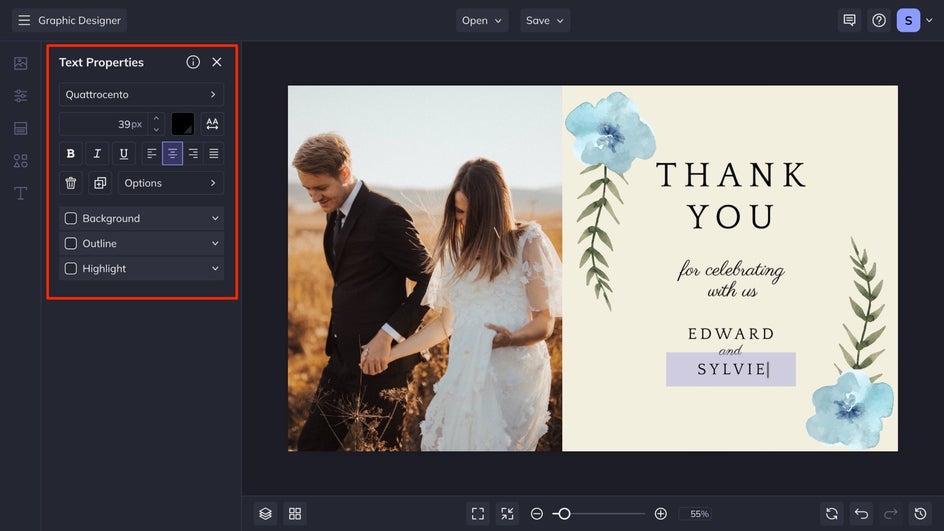
Step 4: Personalize the Text
Edit the names that appear on the template by selecting the text and replacing the names with your own. If you want to add some more personal flair, use the Text Properties menu to add a drop shadow, change the text color, and more. If you want to add more text, you can always click the Add Text button.
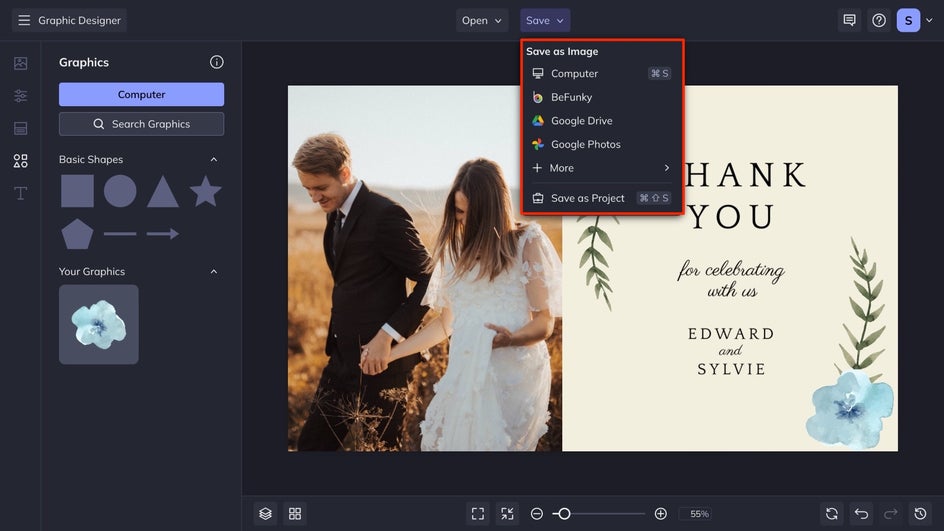
Step 5: Save Your Wedding Thank You Card
When you are happy with your thank you card, click the Save button at the top of your interface to save it to your desired location. Since you are most likely going to print your wedding thank you cards, it is best to save them to a PDF.
Start Customizing Your Own Wedding Thank You Cards
With this wedding thank you card guide, cross one more thing off your wedding to-do list. thank you cards have never been easier to customize with the Thank You Card Maker. Get started making yours now.
5 Simple Tips to Personalize Your Wedding Thank You Cards
Wedding thank you cards can be a bit daunting when it comes to the planning process. From bridal showers to bachelorette parties, up to the big day – each event can warrant its own thank you card. So it can definitely be overwhelming. Luckily, BeFunky is here with five tips for your wedding thank you cards to make it a bit more straightforward, and take the stress away after your big day.
1. Send Them Within Three Months
After you get home from your honeymoon, it is time to start on your thank you cards. The goal is to send your notes of thanks by 3 months after your wedding, however, it is never too soon to send them! Having prompt messages of thanks will make your guests feel like their presence was valued while letting them know how much you loved their gifts.

2. Be as Detail-Oriented as Possible
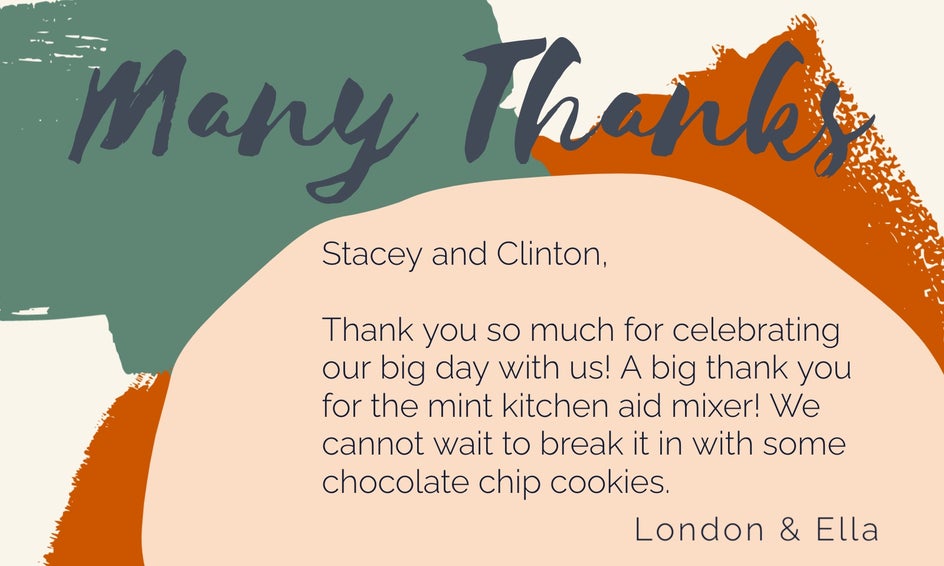
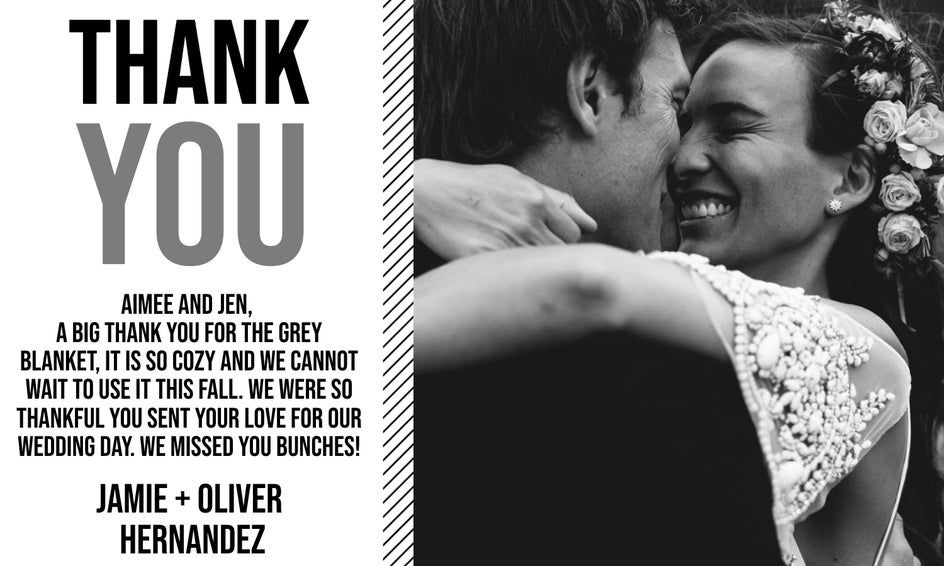
When you start opening gifts, it is best to do so with someone great at taking notes. This designated person and their list of gifts will make it easy when it comes time to write your thank you cards by allowing you to be as specific as possible. Include the color or other descriptor of the item.
3. Add What Financial Gifts Helped You Buy
Sending thank you cards for financial contributions can be a particularly complicated area to navigate. Some of our favorite phrases to use in thank you cards for these types of gifts are “Thank you for your gift of money,” or “Your generous financial gift was so thoughtful, thank you!” When you pair this with an example of what you used the money for, it allows your gift giver in on a slice of your life while feeling appreciated.

Tip 4: Thank Everyone Who Sent Gifts, Even if They Didn’t Attend
There is the occasion when someone unable to attend the wedding sends a gift, you still need to thank them for their thoughtfulness! A great way to do this is to mention how you thought of them on your big day and knew they sent their love. This will help them feel included, even though they were unable to make it there in person.
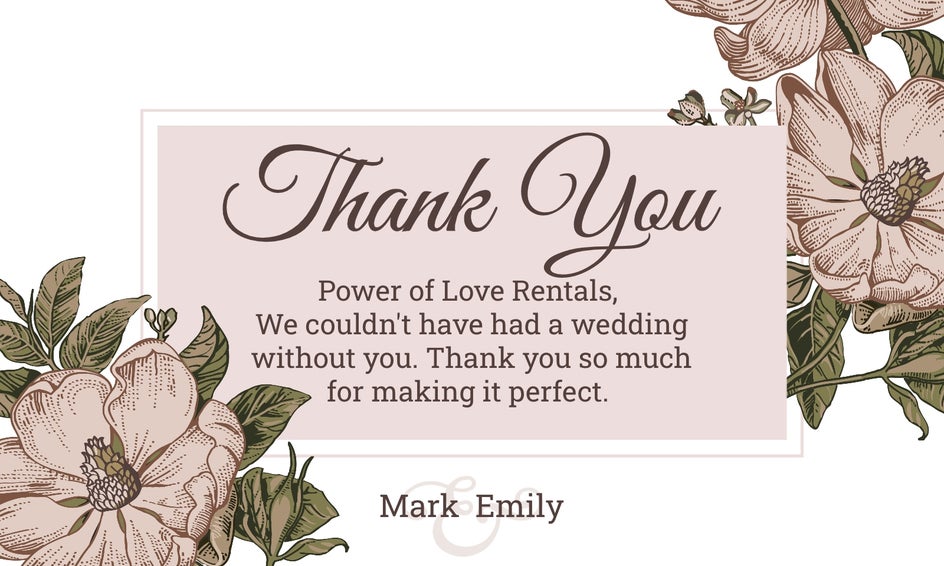
Tip 5: Don’t Forget About Your Vendors
Your vendors are the people who made your day possible! Even though you paid them, without their effort to make your day as perfect as it could be, there would be no wedding. Make sure to send them a thank you note to let them know how much you appreciated their effort to make your day go seamlessly.