How to Create a Then and Now Photograph
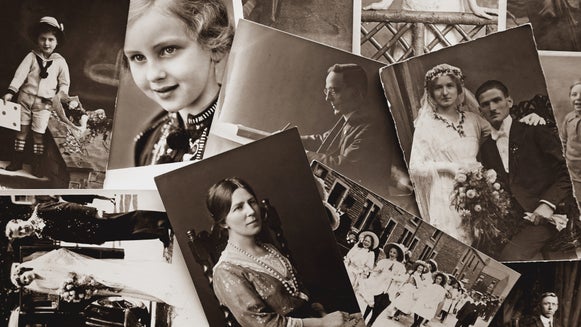
Ever wanted to step foot in the past? Whether it’s to your favorite landmark, city, or a home that’s close to your heart, you’ve probably spent time pondering how this scene may have looked differently just decades ago.
While none of us have access to a time machine (yet), that doesn’t mean you can’t use the power of photo editing to send yourself back in time. Thanks to the Photo Editor’s wide range of tools and features, transporting yourself—or someone else—to the past has never been so easy.
Keep reading, because we’ll show you how you can use a combination of BeFunky’s Photo Effects and the Isolate Subject tool to live out your vintage photography dreams!
How to Create a Then and Now Photo With BeFunky
Ready to create your very own “then and now” photo? We recommend selecting a photograph that has a clear subject or object within the foreground. This will make the following steps a whole lot easier!
Then, to begin editing, head to the Photo Editor and open the photo of your choice.
Step 1: Add a Vintage Inspired Photo Effect
Once your photo is uploaded, navigate to Effects in the main menu on the left. Then, choose a photo effect category to explore. For your “then and now” photo, we recommend selecting a photo effect from the Black and White, Old Photo, Sepia, or Tintype categories.
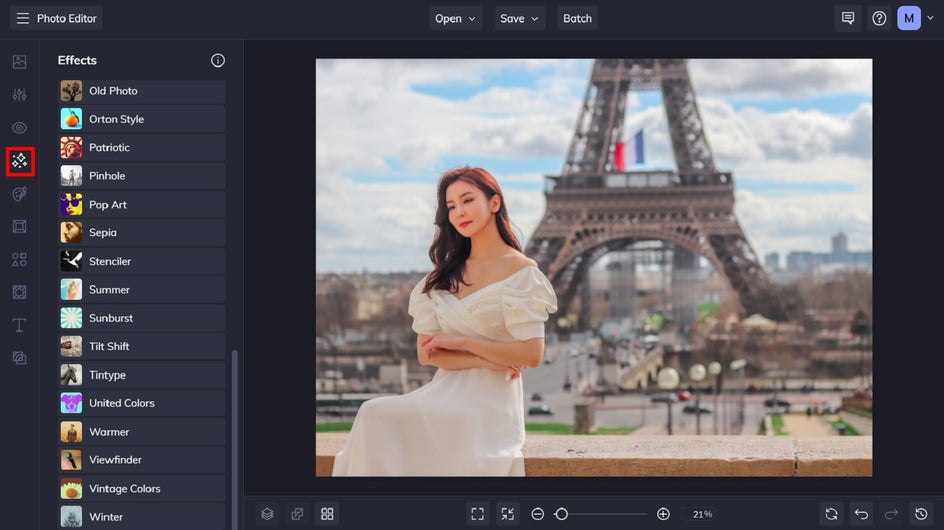
In this tutorial, we’ll be using the Tintype 1 photo effect.
Step 2: Isolate Your Photo’s Subject
When you click on a Photo Effect to sample it on your image, you’ll notice you have three options located above the slider: Settings, Cancel, and Apply.
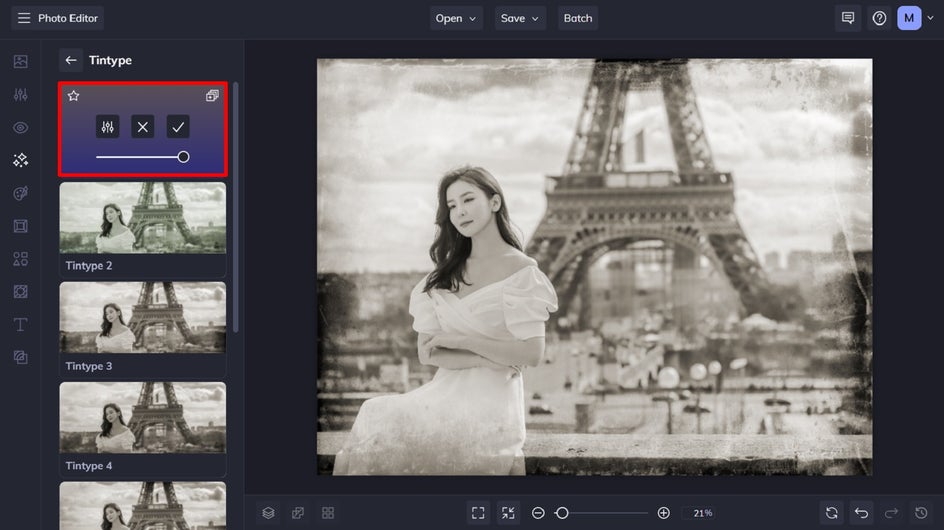
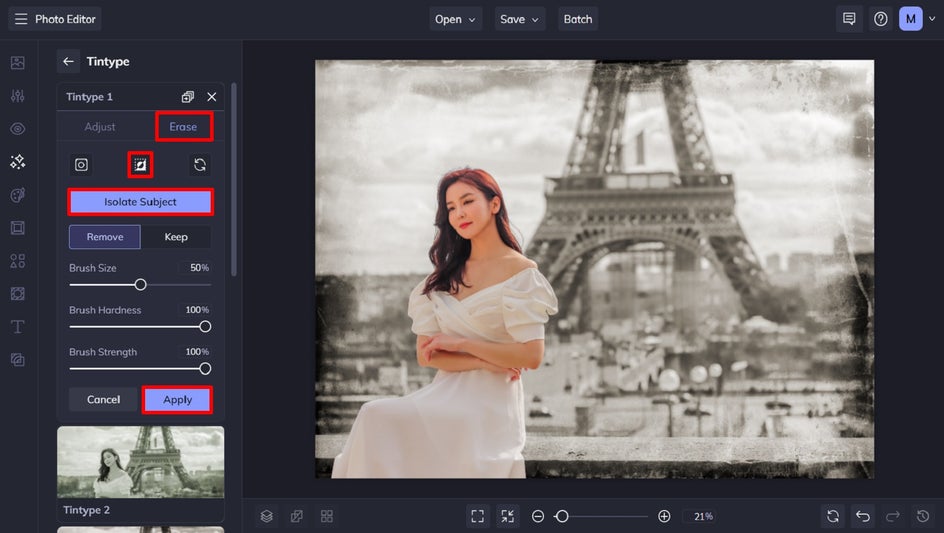
For this next part, click Settings, then click the Erase tab, which is located next to Adjust.
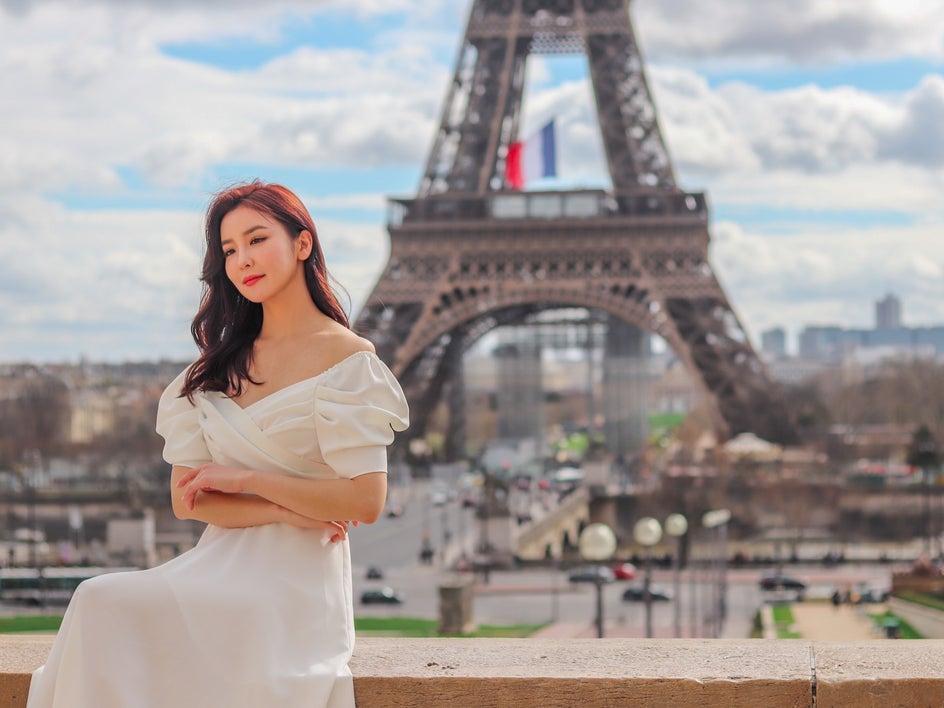
Click the Isolate Subject button. Your selected photo effect will then be added just to your photo’s main subject (i.e., the person or object within its foreground). However, you can also click the Invert Selection button (located above Isolate Subject) to switch your photo effect to your image’s background, while the subject remains effect-free—as we’ve done here.
If you see any areas that the Isolate Subject tool missed, use the brush settings to clean them up. You can switch between Remove and Keep to add or subtract more of the effect from the image.
To apply your changes, simply click Apply.
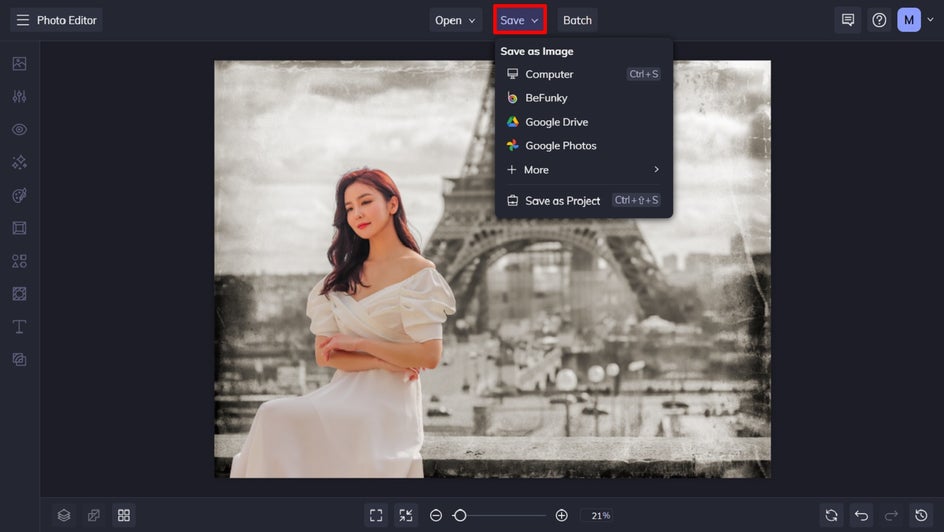
Step 3: Save Your New/Old Photo
Once you’re happy with how your new “then and now” photo looks, it’s time to save it. Click Save at the top of the screen, then select your desired save location.
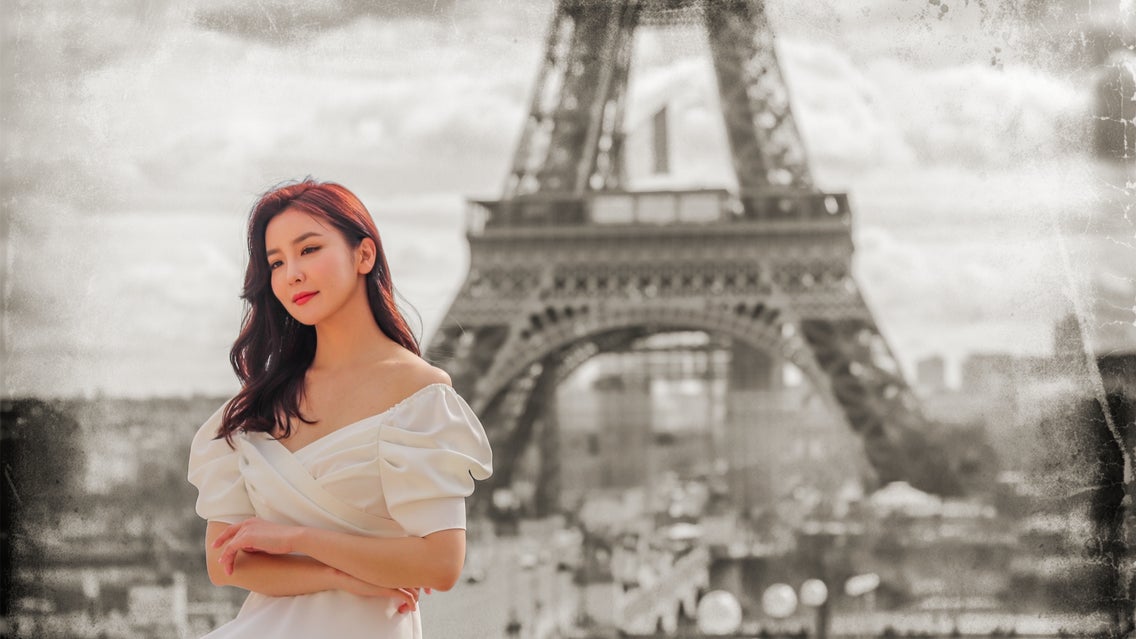
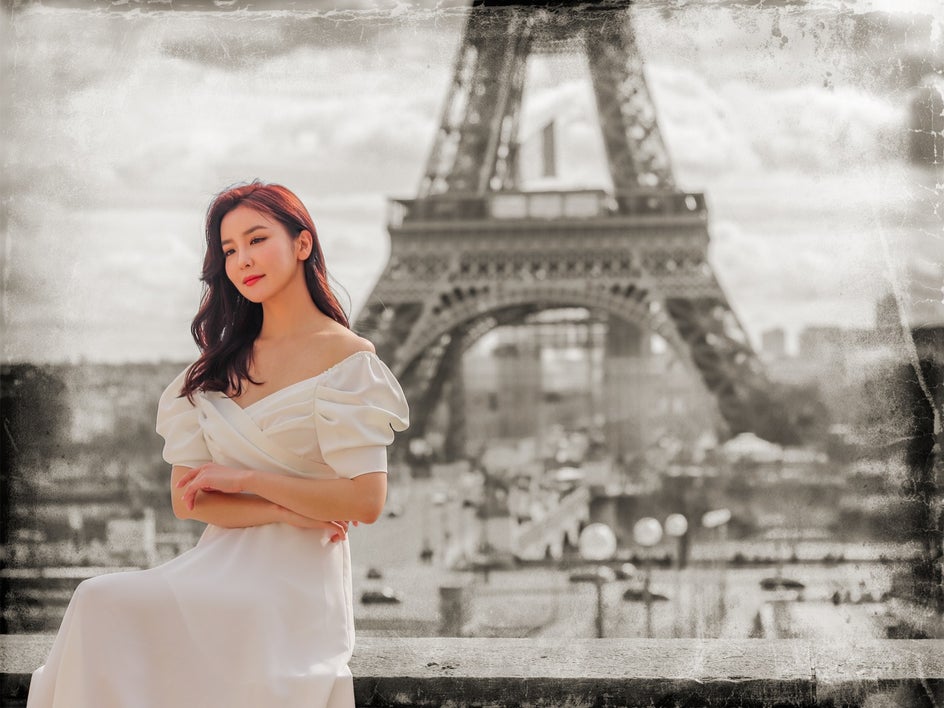
Final Results
There you have it – a photo that celebrates the grandeur of Paris across two very distinct time periods. All it takes is just three simple steps to transport yourself, or anything else, back into the past.
Create Your Own Blast From the Past!
Thanks to BeFunky’s wide range of vintage-inspired Photo Effects, as well as the A.I.-powered Isolate Subject tool, creating photographs that contrast between then and now is incredibly easy. All it takes is a great photo, some creativity, and a few clicks of your mouse!
What blast from the past will you create? Head to the Photo Editor today to see for yourself!