How to Create Shoppable Pins for Pinterest

Shoppable Product Pins have been around for a few years now, yet Pinterest has transformed them to be bigger and better than ever before. According to statistics, nearly 2 million users engage with Product Pins on a daily basis, while an impressive 93% of active Pinners use the platform to plan their purchases.
If you’re a business with an online shop, this is a huge opportunity you don’t want to miss out on. But here’s the tricky part: you need to create Product Pins that entice users to click through.
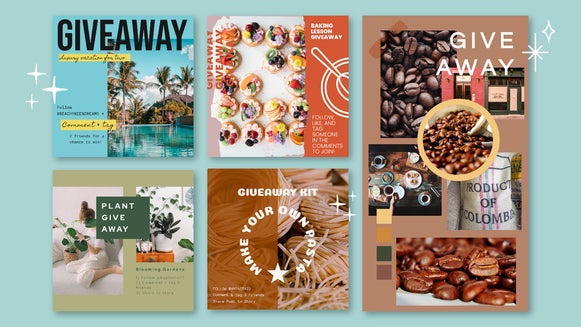
Thankfully, BeFunky’s Graphic Designer has a new collection of Pinterest Graphics that make it easier than ever to create shoppable Product Pins, all within a few clicks. Keep reading to learn how to create product pins on Pinterest the easy way!
What Is a Shoppable Pin on Pinterest?
What was formerly known as a Shoppable Pin on Pinterest has now become “Product Pins”. They’re very similar to regular Pins in your home feed. However, they’re enriched with metadata to highlight a featured product’s title, description, pricing info, and availability.
Product Pins also feature a small price tag symbol in their corner to further communicate to the viewer that the Pin is shoppable. Once the viewer clicks on the Product Pin, some additional components are displayed. These include:
- The full product title
- The brand name
- A blue check (optional) that signifies the brand is a Pinterest Verified Merchant
- The latest price of the item, including whether it has been marked down
- Additional photos
- A more in-depth product description
The Product Pin also regularly updates itself to reflect any changes made to the product on its original website.

How Do Shoppable Pins Work?
Both the included metadata and price tag symbol on the Pin allows users to understand that the product being featured is available for purchase. Rather than viewers having to be redirected to buy the product they’re interested in, Product Pins allow them to make their purchase directly and securely from the platform. As a result, brands and buyers benefit from this swift and seamless buying process.
It also allows Pinterest to operate as more of a “shopfront” for brands, rather than a simple marketing tool.
Product Pins vs. Rich Pins: What’s the Difference?
You might be wondering how Product Pins differ from Rich Pins, especially when the two seem so similar. Simply put, a Product Pin is a type of Rich Pin. It is one of three main types of Rich Pins available on Pinterest, with the other two types including Article Pins and Recipe Pins.
How to Set Up a Shoppable Pin
Brand owners often ask, “how do I make a Pinterest Pin shoppable?” Pinterest has a helpful guide to get you started, but the process can be broken down into just a few steps:
- Ensure you have a business account on the platform. If you don’t, it’s free to create one.
- Add rich meta tags to the product pages on your website.
- After you've added meta tags to these product pages, use the Rich Pins Validator to verify one of your marked-up content pages. If this page is properly marked-up, you’ll receive an approval notification.
- Wait up to 24 hours for Pinterest to process your application.
- When you make a new Pin after your site has been approved, all content from web pages with the proper meta tags will appear as rich Product Pins. Current Pins that link to sites with rich meta tags will now be displayed as rich Product Pins as well.
You can then filter and organize your Product Pins into product groups so viewers can easily explore other related products. Additionally, you can create shopping ads to promote your product Pins to a wider target audience.

How to Create a Product Pin Using BeFunky
Once you’re ready to create a Product Pin for Pinterest, head to the Graphic Designer and follow the simple steps below.
Step 1: Select Your Pinterest Template
Within the Templates Library, navigate to Social Media > Pinterest Graphics.
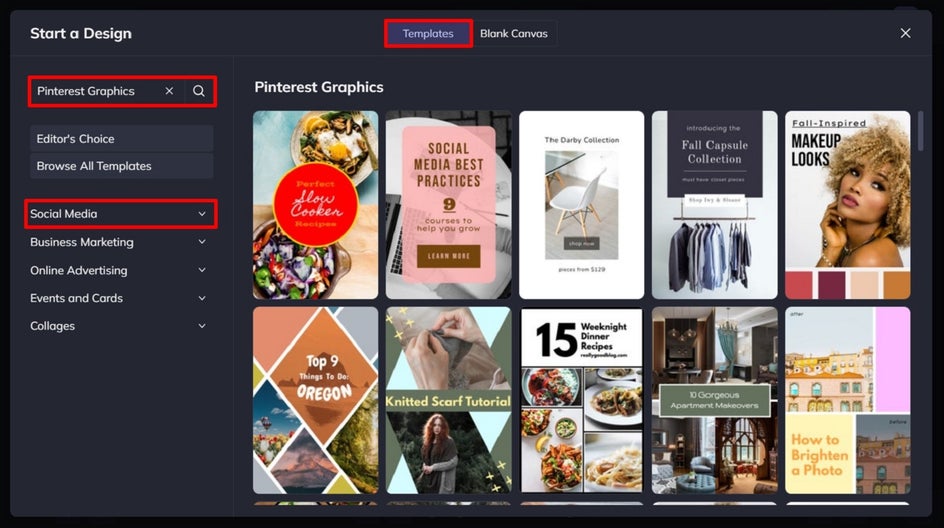
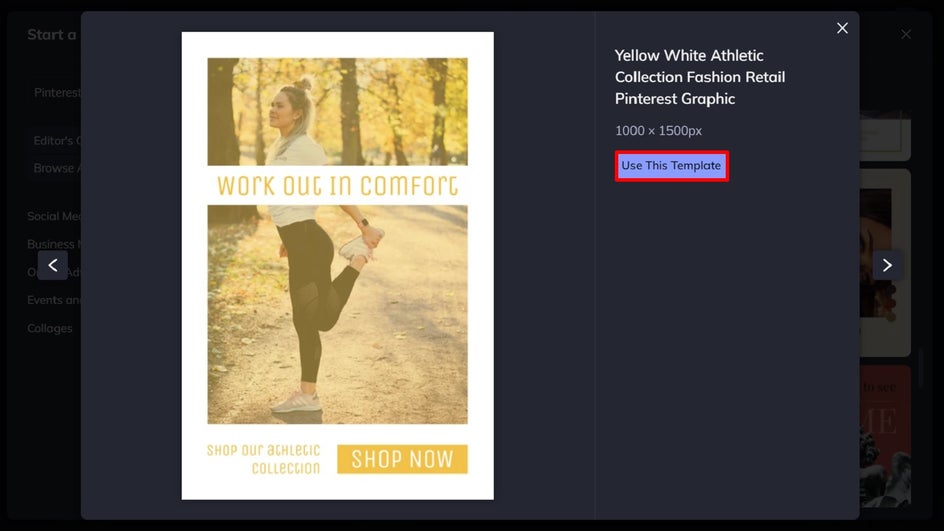
Once you’ve chosen the template you wish to edit, simply click on it and then select Use This Template.
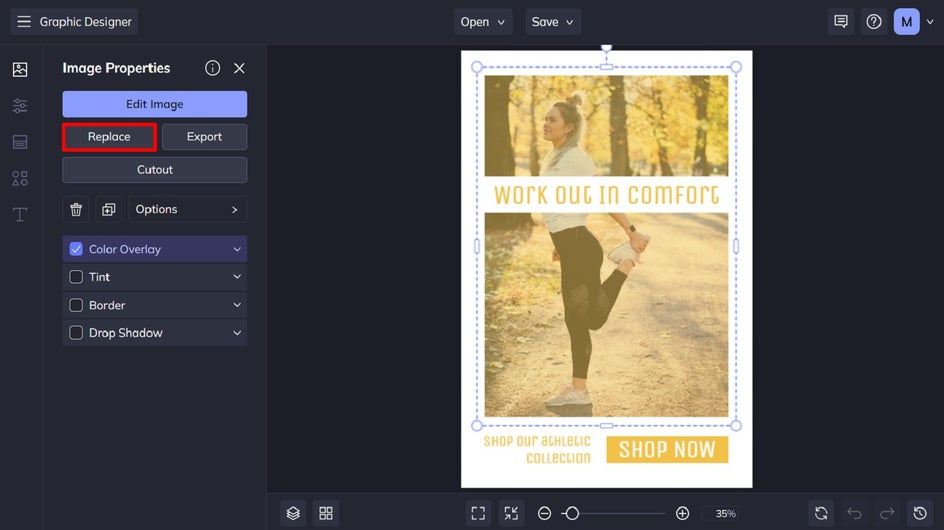
Step 2: Swap Out the Existing Photo(s)
You’ll first want to swap out the existing image for one featuring your own product. You can do this by clicking on the image and then selecting Replace from the Image Properties toolbar which appears.
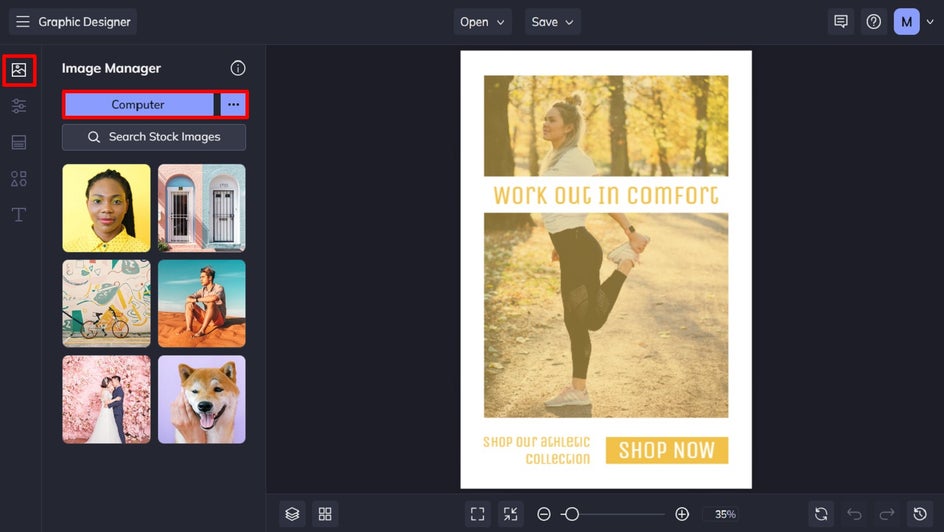
Alternatively, you can navigate to Image Manager from the main menu on the left and upload your desired image from your Computer, Facebook, or BeFunky account. Once it's uploaded, simply drag and drop its thumbnail to replace the existing image on the template.
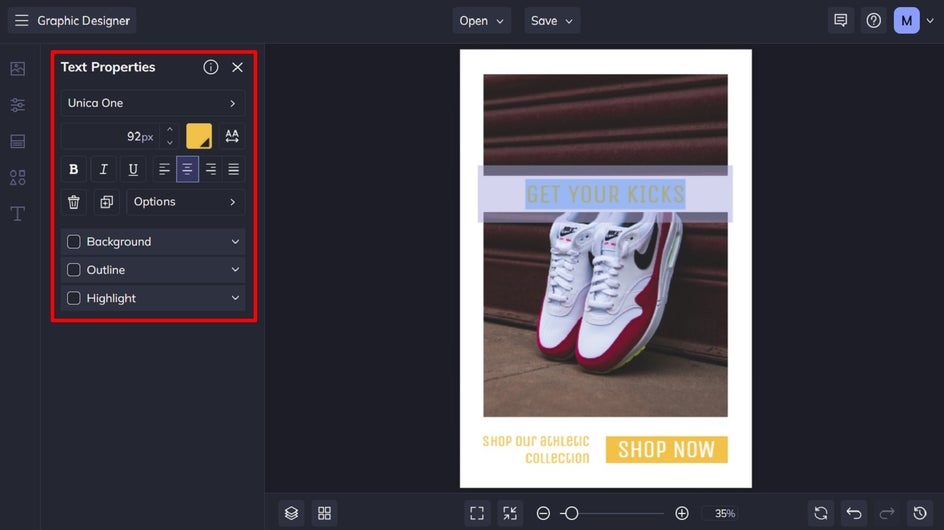
Step 3: Edit the Existing Text
Next, it’s time to edit the existing text to reflect your own message. To do this, click on the text box twice and start typing. When you select text, a Text Properties toolbar appears, where you can also adjust things such as the font, size, color, spacing, and more.
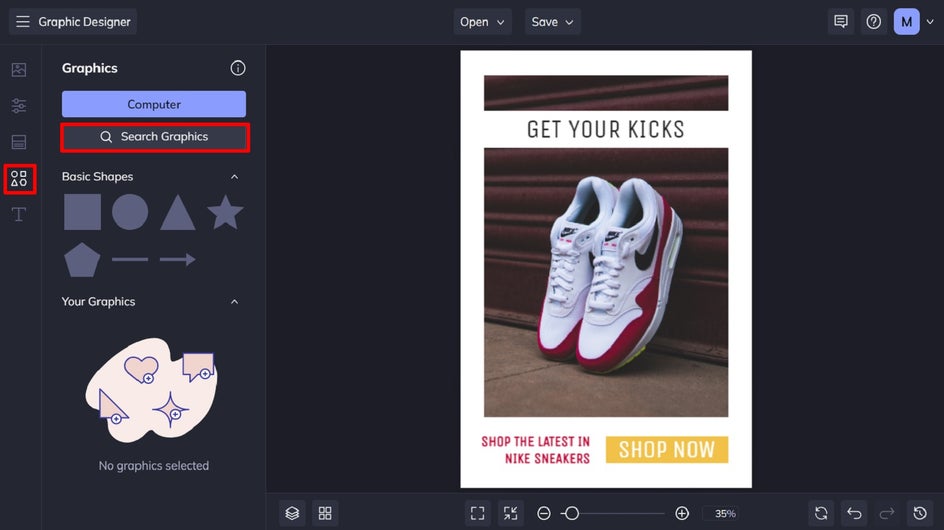
Step 4: Add Any Necessary Graphics
If you feel as though your shoppable Product Pin requires some extra pizzazz, you can also add design elements such as lines, shapes, illustrations, and more. To locate these, click on Graphics in the main menu. From here, you can add a customizable Basic Shape, upload graphics from your computer, or click the Search Graphics button to access BeFunky’s own extensive Graphic Library.
Step 5: Change the Color of Your Graphics
In some cases, you might wish to change the existing color of your graphics so it's more cohesive with your branding or Product Pin design. To do this, click on the graphic you wish to recolor. Then, from the Image Properties panel, click on the Color swatch underneath Color Overlay or Fill.
This will give you access to the Color Picker, which features any shade you can think of. You can also use the Eye Dropper Tool to replicate a color already present in your design.

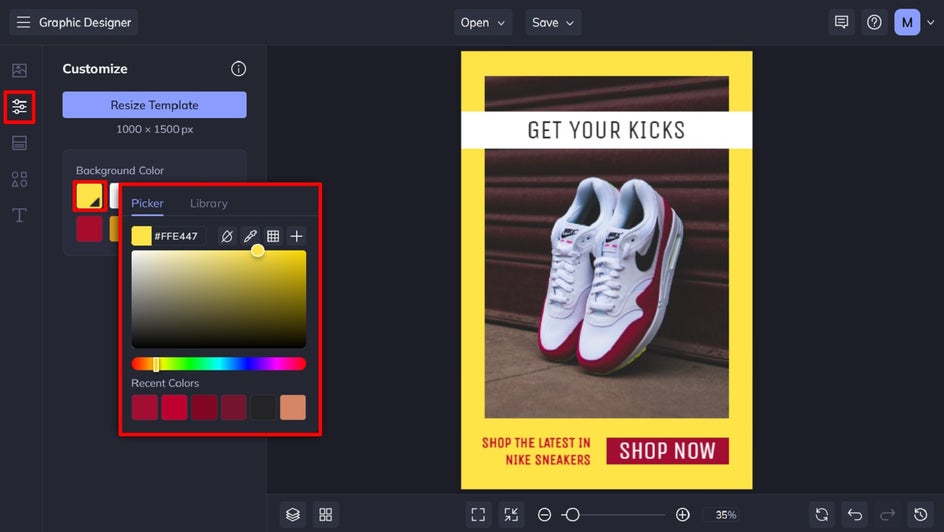
Step 6: Change Your Background Color
If you’d like to, you can also change the background color of your Pinterest graphic. To do this, navigate to Customize in the main menu. Then, underneath Background Color, you can select an existing color swatch or click on the first swatch to choose your desired hue from the Color Picker.
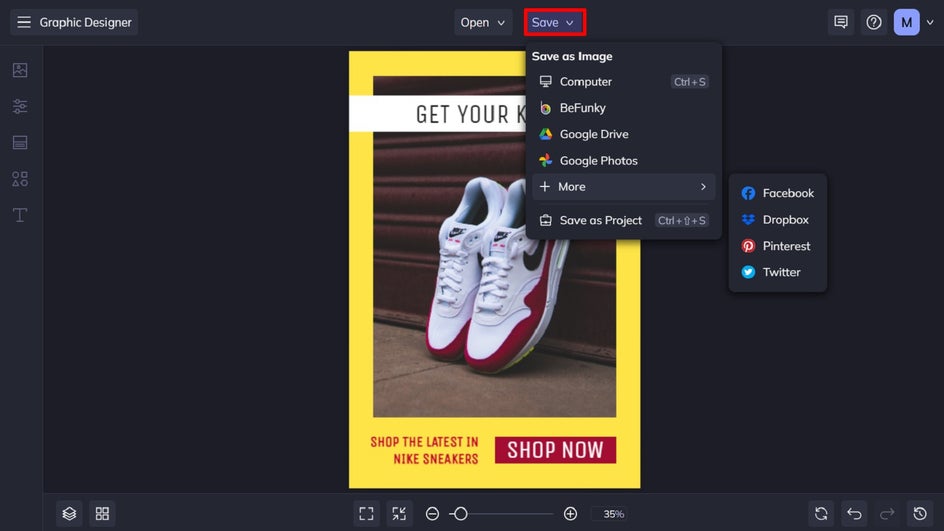
Step 7: Save Your Product Pin
Once your Shoppable Pin is complete, you’ll want to save it so it’s ready to share on the platform and start driving up your sales. Click Save at the top of the page, then select your desired save location. You can even save your Pin directly to Pinterest from the Graphic Designer!
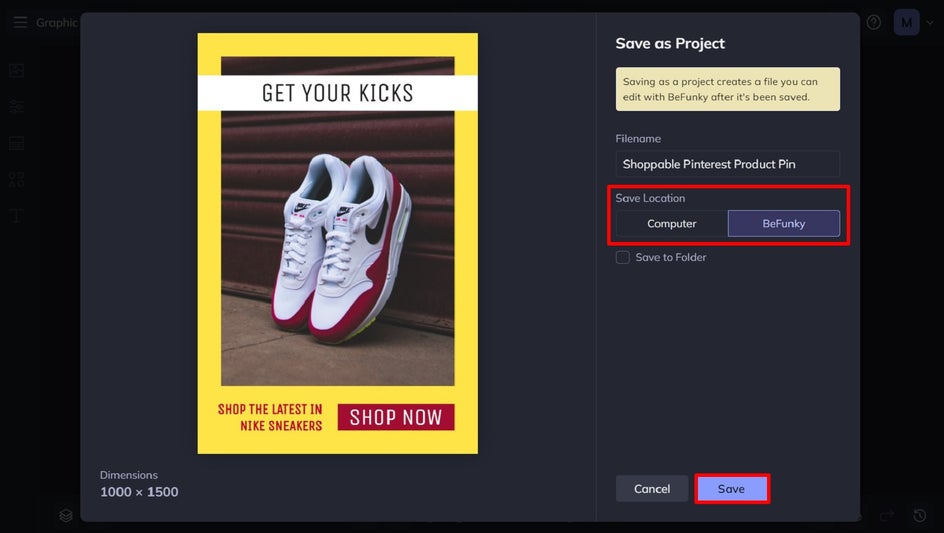
If you want to come back to your project at a later date (i.e., to use your design for another Pin), then we also recommend the Save as Project option. This lets you save it as an editable BeFunky Project file to your BeFunky account or computer.
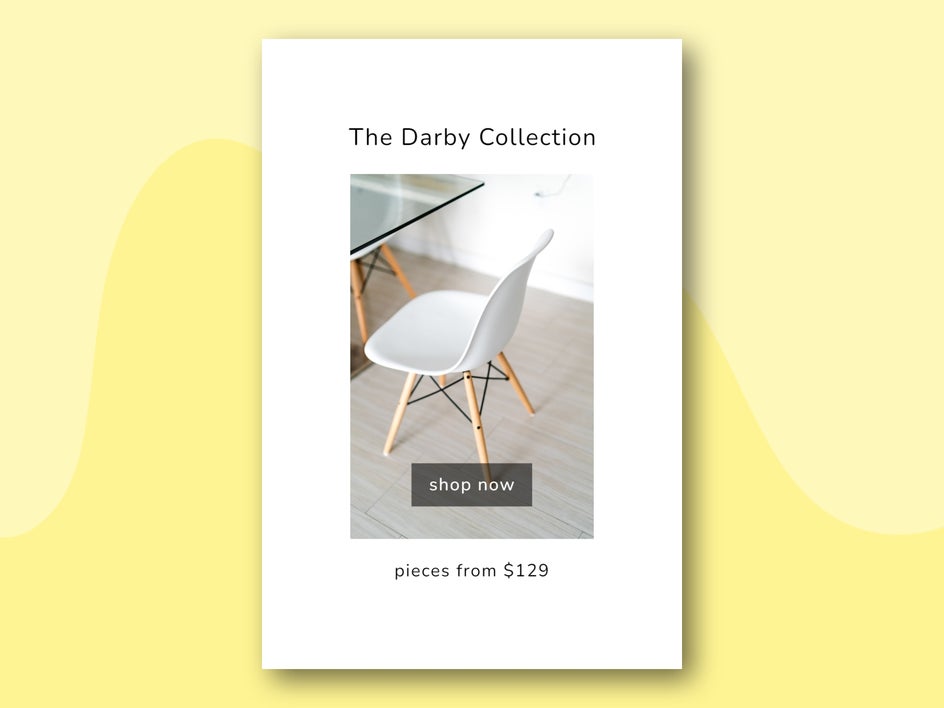
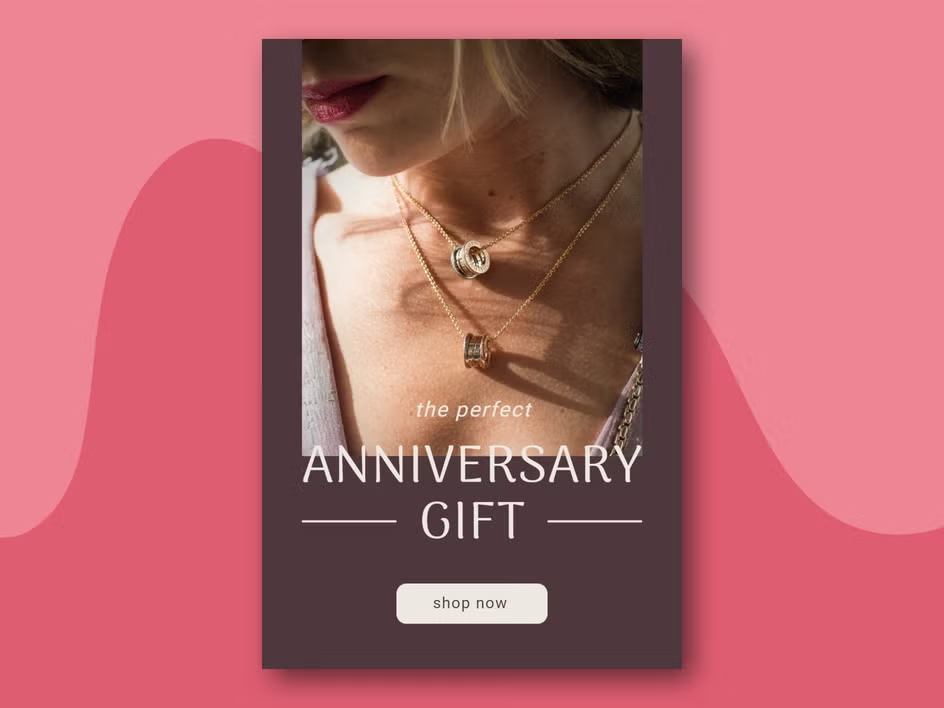
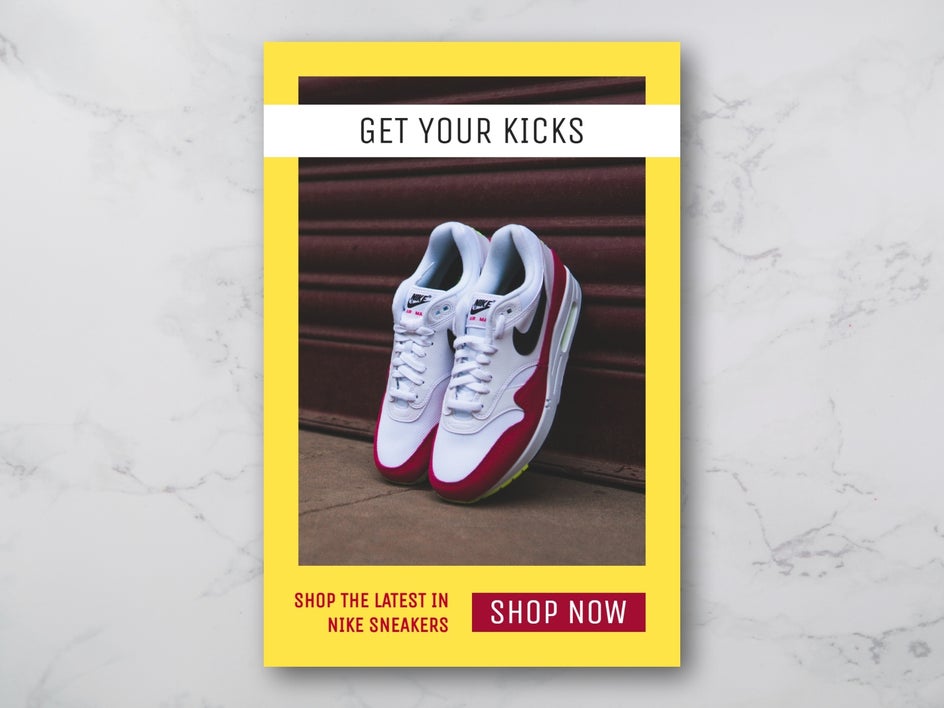
Customized Product Pin: The Final Results
By using an eye-catching and customized template from our Graphic Designer, you’re giving yourself the best chance at attracting your target audience, building brand awareness, and boosting sales!
Get Ready for Success With Shoppable Pins on Pinterest
If you’re not already using shoppable Product Pins on Pinterest, now is the time to do so. With BeFunky’s wide range of customizable Pinterest Graphic templates, creating eye-catching and on-brand Pins has never been easier!
Go on, try the Graphic Designer today to see how it can help boost your sales on the platform.