Designing With Shapes Is Easier Than Ever
Whether you’re making a logo, watermark, or graphic design from scratch, chances are you’ll be using a variety of shapes to bring your vision to life. BeFunky’s Graphic Library is overflowing with a wide range of shapes, but it's our collection of Basic Shapes that we’ll be focusing on today. Not only are they versatile enough to get any job done, but they can also be mixed together to create entirely unique shape combinations.
Keep reading because we’ll walk you through how you can add and customize shapes within BeFunky’s Graphic Designer to show you just how easy it is!
What are the Different Shapes in Graphic Design?
Before we delve into the many different ways you can add and customize shapes within your design, let’s take a look at the two major types of shapes at your disposal: geometric and organic shapes.
Geometric Shapes in Graphic Design
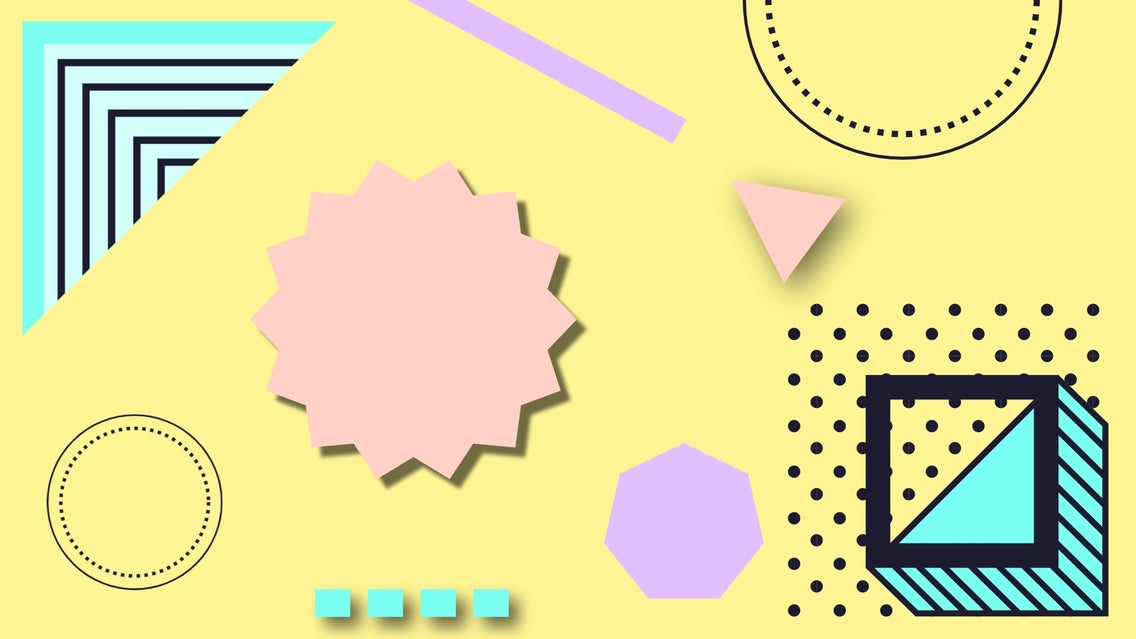
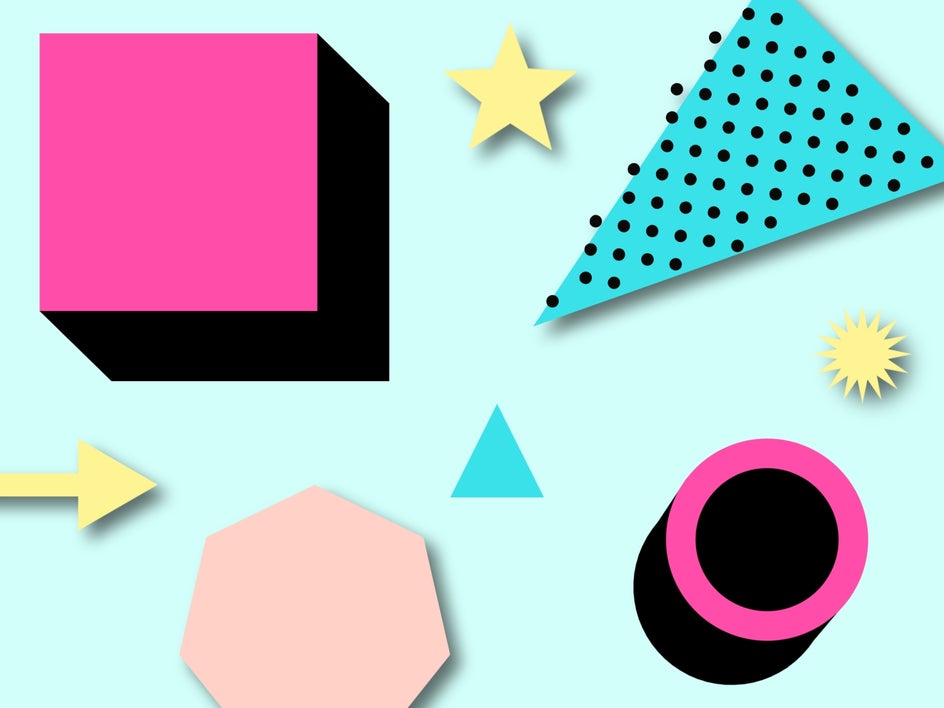
When we refer to shapes that are geometric, we mean that they’re mathematical in nature. In other words, they feature straight lines, points, and angles. The only exception to this rule is the circle, as it doesn’t contain these elements. However, it is still a shape that is built on mathematical principles (like radius and circumference).
Other common geometric shapes you’ll find in graphic design include squares, rectangles, triangles, diamonds, hexagons, parallelograms, and more. They can give a design a sense of order and symmetry, along with familiarity.
Organic Shapes in Graphic Design
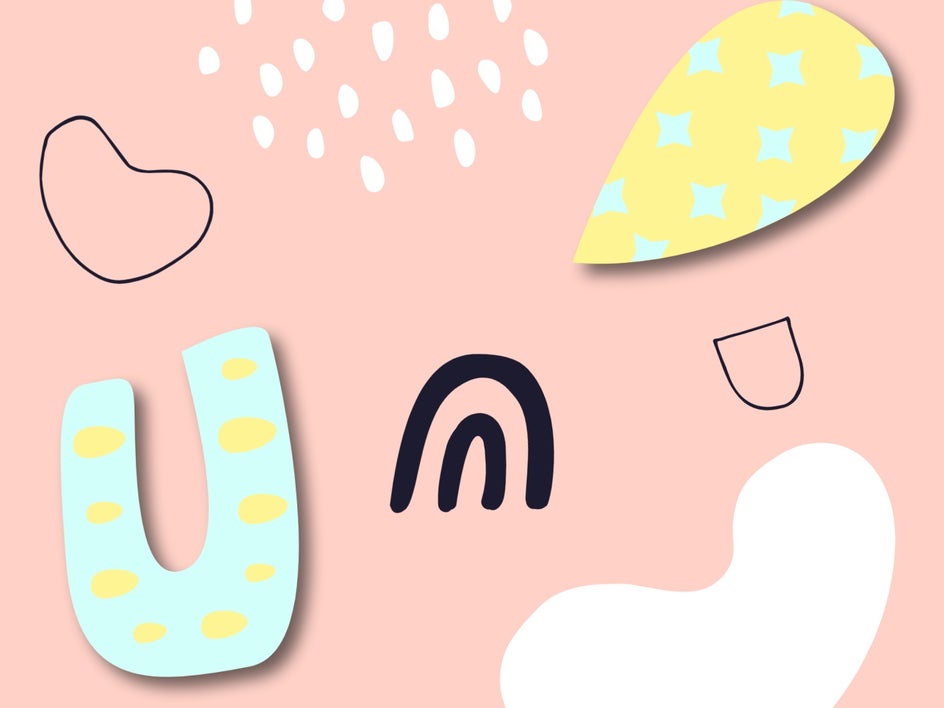
Organic shapes are quite opposite to geometric shapes. Rather than featuring straight lines, points, or angles, they are free-flowing and irregular. In fact, they don’t follow any rules at all. Organic shapes are frequently found in nature, such as leaves, flowers, and clouds. They create a sense of freedom, creativity, and calm due to their often-curved appearance.
How to Add Shapes to Your Designs in BeFunky
You’ll find our Basic Shapes section in the Graphics menu of our Photo Editor, Collage Maker, or Graphic Designer. Here, you’ll find seven Basic Shapes to choose from: rectangle, ellipse, triangle, star, polygon, line, and arrow.
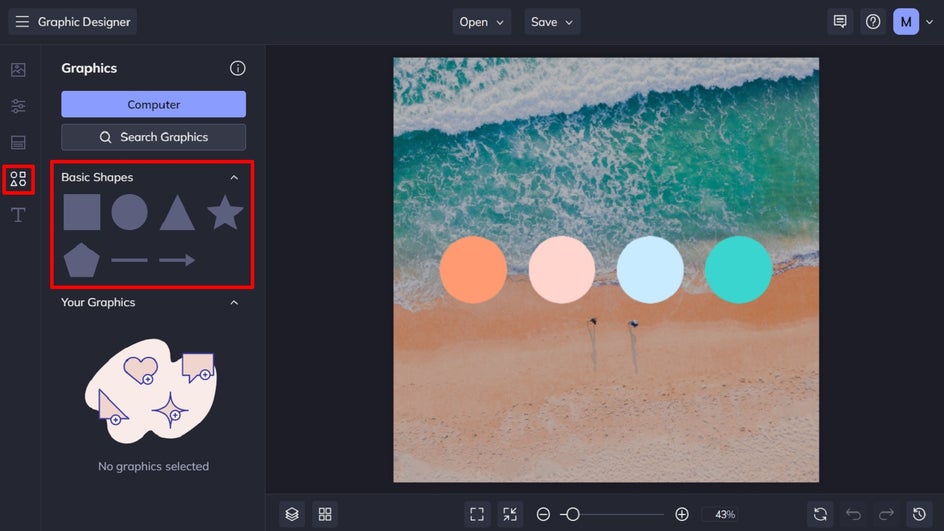
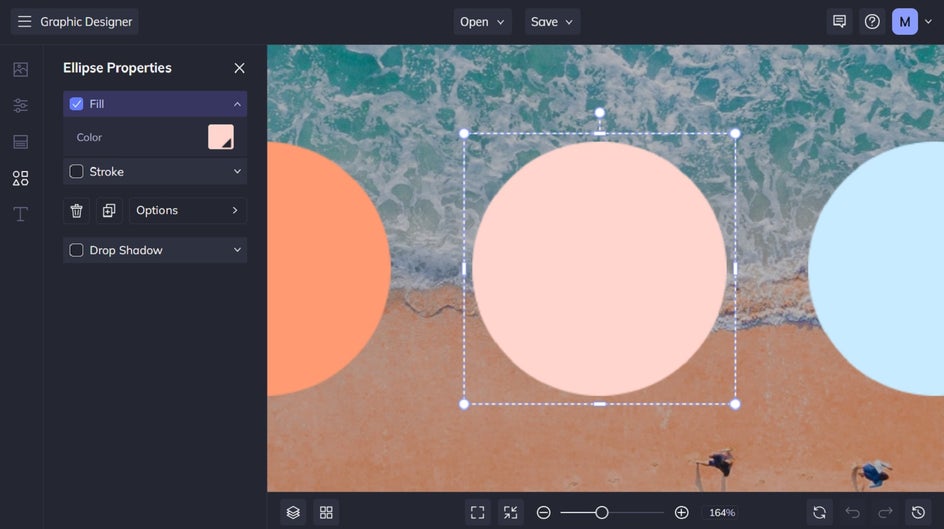
Adding a shape to your project is as easy as clicking on the shape you want. It will then automatically appear on your photo, collage, or design template ready for you to customize. When you click on the shape on your canvas, you’ll also notice a dotted outline around it, along with some small circles in each corner and small rectangles along the edges.
You can click and drag these small circles to increase or decrease the size of your shape while keeping the aspect ratio the same. If you don’t wish to keep the aspect ratio locked, hold Shift while you resize. You can also use the white rectangles to crop the shape, while the tallest circle can be clicked and dragged to rotate the shape.
All the Different Ways You Can Customize Your Basic Shapes
Each time you add a shape, a panel will appear with all the customization options you could ever need. There are different “Properties” panels based on each different shape you choose, so be sure to play around with the different customization options on a shape-by-shape basis.
We’ll take you through each of these creative customization methods below.
Change the Color
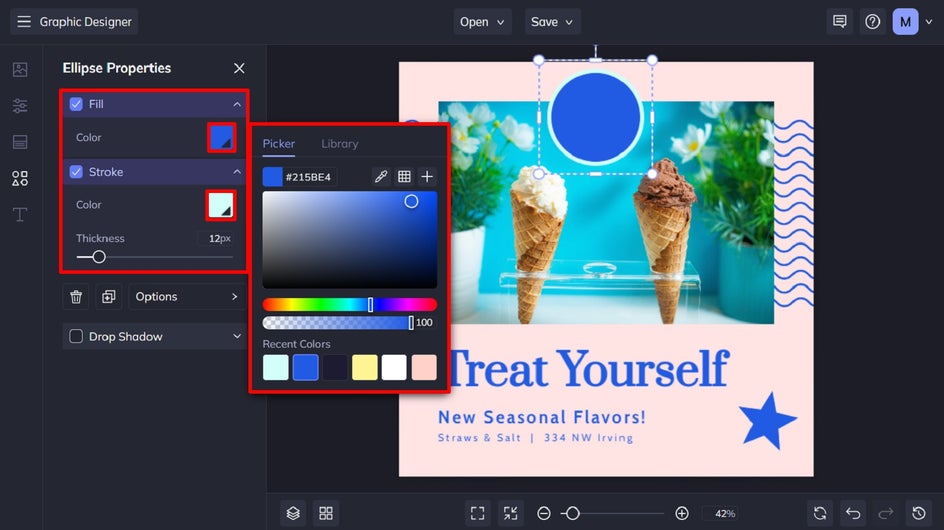
One of the most common customizations you’ll want to make to your shape is changing its color to suit your individual branding or design style. When you click on the shape, there will be an option within the shape’s Properties panel to change both the Fill and Stroke. The Fill refers to the color of the entire shape, while Stroke refers to the shape’s outline only.
Simply click the color swatch underneath either of these options to bring up the Color Picker, from which you can select your new shade. Underneath the Color Picker, you also have the option to adjust the transparency of your shape’s color.
Additionally, when adjusting the shape’s Stroke color, you’ll notice that a corresponding slider lets you alter the thickness of the Stroke, therefore making the outline color more or less obvious.
Add a Drop Shadow
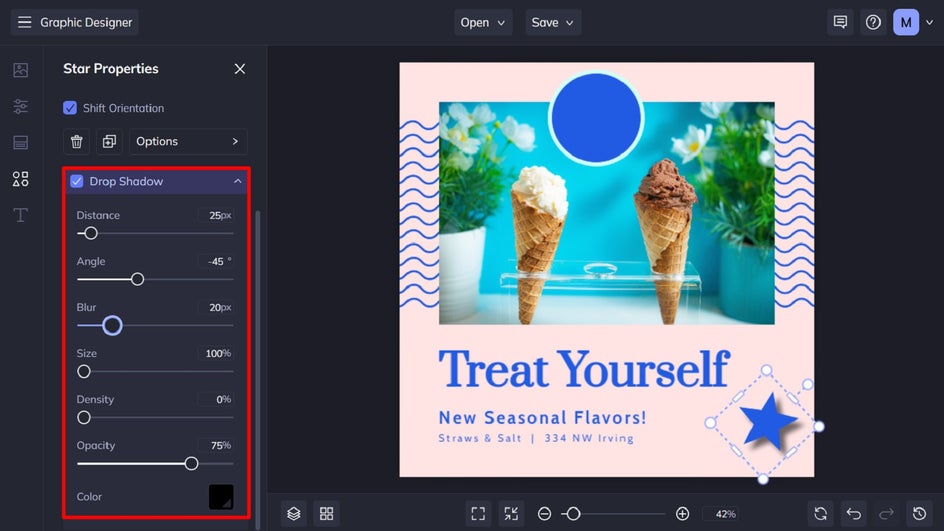
You can also add a Drop Shadow to your shapes to give them a three-dimensional look that allows them to stand out among your design. When you select Drop Shadow, you also have the chance to customize numerous aspects of this effect, including its distance, angle, blur, size, density, opacity, and color. This means your Drop Shadow can be as solid or as softly focused as you’d like. You can even follow this tutorial to create a glowing effect around your shape.
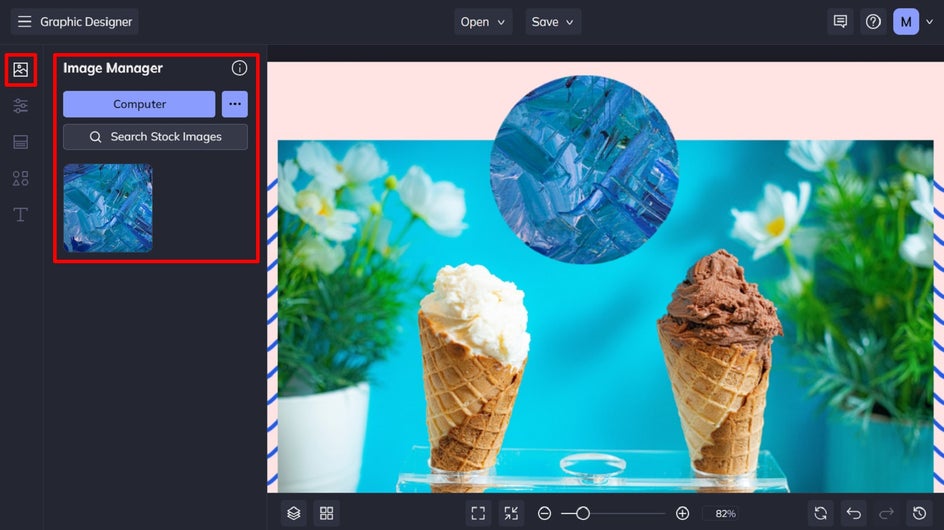
Create a Clipping Mask
Clipping masks allow you to fill your shape with an image or texture, instead of a solid color. To create this look, all you have to do is upload your desired photo or texture into the Image Manager (either from our wide range of stock images or your own files), then drag and drop your chosen image onto the shape on your canvas. It’s that simple!
Add Layers
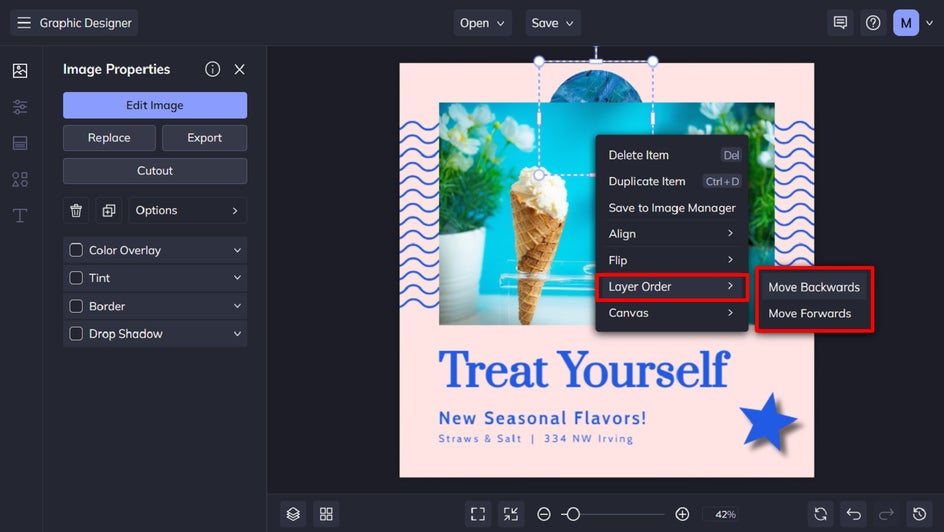
Whether you’re adding Basic Shapes to a photo, collage, or graphic design, our layering options are perfect for creating a sense of visual hierarchy and depth. All you need to do is place your shape onto your canvas. Then, right-click it and select Layer Order > Move Backwards or Move Forwards. This lets you place your shape behind or in front of other elements, such as text, photos, graphics, or even other shapes, thus creating the perfect layered look.
Adjust Individual Shape Options
Remember how we mentioned earlier that each Properties panel will be different based on the shape you choose? Some Basic Shapes have further customization options to let you achieve the exact design you had in mind.
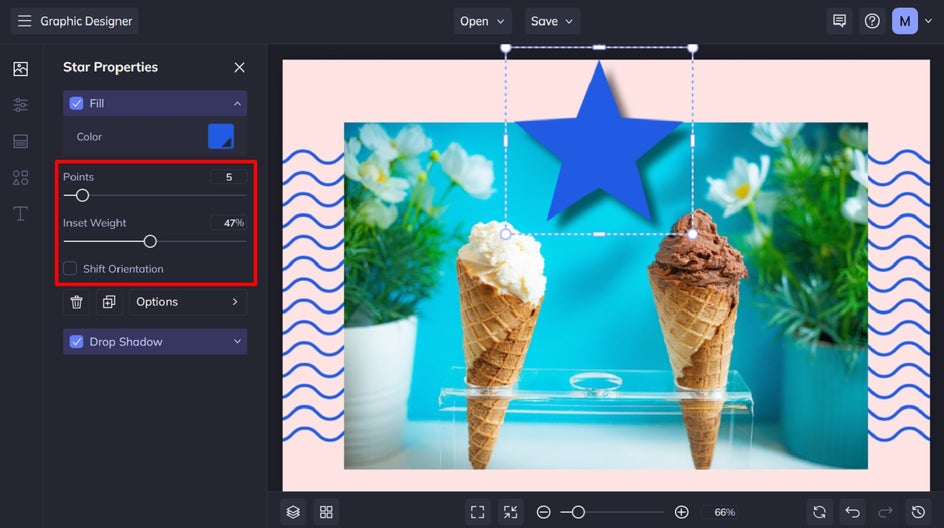
The Star Properties panel, for example, has a Points slider that allows you to increase or decrease the number of points in your star shape. In addition, you can use the Inset Weight slider to increase or decrease the thickness of the points.
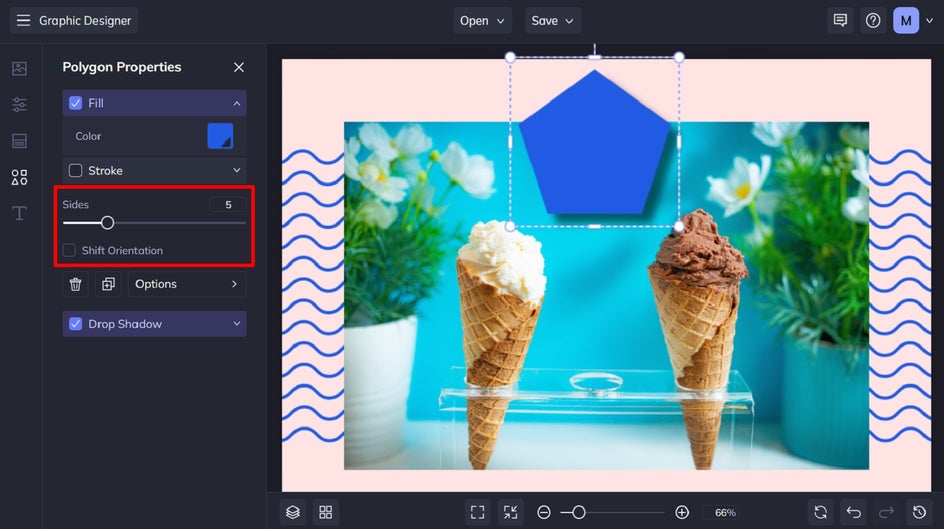
In the Polygon Properties panel, you can change the number of Sides in your shape from 3 sides to 12 sides, so you always get the perfect polygon with just one slider adjustment.
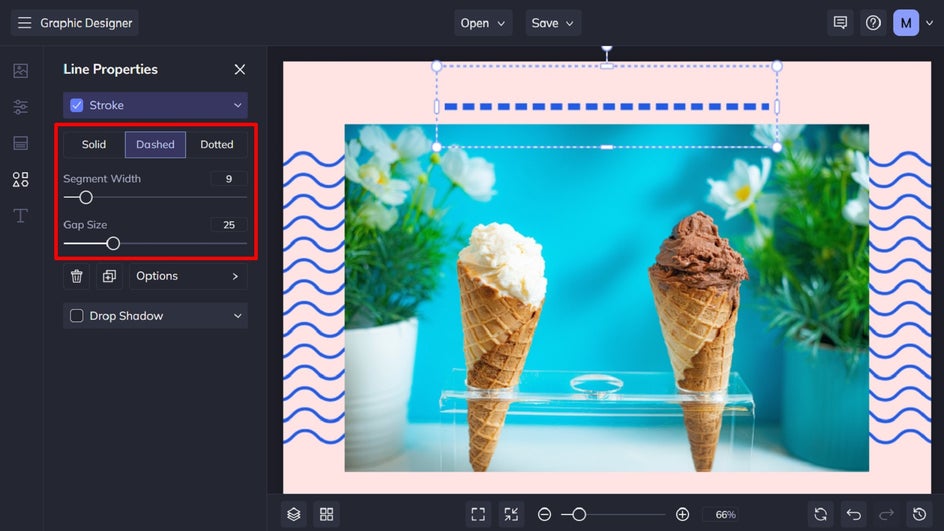
The Line Properties panel allows you to choose three different styles of lines: Solid, Dashed, and Dotted. Depending on your line style, you’ll be able to control the width of each segment with the Segment Width slider, and the size of the gaps between segments with the Gap Size slider.
Finally, the Arrow Properties panel allows you to choose a Thick or Thin arrow, as well as to increase or decrease the Weight of the lined portion of the arrow with the corresponding slider. You can even choose to make it double-sided by checking the box!
Basic Shapes That Are Anything But Boring
Who knew adding basic shapes to your designs could have so much impact? Thanks to the wide range of shape customization options within BeFunky’s Creative Suite, you can create absolutely any look you had in mind.
Ready to add and customize some shapes within your own photo, collage, or graphic design? Check out BeFunky’s Creative Suite for yourself to see just how easy it is to use!