How to Make a Themed Save the Date Card

Aside from the engagement photos you post on social media, a Save the Date card is the first impression your guests have of your upcoming wedding. That makes it the perfect opportunity to incorporate your wedding theme and a little bit of personality into the design. Whether you’re planning an elaborate underwater wedding with mermaid vibes or simply designing the event around a certain color palette, you’ll want all the elements of your entire wedding invitation set (Save the Dates included) to represent.
Rather than spend a ton of your budget hiring a graphic designer or settling for generic invitations, BeFunky’s Save the Date templates give you total control over all the little details. It’s as simple as choosing your favorite template, swapping out the photo and details, and then getting as creative as you want with fonts, color scheme, graphic design elements, and more! The best part is, you don’t need to know graphic design to create exactly what you’re imagining. We’ll show you how easy it is to customize our Save the Date templates and create several different looks with some simple tweaks!
How to Create a Custom Save the Date Card
Here, we're going to create a Save the Date and show you how easy it is to transform it to fit your specific wedding theme. To get started with your design, follow these steps:
Step 1: Choose a Save the Date Template
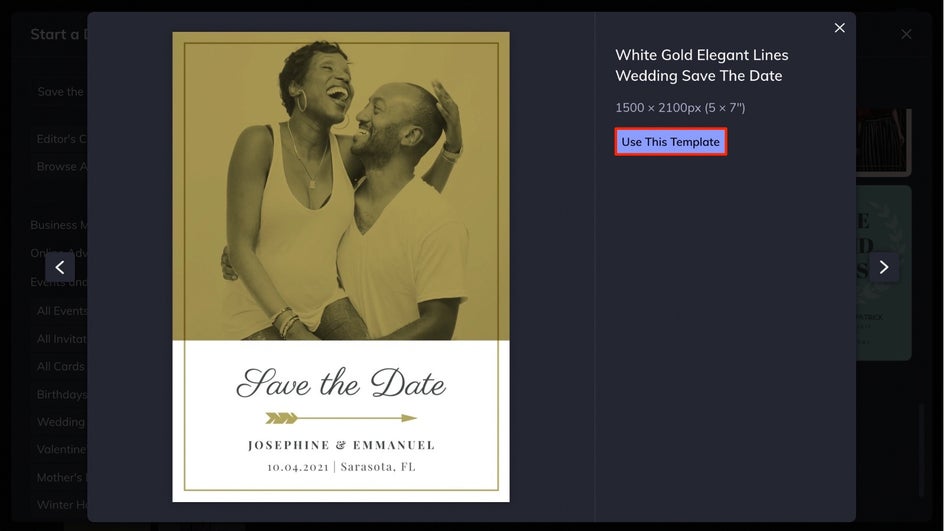
Browse BeFunky’s Save the Date templates and find a layout that you want to start with.

When you click on each of the thumbnails, you’ll be able to get a closer look at the design. Click the Use This Template button to load the design onto your canvas and begin customizing.
Step 2: Add a Photo
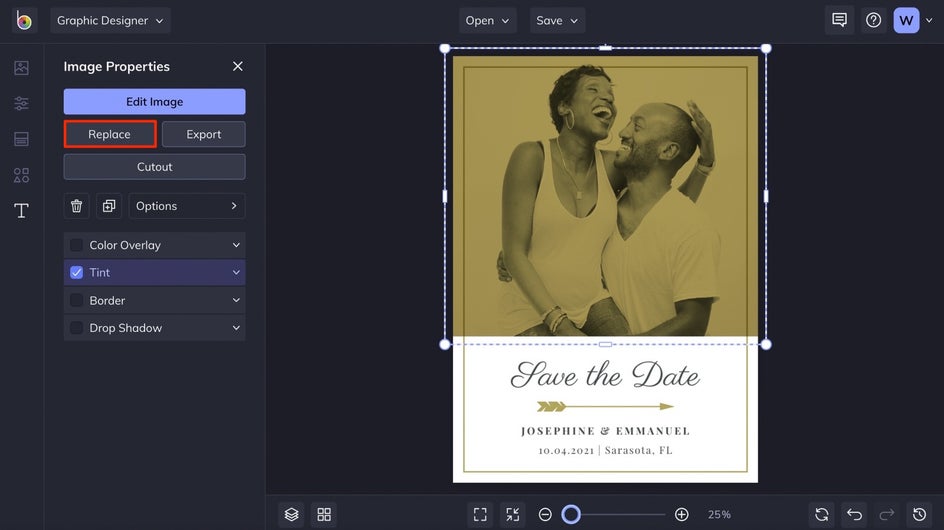
Click on the image in the template (if there is one) and choose the Replace button on the left-hand side to choose a new image from your computer that will replace the current one.
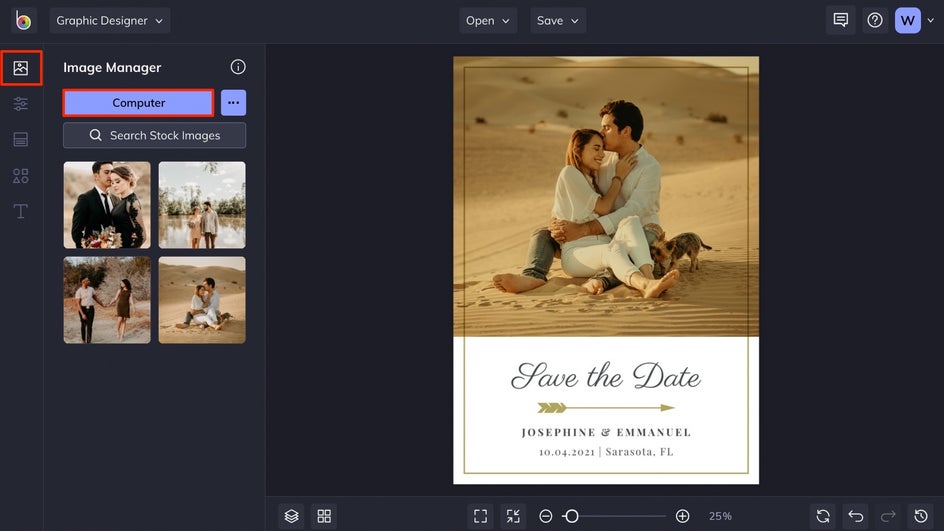
If you want to play around with a few different images, click on the Image Manager tab in the left side menu and use the Computer button to upload your images. Once you’ve done this, click and drag each of the thumbnails to hover over the current image on the template and replace it.
When you’ve got the perfect image on your template, you can further customize it if you wish by selecting it and adding a Tint, Color Overlay, Drop Shadow, and more. You can also use the Edit Image button to use BeFunky’s Photo Editor for editing the photo.

Step 3: Change the Background Color
To really tie in your wedding color scheme, you can start by changing the background color of your Save the Date template. Click the Customize tab and choose the first color tile to bring up a Color Palette and choose a new color.

If you have a really specific color, you can type in the HEX Color Code and press Enter on your keyboard to use it.
Step 4: Change the Details
Next, you’ll want to change the details on the Save the Date template to match your own wedding details. Click on any textbox twice to highlight the text, then type what you want.
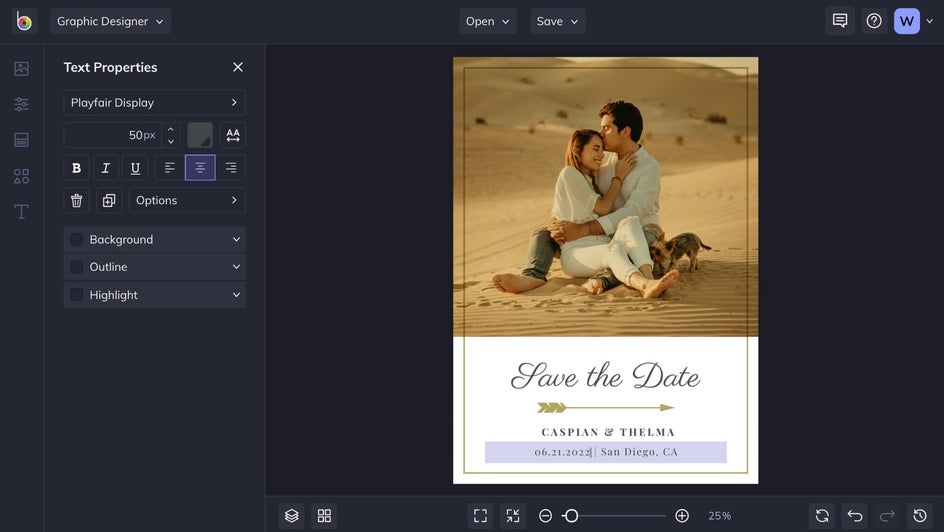
There are several ways in which you can customize the text if you want to stray from the template. To change the font, click any textbox and click on the font name in the Text Properties menu on the left.
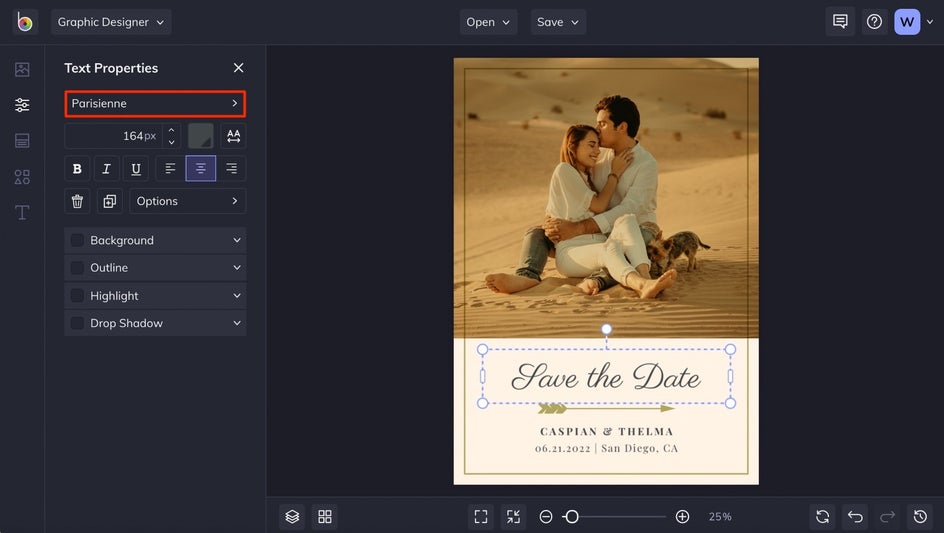
This will bring up a library of font options for you to choose from. You can even add your own fonts to the menu if you’d like!
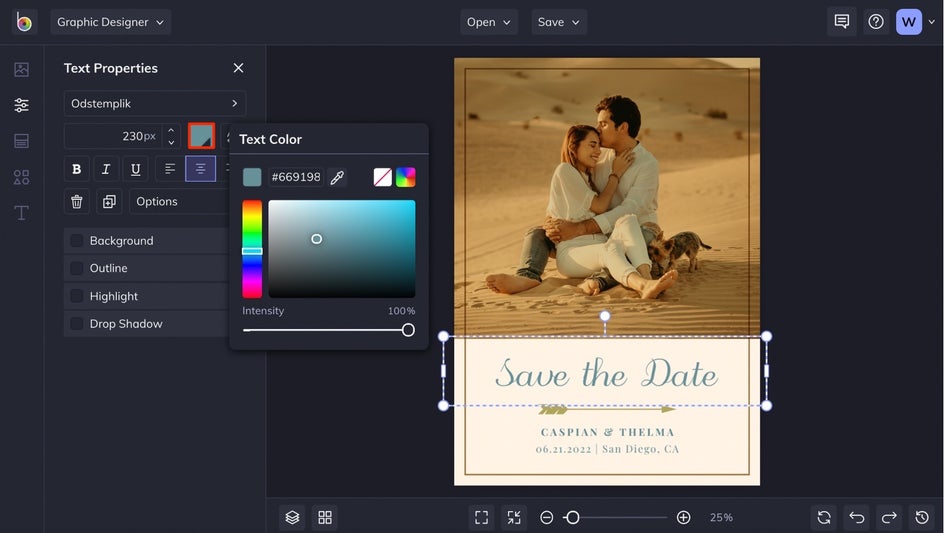
From here, use the Text Properties menu to change the color, typographical emphasis, text size, and more. You can also reposition the text boxes by clicking and dragging them to a new spot on your template.
Step 5: Add Graphics
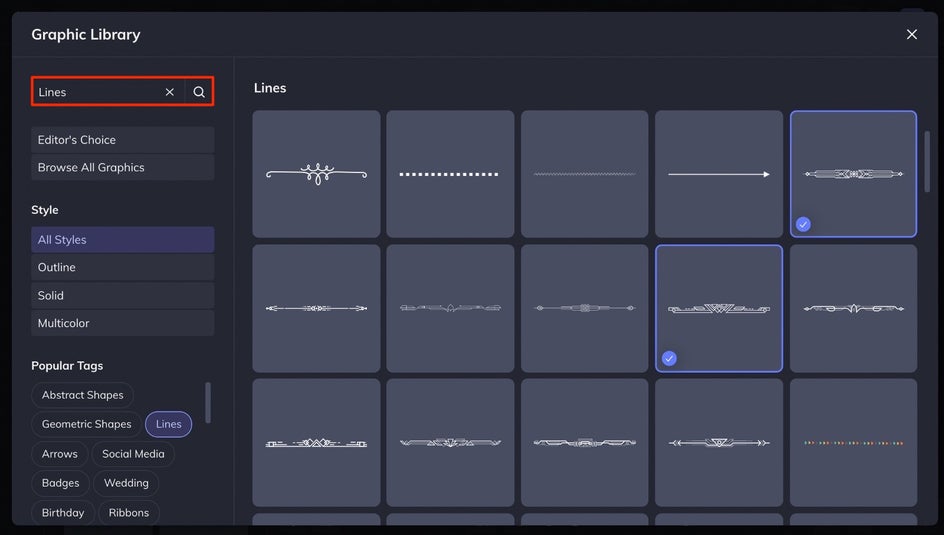
BeFunky has a huge library of customizable graphics to add to your Save the Date card. To access them, click on the Graphics tab in the left side menu, then choose Search Graphics to search the library.
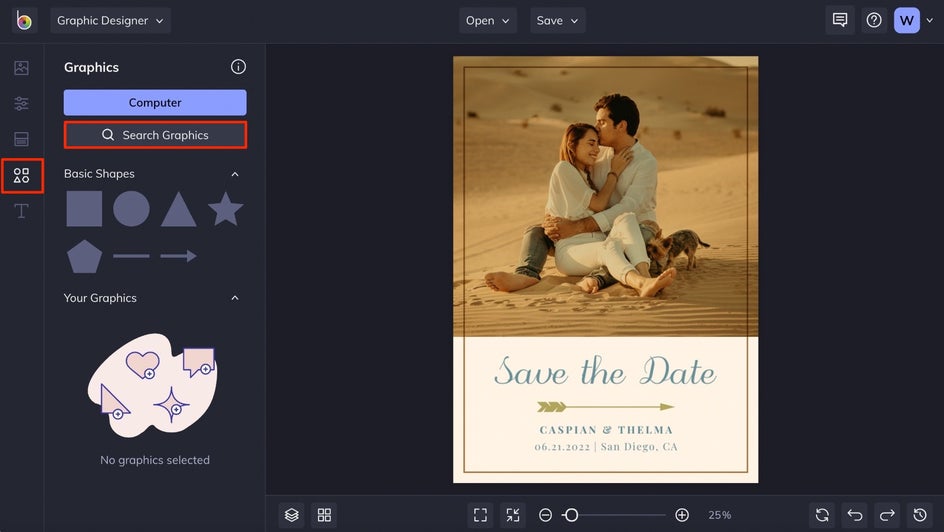
You can type in a search term, browse the Editor’s Choice menu, search by Popular Tags, and filter graphics by style to find exactly what you’re looking for. Once you find some graphics you’d like to try, click on them to add them to your workspace and click the x in the corner of the library to close it.
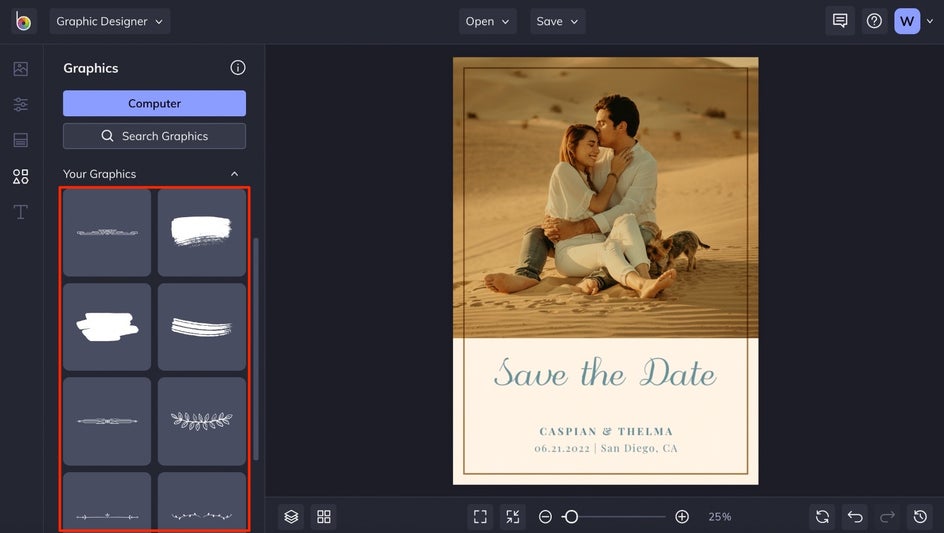
Next, double click or drag a graphic from the Your Graphics section onto your template.
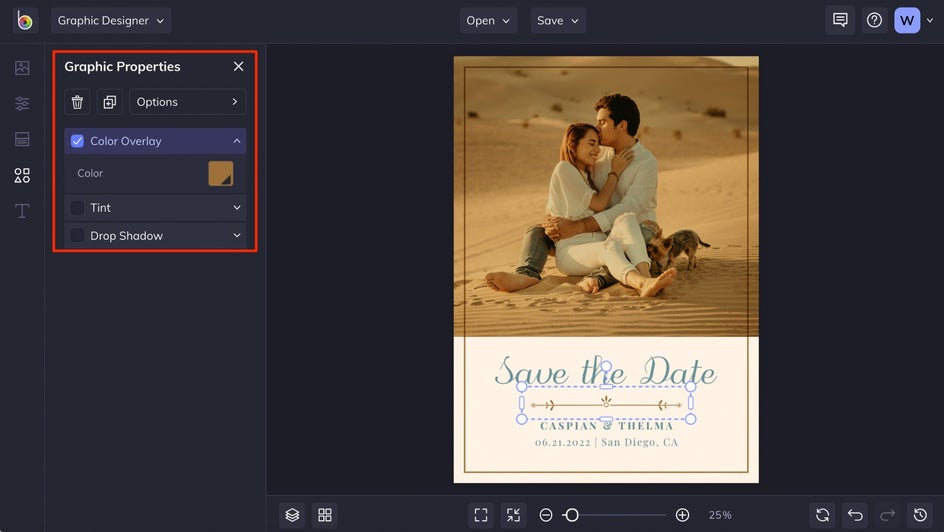
With a graphic selected on your template, use the Graphic Properties toolbar to customize it. If you want to delete any graphics on your template you can simply select them and press Delete on your keyboard.
Step 6: Save Your Work
When you’ve got your Save the Date card looking perfect, click the Save button at the top of the page. You’ll be presented with several options for saving your design.
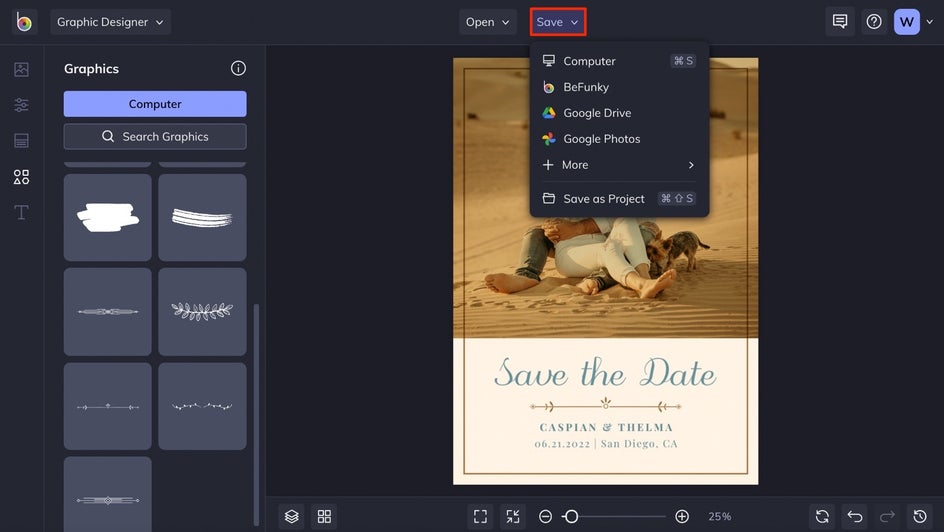
We recommend saving your Save the Date as a PDF to keep it in high resolution for printing, and as a project, just in case you need to make any future changes.
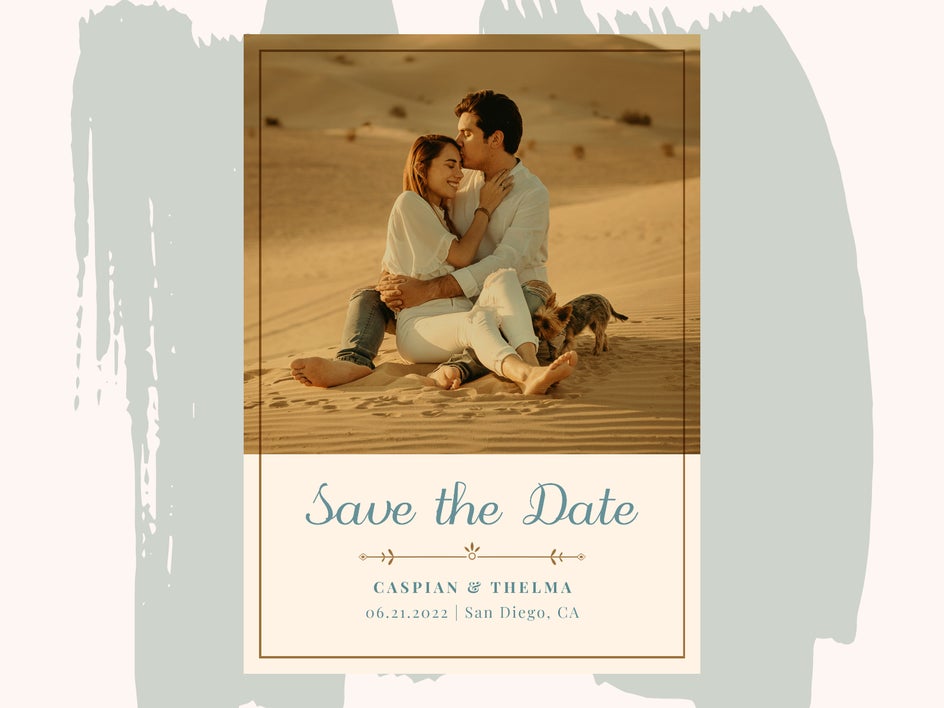
The Final Save the Date Template
See how easy it is to design your own Save the Dates? With templates this easy to customize, you’ll want to design your entire wedding invitation set to match!
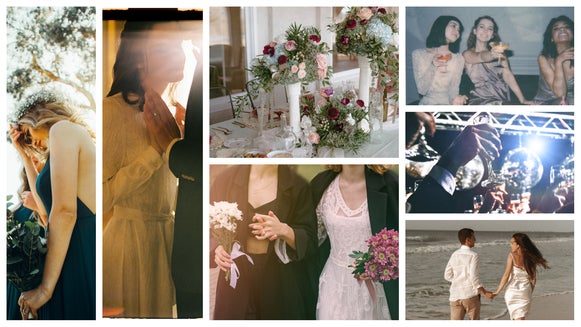
Save the Date Theme Inspiration
BeFunky’s Save the Date templates can be customized to match any wedding theme! Here are a few of our favorite looks, all made with the same template we used in the tutorial as a starting point:
Boho Wedding Theme
To create this look, we used the Cutout tool on the image to make it circular, then added some pretty floral graphics and decorative text to add a little bohemian flair. The main font used here is called Memories.

Modern Wedding Theme
This theme is really simple to create, yet super eye-catching. Start by filling the entire template with the photo, then choosing some clean, modern fonts (like League Spartan Bold) to make the text pop.

Artsy Wedding Theme
For this theme, we deleted the photo entirely to go with a graphic-driven design. You’ll find all of these graphics by clicking on the Abstract Shapes category in the Graphic Library. Simply arrange and layer them onto your template and choose a font that pairs well with it (this one is called Shrikhand).

Customize Your Save the Dates Any Way
With BeFunky’s templates, designing your own Save the Dates couldn’t be easier. Browse our collection today and find the perfect starting point for your wedding!