Add Depth to Your Graphics With Drop Shadows

When you’re creating a graphic design, you’re essentially working with multiple layers – images, text, vector graphics, etc – to build that design. Instead of merely letting you arrange your layers, BeFunky takes things a step further by allowing you to add layer effects like Color Overlays, Tints, Borders, and Drop Shadows. This way, you can easily get the look you’re imagining and create tons of intrigue in your graphic design projects no matter what your skill level may be.
Today, we’re going to focus on one of the very latest Layer Effects – Drop Shadow. You can pair it with any graphics, text, and image layers you add to your design. And it does more than just add a shadow to these layers – you can use it to create captivating silhouettes, add a glow-like effect, and so much more. There’s so much creative potential hidden within the Drop Shadow layer effects menu, and we’re about to show you all the ropes!
How to Add a Drop Shadow Effect to a Graphic
Excited to give Drop Shadow a try? Let's go to BeFunky’s Graphic Designer and follow the steps below:
Step 1: Choose a Template
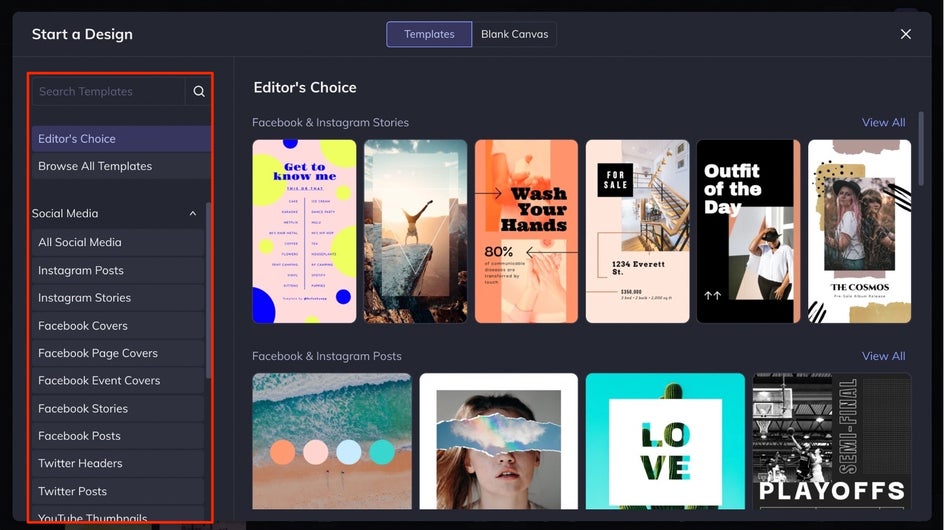
After you open the Designer, you'll be prompted to choose a design template. Browse the Editor’s Choice templates, start with a blank canvas, or search for a specific type of template by clicking through the different categories in the left sidebar menu, or using the search bar.
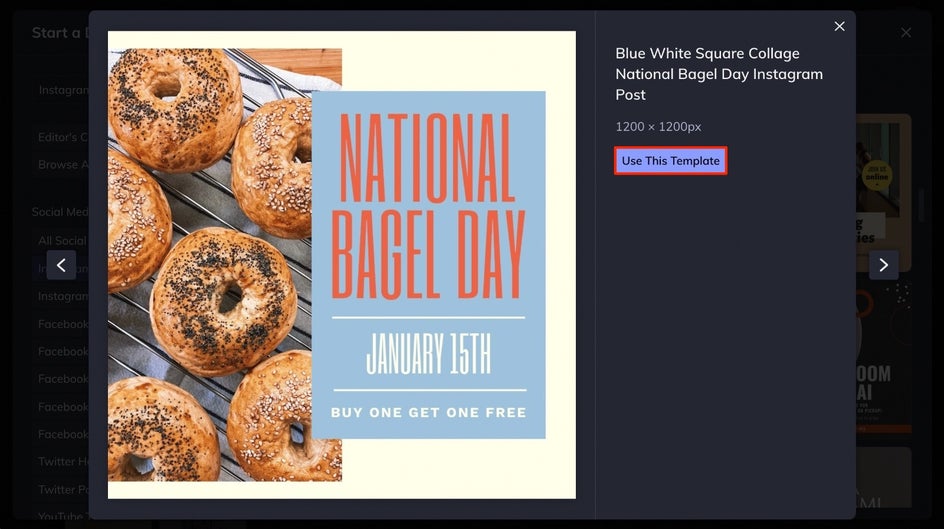
Clicking on the template thumbnails will show you a close up preview, and when you find the perfect one to start with, click Use This Template. The one used in this tutorial is a template from the Instagram Post category.
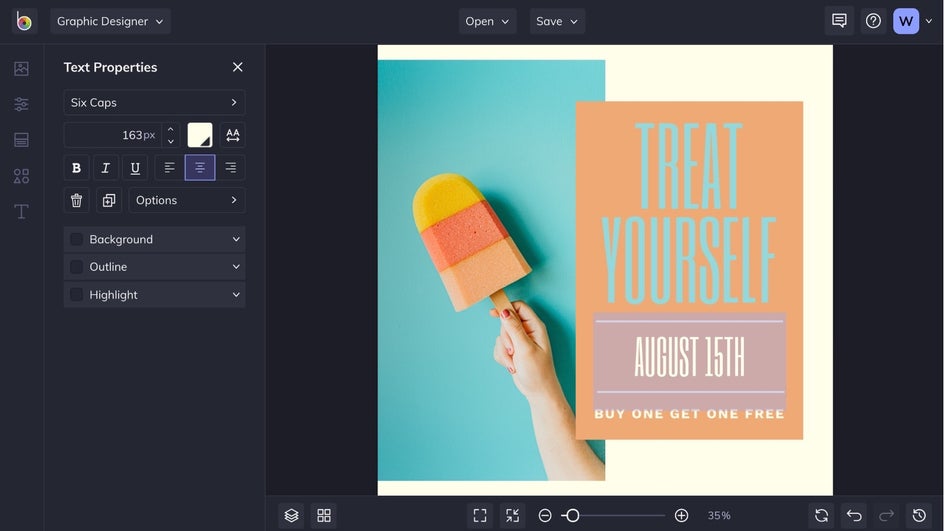
Step 2: Edit the Layers
After selecting a template, it will load onto the canvas for you to start designing. Spend as much time as you need to customize the design template by changing the text, adding new images, adjusting the color scheme, and more.
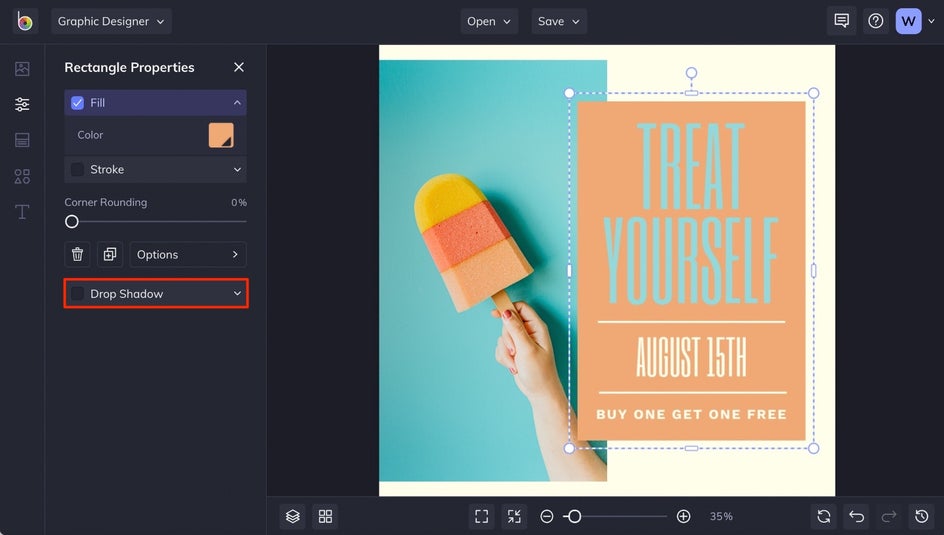
Step 3: Add a Drop Shadow
Click on the graphic (or any kind of layer) you want to add a drop shadow to. Select Drop Shadow from the Graphic Properties menu that appears on the left.
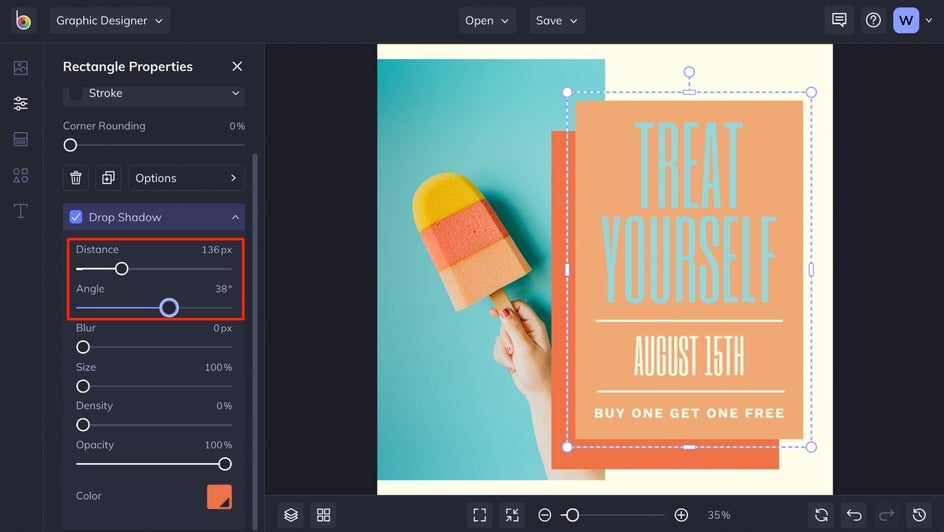
Step 4: Customize the Drop Shadow
Once you select Drop Shadow, you’ll see all of the customization options available. To change the color of the drop shadow, click on the swatch next to Color and choose a new hue in the menu that appears. You can also use the Eye Dropper Tool to select a color from anywhere on your template.

To position the drop shadow, adjust the Distance and Angle sliders. Move the Distance slider to the right to move the drop shadow farther away from your layer or left to keep it close. Adjust the Angle slider to rotate the drop shadow around your layer.
To control the edges of your drop shadow, you can increase the Blur option to soften the edges and the Density slider to make it more or less filled in.
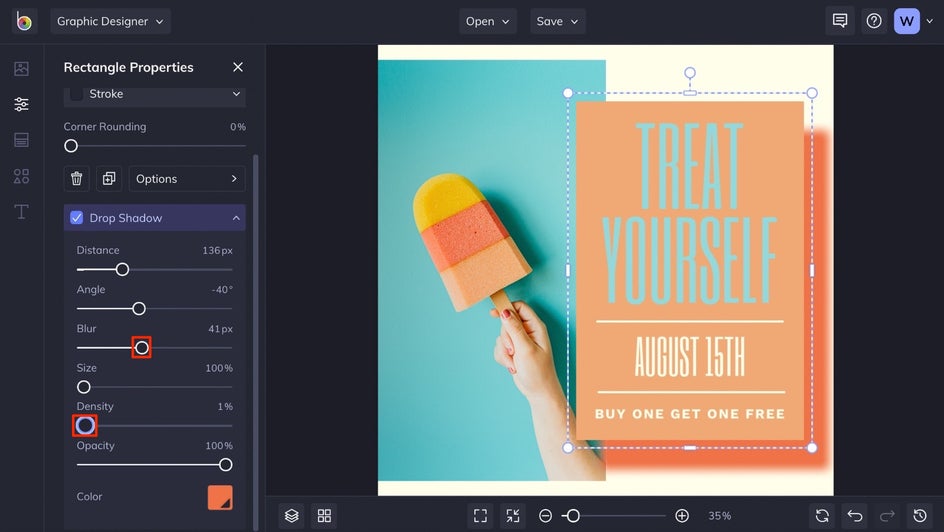
If you want the drop shadow to take up more space on your template, use the Size slider to grow your drop shadow to your liking.

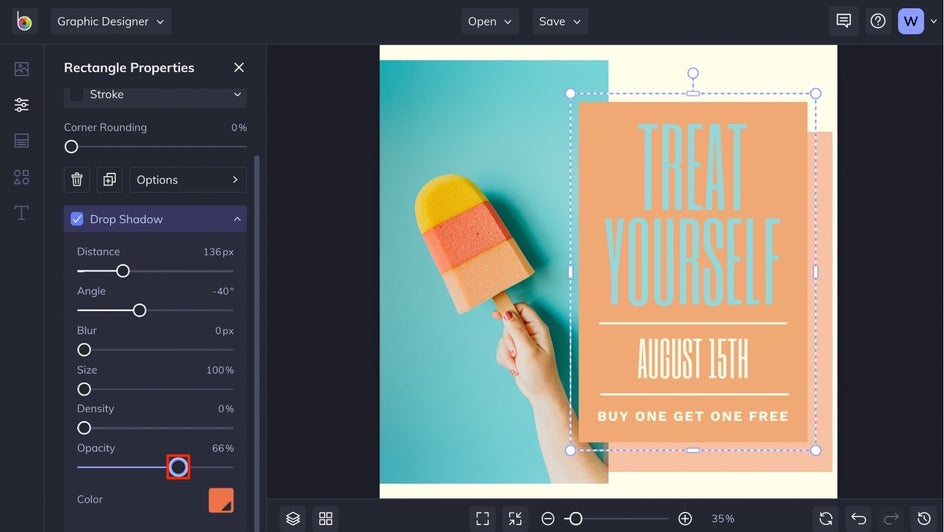
Finally, keeping the Opacity slider all the way to the right will keep your drop shadow completely opaque, while sliding it to the left will make it more translucent.
Step 5: Save Your Template
Feel free to play around with the different Drop Shadow menu options and customize your design template until it looks just right. When you’re finished, click the Save button at the top of the page. You’ll be presented with several options for saving your design – to your computer, BeFunky account, social media feed, as a project to continue editing later, and more.

Once you choose a destination, follow the prompts to give your design a file name and choose a format.
Drop Shadow Layer Effects Results
See how adding a drop shadow effect adds more depth and intrigue to this template? And all it takes is a few clicks!


Drop Shadow Graphics Inspiration
There are so many ways you can get creative by combining BeFunky’s Drop Shadow effects with your graphics. Here are a few of our favorites:
Create a Silhouette
Sometimes a silhouette is just the right addition to the main graphic in your design. To get this look, be sure to play around with the distance and angle of the effect until it looks like a shadowy silhouette.


Make Your Graphics Glow
When you want to make even the simplest graphics pop, try adding a glow effect around your graphics! Simply select the graphic(s) you want, add a drop shadow, increase the Blur, and choose an electrifying color to make the whole thing look neon.


Add Bold Outlines
Want to create a border around the edges of your layer? For geometric shapes, you can use Drop Shadow to create a perfect border like the one below. Or, for more non-symmetrical shapes, your Drop Shadow may end up looking a bit more hand-drawn. Just play around with the customization until it looks just right.

Add Depth to Your Graphics With Drop Shadows
Ready to start getting creative by combining these Drop Shadow effects with your layers? Head to BeFunky’s Graphic Designer and give it a whirl!