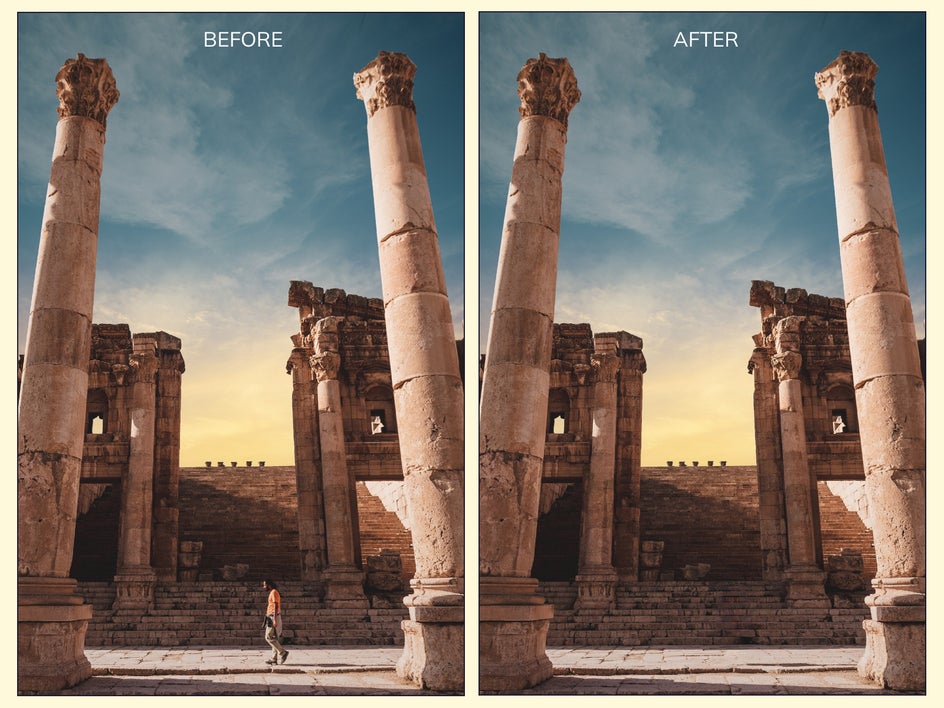
How to Remove People From Photos in Seconds
Now that traveling has become so popular, we have to deal with people walking in front of our photos, wandering into the frame, and our photos filled with strangers at every turn. Sometimes this effect can look cool if it is what you are going for, but other times, if you simply wanted a self-portrait and someone else was in the frame, you may want to edit them out of your photo.


Removing an unwanted object or person from your photo does not have to be difficult and you do not need expensive programs to do it. The Object Eraser tool in BeFunky’s Photo Editor can easily remove people from your photo. We are going to explain how it does this and then show you how you can use this tool on your photos to clean up any unwanted visitors!
How the Object Eraser Tool Works
Before, the Clone tool was the best way to remove something from a photo, but it only works if you have a source to sample from. The Object Eraser, on the other hand, utilizes A.I. to fill in the blanks of where your subject once was. It truly is revolutionary – and it’s the only object remover on the market that works on high-res images.


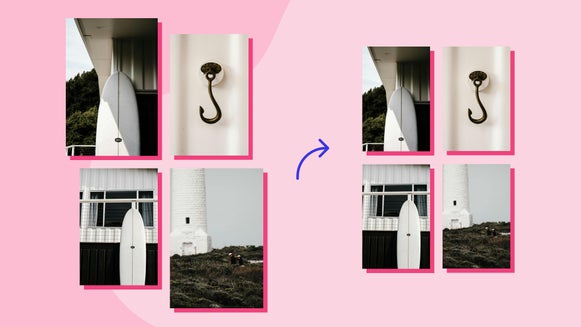
Not only is the Object Eraser tool helpful for getting rid of distracting objects like photobombs or stop signs, but it can also take care of small things like a stray crumb in your food photography or a tattoo on someone’s arm. It’s one of the most powerful tools in BeFunky’s Photo Editor and can easily clean up any unwanted object in a flash.
Quickly Erase a Photobomb With the Object Eraser Tool
To get started, head to BeFunky’s Photo Editor and upload your photo by selecting Open and then Computer at the top of the screen. Alternatively, you can head right to the tool by clicking here. You can also drag and drop an image file directly onto the canvas, which is my preferred method.
Step 1: Use the Object Eraser Tool
Once you have your photo uploaded, select the Object Eraser tool from the Edit tab.

After you select the tool, adjust the Brush Size and paint over the object that you want to erase, making sure to get as close to the edge of the object as you can. You can also remove areas you’ve accidentally painted by selecting Erase Selection and then painting over the areas you want to remove. If you want to start over, you can select Clear, and if you are happy with your selection, click Apply.

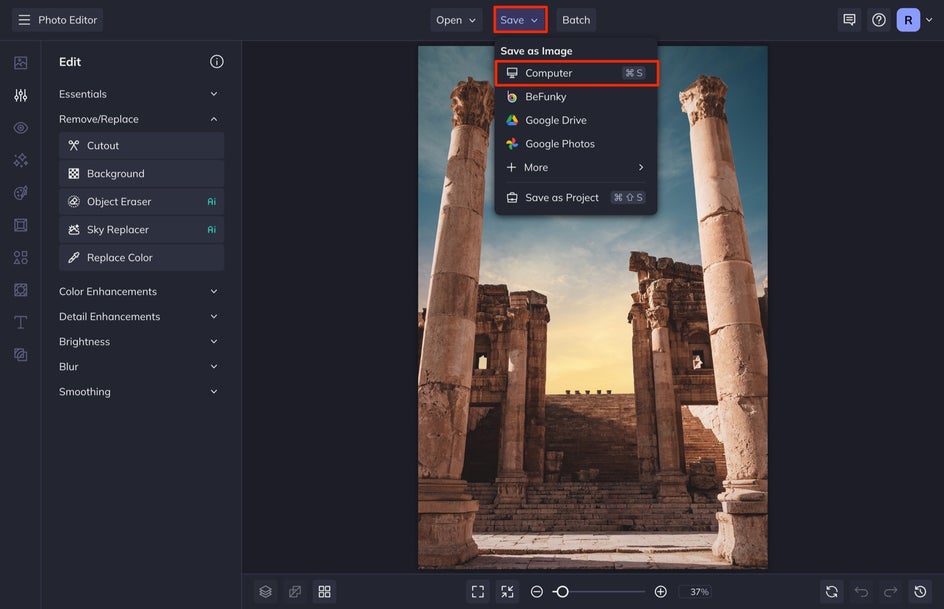
Step 2: Save Your Edited Photo
When you've finished editing, click the Save button at the top of the screen and then select Computer. Save your image as a high-quality JPG.
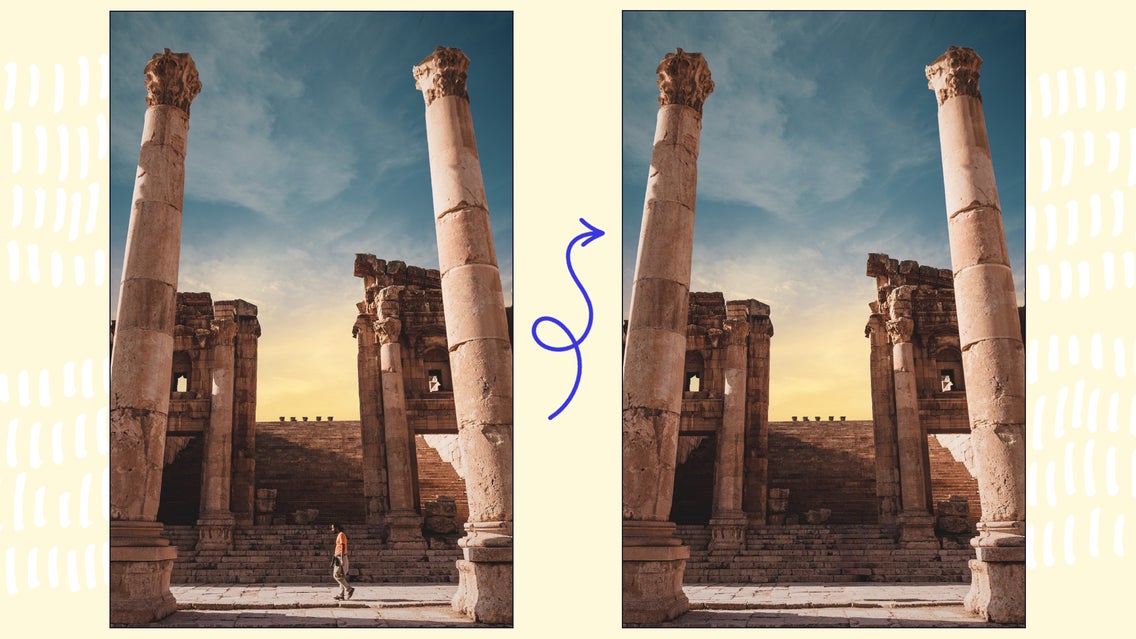
Easily Remove Photobombers With the Object Eraser Tool
This tool allows you to remove unwanted items and people from your photo in seconds. Now you can take care of all those photobombers from your travel photos. When you are ready, open BeFunky’s Object Eraser to get started.