


How to Add an Orton Style Effect to Your Photography
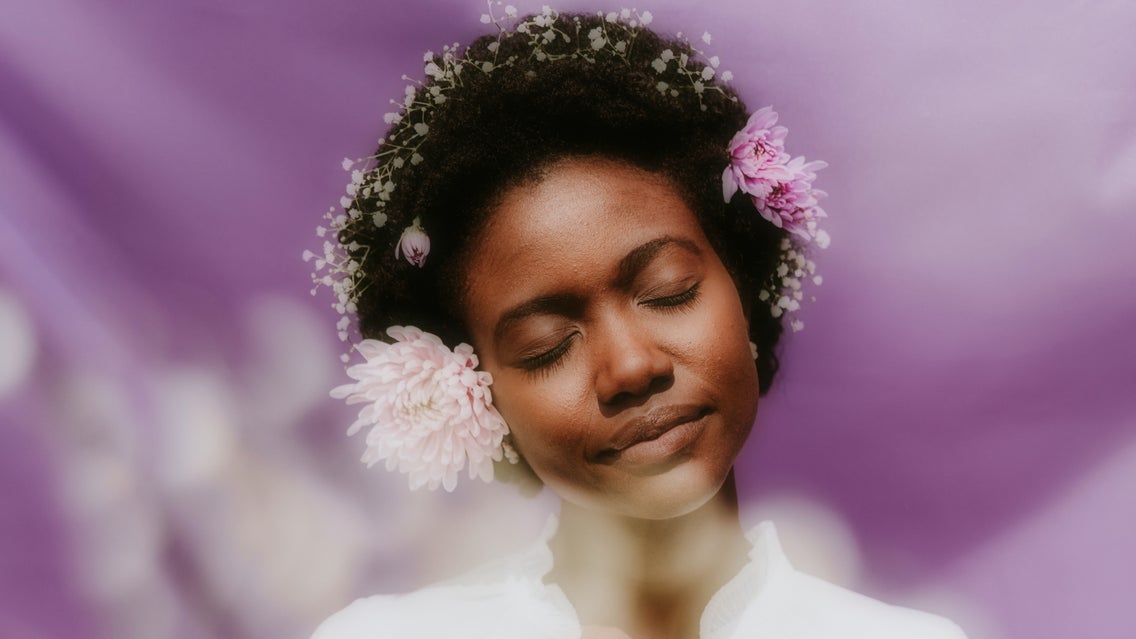
Have you ever wondered how professional photographers achieve that soft and dreamy glow in their photos? The answer lies in one of the most popular editing techniques: the Orton effect. By combining different photos of the same scene (each featuring varying exposures and focuses) the Orton effect is able to produce beautifully detailed images that are also soft and ethereal.
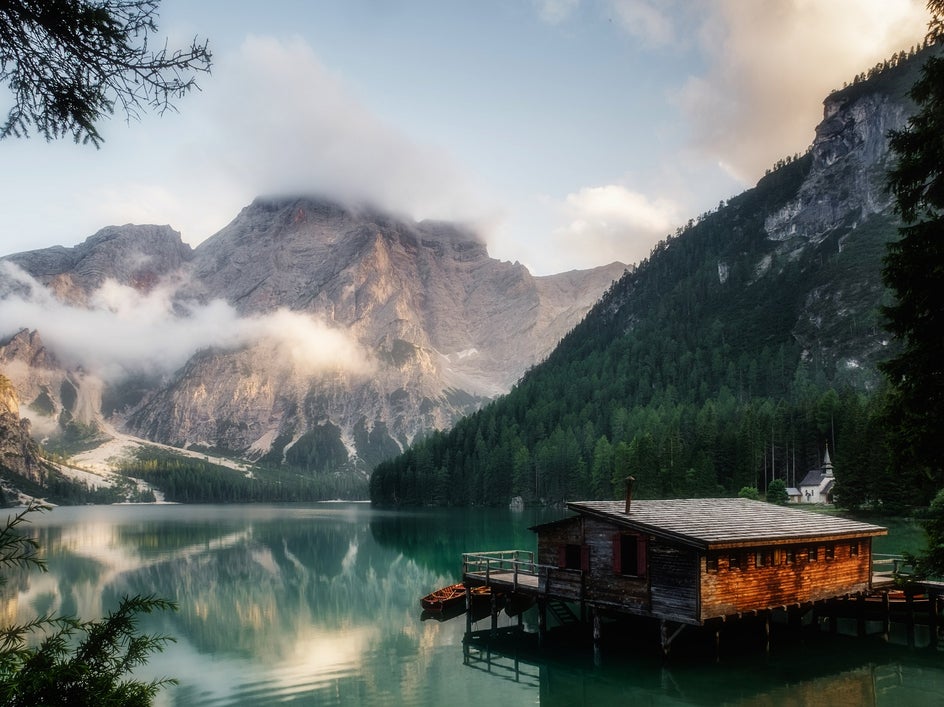
This photo effect was developed by photographer Michael Orton in the 1980s when he wanted to add a watercolor-inspired appearance to his landscape photography. It's not just landscapes that can benefit from that Orton glow though. This photo editing technique also works brilliantly with portraits, nature shots, and still life imagery.
If you love the Orton glow effect, then you’re in luck. BeFunky’s wide range of stunning Orton effects are designed to suit just about any photo you can think of. We’ll even show you how you can get the Orton effect in just a few clicks!
How to Get the Orton Effect Using BeFunky
To add one of our Orton effects to your own photo, head to the Photo Editor. Then, simply open the photo you wish to edit.
Step 1: Locate the Orton Effects
In the main menu on the left, navigate to Effects. Then, scroll down and click on Orton Style.
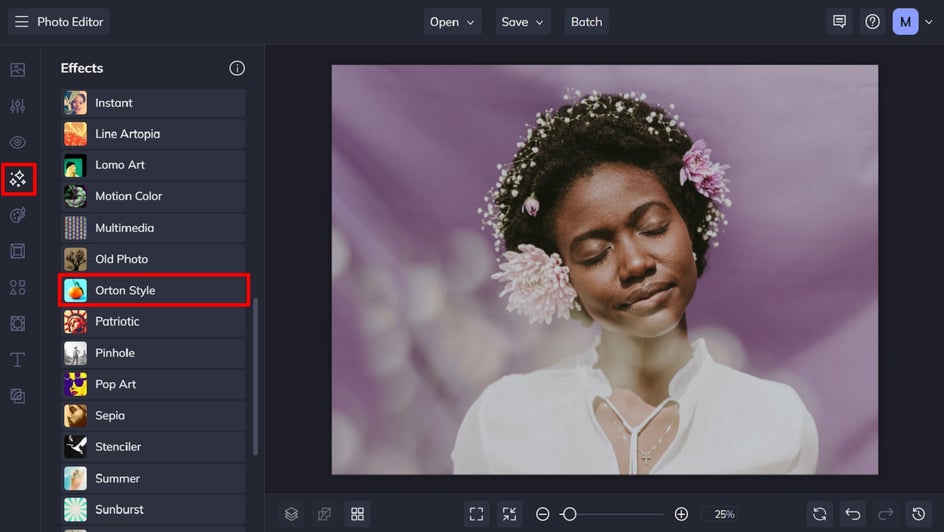
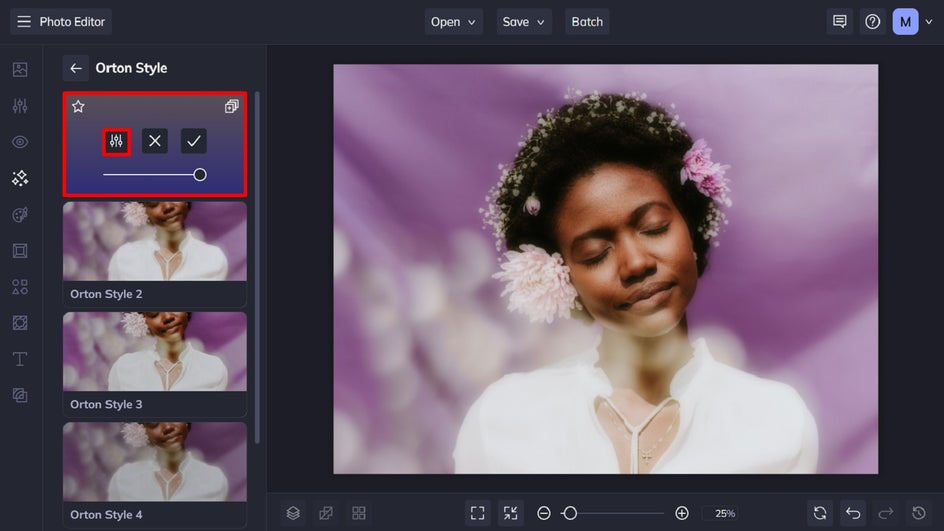
Step 2: Select an Orton Effect
You can click on any effect to preview how it would look when applied to your photo. You can also use the effect’s corresponding slider to increase or decrease the strength of the effect on your photo. In this Orton effect example, we’re using Orton Style 1.
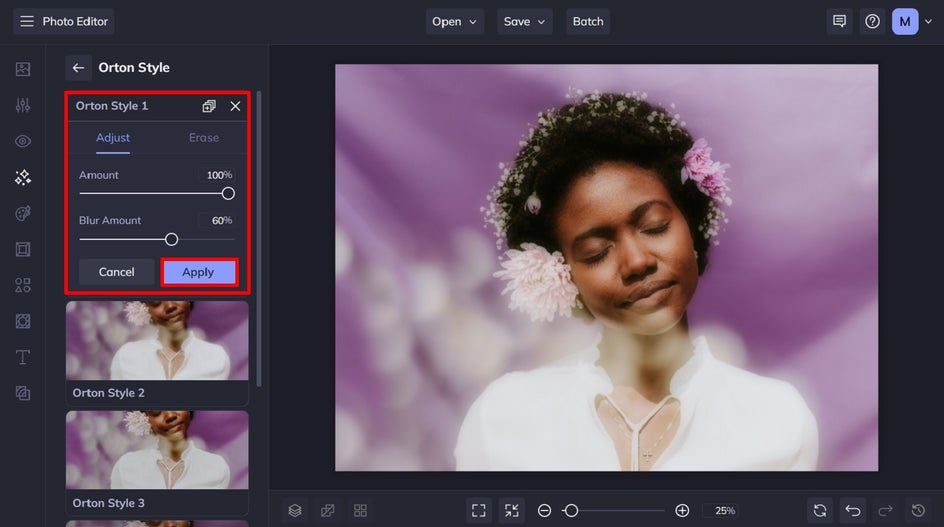
Step 3: Customize the Orton Effect
You also have the choice to further customize your Orton photo effect’s settings if you wish. To do so, click the Settings button to view your options. From here, you can also adjust the effect’s blur amount to perfect the look you’re going for.
Once you’re happy with how your Orton effect looks, click Apply.
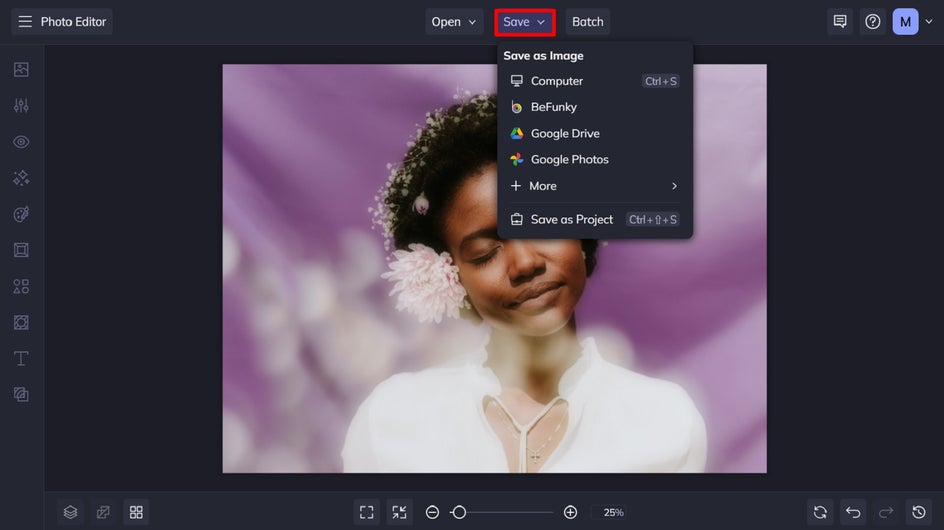
Step 4: Save Your Photo
Once you’ve finished editing your photo, click Save at the top of the screen and select your desired save location.
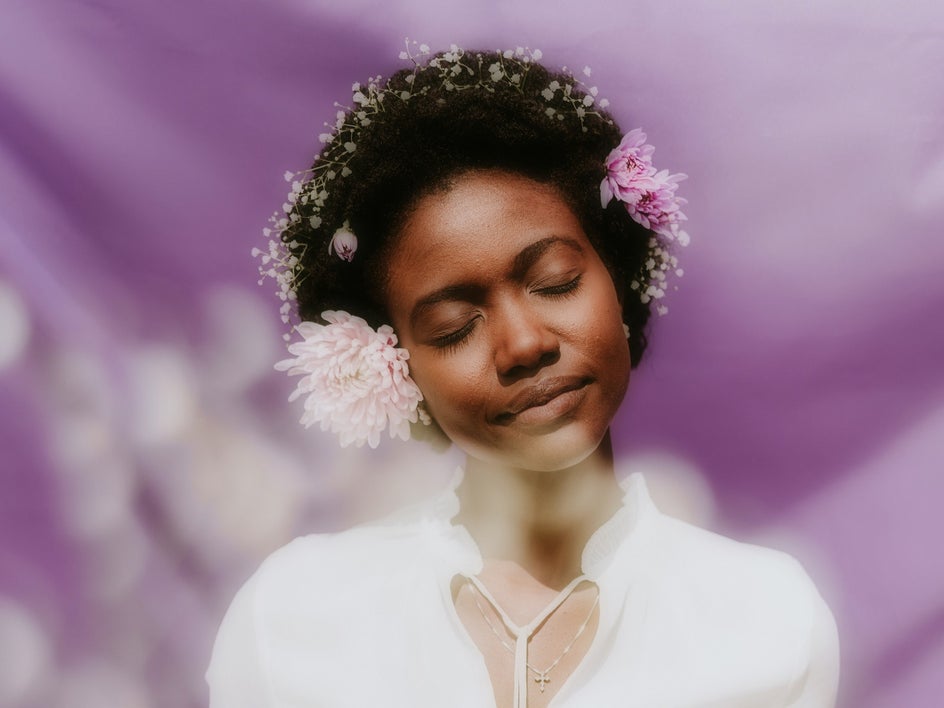
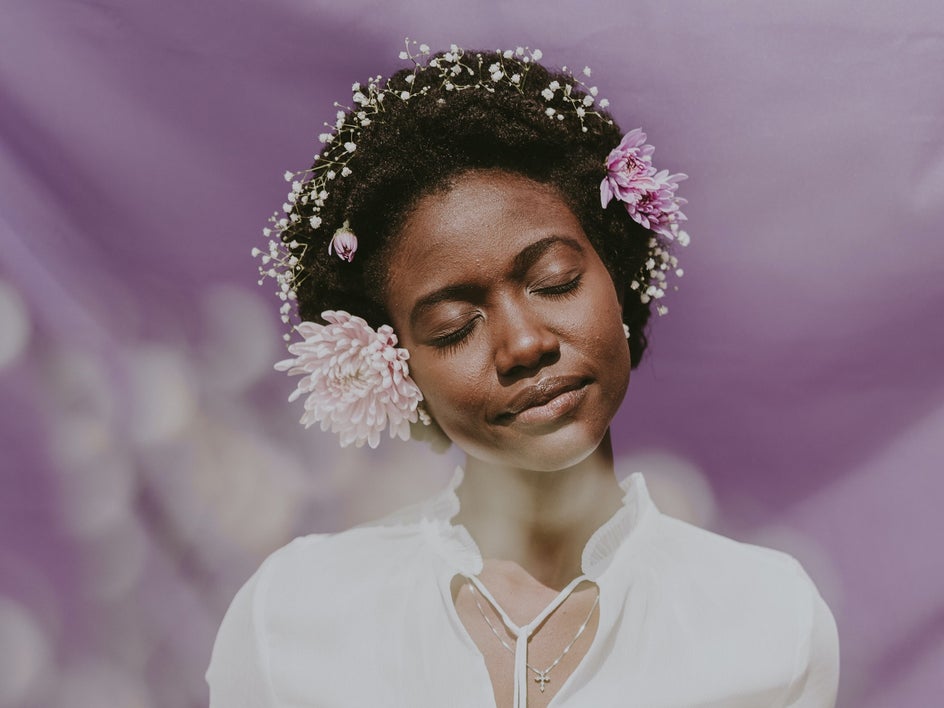
Adding An Orton Effect to Any Portrait in Seconds
As you can see, we were able to create a dreamy Orton effect portrait in seconds. Just imagine all of the amazing photos you can create using these effects!
Ready to Add an Orton Glow Effect to Your Photos?
Forget taking multiple versions of the same image just to achieve that dreamy Orton glow. Thanks to the wide selection of Orton photo effects available in BeFunky’s Photo Editor, all it takes is a single photo and just a few clicks.
Ready to test out the Orton photo effects on your own portrait, landscape, still life, or more? Check out the Photo Editor to see just how easy it is!


