Tips for Capturing and Editing Nature Photography
Nature photography is an ever-changing field. New techniques and gadgets are emerging all the time to further enhance nature photos. So much, in fact, that it can seem overwhelming when trying to perfect your nature photography know-how.
If you’ve been wondering “How do you take good pictures of nature?” or “How do I become a successful nature photographer?”, then you’re in luck.
In this guide, we reveal everything you need to know about capturing and editing stunning photos of nature, from the best camera settings for wildlife photography to composition rules, and so much more.
We even reveal the best tools for editing your nature photos to perfection in BeFunky’s Photo Editor, so you can make those shots look even better.
8 Tips for Capturing Nature Photography
Taking photos in nature will keep you on your toes. That's why it’s important to have the right knowledge and gear on hand when starting your nature photography journey. Here are our top tips to keep in mind when photographing nature.
1. Know the Optimal Camera Settings
The best camera settings depend on the specific conditions and the effect you want to achieve. However, as a general guideline, using a wide aperture (small f-number) such as f/2.8 or f/4 can help to create a shallow depth of field, making the subject stand out against a beautifully blurred background. A fast shutter speed (1/500 or faster) can freeze fast-moving subjects like birds or wildlife. Additionally, using a low ISO (100-400) can maintain image quality and reduce digital noise, especially in well-lit conditions.
These settings can be adjusted based on the lighting, subject movement, and desired creative effect.

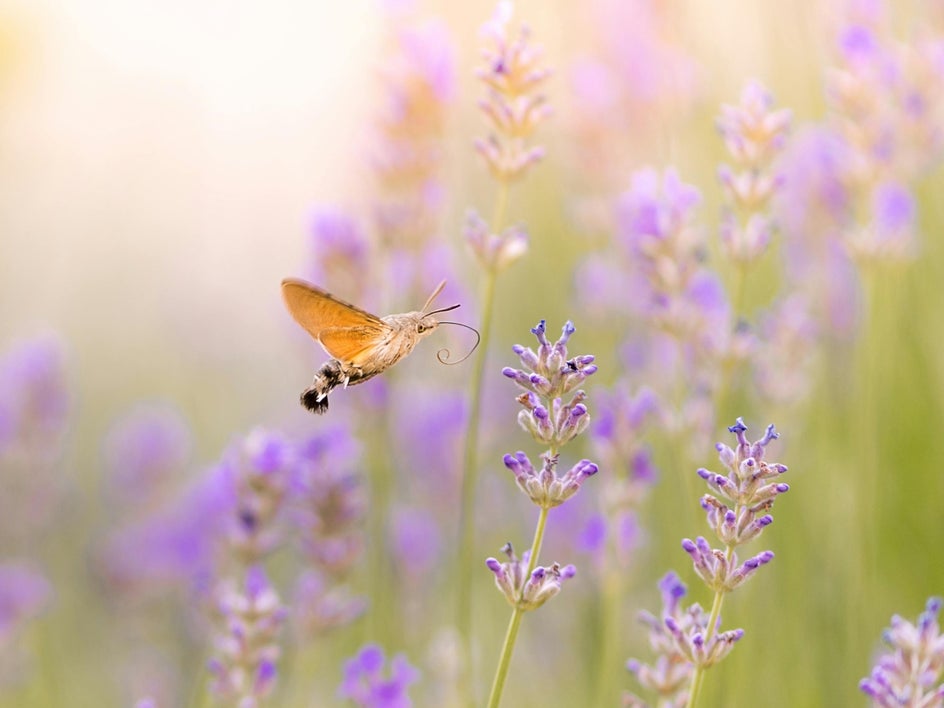
2. Use the Right Camera Lens
When it comes to the best lens for nature photography, there isn’t a one-size-fits-all answer. Instead, the most appropriate lens will depend on the type of nature photography you want to do.
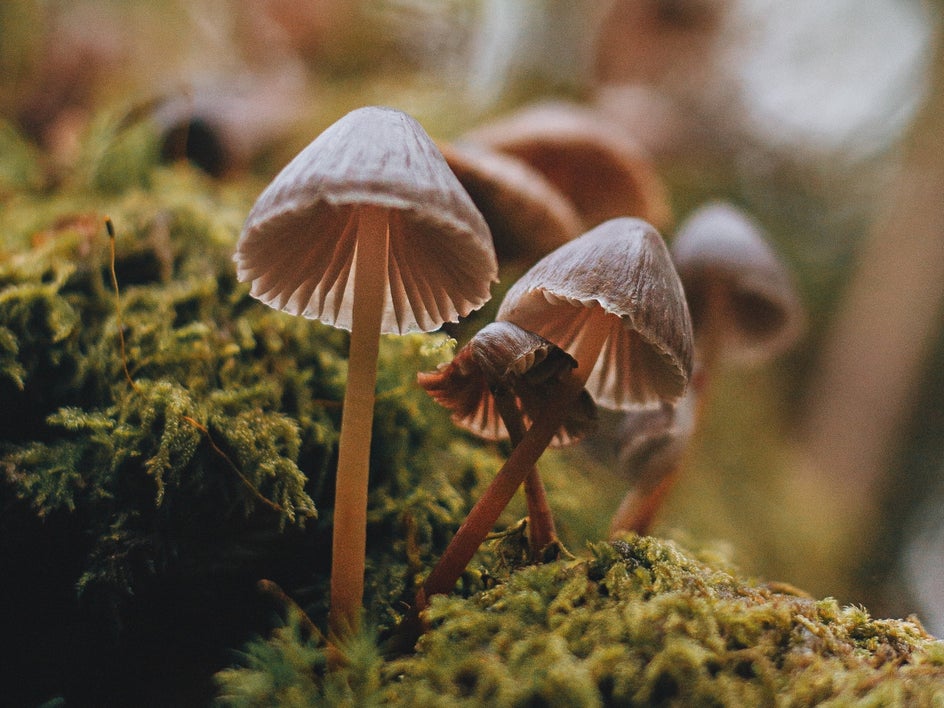
For landscapes and wide-angle shots, a wide-angle lens (such as 16-35mm) is ideal to capture the expansive scenery. For wildlife and close-up shots, a telephoto lens (like 70-200mm or 100-400mm) is recommended to bring distant subjects closer. Additionally, a macro lens can be used for detailed shots of flowers, insects, and other small natural elements.
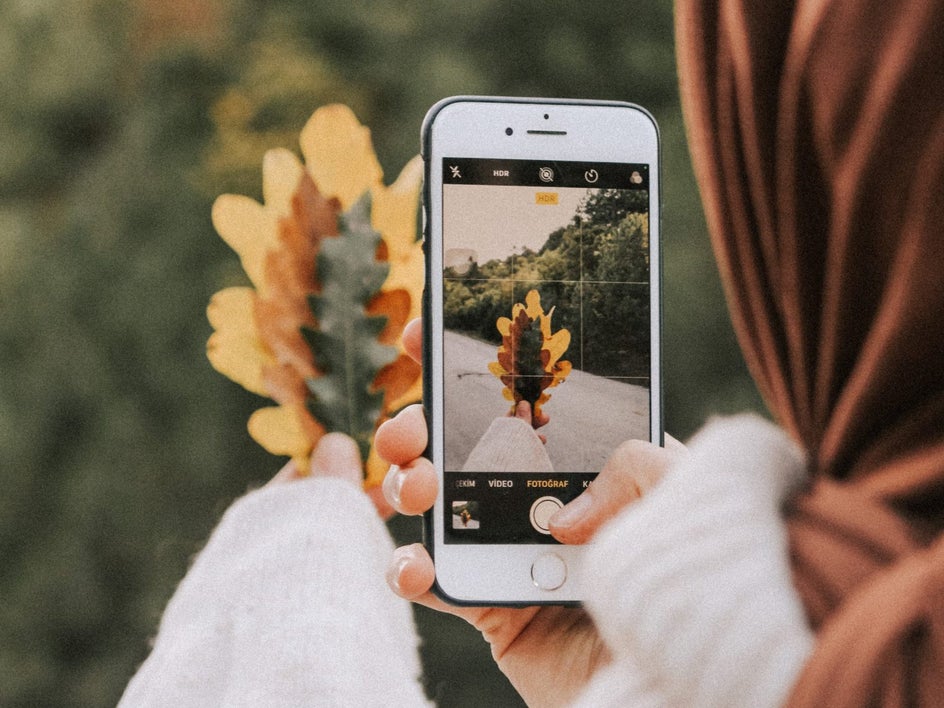
3. Choose a Focal Point
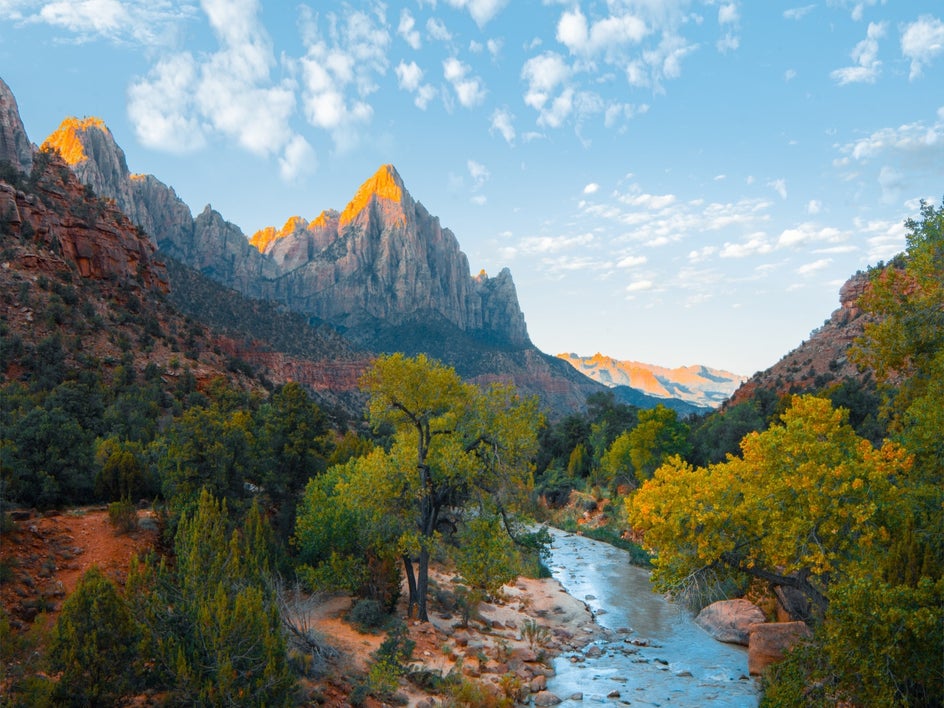
Locating the focal point when taking a photo of an animal or insect is easy. These figures will be the central point that draws the attention of viewers. However, when it comes to landscape photography, determining a focal point might be more challenging. To make landscape photos interesting and unique, it’s important that there is something drawing the viewers' attention.
Maybe it’s a tent near a ledge with an incredible mountainscape in the background or a focus on a plant near the photographer before expanding outward toward a lake of crystal blue waters. Either way, finding this angle in your nature photography is crucial to adding intrigue and perfecting the composition. Which brings us to our next point . . .
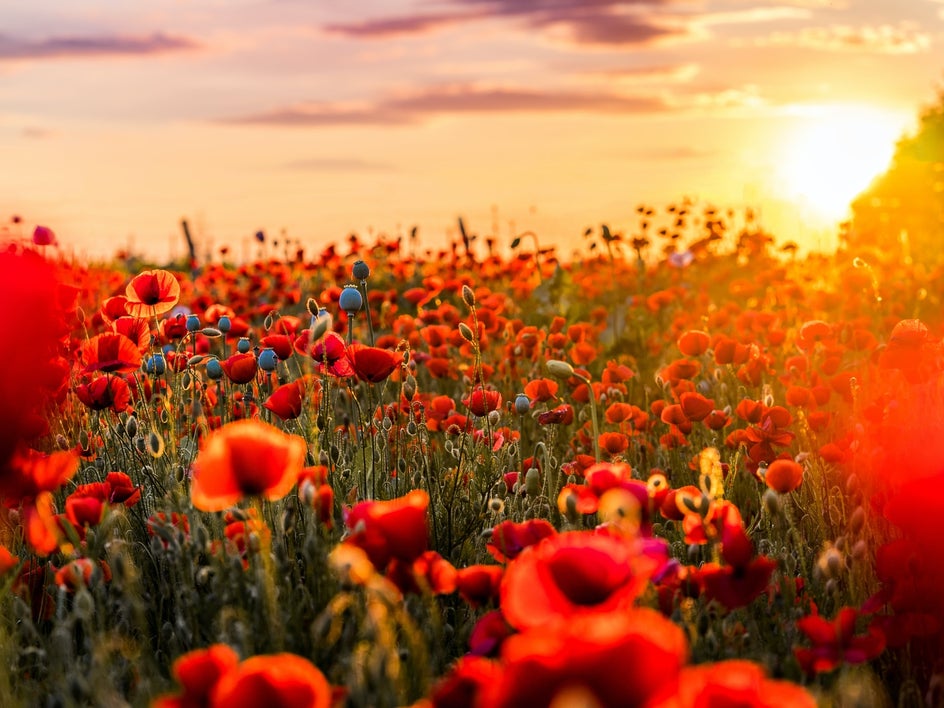
4. Use the Rule of Thirds
This rule divides your frame into nine squares made from three horizontal rows and vertical columns. Using this framework allows you to consistently take visually appealing photos and is an easy rule to apply in every photo opportunity.
Where the lines intersect on the frame are your points of interest. You should position your focal point or subject on or near these points to maximize the use of the rule of thirds. The rule of thirds is easily the simplest composition strategy for taking great photos.
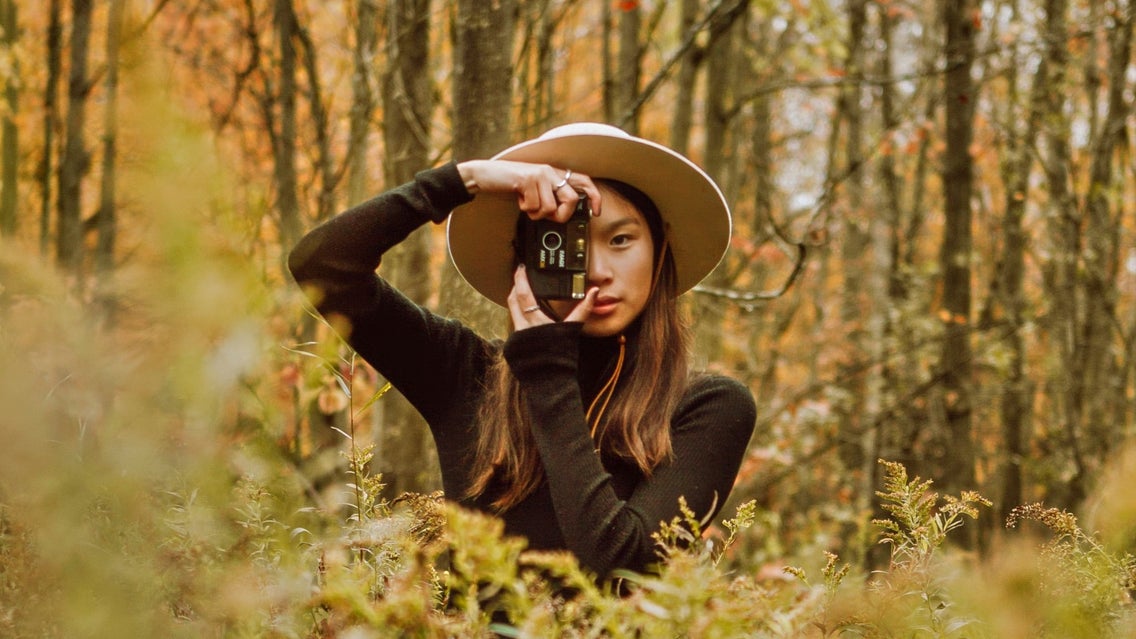
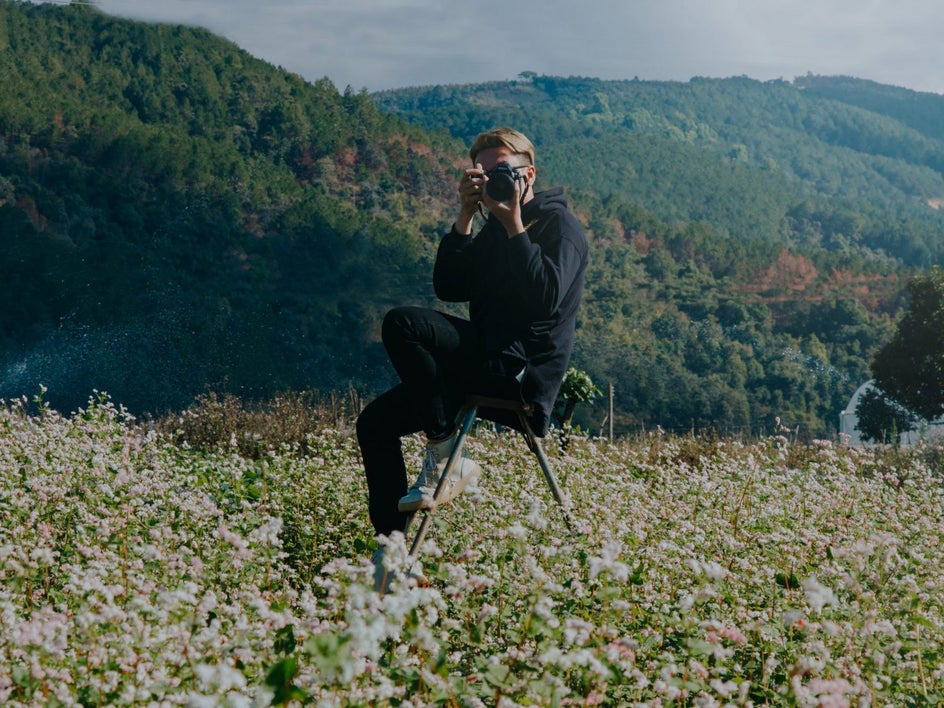
5. Consider a Unique Angle
One of the goals of nature photography is to capture the parts of nature that the average person would not see. This unique perspective requires that nature photographers not be afraid to get their hands dirty to find an angle that sheds new light on their subject.
Consider kneeling, lying down, or even climbing a tree to gain a whole new perspective. Tilt, twist, and turn your camera to find something new. You could even venture off the beaten path (if it’s safe to do so) to see what photos await you there.
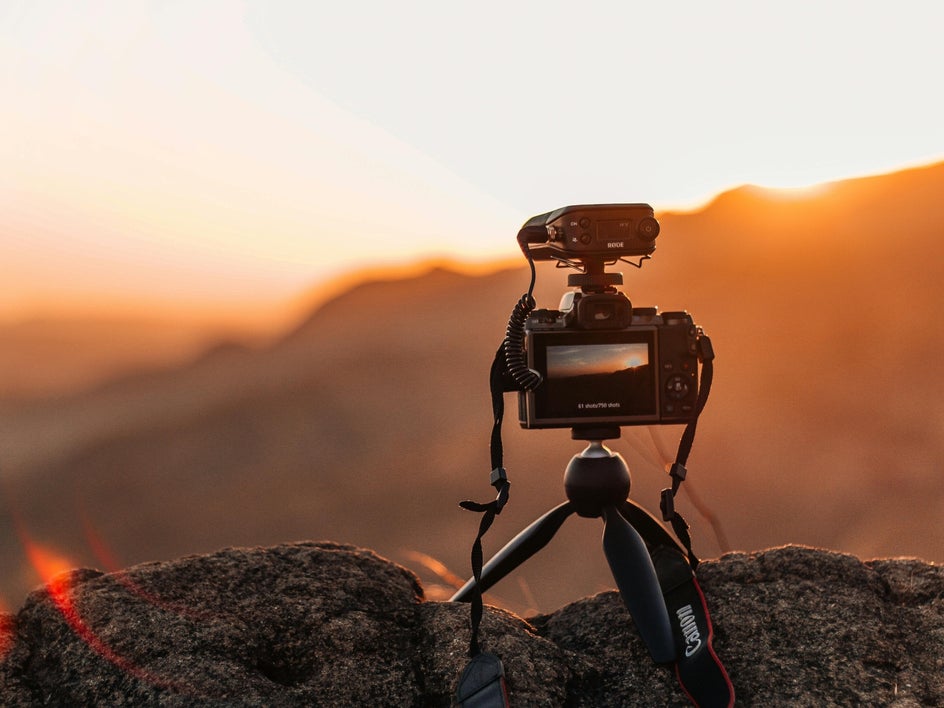
6. Invest in a Tripod, Ball Head, and L-Bracket
Before setting out, whether it’s into a local green space or national park, take stock of your gear. Tripods, ball heads, and L-brackets are worthy investments if you’re seeking to improve your nature photography skills.
A good, sturdy tripod is useful when taking long-exposure shots and will decrease those shaky movements that can cause blurry images. A ball head attaches to the tripod and allows you to adjust the angle of the camera without having to detach and reattach it from the tripod. An L-bracket, on the other hand, is a device that permanently attaches to the bottom of your camera and allows you to easily attach and remove your camera from the ball head.
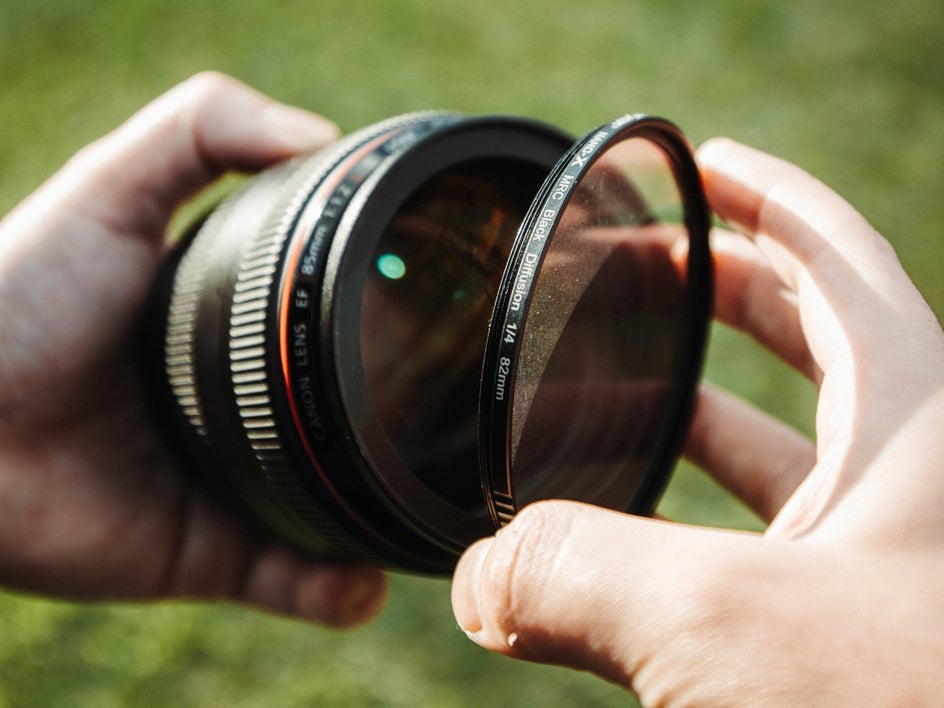
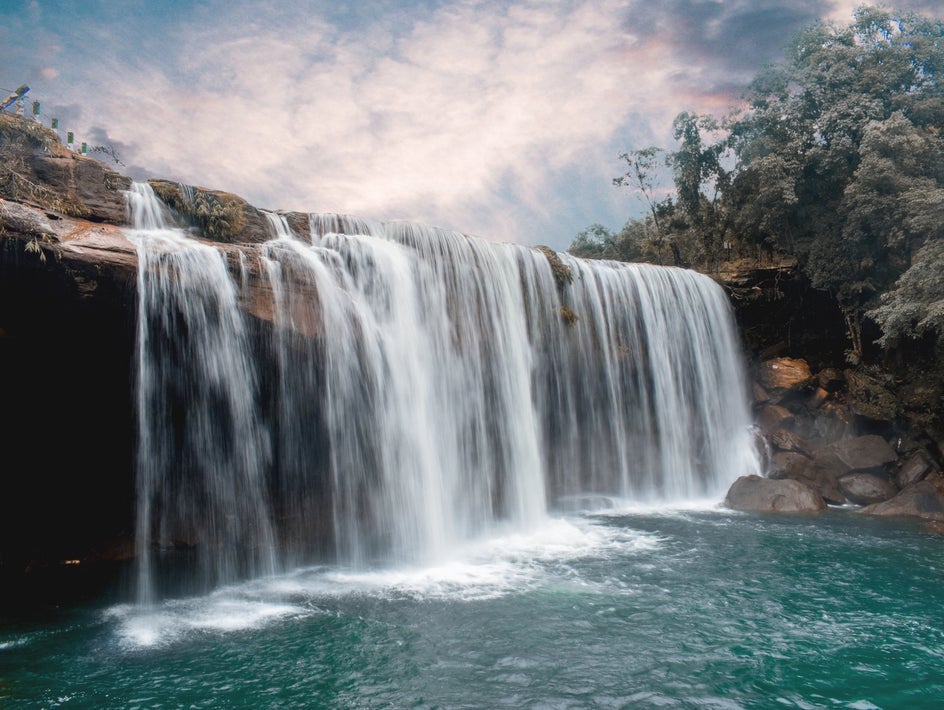
7. Consider Camera Filters
Filters for your camera are accessories that can be attached to the lens to modify the light entering the camera. They can help enhance colors, reduce glare, and control exposure in different lighting conditions.
For nature photography, filters like polarizing filters can reduce reflections and increase color saturation, while neutral density (ND) filters can be used to achieve longer exposures for capturing motion in waterfalls or clouds. Additionally, graduated neutral density (GND) filters can help balance the exposure between the bright sky and darker foreground in landscape shots.
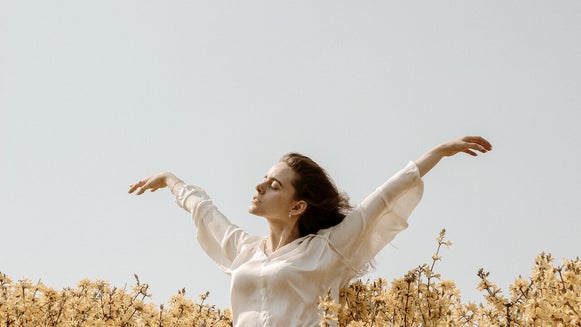
8. Utilize Natural Lighting
Gear for your camera is important for nature photography, but one of the most crucial tools in your arsenal is natural lighting. This can be the difference between an average and stunning shot. Generally, early morning and late evening provide the best lighting for landscape photography. For more wildlife or action photography outdoors, it’s best to position yourself to avoid awkward shadows that distract from your focal point.
Don’t be afraid to experiment with taking photos at different times of the day and different kinds of weather to see what works best for your desired style of nature photography.
5 Tips for Editing Nature Photography
Now that we’ve covered the best advice for capturing stunning nature photos, let’s reveal what you should keep in mind when editing your images for the best results.
1. Crop Out Distractions
Perfectly framing your nature photography can take practice while you’re on the go, but thankfully you can crop your image during the editing process for an eye-catching result. The Crop tool in BeFunky’s Photo Editor can help you apply the rule of thirds, crop out distractions, and otherwise help you get the composition just right.
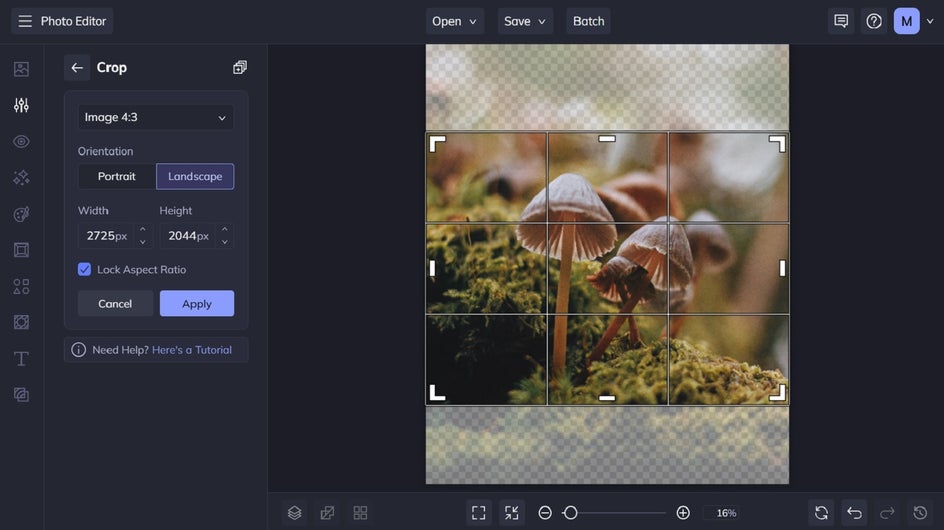
You'll find the Crop tool in the Edit tab on the left, under the Essentials category. Simply choose from the dropdown menu of Aspect Ratio presets, or type in your desired crop dimensions.
2. Perfect Your Image’s Exposure
Exposure in photography refers to the amount of light that reaches the camera sensor when taking a photograph. It is determined by three main factors: aperture, shutter speed, and ISO. Proper exposure results in a well-balanced and correctly lit photograph, while underexposure or overexposure can lead to dark or washed-out images, respectively.
If your nature photo is under or overexposed, you can quickly and easily perfect it using BeFunky’s Exposure tool, located within the Edit menu. Simply move the sliders to adjust your image’s brightness, contrast, highlights, and shadows until you have your desired exposure.

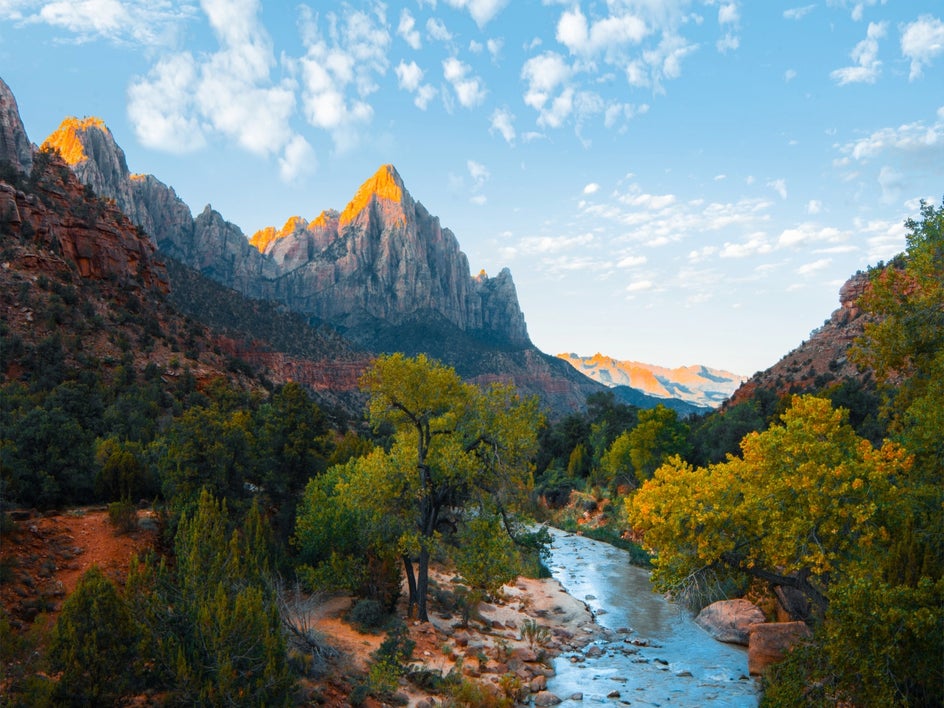
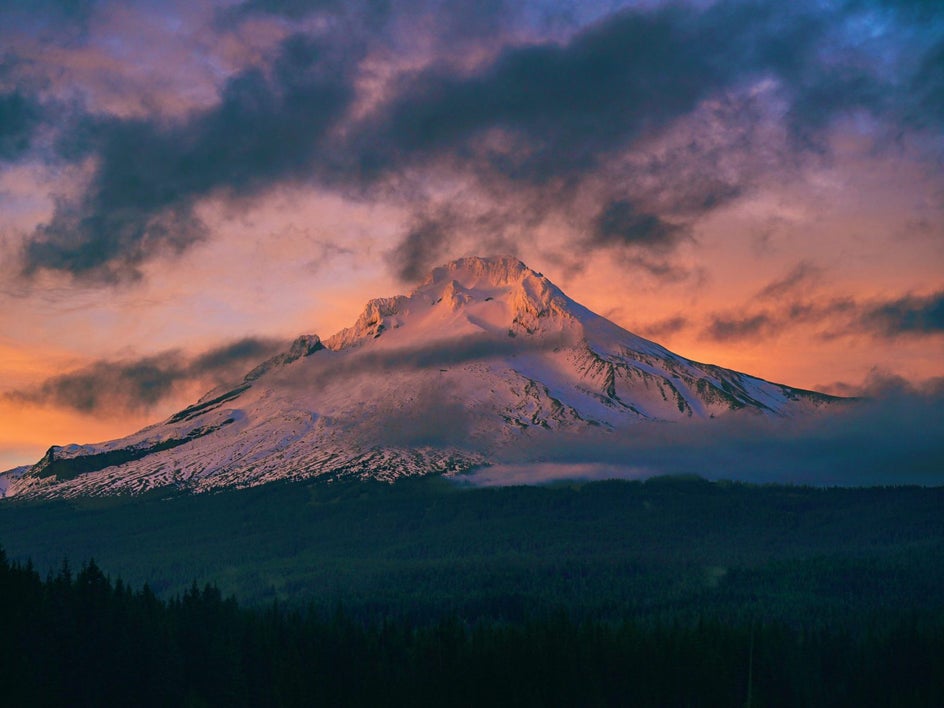
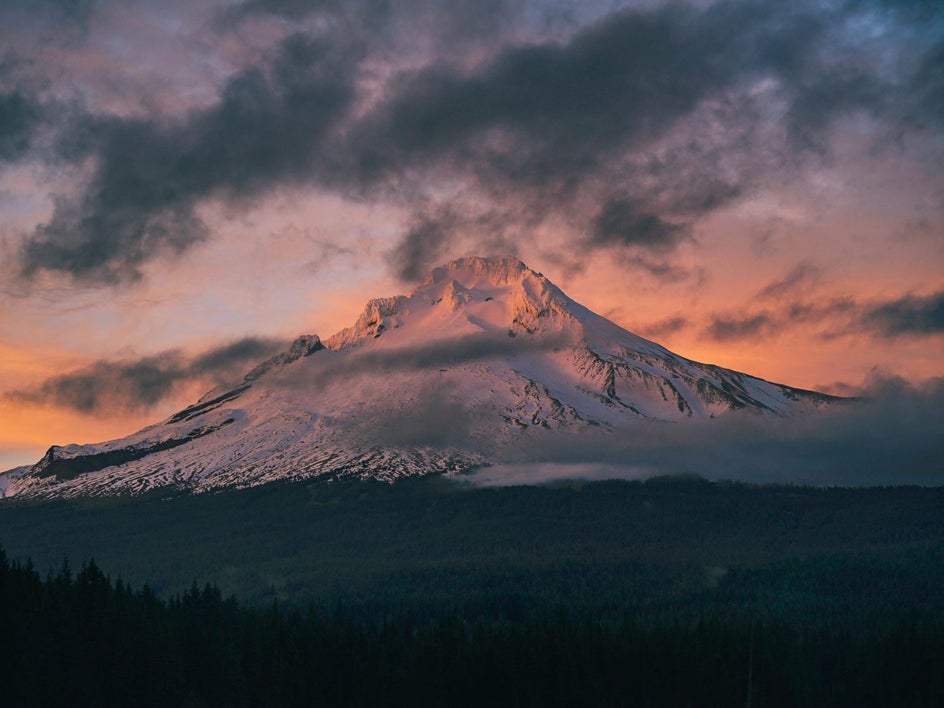
If you want an even more robust tool for editing exposure, scroll down to the bottom of the Edit menu and click on Levels. The Levels tool works with sliders as well, but gives you more detailed control over the highlights, shadows, and overall exposure of your image. Check out this freshly edited landscape image.
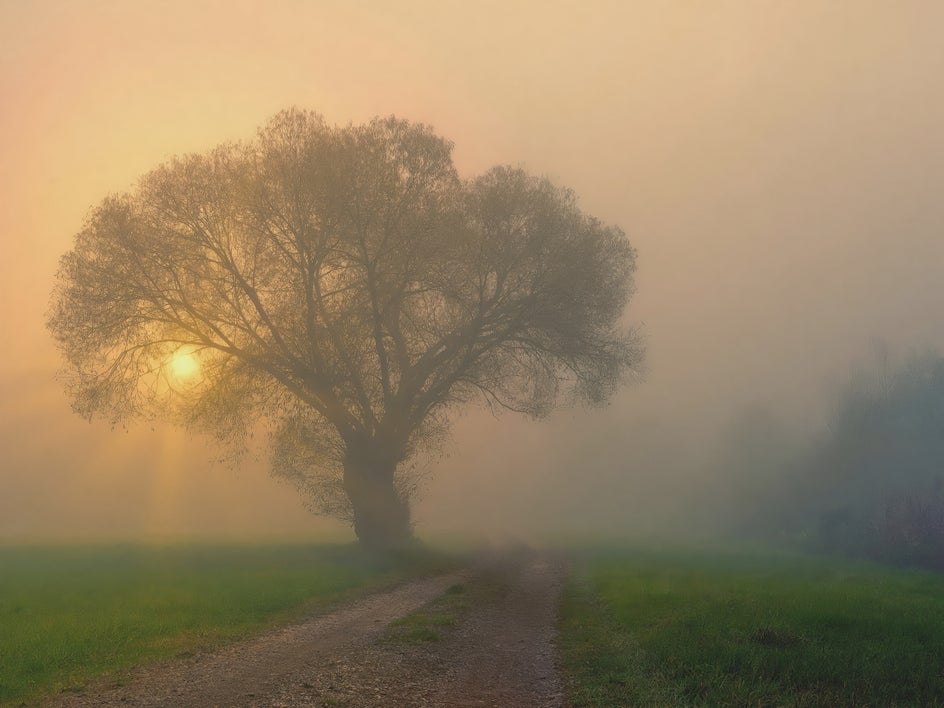
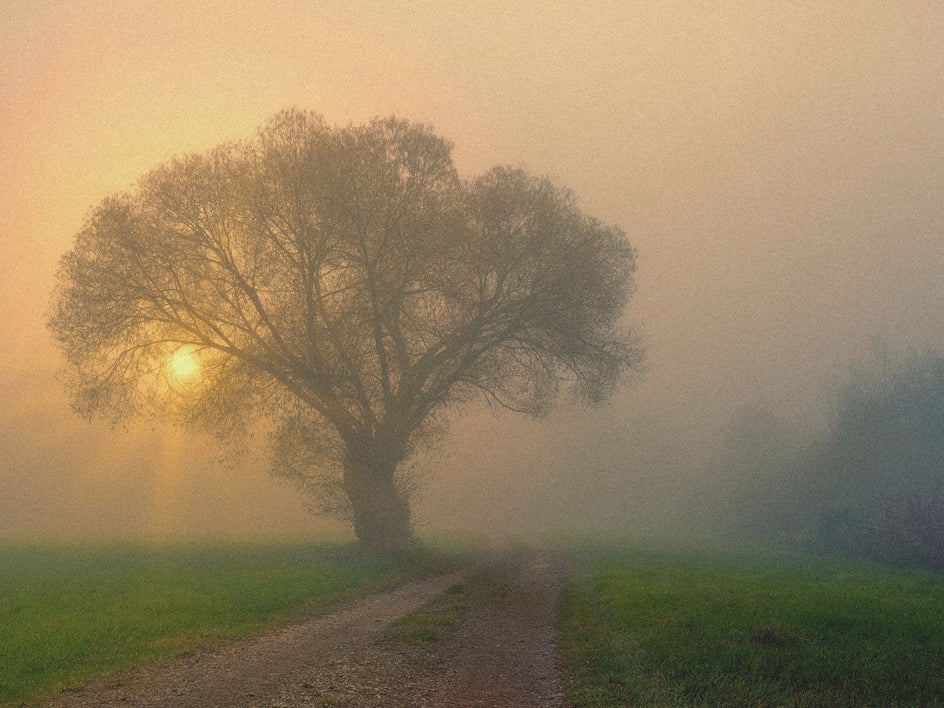
3. Eradicate Noise
When capturing scenes of nature in poor lighting, you may find that your camera can produce an in-focus image using a high ISO. The downside to this, however, is that it can cause noise (or dust-like specks) within your image.
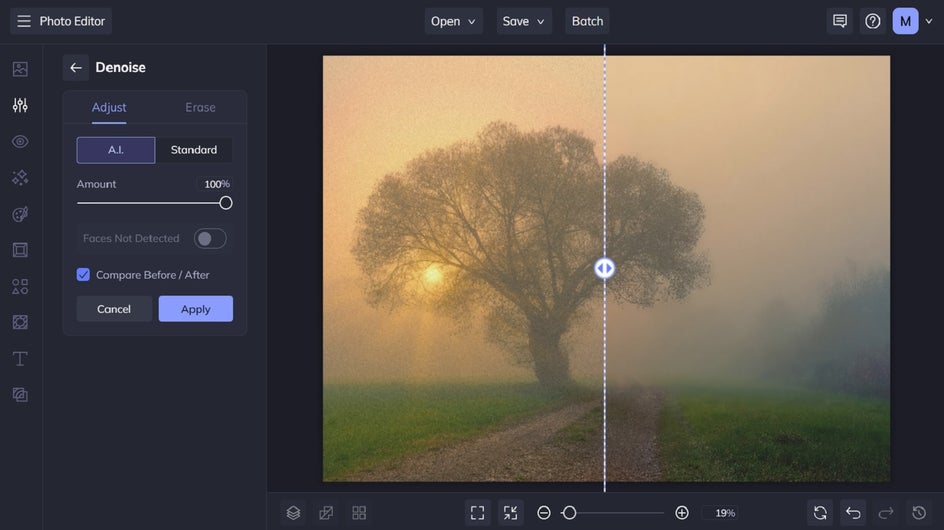
Rather than deleting an otherwise beautiful image, try using BeFunky’s Denoise tool located within the Edit menu underneath Smoothing. This tool utilizes Artificial Intelligence to denoise your image and get it picture-perfect in just seconds.
4. Boost Your Image’s Colors
When it comes to eye-catching nature photography, a little saturation can go a long way. Rather than manually adjusting color settings yourself, however, leave it to BeFunky’s Vibrant Colors DLX tool to do the heavy lifting for you.
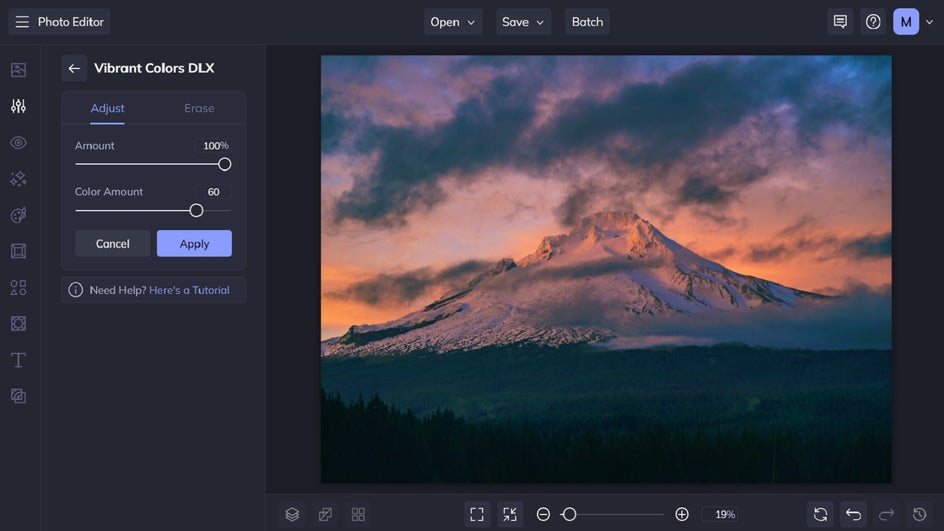
It works to enhance the midtones in your image without over-saturating the colors. Here's a more detailed tutorial to show you exactly how it works.
5. Experiment with Photo Effects
When editing nature images, you can enhance their natural beauty by adding effects that complement the scene. A vignette effect can be used to draw focus to the photo’s main subject, for example, while applying a warm- or cool-toned effect can evoke a specific mood. A black-and-white photo effect, on the other hand, can add drama or mystery to a natural landscape or wildlife image.
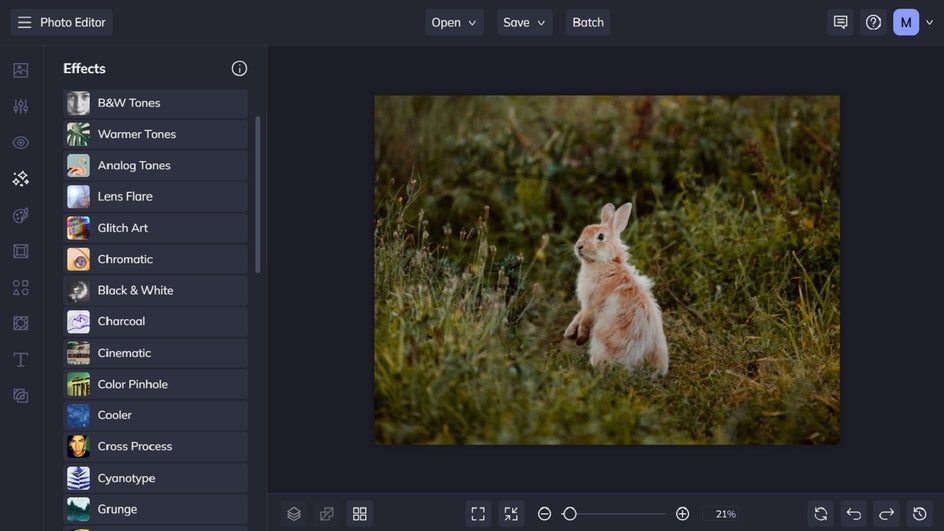
BeFunky’s Photo Editor is home to a wide range of photo effects, so you’re sure to find exactly what you had in mind. In the example below, we applied a B&W Tones effect.

Become a Successful Nature Photographer With These Top Tips
When it comes to taking good pictures of nature, it can be difficult to know where to begin. With this huge roundup of editing and photography tips, however, you’re sorted!
Remember, taking your photo is only half the task when creating incredible shots of nature. BeFunky’s Photo Editor helps take these photos to the next level with creative, fun, and intuitive editing tools.
Check out the Photo Editor today to see just how amazing it is!