Create Glitch Art With BeFunky’s Glitch Photo Effects
Computer glitches may be a sign that something is wrong with your device, but isn’t there something eye-catching about those pixelated bursts of color? Offset hues and broken shapes make digital glitches visually appealing – so much so that “glitch” became a popular form of art in the ‘90s. So what if you could capture that aesthetic without sacrificing your software?
Good news: Fixing a glitch might be complicated, but adding glitch photo effects to your photos doesn’t have to be. With BeFunky’s Photo Effects, found in the Photo Editor, you have your very own glitch filter generator at the ready. It’s as easy as a few clicks! And, with dozens of options available, there’s no end to how you can customize your glitch art.
In this article, we’ll showcase the breadth of glitch filters in our library, provide a quick tutorial on how to add glitch effects to photos, and even lend you some glitchy inspiration. When you’re finished, you can use your unique new glitch images to make stand-out posters, social media posts, blog elements, and more with the best glitch photo editor around.
BeFunky's Glitch Categories
There are dozens of ways to mix and match BeFunky’s three libraries of Glitch effects. Here’s the rundown on each one, and how they can be utilized to create new, distinct artwork using photos you already have.
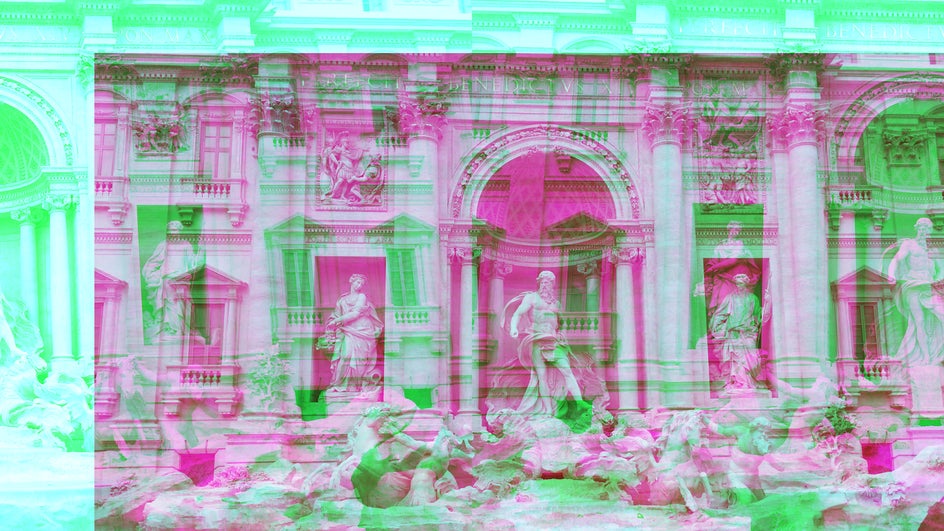
Classic Glitch Art
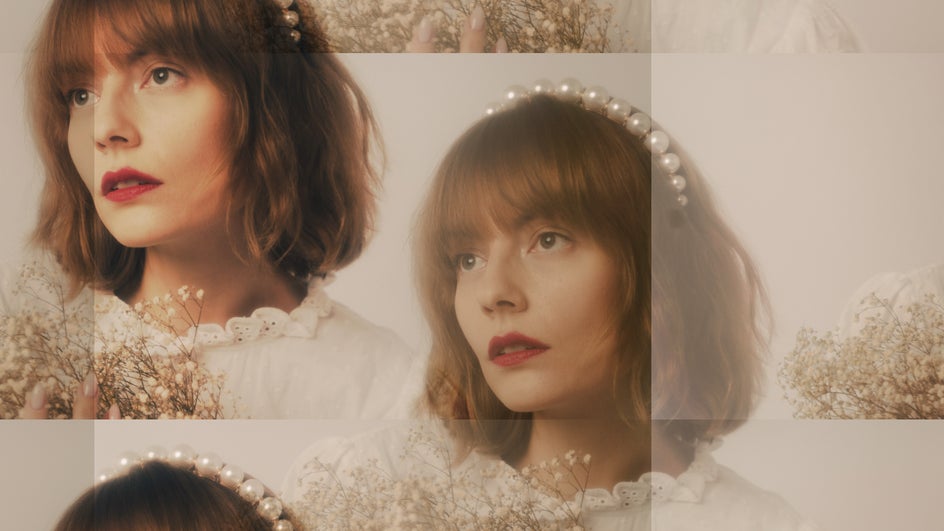
Glitch Art's classic effects can be used to create a corrupted glitch scene. And with the right colors, it can mimic a vaporwave glitch effect. This classic effect is a fun way to add interest and motion to even the simplest of images.
Holga Art
The Holga is an inexpensive, low-fidelity film camera that began production in 1982. It became famous for its unique vignettes, distortion effect, and other glitches, and has been a longtime favorite of street photographers.
BeFunky’s Holga Art effects replicate the camera’s beautiful optical distortions with ease, creating impressive, colorful works of art from just a single photograph. Easily adjust the spacing and layout of the glitches to point focus toward your subject.
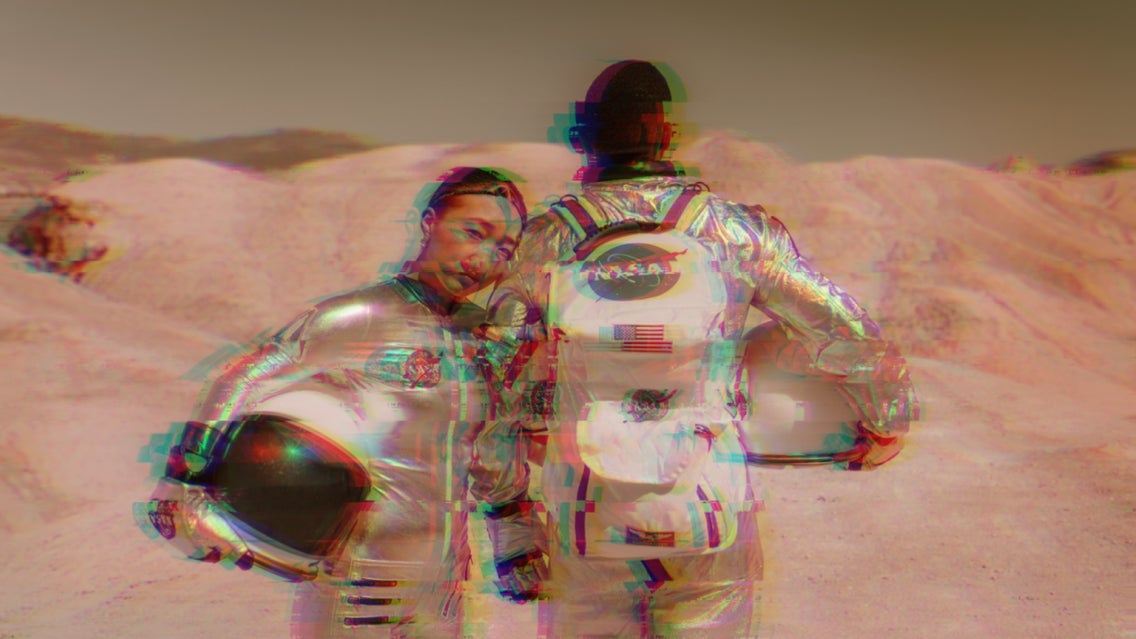
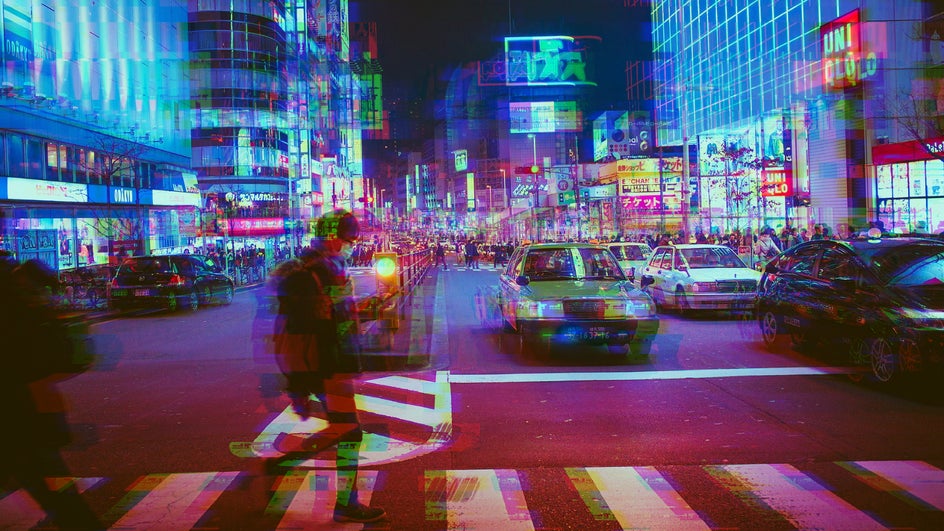
Motion Color
These Motion Color effects create glitches that work best with high-contrast images that have plenty of complexity. Use them to add a unique color palette to your photo and add a slight motion blur. You can adjust the intensity of the effect as well as the vignette.
Using Motion Color can make your photos stand out instantly, while the blurred effect provides the perfect background for text. This makes it perfect for posters, album covers, and other typographic settings.
How to Add a Glitch Effect to Any Photo
No matter what kind of glitch effect you’re drawn to, the process for applying them is similar, and each one is highly customizable. Don’t worry — while the end product may look complicated, you can achieve the perfect glitched-out look in just four simple steps.
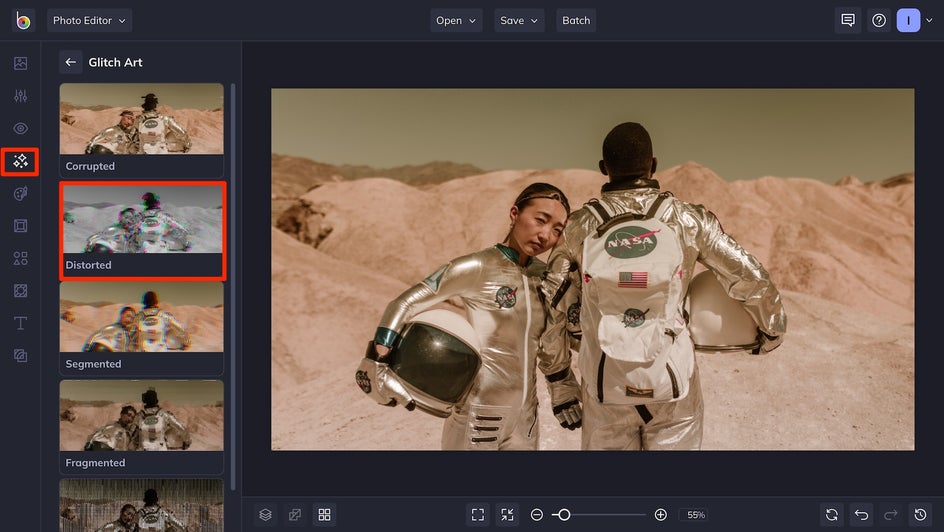
Step 1: Choose Your Glitch Effect
First things first, head to the Glitch Art category of the Photo Editor. You can use the Open tab at the top of the page, or simply drag and drop an image file onto the canvas. Then, choose your favorite glitch and give it a click to see how it distorts your image.
If you’re 100% satisfied with the glitch effect you’ve picked out, click the Check Mark icon to use it as is. Otherwise, move on to Step 3 to customize your look.
Step 2: Customize Your Glitches
While you’re still previewing an effect, you have the option to personalize the glitch photo effect by using the various adjustment sliders. Just click the leftmost Adjust icon.
In this case, we’re able to customize the Holga Art Effect by adjusting each layer to slide vertically or horizontally. If necessary, you can also adjust the intensity of the effect by using the Amount slider.
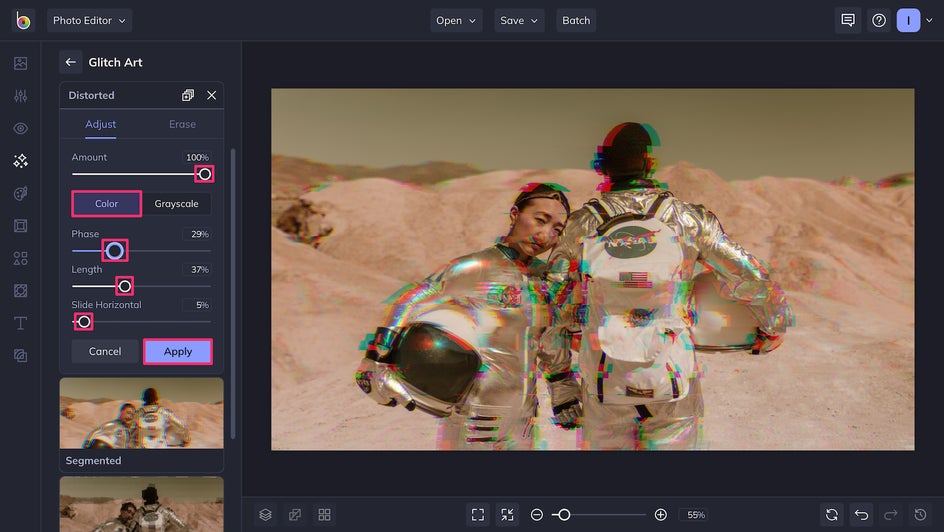
Different glitch effects allow for different customizations. To make the changes permanent, just click Apply.
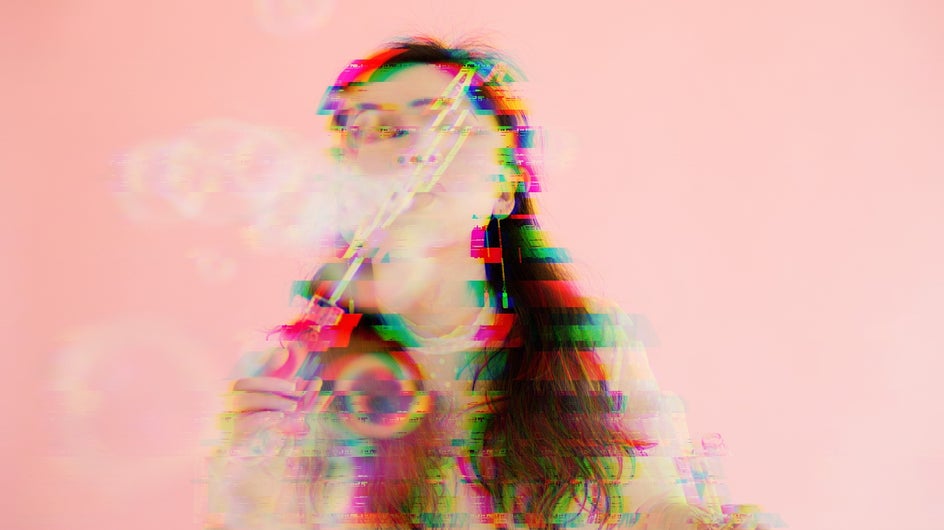
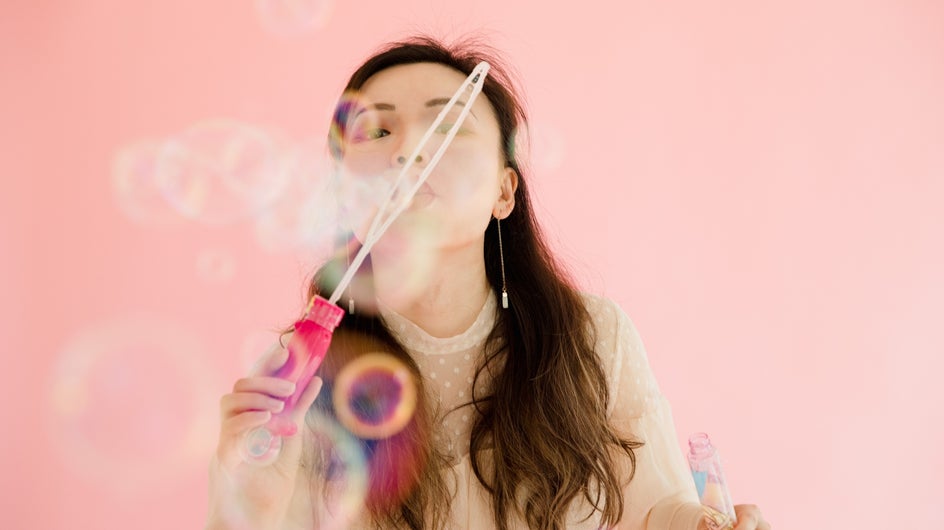
Remember, you can always apply multiple effects to the same image for a completely unique look. For this image, we decided to add some Glitch Art distortions. Optionally, if you’re feeling extra bold, you can even upload your glitch photo as a second layer using the Image Manager. This way, you can move the top layer around and intensify your glitch effect!
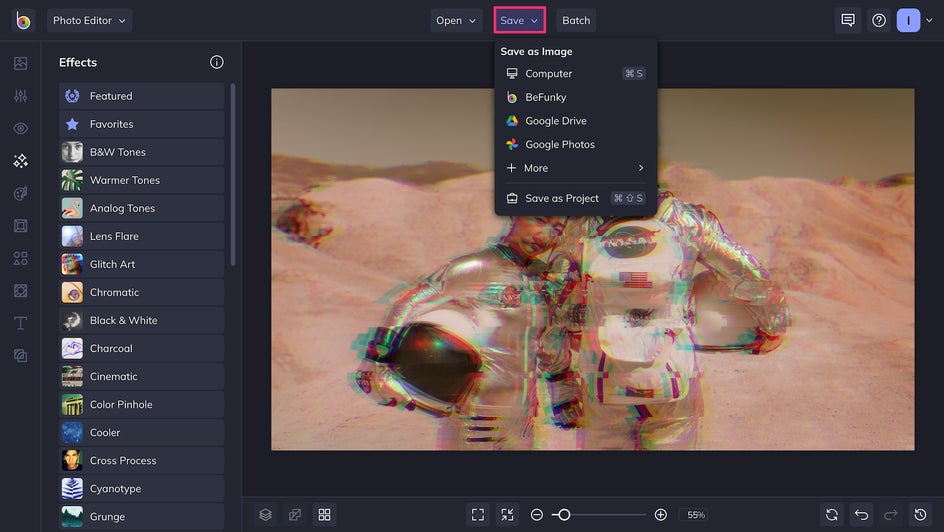
Step 3: Save Your New Glitch Art
Once you’ve edited your glitch photo to your heart’s content, it’s time to hit Save. Just decide where you want to keep your file, what format you want to save it in, and voila! You’re now in possession of your very own work of glitch art.
We always recommend keeping a high-quality PNG of your end result on hand, since these files have the best fidelity. But once that’s saved, you can also experiment with lower-quality JPGs to add another glitch-like element.
Pro Tip: If you’re not quite finished editing but find yourself running out of time, the Save As Project option at the bottom of the Save menu is the perfect way to save your work in editable format. This way, you can come back to your photo editing session any time and pick up right where you left off.
Apply BeFunky's Glitch Effects in Seconds
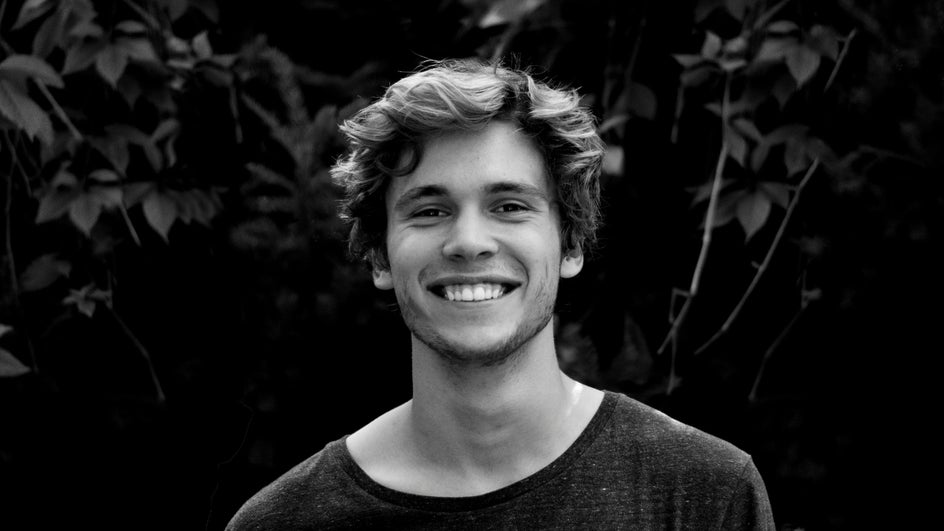
By layering glitch effects and playing around with the adjustment sliders, we were able to turn this photograph into a completely new work of art — all in just a few minutes. You can also use BeFunky's photo editing app to create your own Glitch art on mobile!


If you’re interested in creating truly unique images, Glitch effects are for you. Distinctive colors, striking text, and endless customizations make glitch art perfect for those who want to stand out – whether that be for a new profile photo, a business card, an invitation, or whatever else you use BeFunky for. There’s no limit to what you can create! Just head on over to the Photo Editor's Effects tab to get started.
More Ways to Utilize Our Glitch Photo Effects
Here are a few more ways you can get creative with BeFunky's Glitch photo effects! Whatever the aesthetic you're going for, we've got an effect for that.
Interlace Glitch
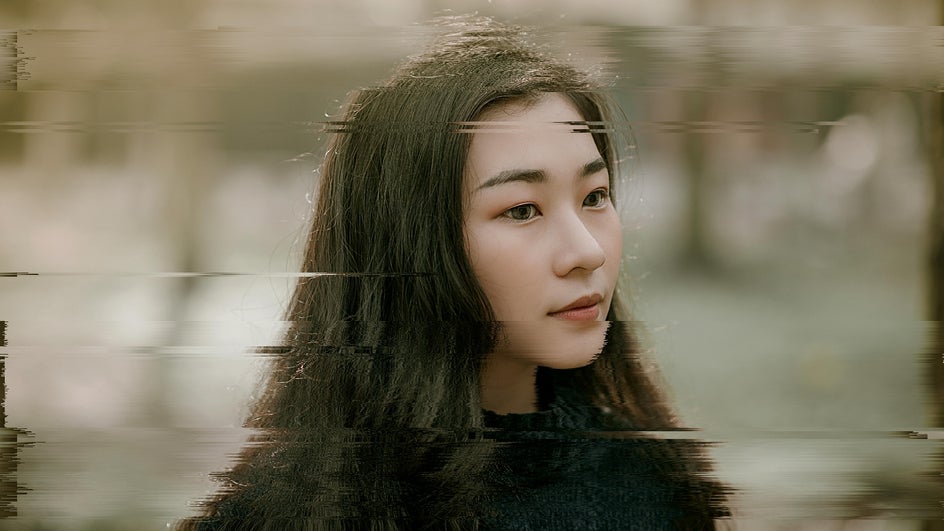
Inspired by the way older broadcast formats (like 1080i) compressed video frames, this effect mimics the visual quirks of interlaced scanning—where alternating rows of pixels display different frames to reduce data transmission. The result? A striking, warped aesthetic that looks like a screenshot from a glitched-out video feed.
Corrupted Glitch
The classic glitch! The Corrupted effect uses the colors of your image to create phased distortions. Choose from low to high complexity to control how clear or distorted your subject appears.
Distorted Glitch
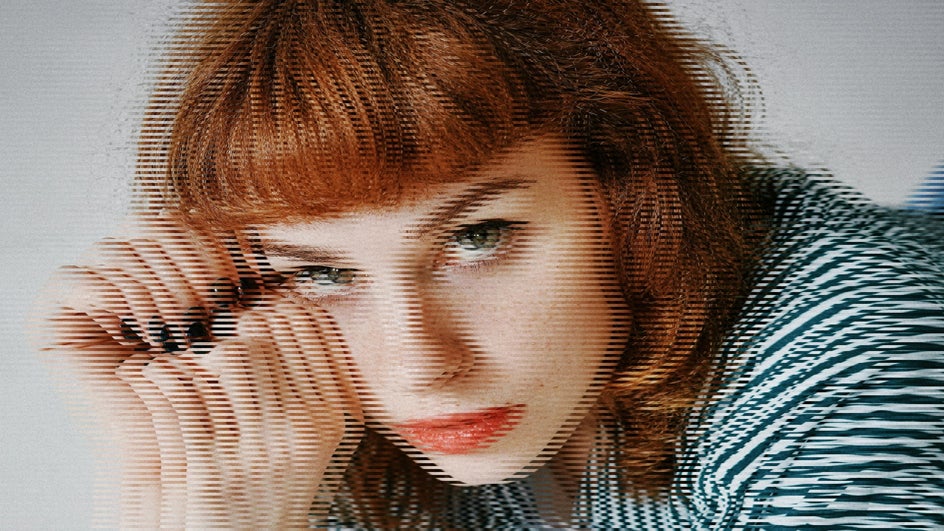
Distorted glitches can be done in both grayscale and color. These types of glitches use a combination of jagged lines or waves, frozen or static-looking visuals, as well as manipulated colors. This can be used to create a distorted video effect or a corrupted signal look – either a black and white or color television.
Distorted glitches can be done in both grayscale and color. This glitch photo effect uses a combination of jagged lines or waves, frozen or static-looking visuals, as well as manipulated colors.
Segmented Glitch
A segmented glitch uses color scales to split the tones of an image, creating a stunning 3D illusion. This effect offers multiple color combinations for customizing your glitch.
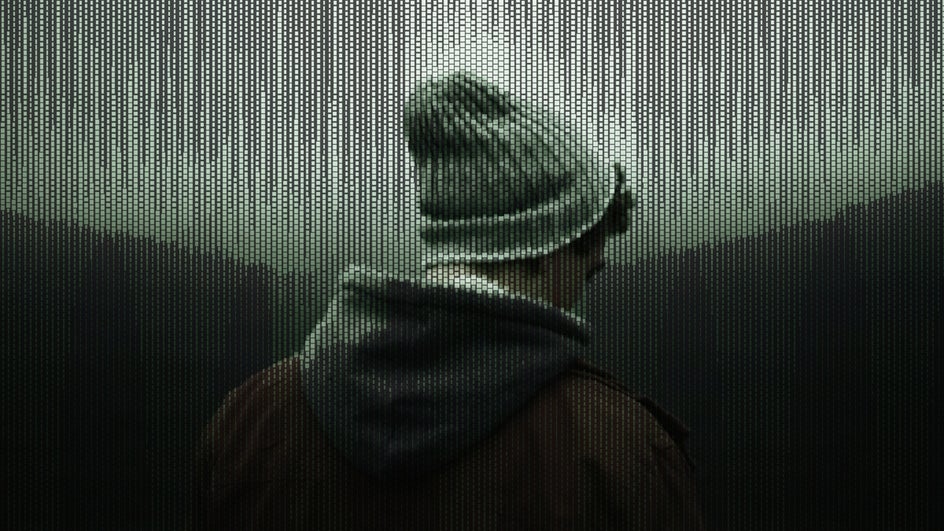
Digitized Glitch
Our Digitized glitch effect will make your images look like they were pulled right out of the future and onto your computer! And if you add a green tint to the effect, it'll look just like the code from The Matrix.
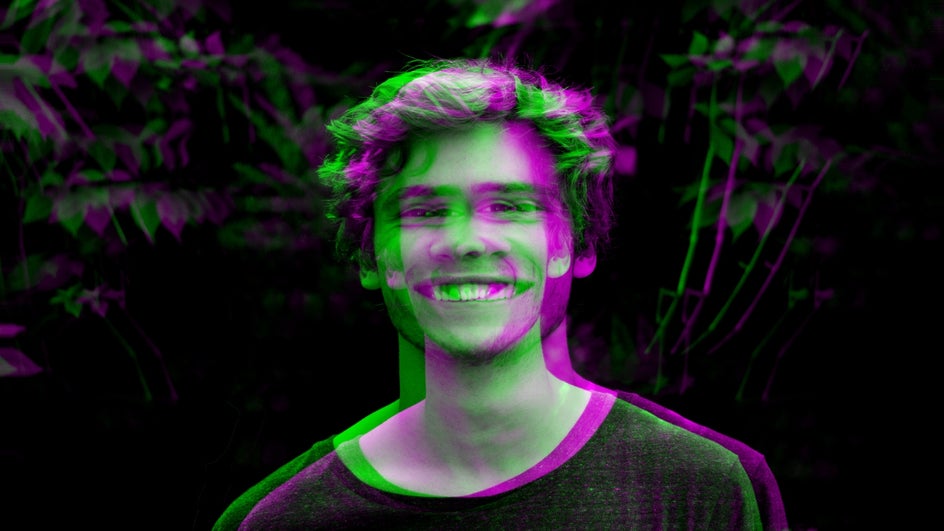
Fragmented Glitch
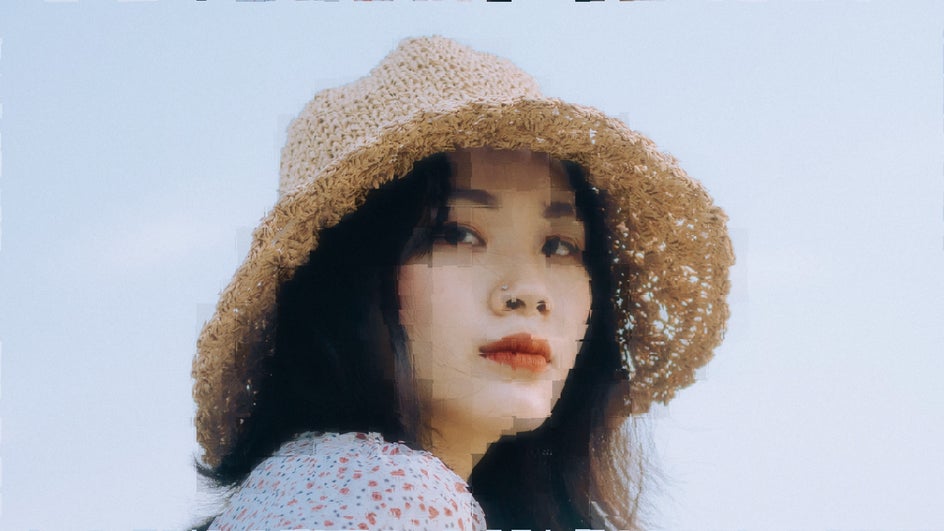
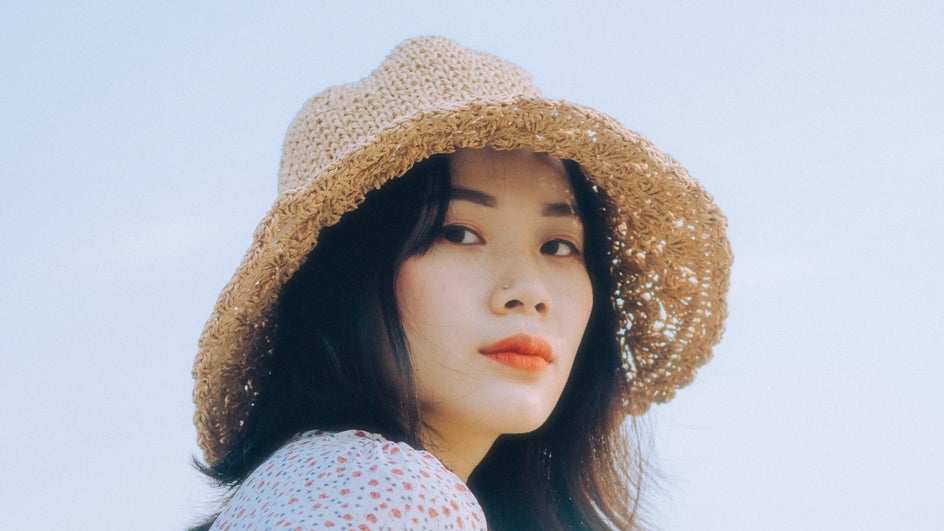
You can give your photo the look of a buffering video with a Fragmented glitch. It can also be used to create a digital mosaic, just like we did here in our portrait!