Create Unique Photos with BeFunky’s Holga Effects

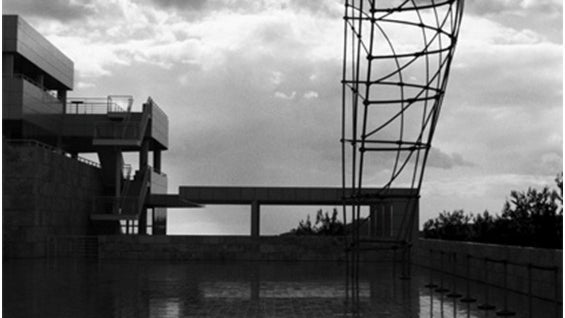
The Holga camera was introduced in China as an inexpensive option for working-class families to be able to capture special moments. However, the Holga camera's rise in popularity was not because of its precision in capturing images, but its unreliable image quality. Holga’s light leaks, distortion, and lack of precision are what made artists turn to the camera to create surrealistic images.
Holga cameras are still in high demand for their unique qualities. In fact, they are still being made to this day. Adapted to the digital age, you can buy an inexpensive, digital point-and-shoot camera – rather than a camera that uses film. But if you don’t have a Holga camera, BeFunky’s Photo Editor has Holga Art effects for you to create lo-fi images in that iconic style.
Choosing the Perfect Picture for Holga Photography
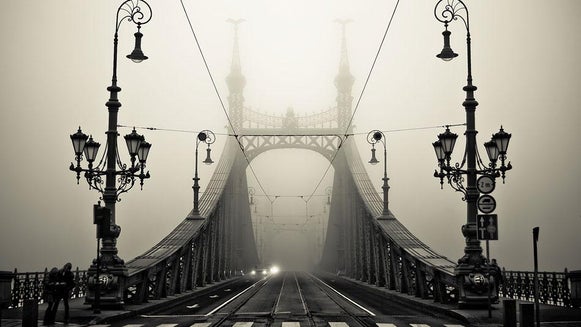
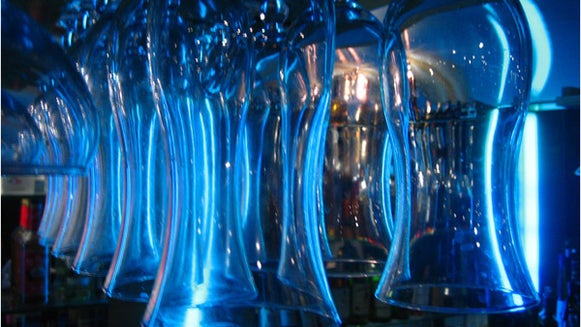
When it comes to choosing an image for Holga-style photography, the simpler the better. Classically, it has been used with portraits and still lifes that have a lot of contrast. More recently, street photographers have had great success with Holga effects. With a higher contrast image, you can expect clearer, bolder results.
How to Create Unique Photos With BeFunky’s Holga Effects
If you have an image in mind that you would like to use, get started by opening your image in BeFunky’s Photo Editor. You could also use one of BeFunky’s stock images to create a surrealistic art piece.

Step 1: Navigate to Holga Art Effects
After you have made any desired edits to your image, click on the Effects tab and select Holga Art. This will open up several different Holga art effects that could be applied to your image. There are varying Holga effects to choose from, select the effect that suits your image's desired aesthetic.
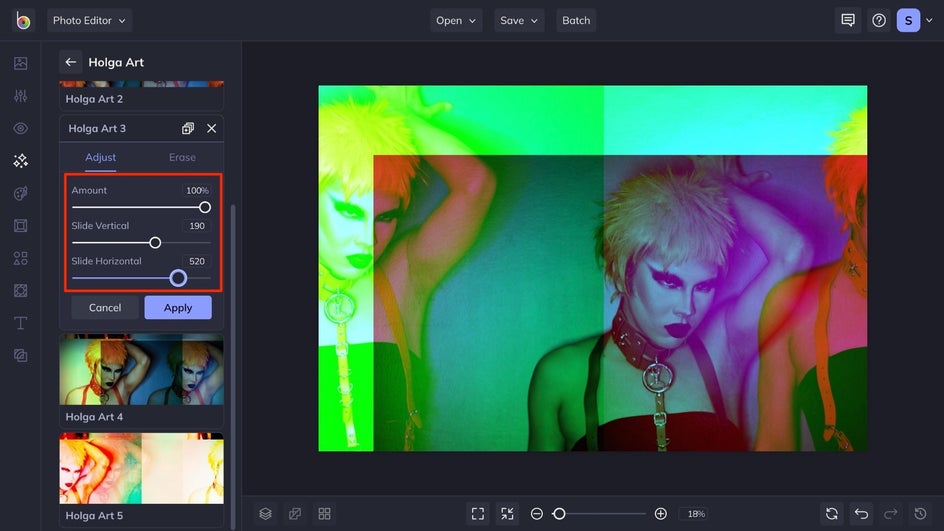
Step 2: Adjust and Apply the Levels
Once you have selected the effect that fits your aesthetic, use the slider to adjust the amount of the effect. If you want to make additional changes to how the effect is applied, click on the Settings box.

This will take you to more sliders. Depending on the effect you selected, you are able to adjust the slide positioning. After you have achieved your desired level of effect, click the Apply button.
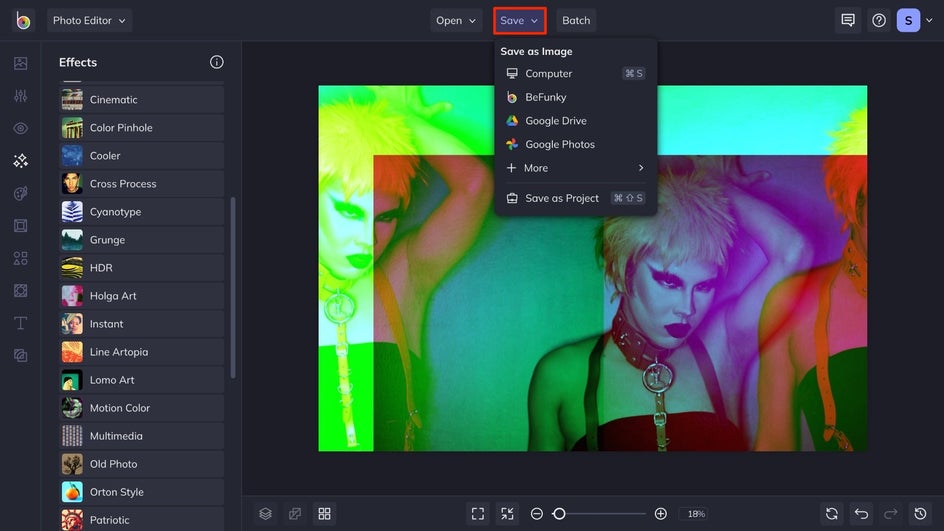
Step 3: Save Your Holga Image
To save your Holga photo, click Save at the top of your canvas, followed by your desired save location. If you want to come back to your project to make more edits at a later time, click Save as Project to save it as an editable file on your computer or BeFunky account.
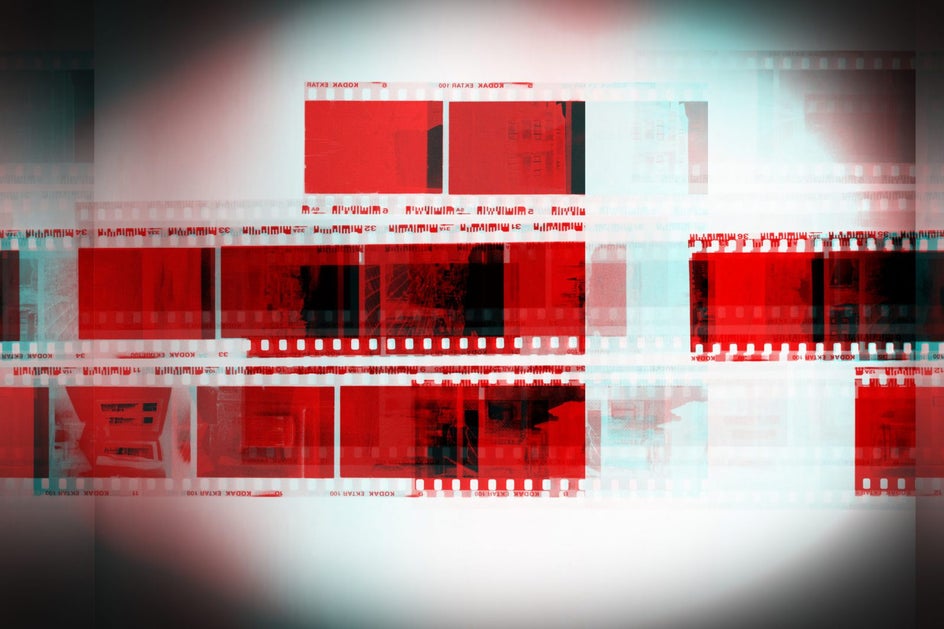
Final Results
In just three simple steps, you can add a unique touch to your images and make them stand out like the iconic photos produced from classic Holga toy cameras. Take a look at how we transformed this image into a piece of art!

Create Unique Holga Photos In Just a Few Clicks!
Instead of purchasing a Holga camera, you can achieve the effect in only a few clicks with BeFunky’s Photo Editor. These surrealistic images are worthy of a hang on your wall, post on your social media feed, and more. Get started on making your own Holga Art today!