How to Create Glitch Text
Ever wanted to create text that looks like it’s straight out of a Sci-Fi movie or novel? Well, thanks to our exclusive Glitch Photo Effects, now you can! Glitches are software errors or bugs that are often caused by a corrupted signal. These then visually distort the text or images on your device, causing all kinds of random, yet riveting effects.
There are several different Glitch styles within our Photo Editor to experiment with, all at the click of a button. Intrigued? Keep reading, because we’ll show you how!
How to Create Glitch Text
If you’re creating your text from scratch, then making Glitch Text Art is a simple process with two parts: designing your text in our Graphic Designer, then adding your desired Glitch art using our Photo Editor.
Of course, if you already have your text saved as an image, then all you’ll have to do is open it within our Photo Editor. Therefore, you can skip ahead to Step 2!
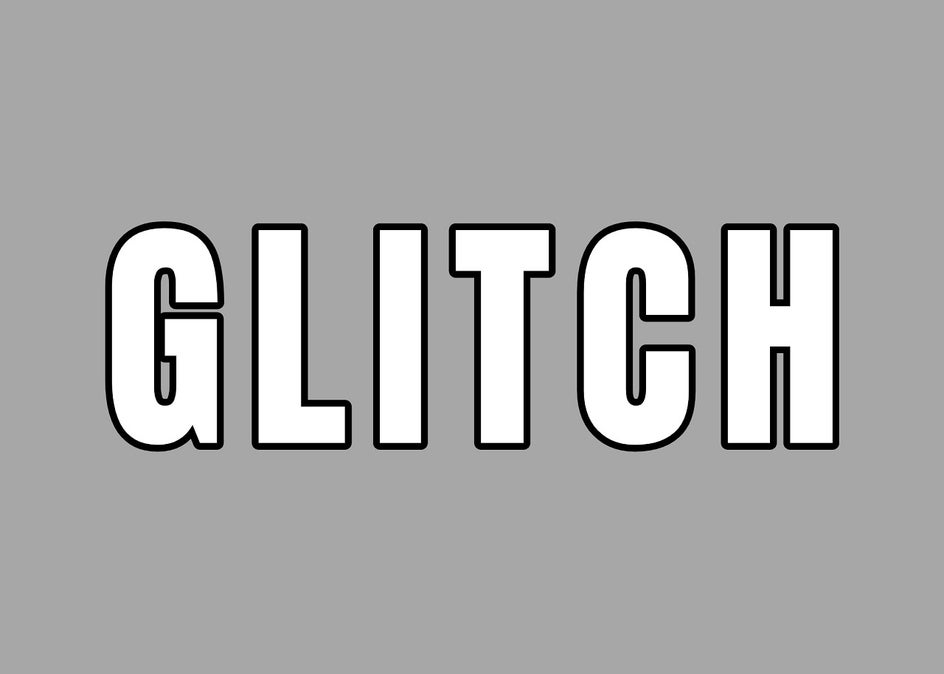
1. Create Your Text
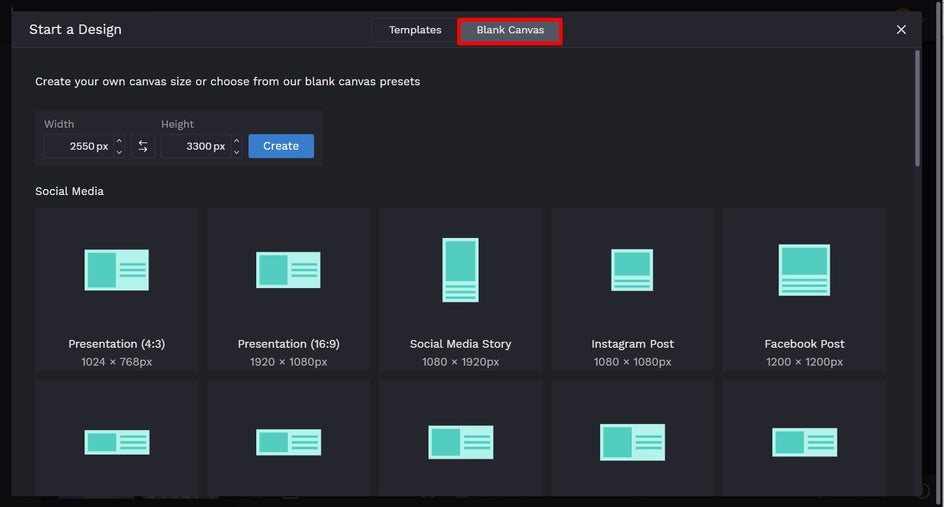
Go to the Graphic Designer and start with a Blank Canvas. You can create your own canvas size or choose from our blank canvas presets.
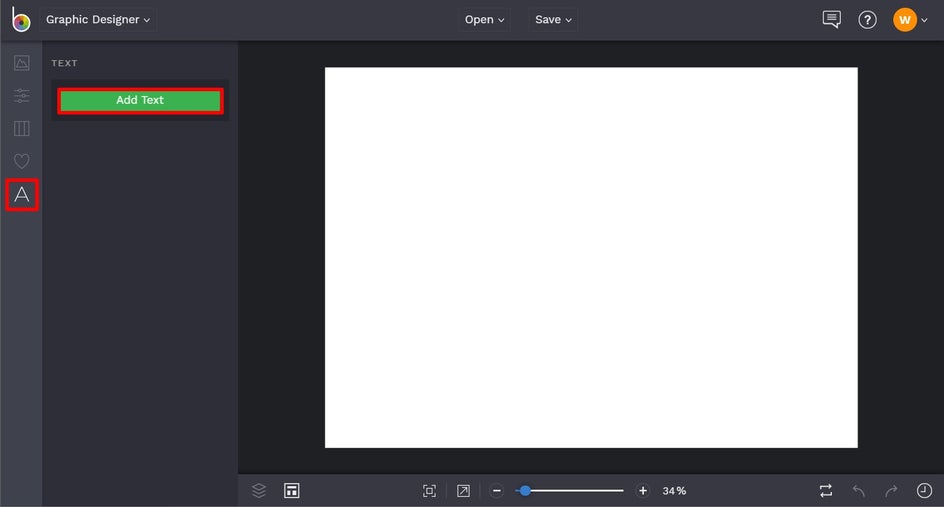
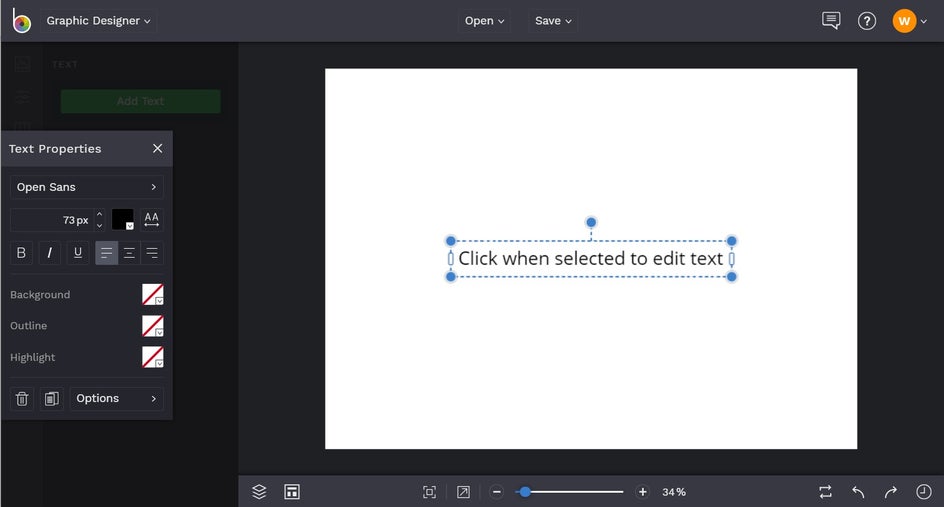
Next, navigate to Text (the ‘A’ symbol) in the main menu on the left. Then, click Add Text. This will insert a new text box onto your canvas. To edit what it says, simply double-click the text box and type your desired text.
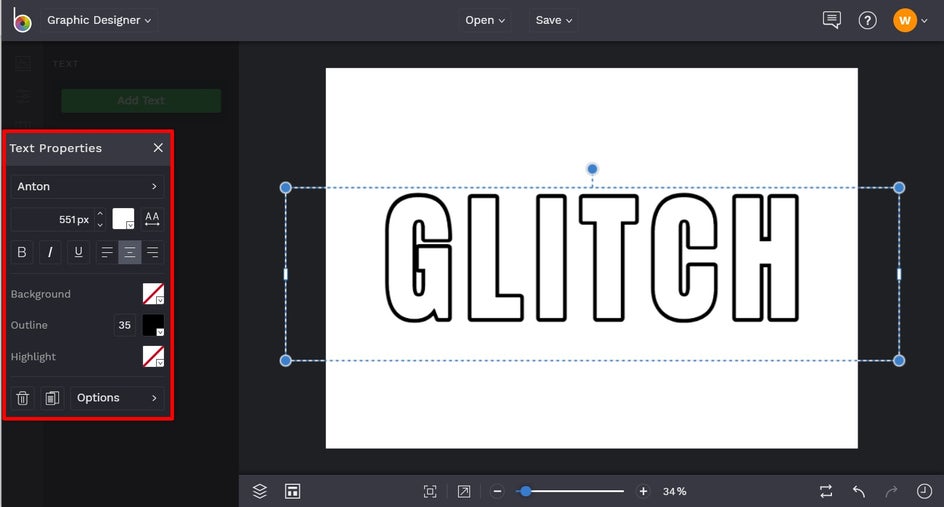
You can also adjust the text using the Text Properties panel which appears when a text box is selected. From here, you can change the font, text size, text color, spacing, alignment, and more.
Once you’ve finished creating your text, you can also change the background color of the canvas. To do this, navigate to Customize in the main menu on the left. Select a color from the different swatches featured, or click on the first swatch (the one with a small dropdown arrow on it) to open the Color Palette, from which you can select any shade you desire.
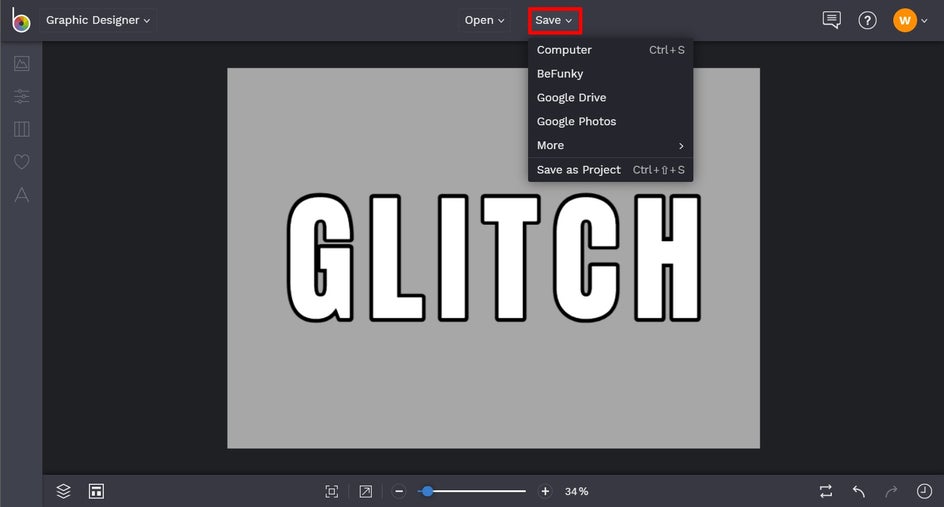
Now that you've established your base text, you’ll want to save the project as an image so it’s ready for the “Glitchifying” process. Click Save at the top of the screen, then select your desired save location.
2. Add a Glitch Effect
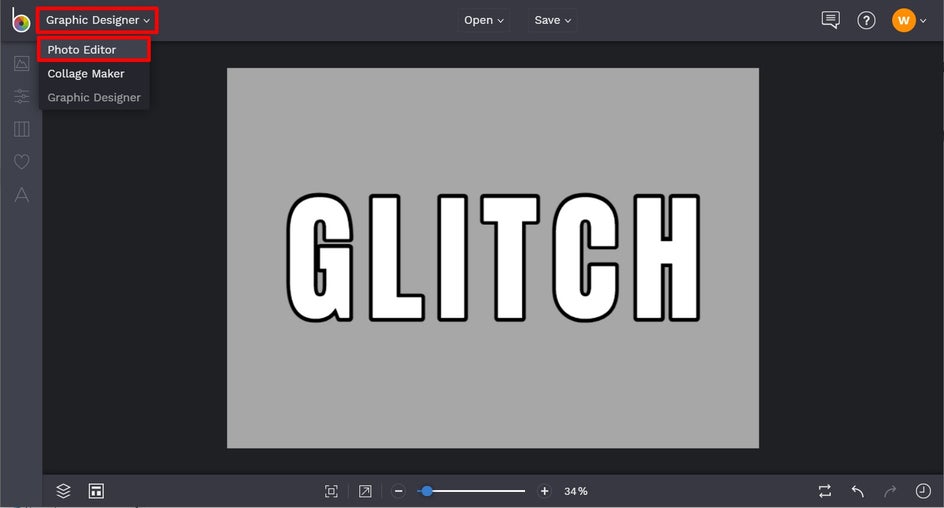
Ready for your Glitch edit? In the top-left of the screen, click Graphic Designer and select Photo Editor from the dropdown menu. This will take you to BeFunky’s Photo Editor.
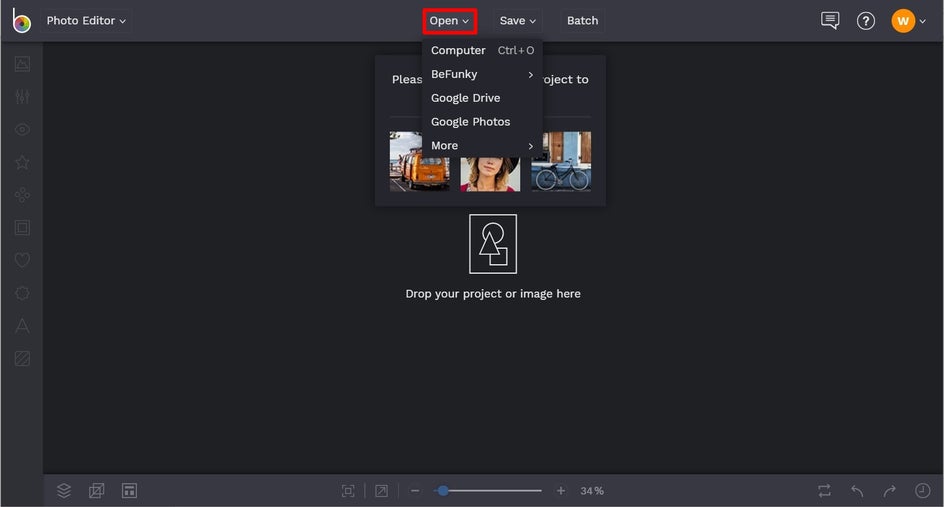
Then, click Open at the top of the screen and open your saved text image from its destination.
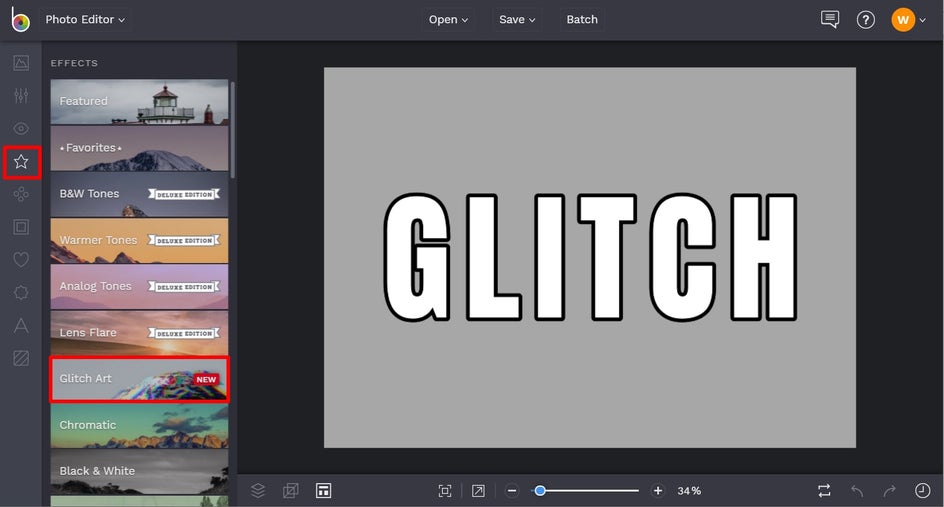
Navigate to Effects in the main menu on the left, followed by Glitch Art. Then, experiment with any Glitch Art Effect that you fancy and see which one works best for your text.
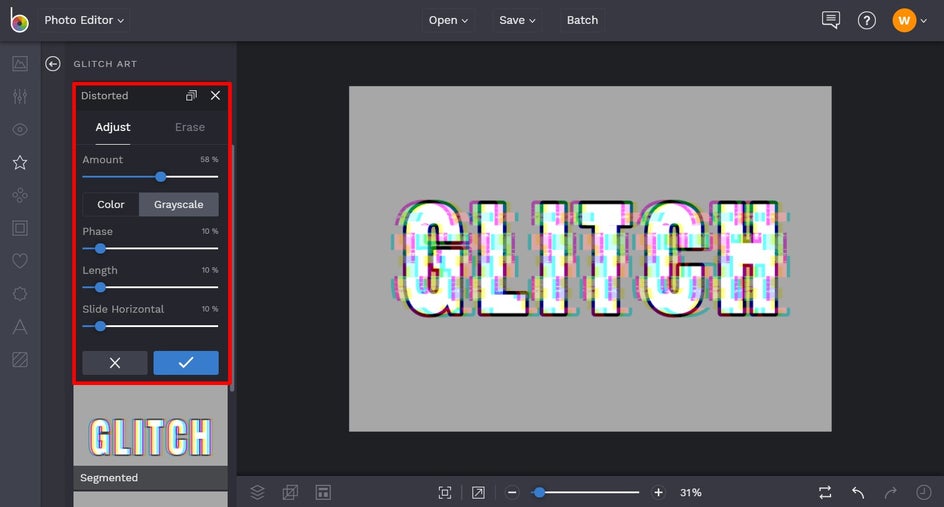
When you click on an effect, you’ll notice you have three options: Settings, which allows you to adjust various elements of the effect; Cancel, which cancels the selected effect; and Apply, which applies the selected effect. There is also a slider located underneath these options, which allows you to increase or decrease the selected effect.

When we click on Settings, we have the option to alter the effect’s Amount, Phase, Length, and Slide horizontal. We can also choose if we want the effect to be in Color or Grayscale.
Once you’re happy with how your Glitch Art Effect looks, just click the blue checkmark button to apply.
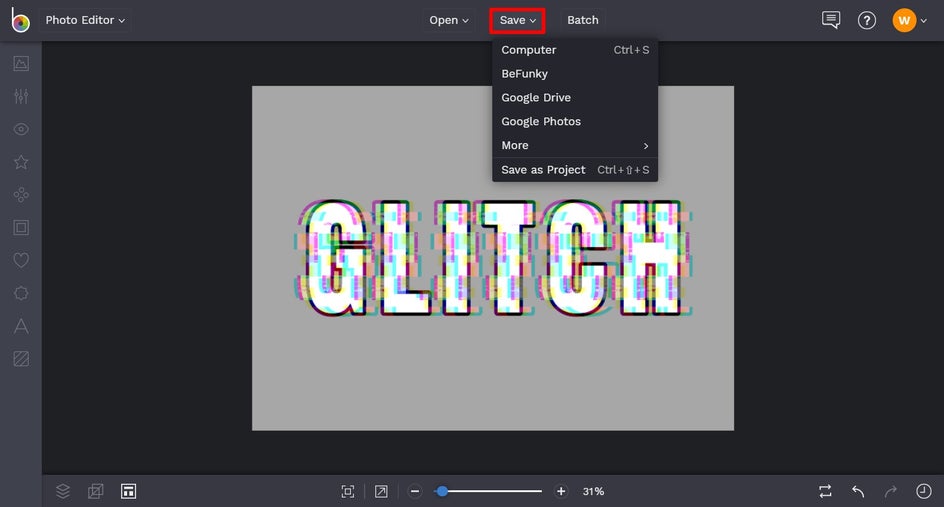
Finally, it’s time to save your new, glitchy-looking text! Click Save at the top of the screen, then select your desired save location and format.
Ta-da! Wasn’t that easy? Simply follow the steps above using both the Photo Editor and Graphic Designer to create your own Glitch Text!
Glitch Text Inspiration
Looking for ideas to inspire your own Glitch edit? Glitch art is incredibly versatile and there are plenty of different styles to choose from. Here are just some of our favorites to get your creative juices flowing!
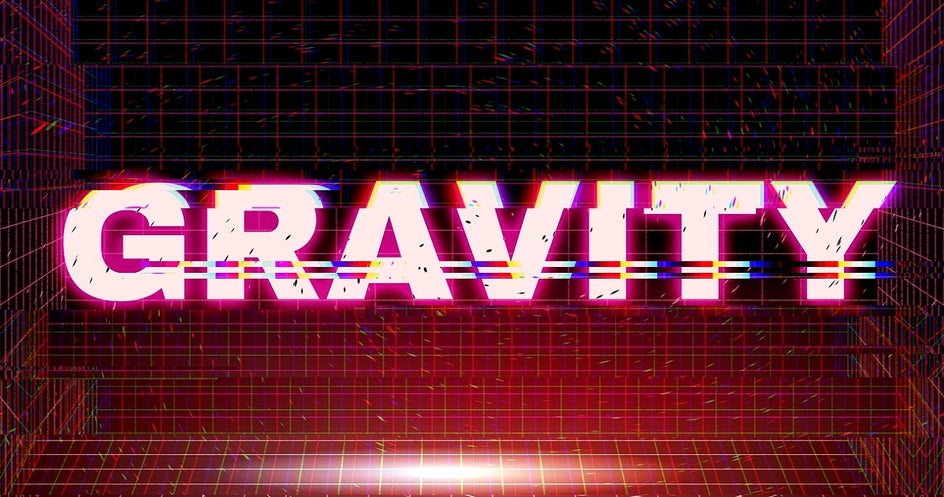
Corrupted
The Corrupted Glitch Effect takes parts of your text (or image) and shifts them around, resulting in a cool, digitally altered look that’s straight out of The Matrix. One of the best things about these Glitch Effects is that you can control the strength of the effect, as well as other elements affecting its appearance. You can always ensure it looks awesome, while still remaining legible.
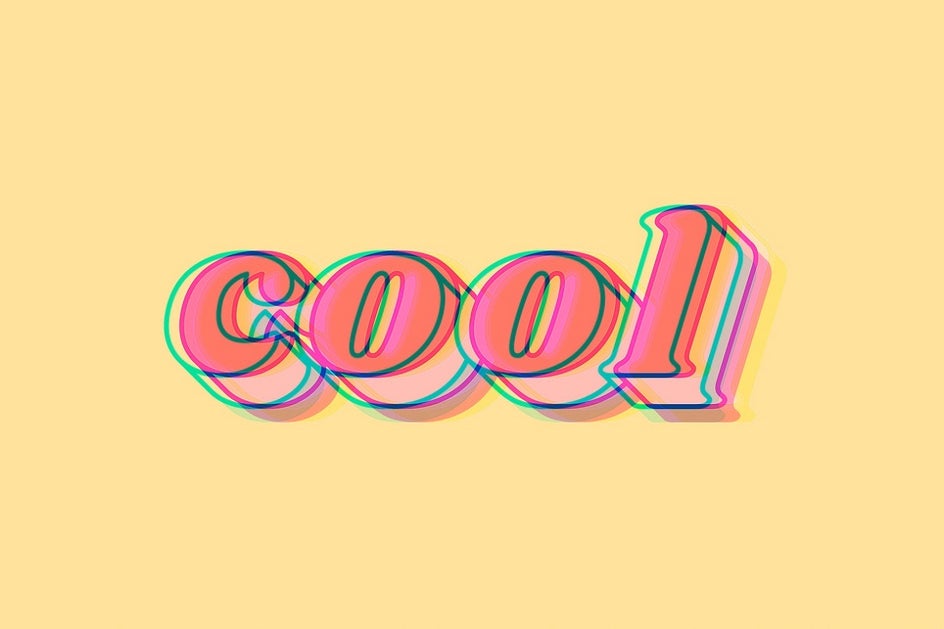
Segmented
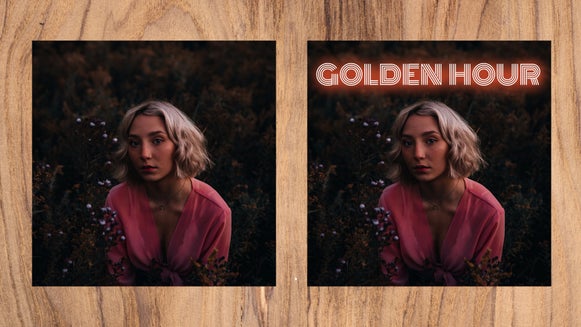
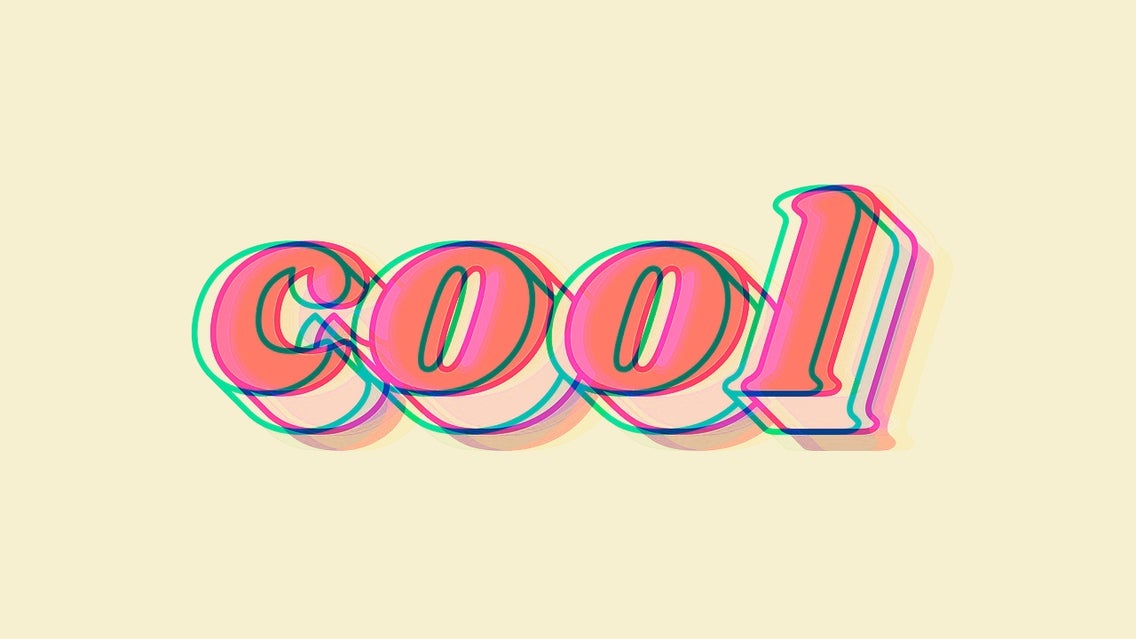
The Segmented Glitch Effect is reminiscent of images and text designed to be viewed with 3D glasses on. It almost creates the illusion of the text jumping out from the page, all thanks to those varying color scales which split the tones in your image. This style has been a typography trend for some time now, and is certainly showing no signs of losing its popularity!
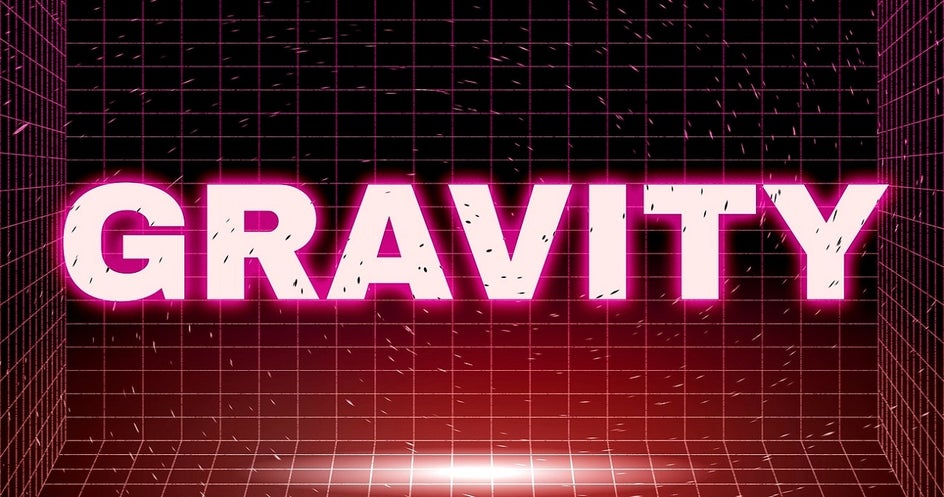
Fragmented
Want to give your text that bad signal vibe? The Fragmented Glitch Effect is perfect for this, as it creates a more pixelated look, adding to the appearance of digital interference. It’s incredibly reminiscent of SOS video calls from productions such as Jurassic Park, Alien, and Lost.

Start Glitching!
Turn your next text project into a futuristic work of art, all thanks to our Glitch Effects.

It doesn’t matter what Glitch Text look you’re aiming for, you’re sure to achieve typography worthy of a Sci-Fi novel’s front cover. So what are you waiting for? The future is now!