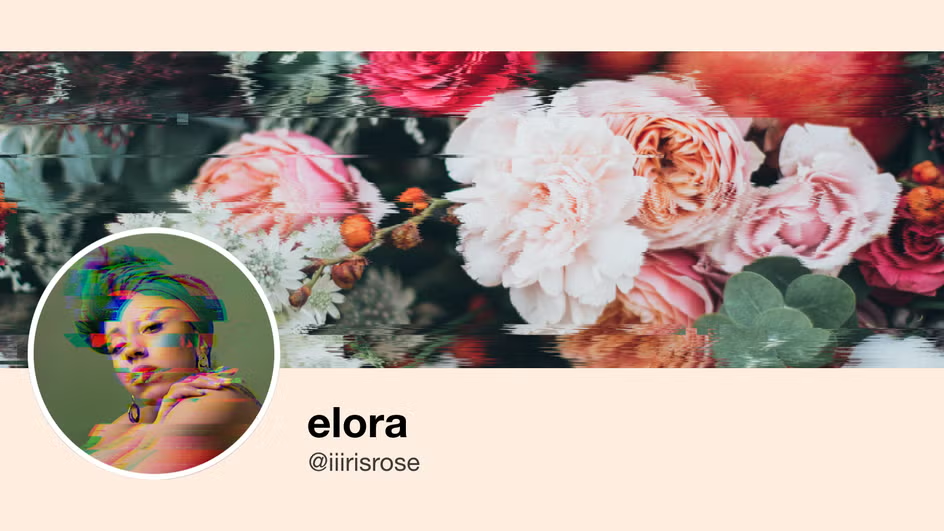
How to Create a Glitch Profile Picture
Computer glitches are annoying when you’re trying to get work done – but when you’re trying to create art, they’re a surefire way to make something cool, unique, and visually compelling. So if you’re looking for a way to make your profile picture stand out on social media, turning your photos into glitch art can do just that. You may think it’s difficult or requires complicated software, but in reality, you can do it in just a few clicks with the help of the Photo Editor! Whether on mobile or desktop, the Editor allows you to create a glitch art profile picture in seconds.
What Is a Glitch Effect?
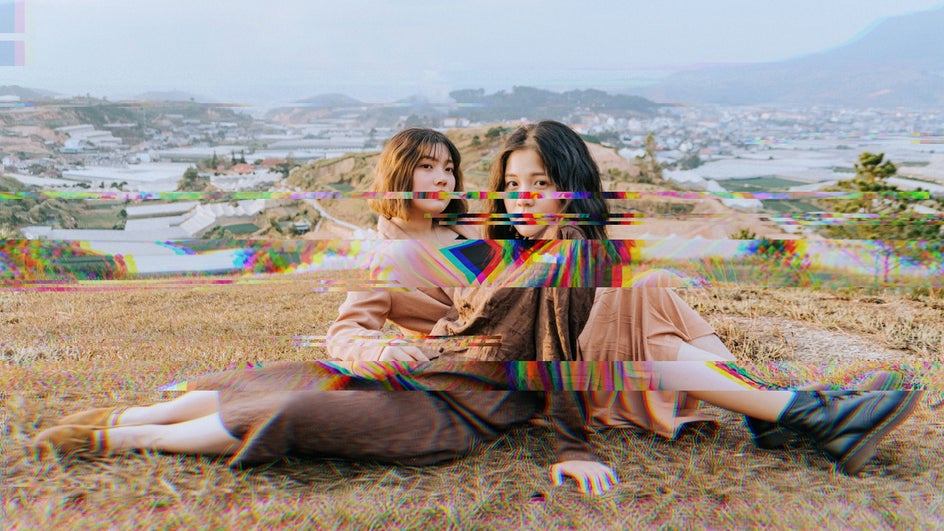
A glitch is what happens when a file or software malfunctions. A visual glitch is actually a visible indication of an underlying software error. With images and videos, these glitches usually appear as pixelations, noise, distortions, and chromatic aberrations.
Used intentionally, you can use glitches to make what is known as glitch art. Glitch art has a long history that began with the accidental corruption of digital files in the 70s and 80s. Turning these “mistakes” into art used to require intentionally creating a glitch, then capturing it by hand.
Now, you can make any image look glitchy with the click of a button, and even customize glitches to look exactly how you want. These are known as glitch effects, and the Photo Editor has a variety of glitch effects that are both easy to use and completely customizable!
Which App Is Best For Glitch Effects?
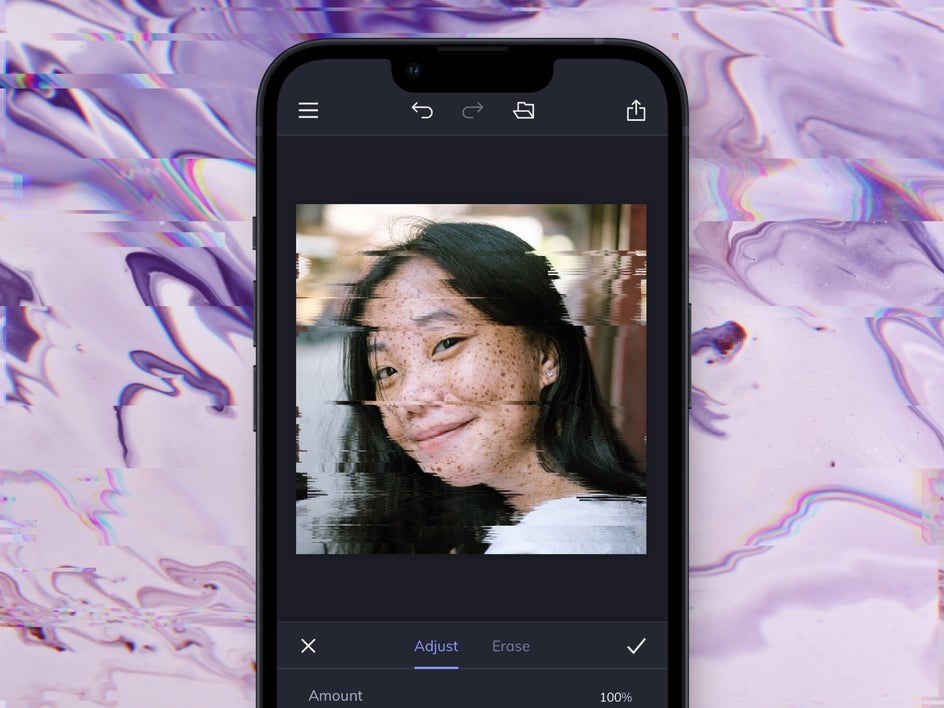
The Photo Editor allows you to add a glitch effect to any photo right from your desktop browser. But if you’re on mobile, the BeFunky app allows you to use the same simple interface and customization options as the online version!
How to Add a Glitch Effect to Your Profile Picture
If you’re feeling inspired to create a glitch profile picture, first just open up the Photo Editor and upload the image you want to use. Because there will be a lot of distortion occurring, an image with a simple background works best to keep the subject in focus. But ultimately it’s up to you how simple or complex you want your final piece to be.
Step 1: Choose Your Glitch Effect
Once you’ve uploaded your profile picture to the Photo Editor, head on over to the Glitch Art section of the Effects tab. Here, you’ll find several different Glitch Art effects. You can click to browse through them and decide which effect is right for your glitchy profile picture.

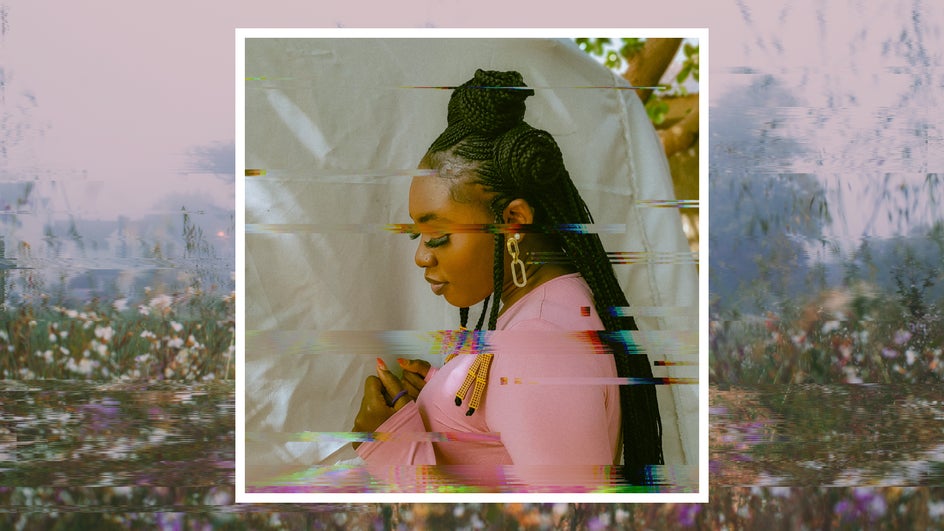
Today we’re going to use the Distorted effect for a classic glitch art aesthetic with a pop of color.
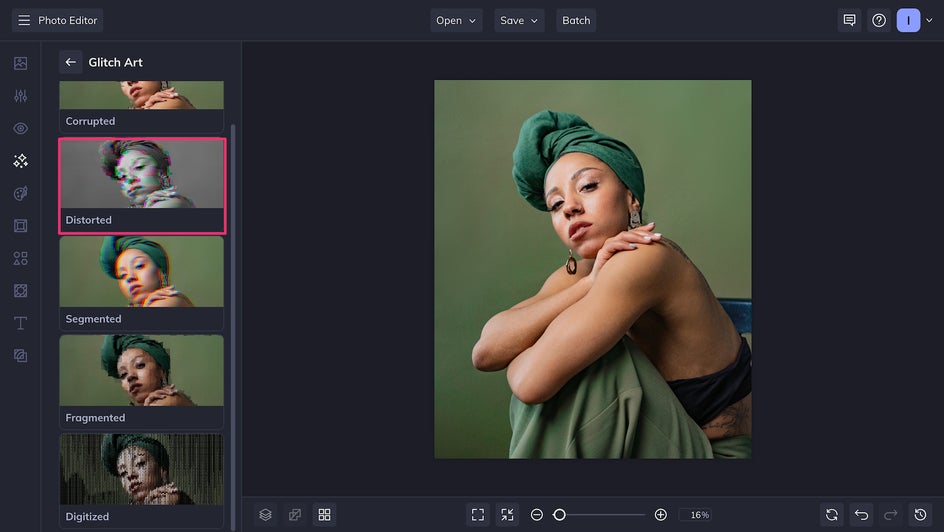
You can end your editing right here by clicking the check mark icon to Apply, or you can go on to the next step and customize your effect for an even more unique look!
Step 2: Customize Your Glitch Effect
Customizing your glitches in BeFunky is simple. No matter which specific effect you choose, there are several sliders that will change the appearance of the finished glitch art look. You can adjust the intensity of your Glitch Art by using the slider that appears when you click the effect, or do some more thorough customization in effect’s Settings.
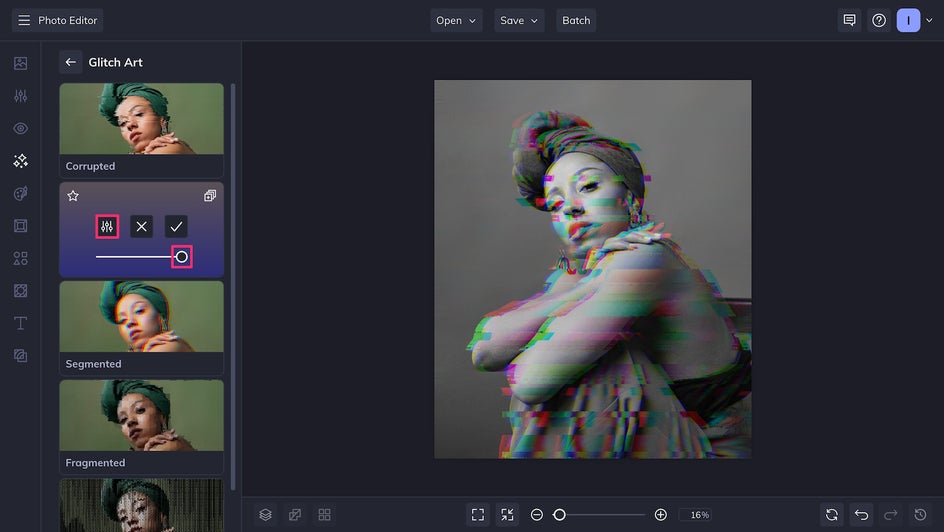
With the Distorted effect, you first have the option to choose from Grayscale or Color. We’re going to use Color for some additional vibrancy. Now we can adjust the Phase and Length of the glitch, which will change the placement and number of distortions occurring in the image. We’re choosing to use a combination that leaves the eyes undistorted. This gives the image a solid focal point despite the glitches.
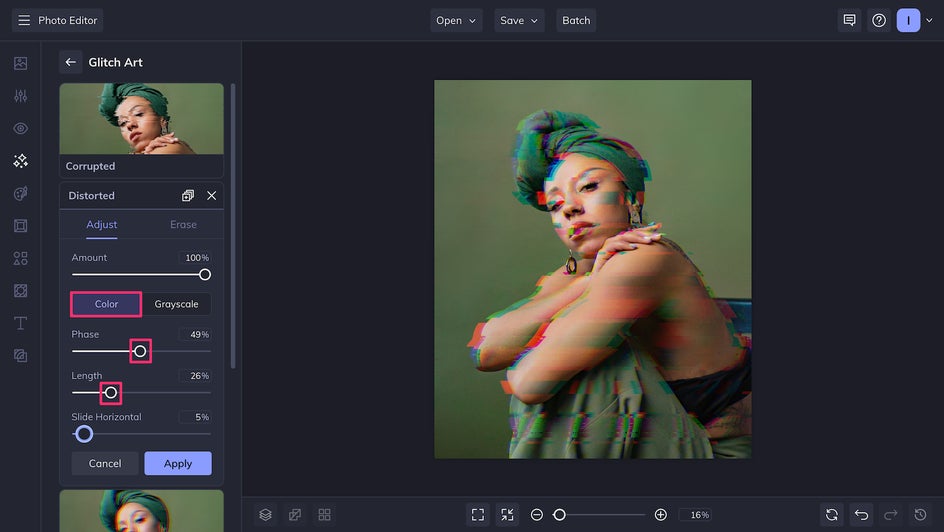
Finally, the Slide Horizontal slider can be used to shift the glitch further to either side.

Feel free to play around with every slider to get your desired effect. Different combinations result in different-looking glitches! Don’t forget to click Apply to make sure your changes are saved.
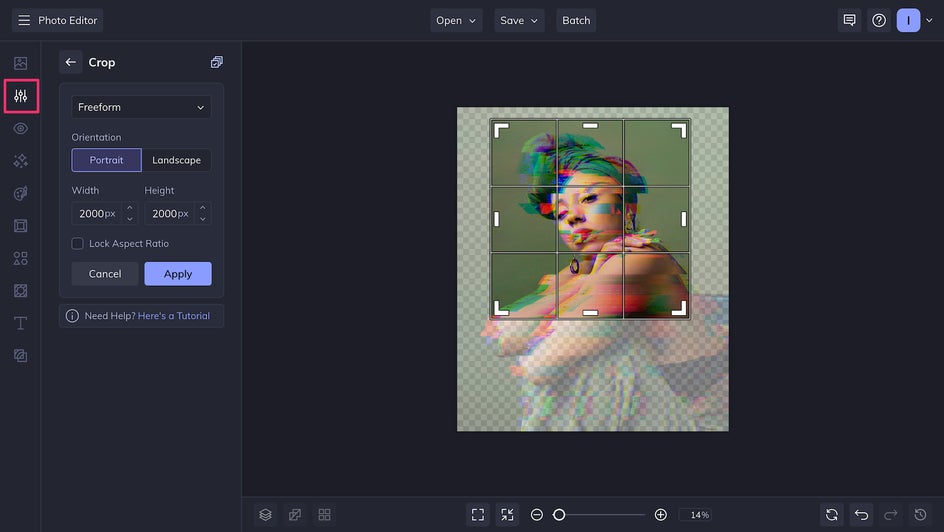
Step 3: Crop Your Glitch Profile Picture
Once you’ve finished customizing your Glitch Art effect, your glitch profile picture is ready to use! It’s that simple. At this point, if you’d like, you can use the Crop tool in the Edit tab to make sure your profile picture appears on social media exactly as you intended.
Step 4: Save and Upload It to Social Media!
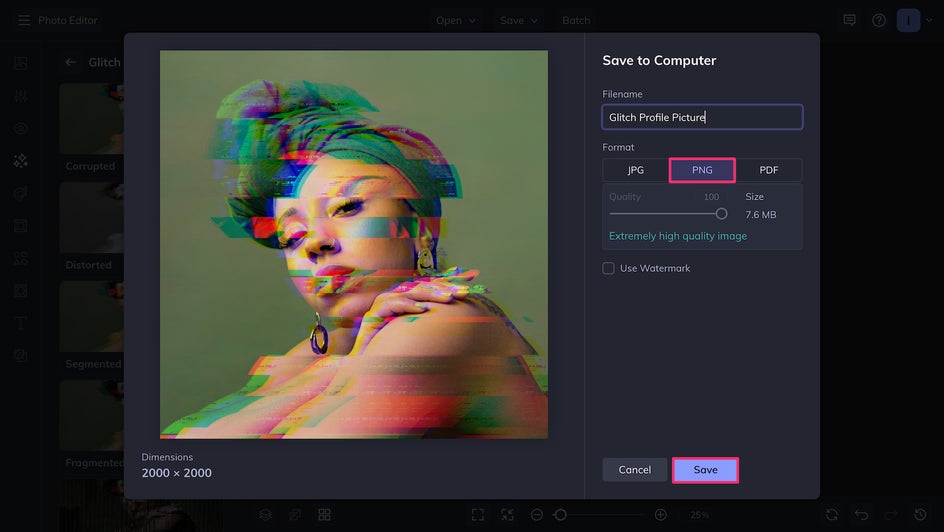
Once that’s done, you can now Save your file. Save to your computer, Google Drive, or even directly to your social media platforms like Facebook and Twitter! Make sure to save it as a high-quality PNG for the best results.
And that’s it - you’re done! You now have a beautiful, totally unique piece of glitch art to use as your profile picture across all your social media.
Making a Glitch GIF Profile Picture
Some social media platforms allow you to use an animated GIF as your profile picture, which works particularly well with glitchy effects. While you can’t animate directly in the Photo Editor, you can still use Glitch Art effects to create the perfect glitch effect GIF.
To do this, simply create a glitch profile picture according to the tutorial above. Once you’ve saved it, return to your file, undo your glitch, and adjust the phase a little before applying again. Save this image as a new file. Repeat this process a few times and stitch all the files together as a GIF on the platform of your choice! You’ll end up with an amazing glitchy animation to use as a profile picture.
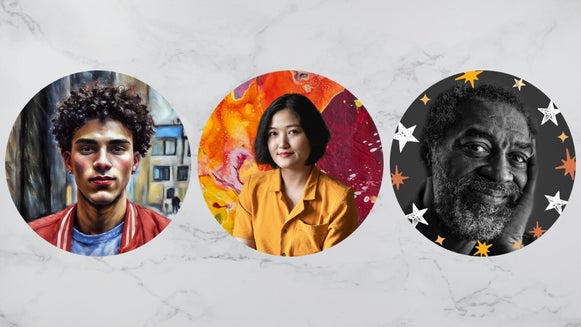
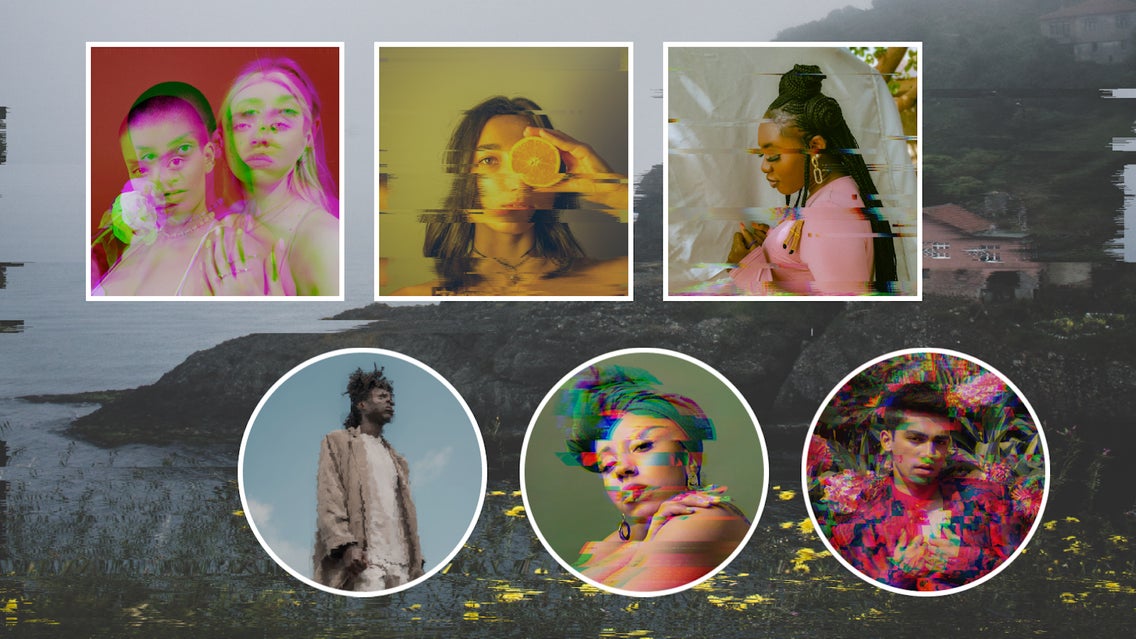
Glitch Profile Picture Inspiration
You can get hundreds of different results by adjusting or even combining the Photo Editor’s Glitch Art effects. If you’re looking for some glitch effect inspiration, here are just a few ways you can incorporate Glitch Art into your profile pictures.
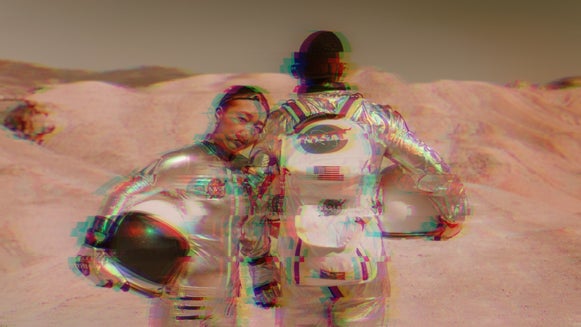
Corruption Glitches
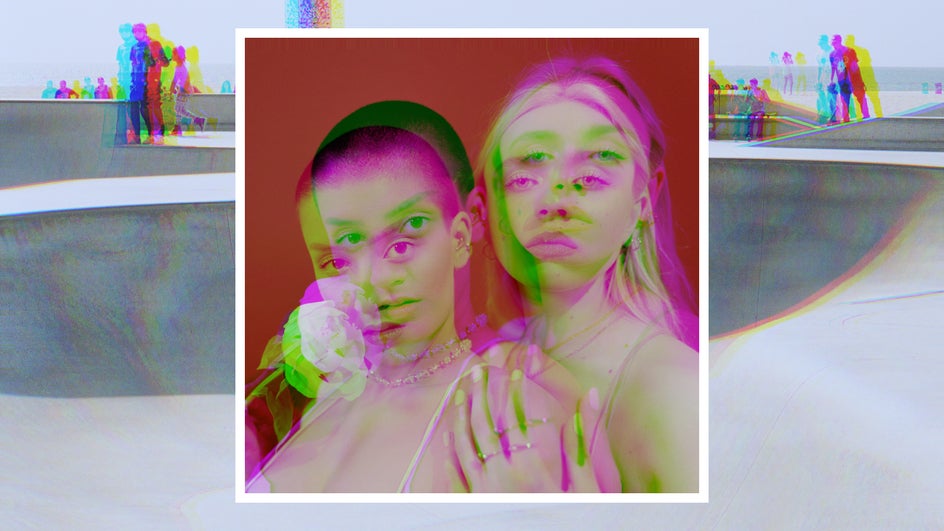
The Corrupted Glitch Art effect makes your profile picture look like it’s experiencing an “error” signal. But don’t worry – there’s no file corruption here, just a distinct portrait that stands out from the rest.
Split Tone Segments
With the Segmented Glitch Art effect, you can create beautiful 3D-looking glitches. Choose from a variety of duotones to fit your favorite color palette.
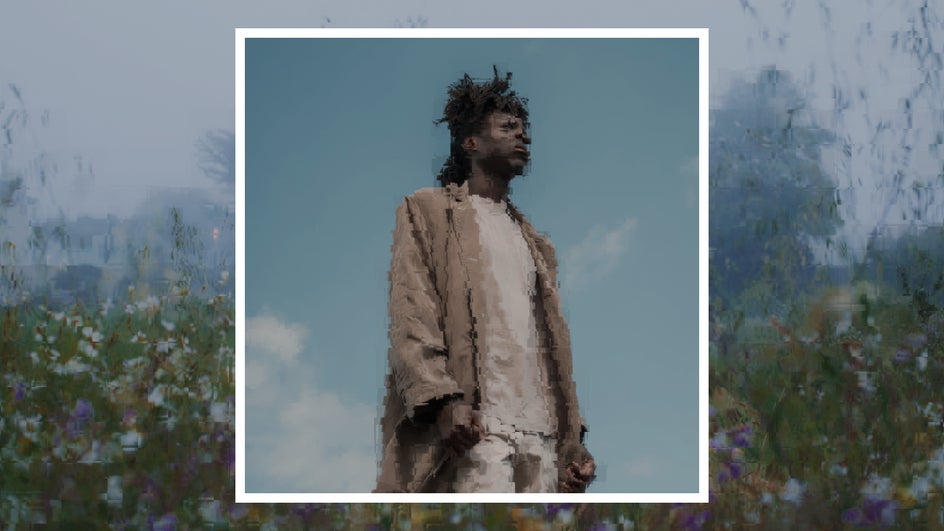
Pixelated Fragments
The Fragmented Glitch Art effect might be inspired by low-quality videos, but it breaks down your profile picture to turn it from a regular photo into a high-quality piece of art.
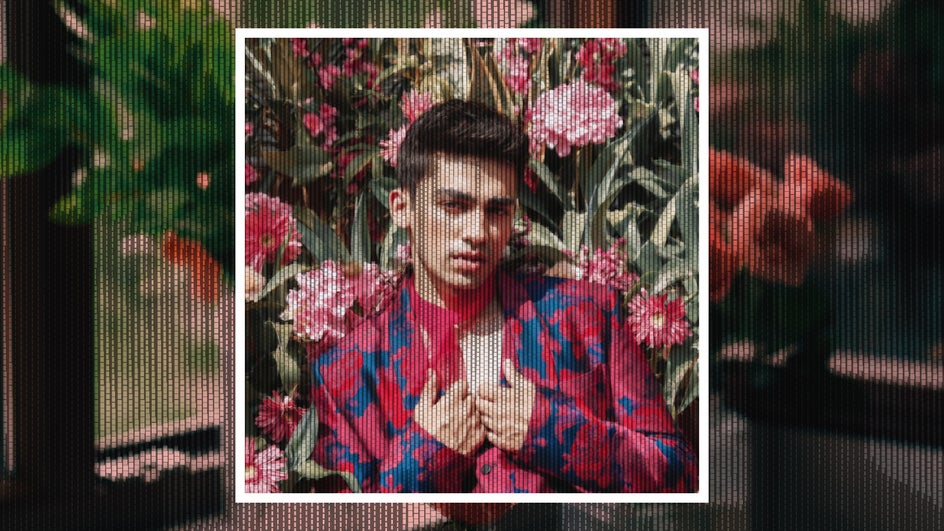
Digitized Glitches
Make your profile picture look like it’s been run through the scanner with the Digitized Glitch Art effect. You can easily add color overlays and make other adjustments to your liking.
Stand Out With a Unique Glitch Profile Picture
With so many customization options, no two images created with a Glitch Art effect turn out exactly the same. This means that in just a few clicks, it’s possible to create a beautiful, completely unique profile picture! Try it out for yourself and create your own glitch profile picture today in the Photo Editor.