How to Edit Food Photography Like a Pro
Food photography is a popular genre of photography today. Food photography is littered all over Pinterest and Instagram, making it a great skill to have. Suppose you are just starting out in food photography and don’t know where to start with how to shoot or edit your food photography. In that case, we are going to go over the best editing tips that you can use to get the best food photography photos with BeFunky’s Photo Editor.

How Can I Take Good Food Photos?
Editing good food photography starts with a photoshoot. Before we dive into our various food photo editing tools, here are a few tips for capturing your dishes like a pro!
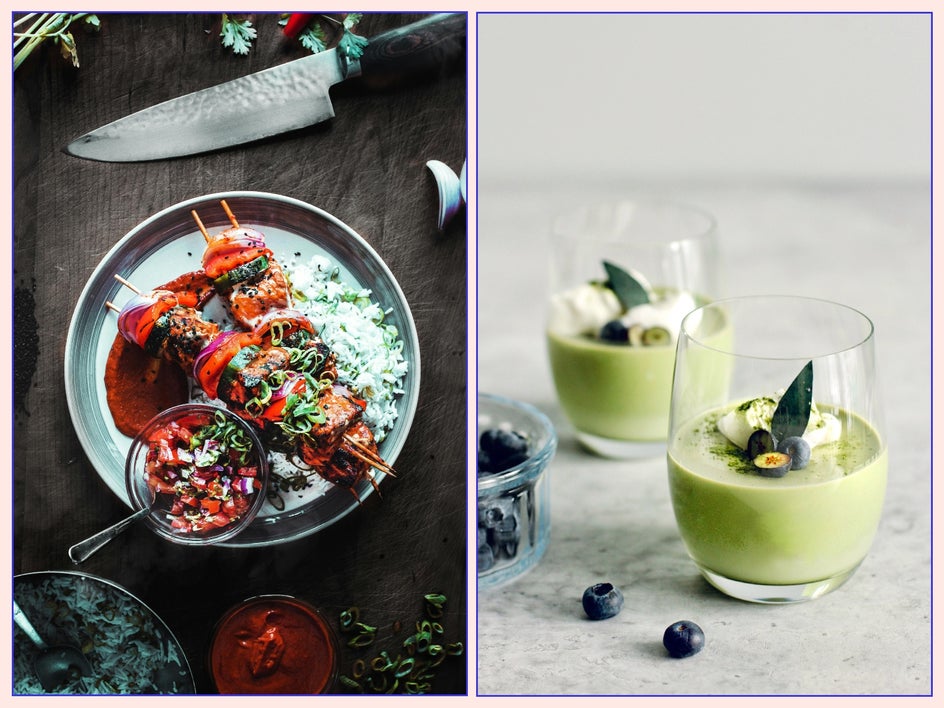
Think About Color and Mood
Before you start tossing props into the shot, you’ll need to think about color. By shooting colors that work well and look good together, you are creating harmony and setting the mood.
Create a DIY Backdrop
When getting into food photography, setting up a backdrop can get really expensive, as some backgrounds are upwards of $120 each! These are actually really easy to DIY with poster foam board and contact paper. Just make sure that you keep them simple, so as not to distract from the main dish.
Find Your Light
Good lighting is key for any type of photography, but I recommend having at least two to three lights to light your setup. This is so that you are not producing any harsh shadows in your photography, unless of course that is your food photography aesthetic. You can also keep this simple and cheap by using a natural light source like a window and then having one other light setup.
Play With Composition
Composition is such an important aspect of photography and is more a sum of many techniques coming together. Think of composition as figuring out where to place the subject in the frame so that your eye focuses on that first. You can use framing (using smaller elements in a photo to frame the main subject), the rule of thirds (place your main subject where the lines intersect), balance (making sure there are equal weights on either side of the subject), and simplicity (using neutral backgrounds as not to distract from the subject). All of this helps draw attention to your subject.
5 Tools for Editing Your Food Photography
These are the five best tools to use when editing your food photography. When you are ready to start editing your photos in BeFunky’s Photo Editor, select Open and then Computer to upload your photo. We can find each of these tools in the Edit tab.
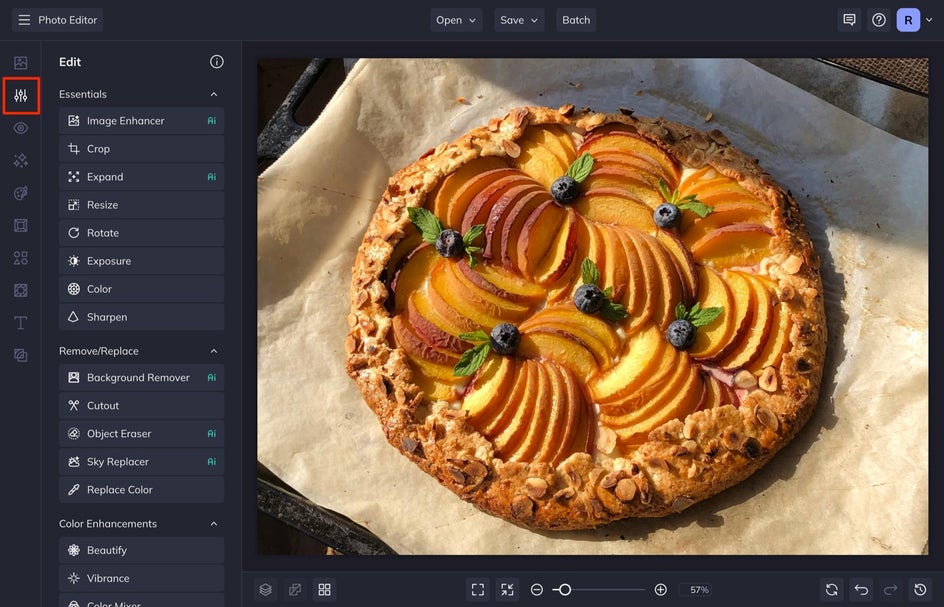
Some of these tools may work better on your photos than other tools, but generally, these are the 5 most used tools in every food photography edit.
1. Use the AI Image Enhancer for Instant Results
Select the AI Image Enhancer for an instant upgrade. Upon clicking this tool, it will automatically work to balance image exposure, adjust highlights and shadows, and enhance the colors in your image. You can then adjust the Amount you want applied to your photo. I generally keep it around 50% so that the edit looks natural and not artificial.
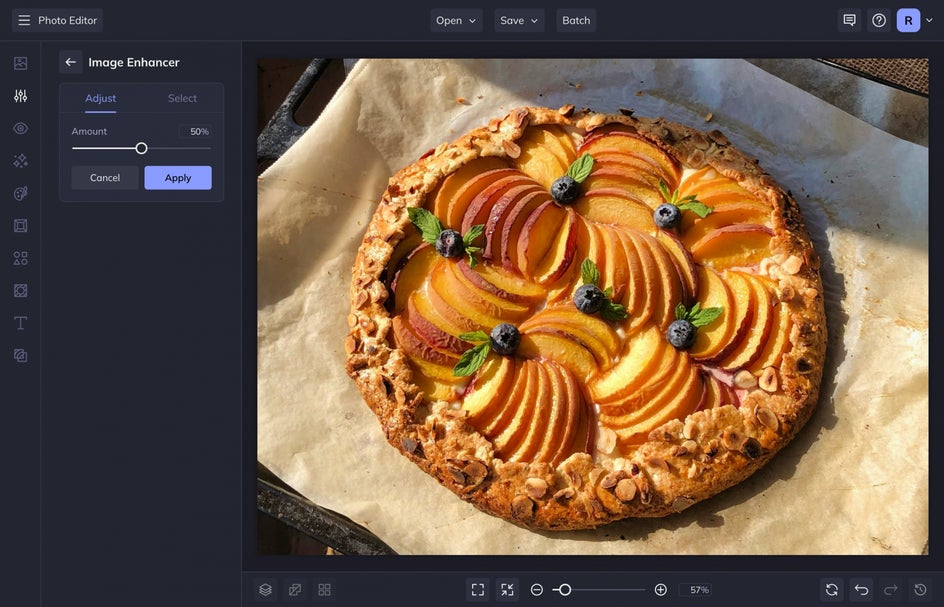
This is great for food photography because this type of genre of photography needs to look enticing and mouth-watering. This tool gives the exact punchiness that you need.
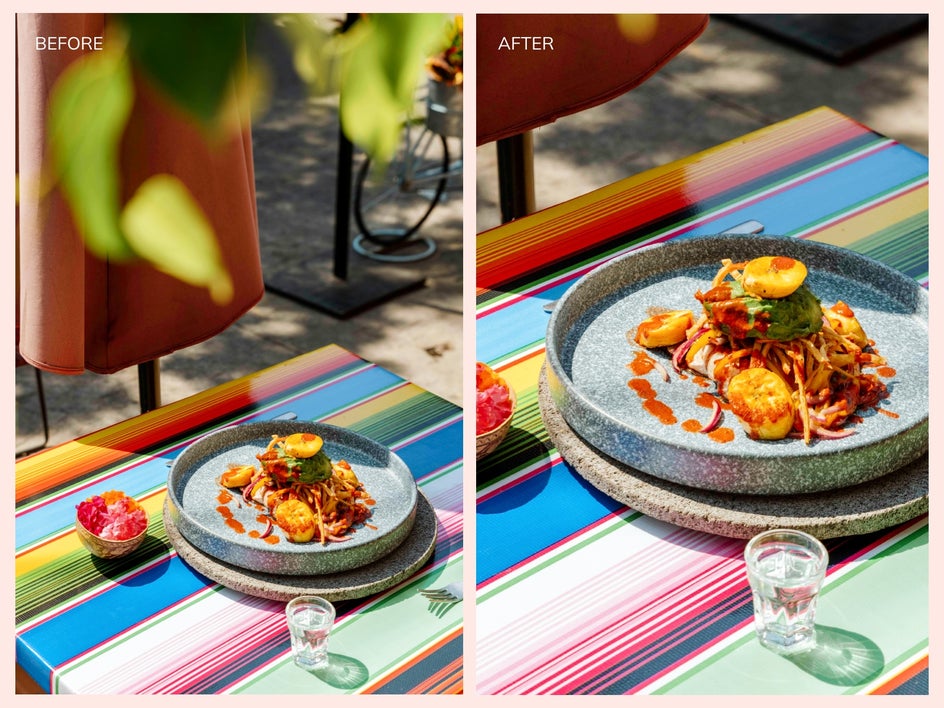
2. Adjust Exposure to Find Balance
The Exposure tool helps you to apply the correct exposure if you didn’t quite get it right the first time when you were shooting. This is also a great tool to use if you only have one light source and need to bring out other details in the shadows of your image after the initial shoot.
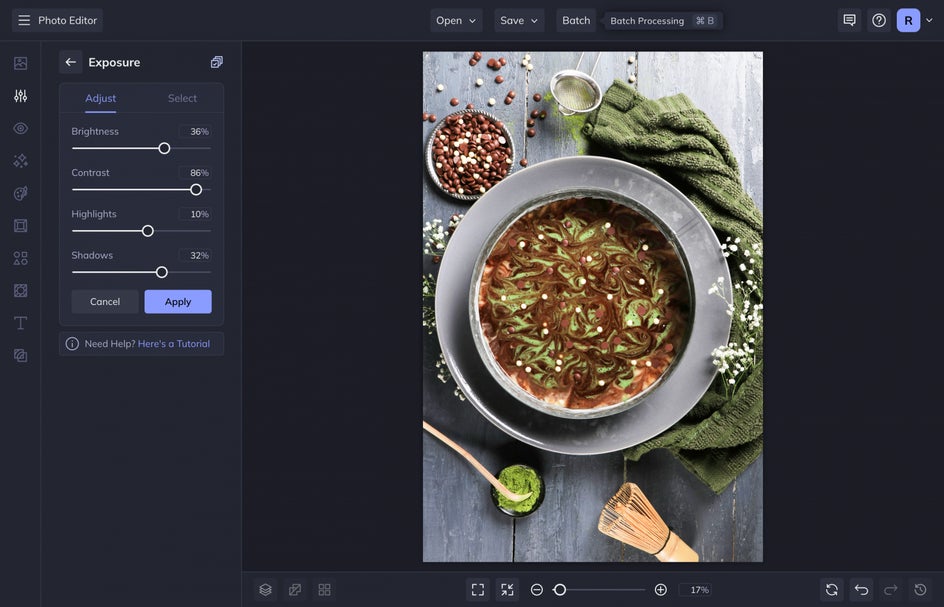
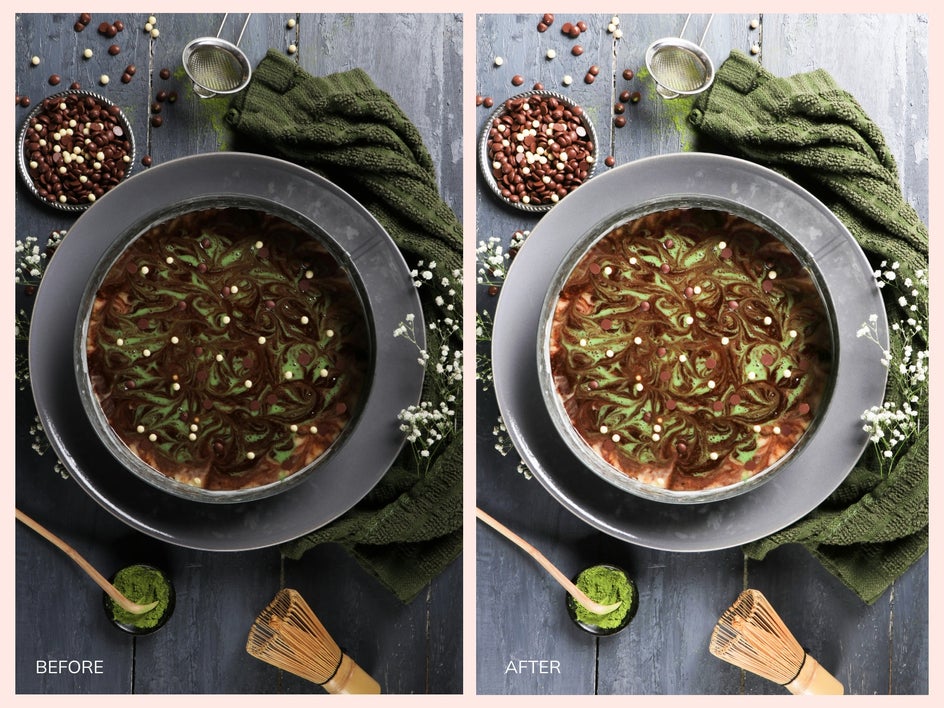
The Exposure tool can balance the Brightness, Contrast, Highlights, and Shadows in your image, making it a great tool to be able to balance the light in your image manually. I like to adjust each of these until there is an overall balance to the light in your image.
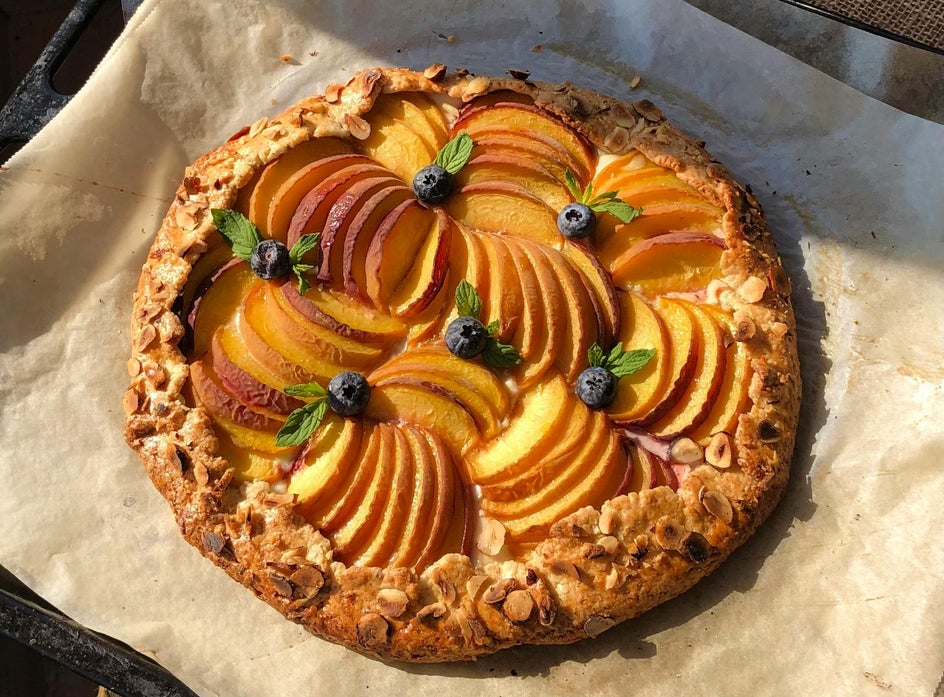
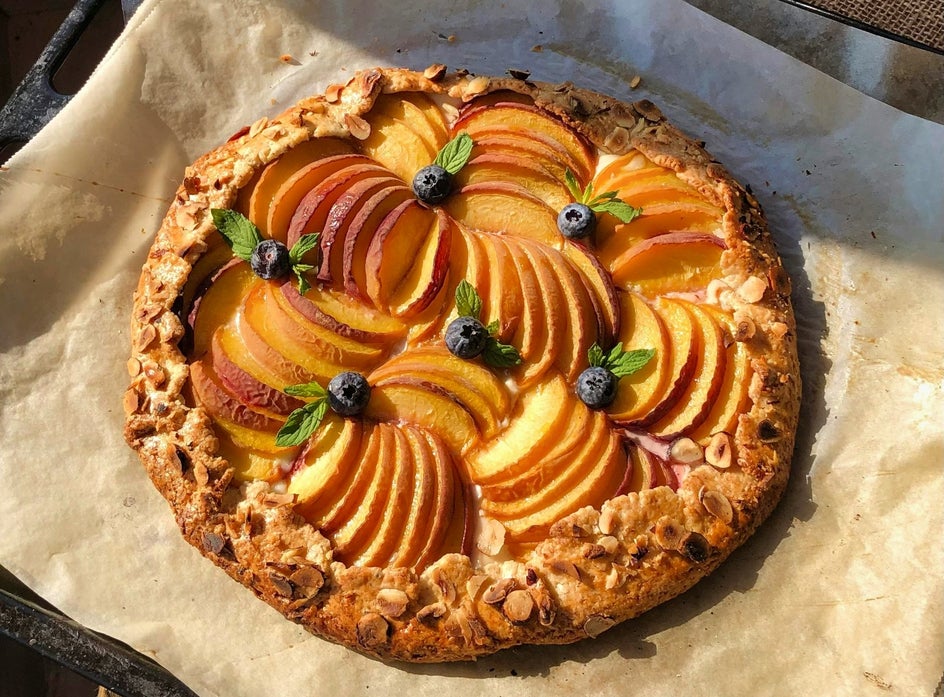
Take a look at the drastic difference between this before and after:
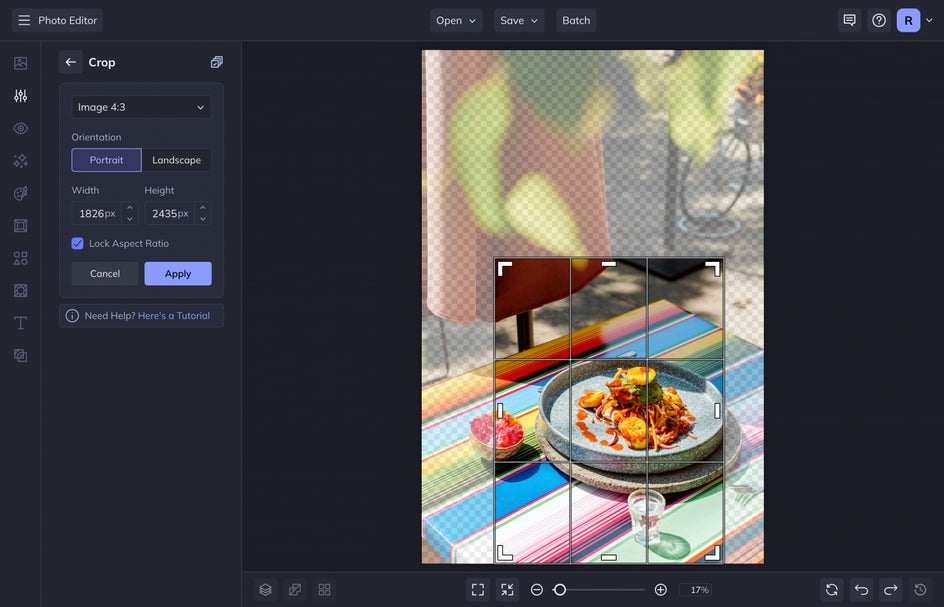
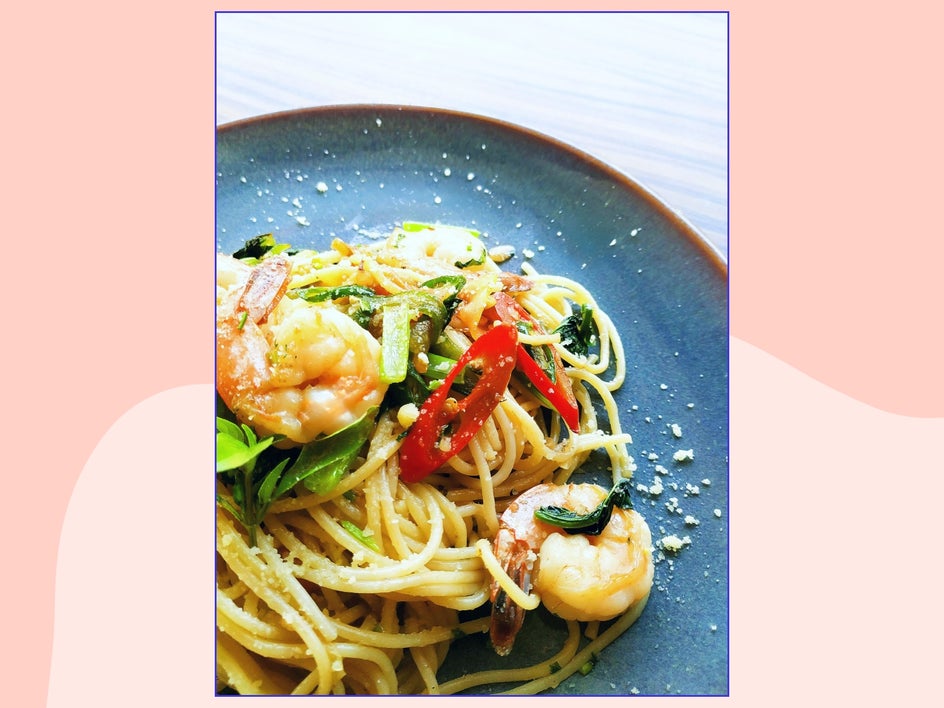
3. Crop and Resize for Perfect Composition
The Crop tool is the best tool for fixing a photo’s composition. Click on this tool and then select a crop ratio from the dropdown menu. Move the corners of the crop zone in or out to get the perfect crop and then press apply.
To make sure that your photo is the correct size for the medium you are using it for, you can then go to the Resize tool to increase or decrease the size of your image.
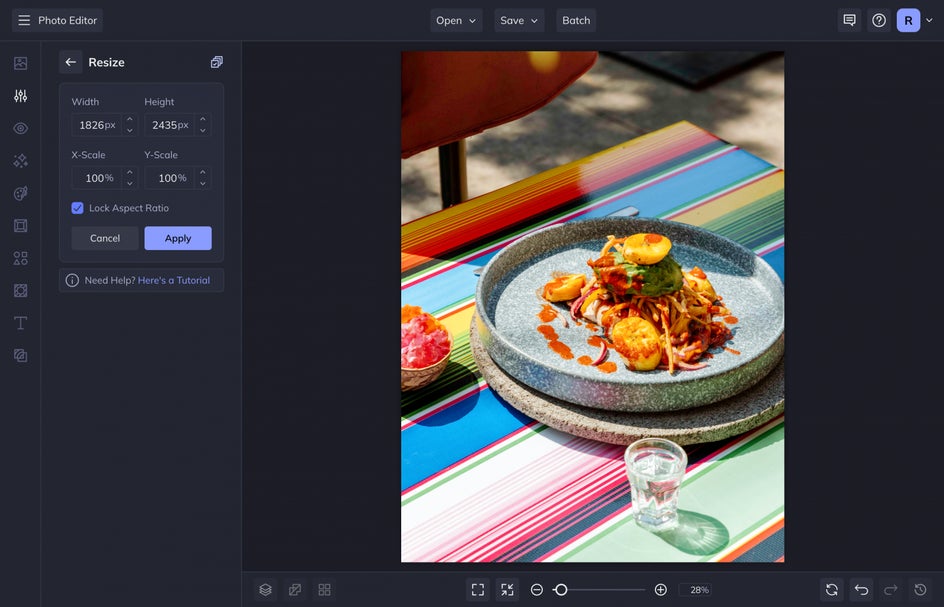
If you need a high-resolution photo for print in a recipe book, you can increase the size of your image here. If you need a smaller resolution for a food blog post or social media post, you can adjust that here.
Here is the before and after:
4. Use the Object Remover to Declutter
The Object Eraser can be found in the Remove/Replace category. Click on the tool and use the brush to paint over any unwanted crumb or prop in your image. Next, select Erase Object to see them disappear while AI fills in the blanks.
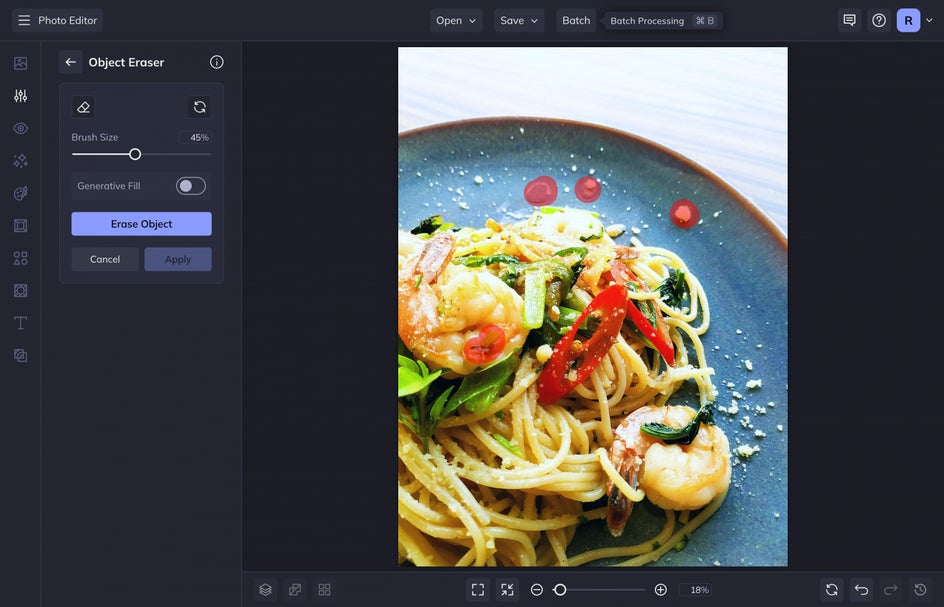
I use this tool a lot in my food photography to fix unwanted issues in my photos. This is such a great tool and should be one of the ones you grab frequently! Here is the before and after:

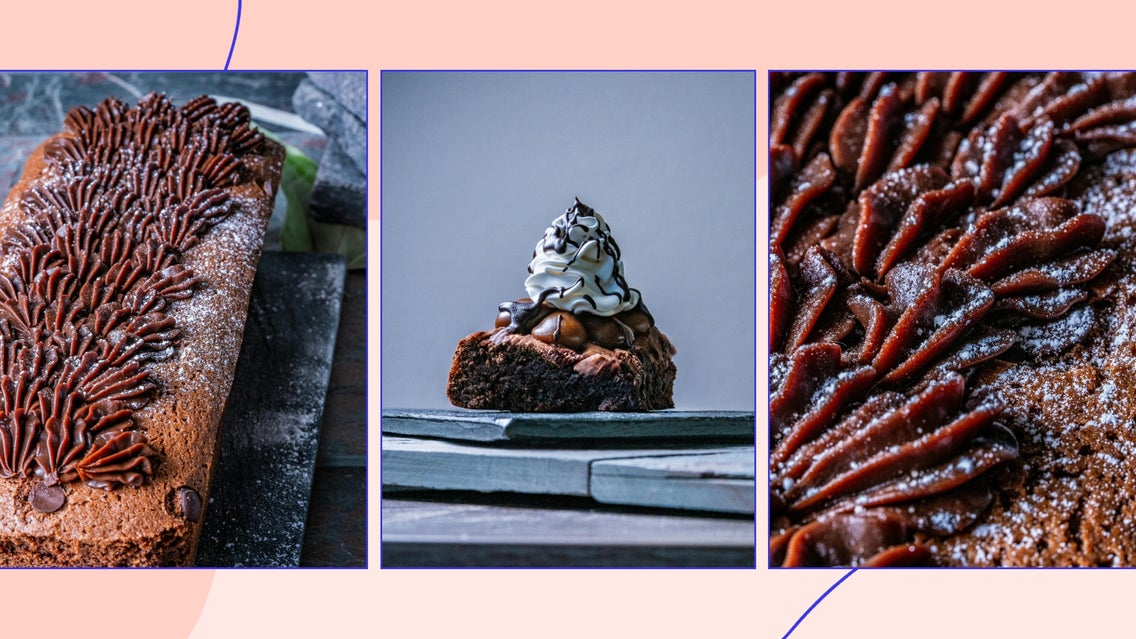
5. Add Some Color for Impact
The Color tool is such a useful tool for making sure your images look mouth-watering. We first eat with our eyes, so it is important to make sure that each element’s color is vibrant and punchy and captures the essence of the ingredients in real life.

I like to increase the saturation of my photos slightly, making sure to keep the colors looking natural. Depending on the day you shoot or your lighting setup, your photos can look warmer or cooler – you can adjust this with the Temperature slider.


Make Your Food Photos Pop With BeFunky
With these simple editing tools from BeFunky’s Photo Editor, you can create bold, mouth-watering food photography in minutes! Make sure to check out our article on how to take the perfect food photos at your next shoot.