What Is a Lens Flare? Tips and Tricks for Lens Flare Photography
Have you ever wondered how photographers capture those mesmerizing images with beautiful bursts of light? Known as lens flares, these effects can add a touch of magic and intrigue to your photographs.
In this guide, we explore the enchanting world of lens flares and reveal everything you need to know to capture them with your camera. From the optimal camera settings to must-have equipment and more – you’ll soon be infusing your photos with the most magical lens flares possible!
What Is a Lens Flare and What Causes Them?
Before we delve into the techniques and equipment needed to capture lens flares, let's take a moment to understand exactly what a lens flare is, as well as the science behind it.
A lens flare (also referred to as a “sunburst”) is an optical phenomenon that occurs when unwanted light enters a camera lens and subsequently hits the camera's film or image sensor. This can result in artifacts such as circles, polygons, or streaks of light appearing in the image.

Lens flares are typically caused by bright light sources, such as the sun or artificial lights, shining directly into the camera lens.
While lens flares are generally considered undesirable in many photography and filmmaking situations, some artists and photographers intentionally use them for creative purposes to add a sense of atmosphere or drama to their work.
Understanding Different Types of Lens Flares
Lens flares come in a variety of shapes and sizes, each with its unique characteristics. By familiarizing yourself with the different types of lens flares, you can experiment and choose the ones that best complement your artistic vision.

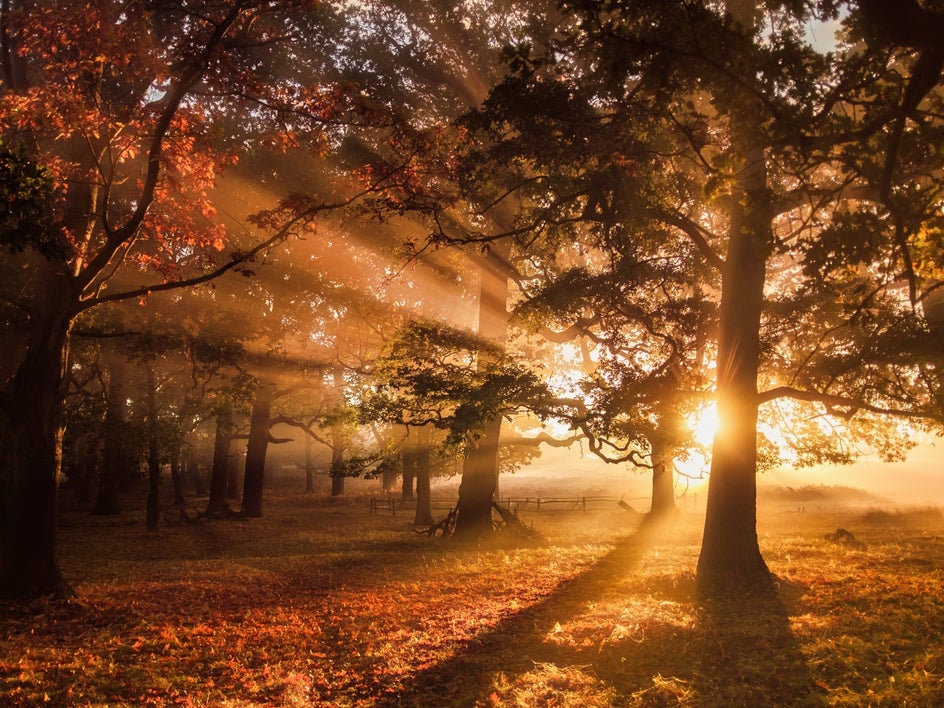
One common type of lens flare is the starburst flare. This flare appears as a burst of rays emanating from a central light source, creating a stunning and dramatic effect. Another type is the ghost flare, which manifests as a pale, hazy area in your image. Ghost flares can add a sense of mystery and ethereal beauty to your photographs. Other types include ring flares, polygon flares, and coma flares. Each type has distinct qualities and can be used creatively to elevate your images to new heights.
How to Achieve the Lens Flare Effect With Your Camera
Ready to learn how to create gorgeous lens flare or sunburst effects in your photography? The following tips have got you covered!
1. Have the Essential Equipment On-Hand
Capturing sun lens flares is possible with the right equipment. Here's a list of what you'll need to get started:
- Camera: Any digital camera with manual settings will do the trick. Whether you have a DSLR, mirrorless, or even a smartphone camera, as long as you can control the exposure settings, you're good to go.
- Lens: A lens with a wide aperture is ideal for capturing lens flares. Wide-angle lenses are particularly useful as they allow you to incorporate more of the scene into your composition.
- Tripod: Using a tripod will ensure stability and minimize camera shake, especially when using slower shutter speeds. Even the smallest amount of camera shake has the potential to cause blur and ruin the shot.
- Lens Filters: Certain filters, such as star filters or filters with prismatic effects, can be used to intentionally create or enhance lens flares. These filters have special coatings or patterns that diffract light in a way that produces distinctive flare effects.

2. Shoot in Bright, Natural Light
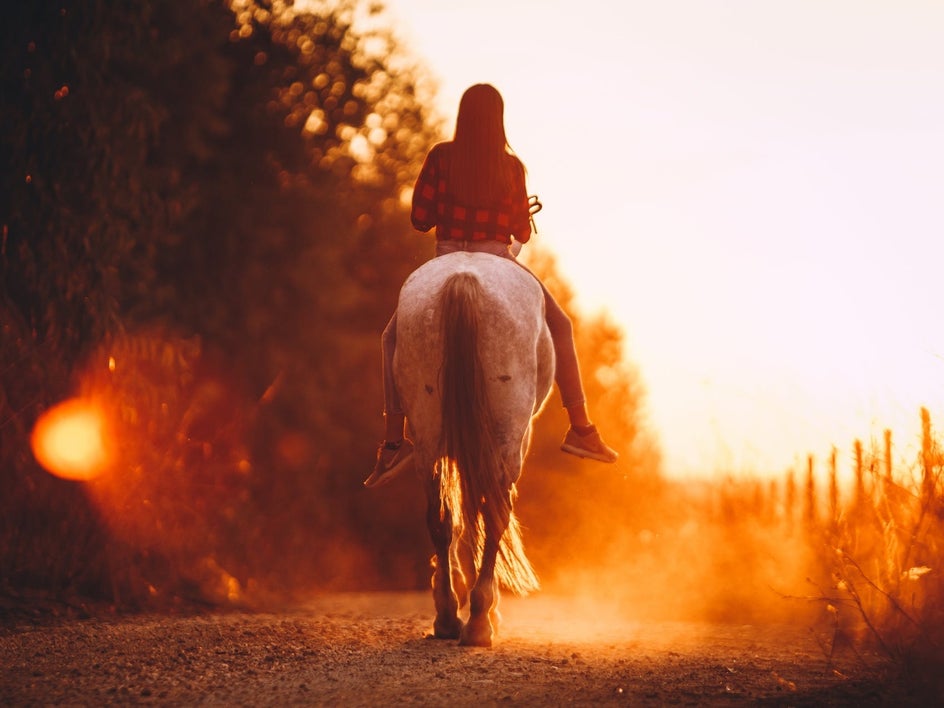
Lens flares are most commonly associated with bright light sources, such as the sun or artificial lights. Therefore, shooting toward the sun or incorporating strong light sources into your composition increases the likelihood of capturing lens flares.
When shooting, pay attention to the position of the sun and how it interacts with the environment. Look for opportunities where the sun is partially obscured by objects, such as trees or buildings, as this can create interesting shapes and patterns in your lens flares.
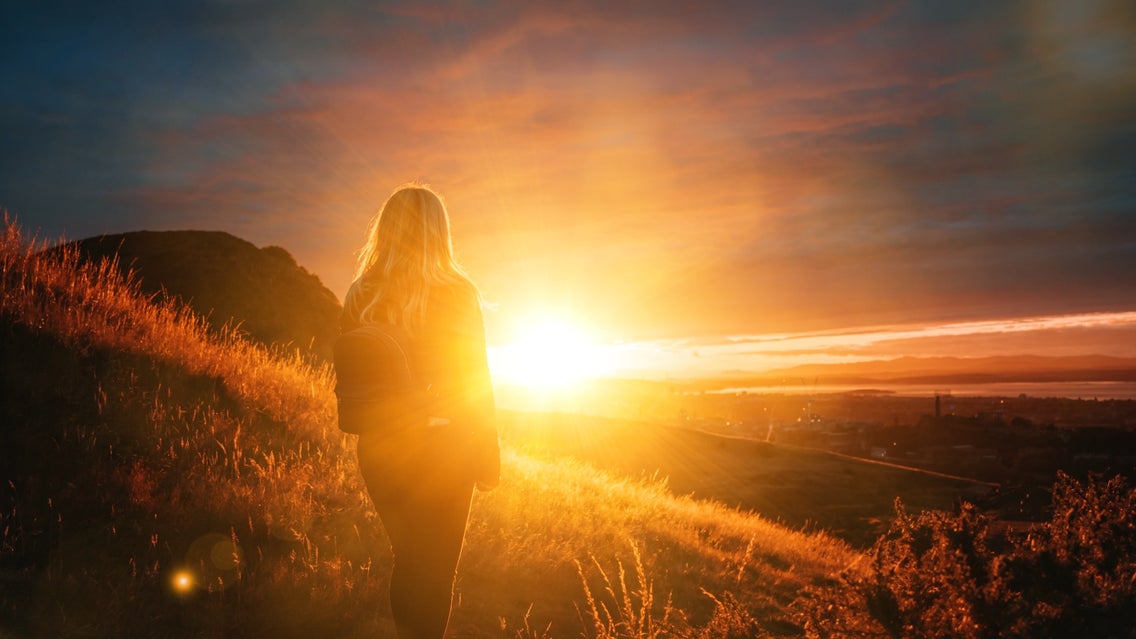
Golden hour, which occurs during the first and last hours of sunlight, is an optimal time to capture lens flares with your camera. Not only is the soft, warm light ideal for lens flare photography, but the low angle of the sun during this time creates more opportunities for light to enter the lens and create captivating flares.
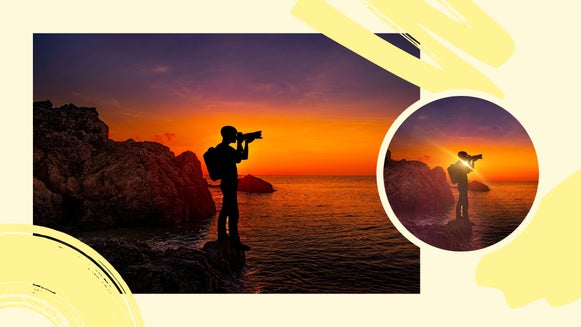
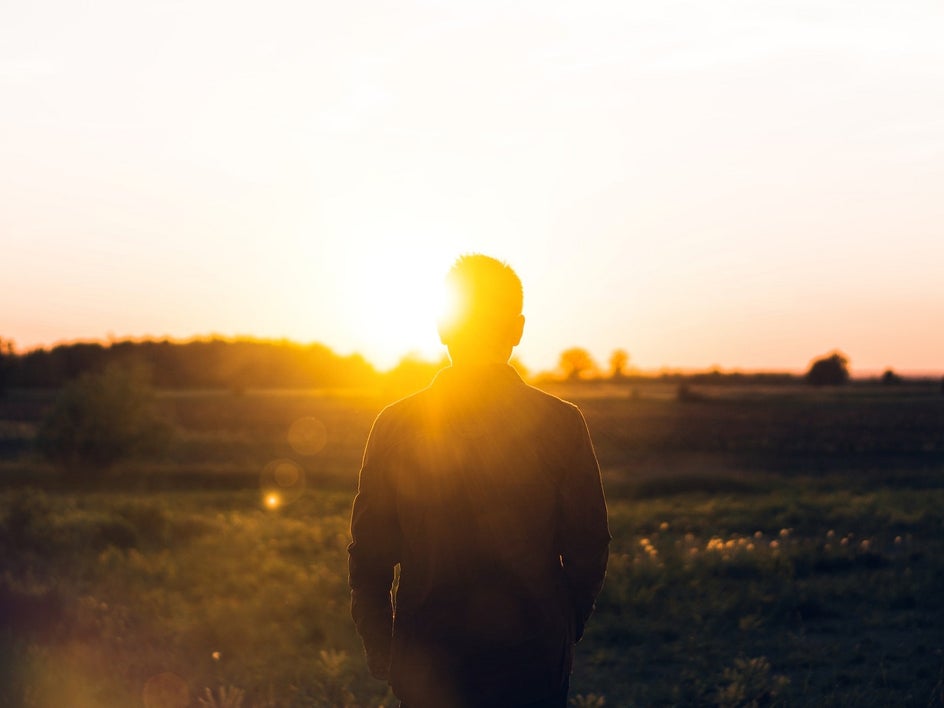
If you’re photographing a person, look for scenes where the light source is positioned behind your subject. Backlighting creates a beautiful halo effect and increases the chances of capturing those stunning lens flare portraits.
3. Know Which Camera Settings to Use
To capture stunning lens flares, setting up your camera correctly is essential. Here are some key settings and techniques to consider:
- Manual Mode: Switch your camera to manual mode to have full control over the exposure settings. This will allow you to adjust the aperture, shutter speed, and ISO according to the desired effect.
- Aperture: Set your aperture to a wide opening, such as f/2.8 or lower, to create a shallow depth of field and enhance the intensity of the lens flares.
- Shutter Speed: Experiment with different shutter speeds to control the amount of light entering the camera. Slower shutter speeds can create longer streaks of light, while faster speeds can capture sharper bursts.
- ISO: Keep the ISO as low as possible to minimize digital noise in your images. However, if you're shooting in low light conditions, you may need to increase the ISO to maintain proper exposure.
- Focus: Adjust your focus manually to ensure the lens flares appear sharp and well-defined. Autofocus can sometimes struggle with capturing flares, so taking control of the focus is crucial.

4. Experiment With Removing Your Lens Hood
The lens hood is a device attached to the front of a camera lens to block unwanted light from entering the lens and causing lens flares or reducing contrast. While the primary purpose of a lens hood is to prevent lens flares by shading the lens from stray light, removing the hood can actually make it easier to capture intentional lens flares under certain conditions.
This is because when you remove the lens hood, you allow more light – including direct and stray light – to reach the lens.
It's important to note that while removing the lens hood can enhance the chances of capturing lens flares, it also exposes the lens to the risk of other unwanted artifacts such as glare and reduced contrast. Additionally, lens hoods are valuable accessories in many situations to protect the lens from physical damage and to improve image quality by reducing lens flare and ghosting.
Therefore, if you’re going to remove the hood from your lens, ensure it is only a temporary adjustment made while capturing in-camera lens flares.
5. Play Around With Positioning and Composition
Capturing stunning lens flares requires a combination of technical skill and artistic vision. By experimenting with both the positioning and composition of light in your photos, you can create unique sunbursts within your imagery.
Be sure to play around with the position of the light source in relation to your subject. Move around and find angles where the light interacts with the lens in the most captivating way. Sometimes a slight change in perspective can make a world of difference!
Also, don't get so caught up in capturing lens flares that you neglect the overall composition of your image. Remember to consider other elements such as leading lines, symmetry, and the rule of thirds to create a well-balanced and visually pleasing photograph. You can place the flares strategically in your frame to guide the viewer's eye and create a more balanced image.

6. Perfect Your Lens Flare Photography With Post-Processing
Post-processing is an essential step in bringing out the full potential of your lens flare photography. Here are some editing tips to help you enhance and refine your images:
- Adjust Contrast and Saturation: Increase the contrast and saturation to make the lens flares pop. This will intensify the colors and create a more vibrant and impactful image.
- Selective Editing: Use adjustment brushes to selectively enhance the areas with lens flares. This allows you to have more control over the effect and prevent unwanted effects in other parts of the image.
- Remove Distractions: If there are any distracting elements or imperfections in your lens flares, use object removal tools to get rid of them. This will ensure that the focus remains on the captivating flares themselves.
- Experiment With Filters: Apply photo filters to add additional effects and mood to your lens flare images. Play around with different options and find the ones that enhance the overall atmosphere of your photograph.
BeFunky Has Your Stunning Lens Flare Effects Sorted
While it is possible to capture lens flare effects or sunbursts with your camera by following the tips above, some factors might reduce your chances of doing so. Newer or higher-quality cameras, for example, often have protective lens coatings that prevent natural lens flares.
If you’re finding it impossible to capture the lens flare you had in mind, don’t fret. BeFunky’s Photo Editor is home to numerous lens flare effects that you can add to your photos in as little as a few clicks! They’re realistic, customizable, and available in different shapes, sizes, and colors to help you get your lens flare photography just right. Go on, check out the Lens Flare effects within the Photo Editor to see just how amazing they are!