


How to Make a Customized Printable Calendar
Every time a new year rolls around, finding the perfect calendar is a challenge. Do all twelve photos or illustrations look good? Will the color scheme fit with the rest of your room? Are the “important dates” they use really that important to you? This is when being able to make your own fully personalized calendar comes in handy. In this article, we’ll show you how to DIY your own calendar with the easy-to-use Graphic Designer. The Designer features several calendar templates that you can customize to your heart’s content!
Why Should You Make Your Own Calendar?
There are a few reasons to make your own personalized calendar. First, you can make sure the calendar fits perfectly with the rest of your decor, and that you actually enjoy looking at every month! Plus, you can add important dates that may not be on store-bought calendars, like birthdays, anniversaries, your own cultural or religious holidays, and more.
Another reason to DIY a custom calendar is that they make amazing, heartfelt gifts. Because you’re starting with a blank template, you can easily change it up for any friends and family you want to gift a calendar to.
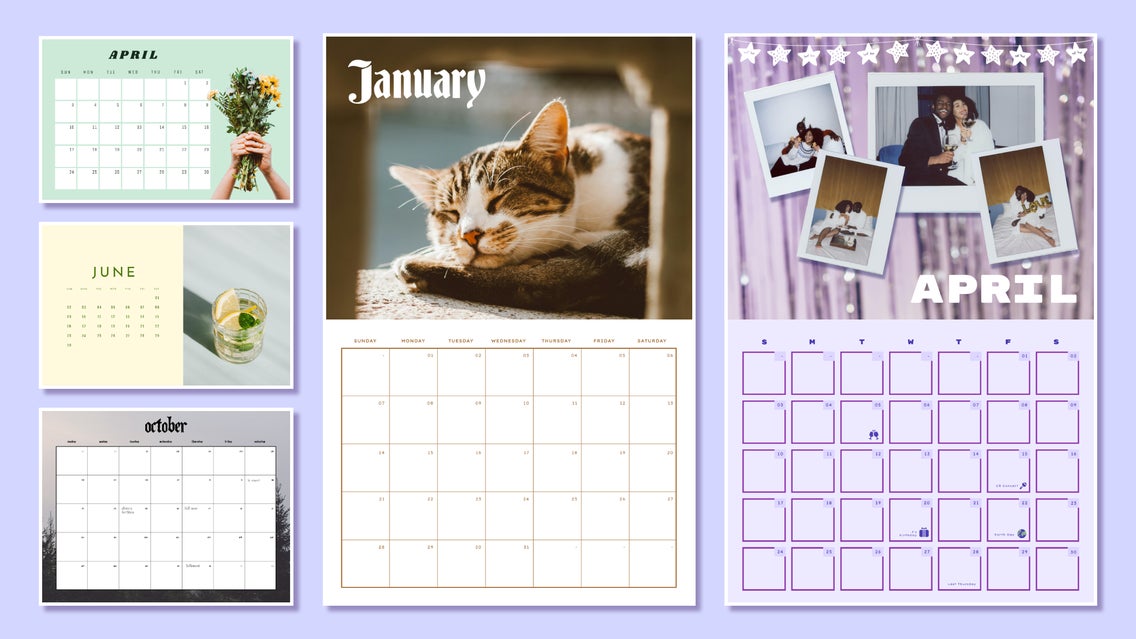
Picking a Calendar Template That Works for You
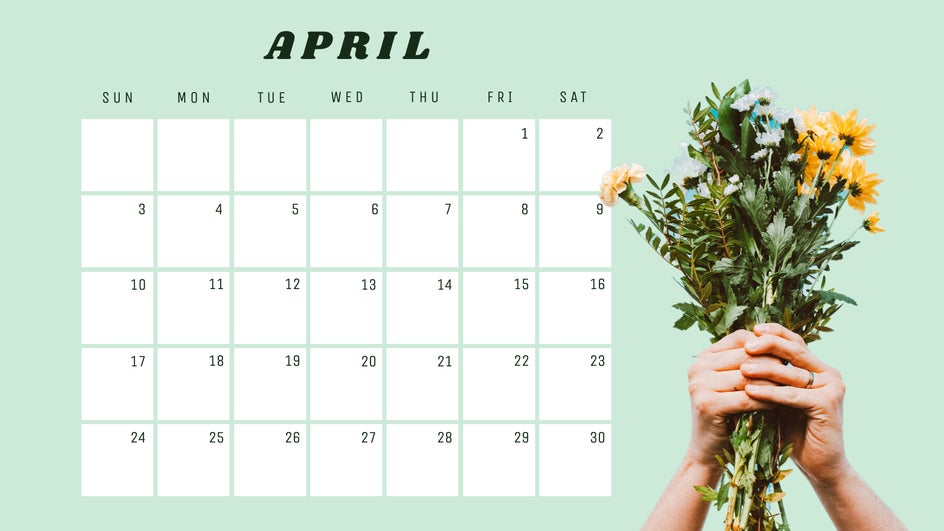
The BeFunky Graphic Designer features several calendar templates that all serve different purposes. Do you want to be able to write down events and tasks in your calendar, or just keep track of the days? For instance, the following template allows you enough space to write down notes.
Meanwhile, this next template is a great way to cross off the dates and make sure you know what day it is even when you’re working from home.

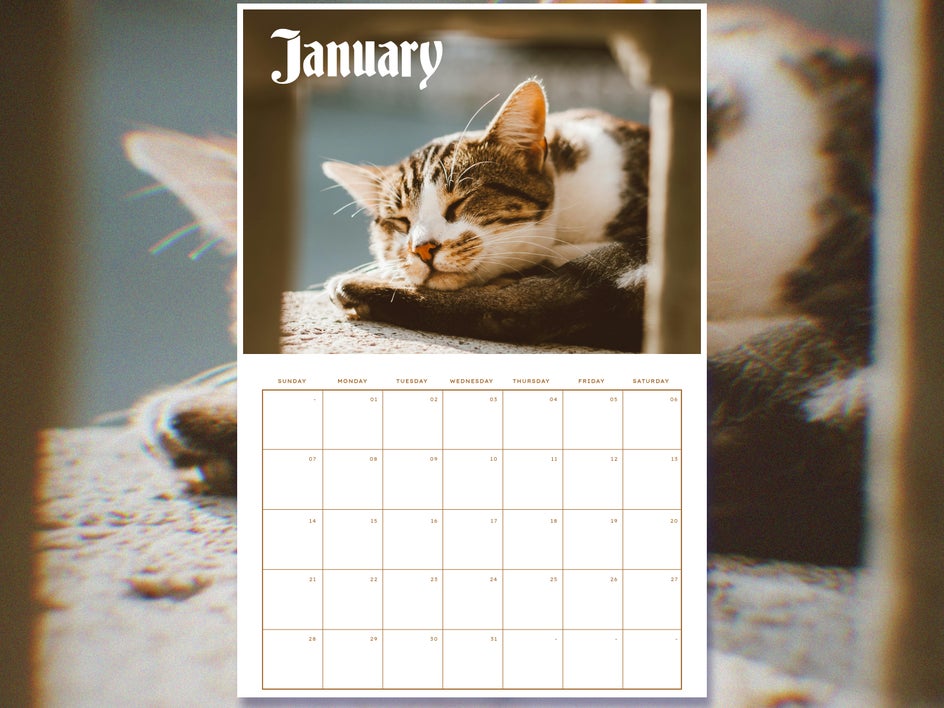
Another question to consider is: Do you prefer to feature a big photograph or illustration every month, or are you more interested in saving space and keeping the focus on the calendar itself? The following is a traditional calendar format that dedicates half the page to imagery:
This next calendar allows you to print a half-sheet calendar with the same amount of writing space. This saves costs when printing as well!
Whichever calendar template you decide to choose, remember that you can customize it to your exact preferences, so you don’t need to worry about the color, font, images, or even size. These can all be changed down the line!
How to Design a Custom Calendar
Creating a calendar in the Graphic Designer is a simple matter of choosing a template and editing it to your taste. With the Designer’s user-friendly interface and host of stock images, graphics, and fonts, the process is simple whether you have design experience or not.
Step 1: Choose a Template
The Graphic Designer will automatically show you the Templates section if you’re opening it for the first time. Here, you can type Calendar into the Search Bar and choose from a variety of monthly calendar templates. (If you’re more interested in a weekly planner, check out this article!)
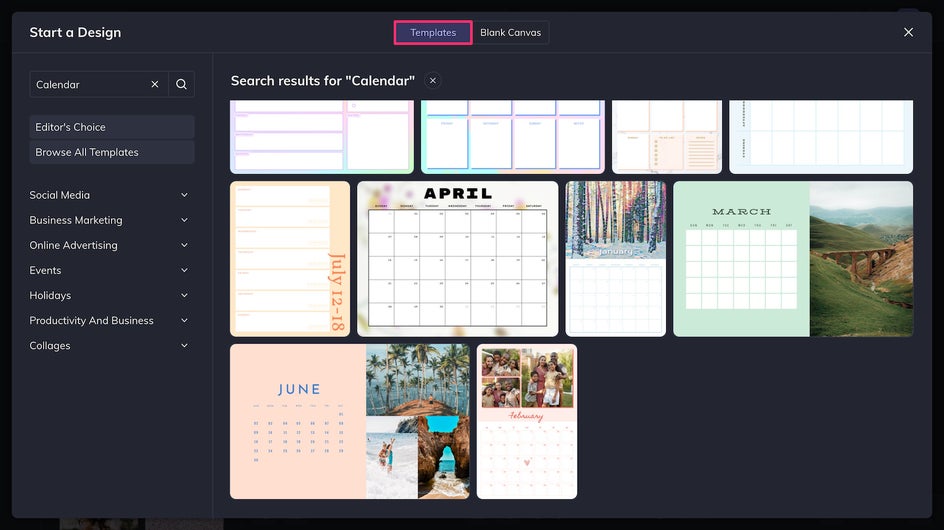
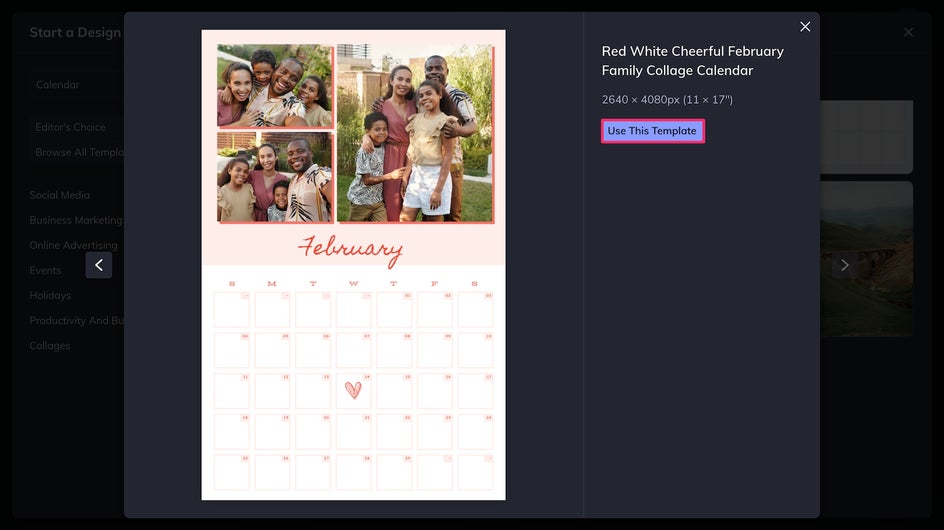
We’re going to choose this calendar template that uses a very classic design, with an image on the top half and a calendar with large boxes on the bottom half.
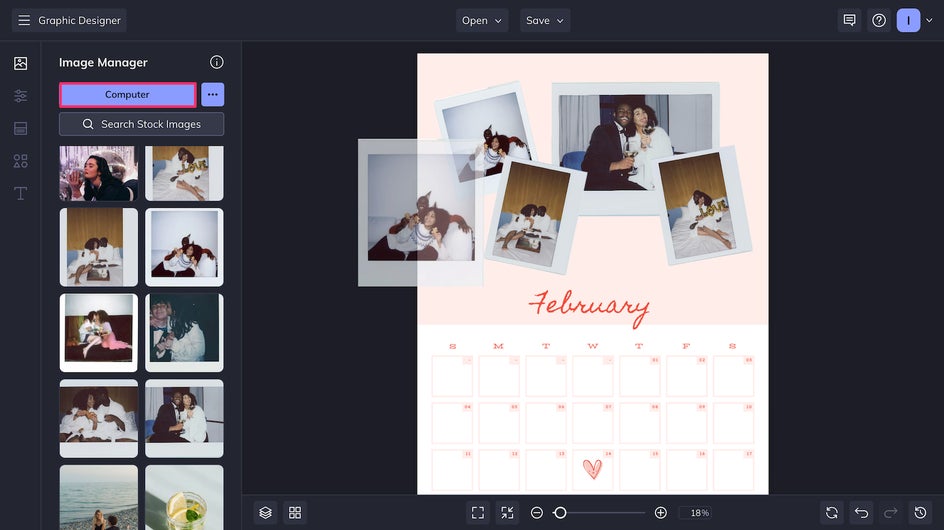
Step 2: Add Your Own Photos
To personalize your calendar, you can start by deleting the existing template images and uploading your own images into the Image Manager. Just click Computer to upload directly from your files. Then, you can click and drag images from the sidebar onto the canvas.
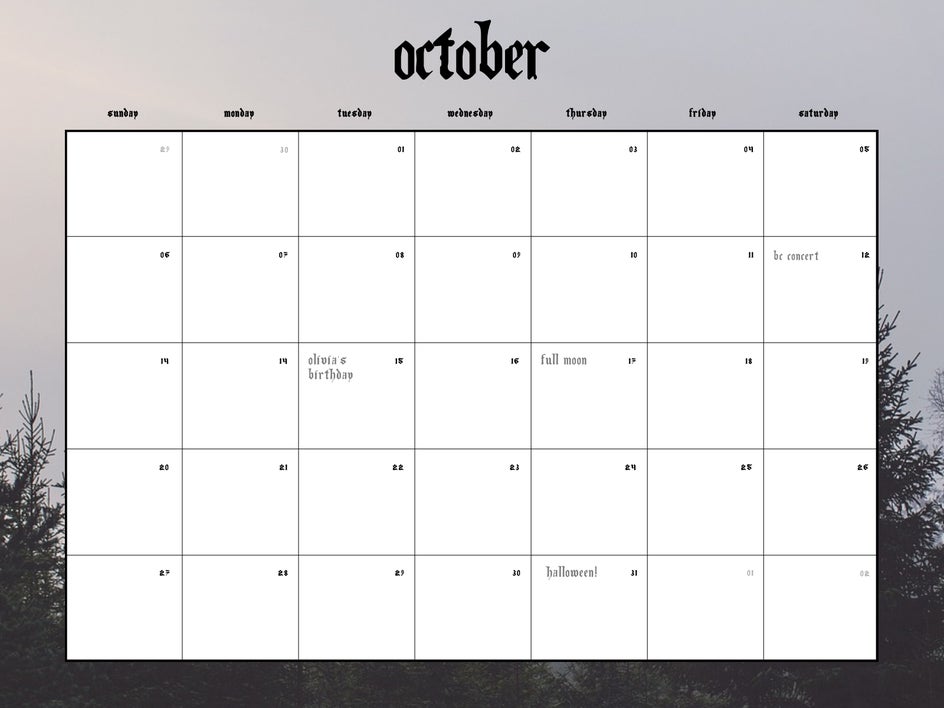
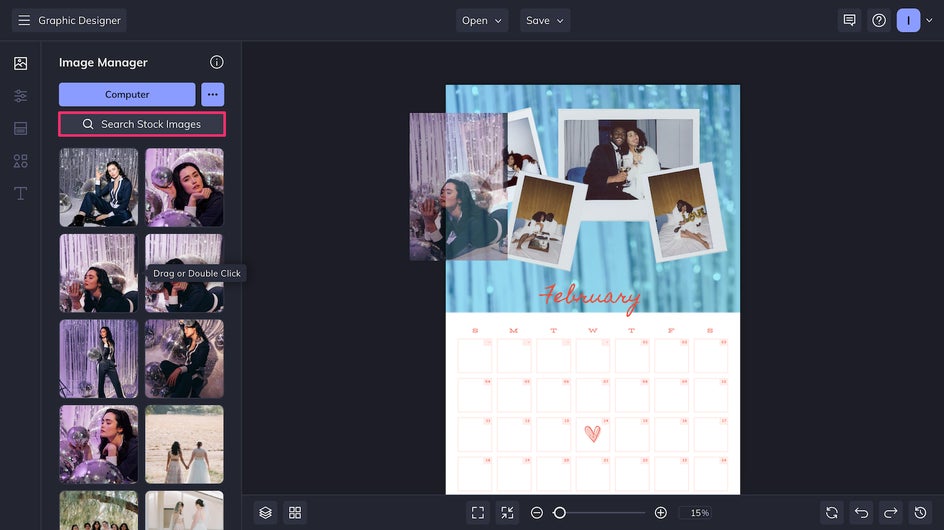
You can also use the Search Stock Images tool to browse BeFunky’s enormous library of stock images. This is how we got the sparkly disco photo for the background. Click and drag it directly onto the page to automatically fill the space.
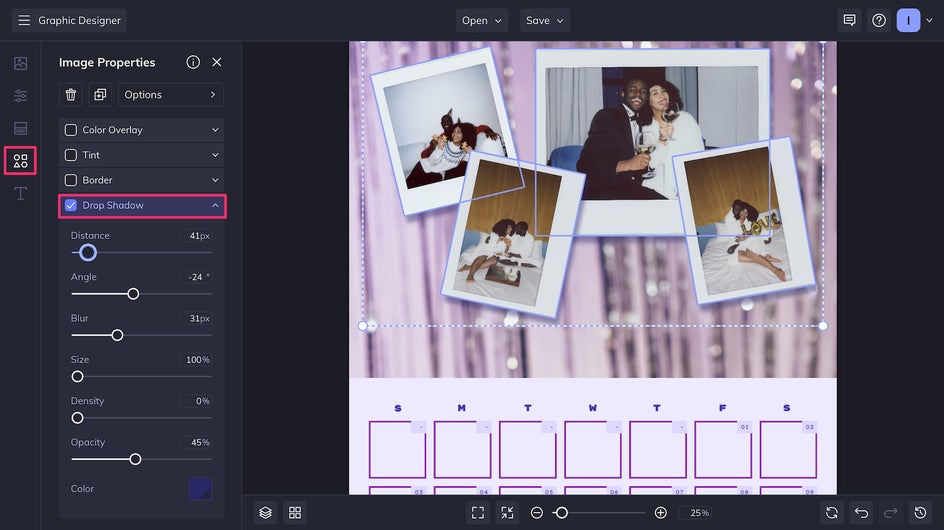
You can also double-click any image to add a Drop Shadow or other element to make it pop off the page.
To learn more about making these collage or scrapbook types of designs for your calendar, check out this article.
Step 3: Adjust Color Scheme
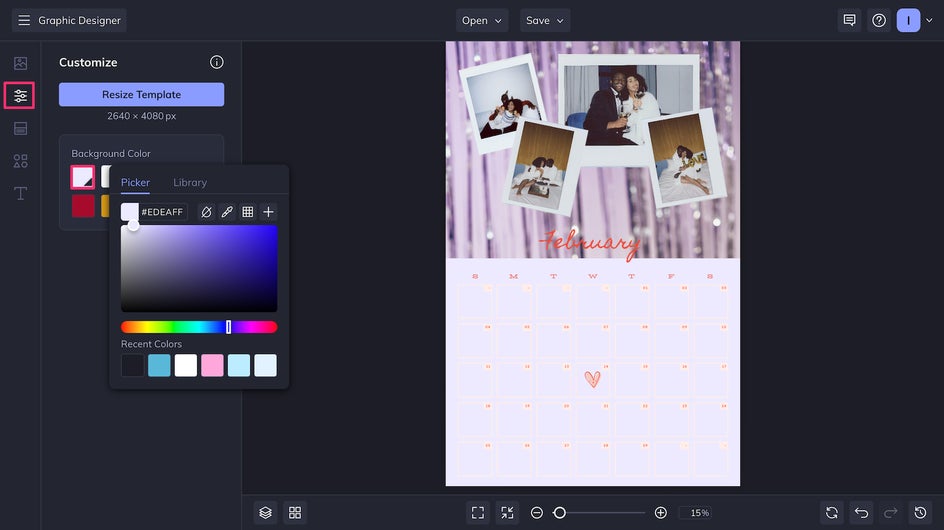
Using the Customize tool, change the color of the background. For a cohesive look, pick some colors from the images you used.
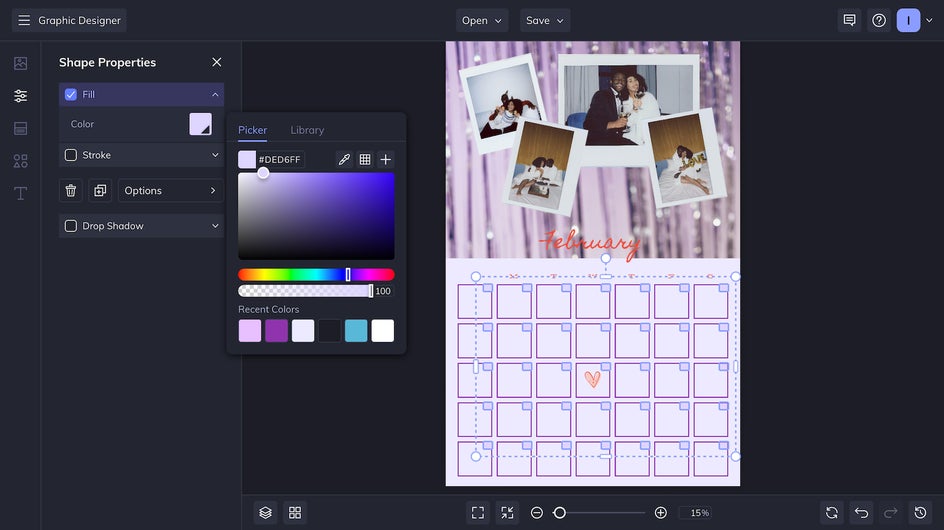
The boxes, lines, and numbers of the calendar templates are always conveniently grouped together so that you can change the colors of each element simultaneously. For instance, here we’re changing the date boxes:
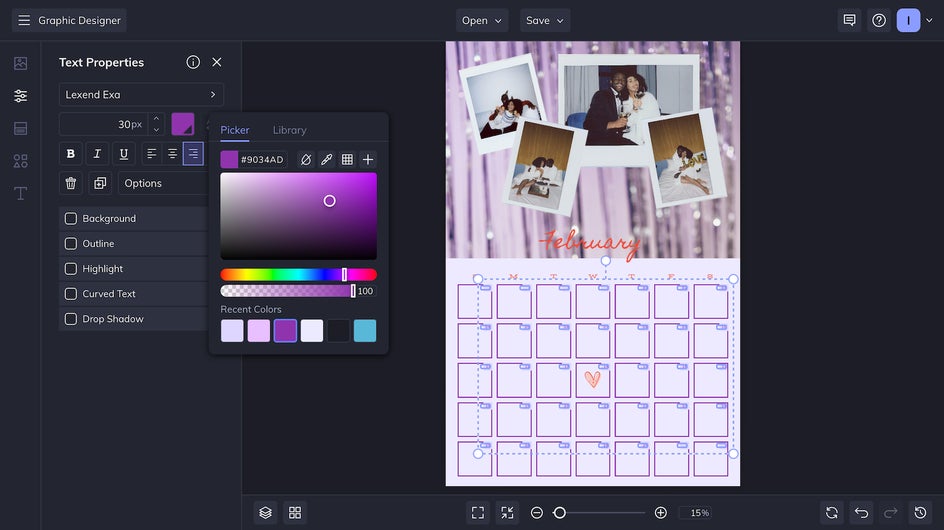
And here we’re changing the color of the dates. This calendar uses a monochromatic color palette (all purple), but if you’re searching for other types of color schemes that work well together, you can check out this article on creating an appealing color palette. This will come in handy for creating variety throughout the months.
Step 4: Edit Text and Dates
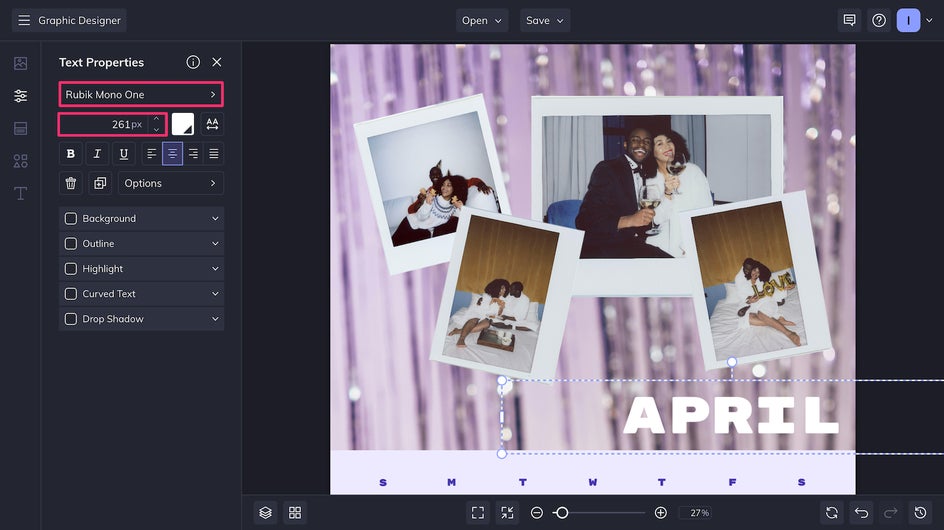
The next step in creating your custom calendar is to adjust the month and dates accordingly. At this point, you can also change the fonts. A big bold font stands out against the background.
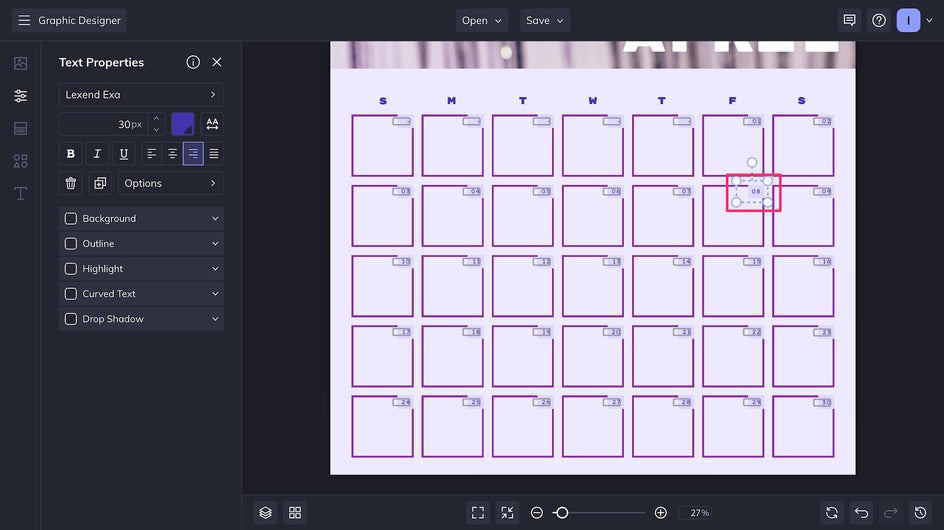
Next, adjust the dates for the month, checking it against another calendar. Just double-click any text box to edit it.
Step 5: Add Graphics to Calendar
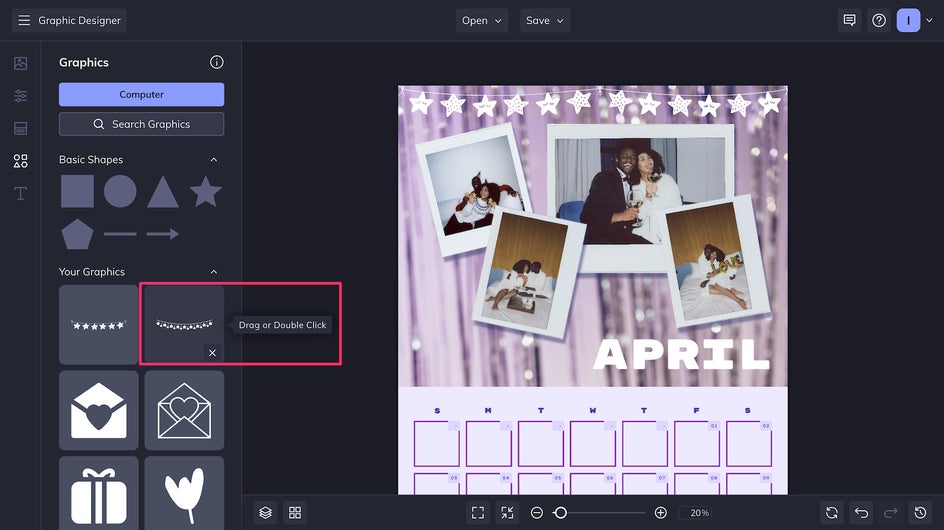
This step is optional, but adds an extra personal touch to your calendar. Open the Graphics tab and use the search bar to search the thousands of hand-drawn vectors in BeFunky’s Graphics Library.
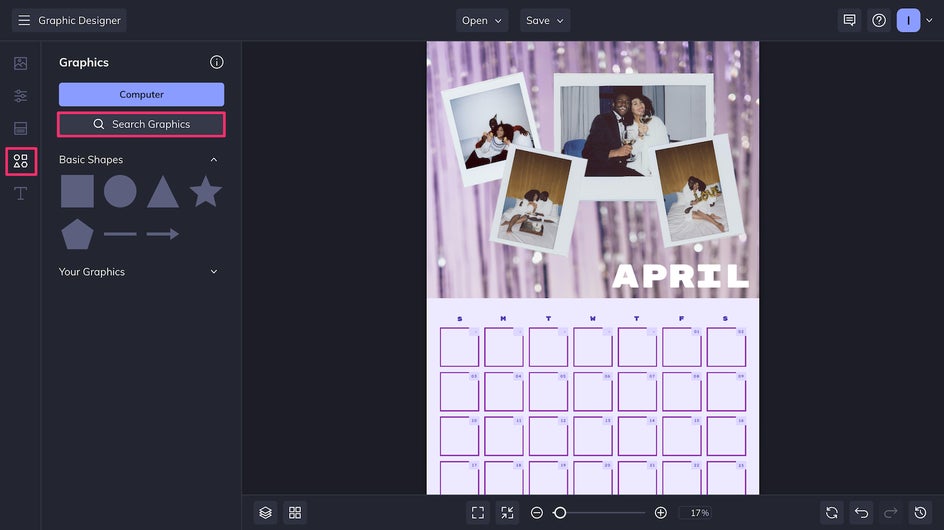
You can look up any extra graphics and embellishments you’d like to add to your calendar, like stars, hearts, flowers, and more. Here we want to add a banner to the top of the page.
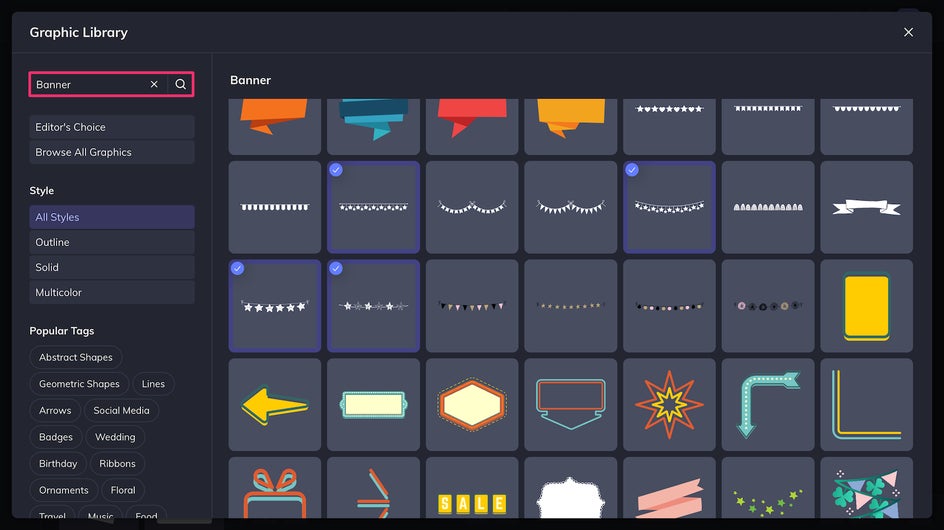
Once you’ve clicked a graphic, the blue checkmark indicates that it’s been added to your personal graphics. Now, these will appear in the sidebar for you to double-click or click and drag onto the canvas!
Since this is a calendar for you and you only, you can also add graphics and text to the dates themselves to indicate birthdays, anniversaries, and other important events.

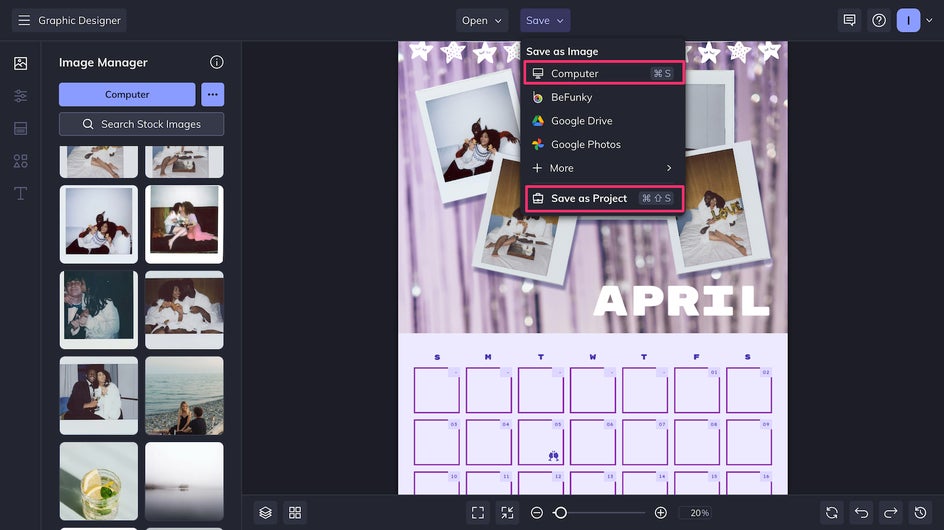
Step 6: Save Your Custom Calendar
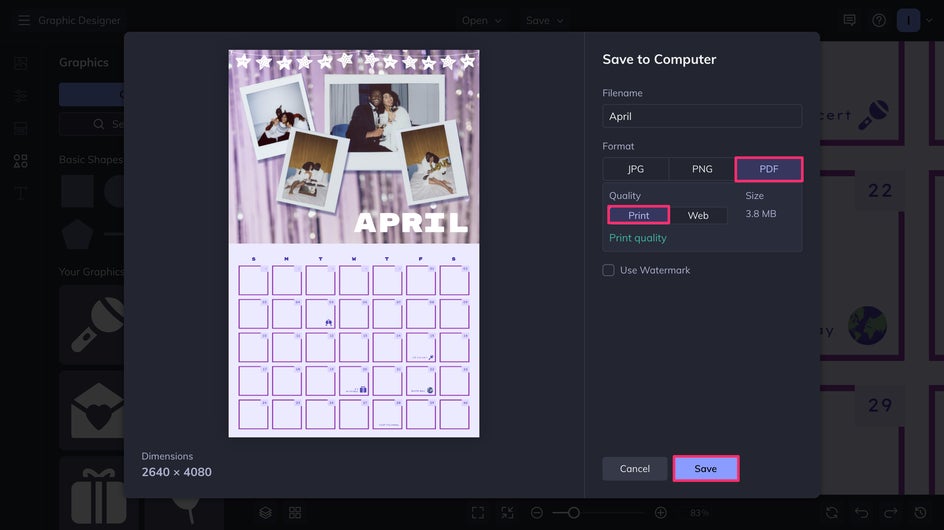
Your personalized calendar is almost ready to go! The last step is to save it twice: First as a high-quality PDF and second as a BeFunky Project file (.bfd), which will make it easy to edit later. Essentially, this file will act as your own customized template!
When saving your PDF, make sure to do so at Print quality. This will help you in the next stages of printing.
How to Print Your Custom Calendar PDF
When it comes to printing, you can print a new calendar every month based on your existing template, or create all twelve months in one sitting and staple it together. Either way, you can print your custom calendar right from home using your high-quality PDF.
This BeFunky calendar template is 11” x 17”, which is a standard tabloid-size paper. (If you’re not sure of your template size, double-check it in the Templates section of the Graphic Designer.) To get the most authentic calendar feel, print your PDF on glossy 100 lb paper. You can also use cardstock in the 80 lb range.
If creating a traditional annual calendar that you can flip through, use a regular or heavy-duty stapler to staple the calendar down the middle.
If printing month-by-month, a durable alternative to glossy paper is laminating a regular sheet of paper. You can laminate at home with a laminator or take your calendar to your local office supplies store, printing store, or library.
Plan Better With Printable Calendars
A calendar is something you use and look at daily, and a beautiful, personalized calendar can create joy even in the most mundane day-to-day events.

Custom calendars also make wonderful gifts for friends and family around the holidays. Once you’ve made one, it’s easy to make a few more! You can create your own custom printable calendar in the Graphic Designer today!


