A Guide to Creating Before and Afters in the Graphic Designer
In the ever-evolving landscape of visual storytelling, the utilization of before and after images holds immense potential for conveying the transformative powers of an edited image, a new haircut, or a DIY in progress. Picture having the ability to showcase the evolution of an idea all through the lens of before and after visuals, made possible by BeFunky’s Graphic Designer.
The popularity of these Before and After images on blogs and social media platforms is undeniable, serving as powerful visual testimonials of personal or creative progress. However, the truth remains: crafting these compelling visuals can be a meticulous and time-consuming process. While the Collage Maker offers simplicity, the Graphic Designer's allure lies in its diverse pre-made templates, making your transformation journey even more accessible and visually striking. In just minutes with the BeFunky Graphic Designer, you can create your own Before and After to flaunt whatever transformation you want to feature!
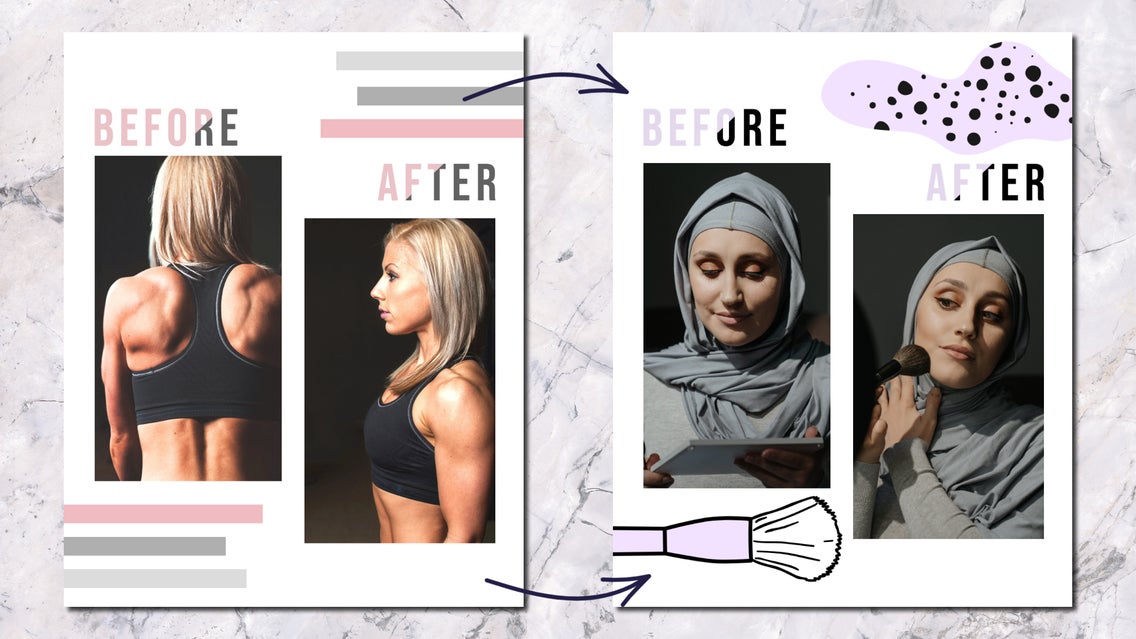
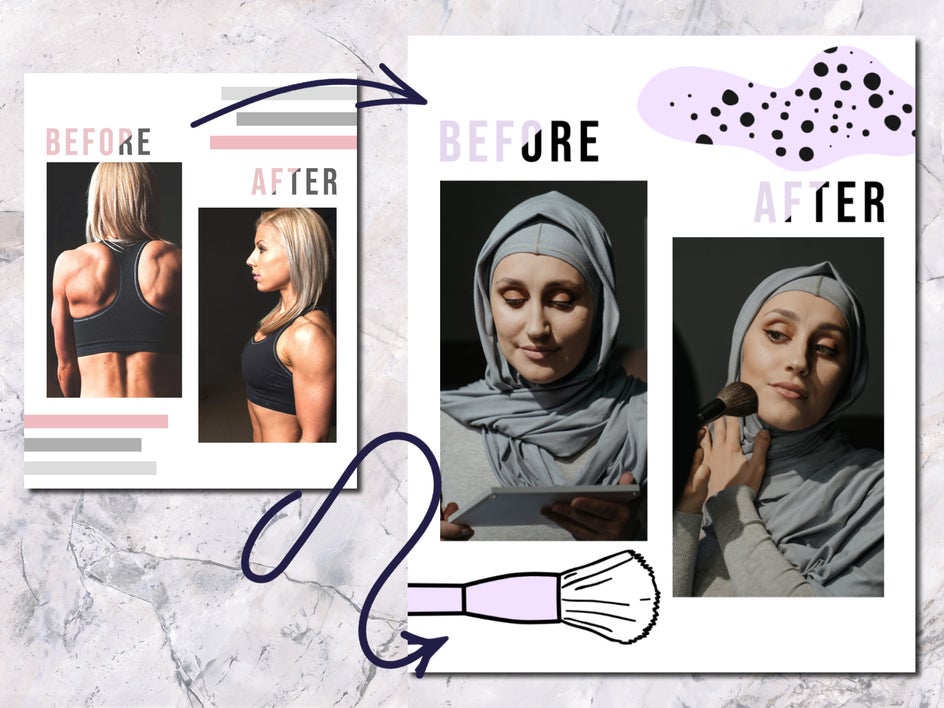
Image: Before/after2
How to Create Before and After Designs
Start by heading to the Graphic Designer and searching Before and After in the search bar. This will take you to the collection of Before and After templates to start as the base of your project.
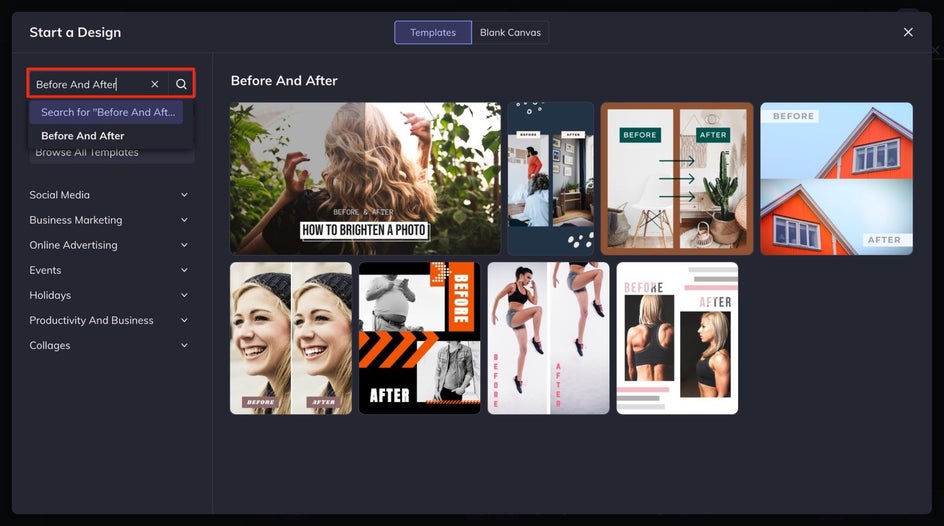
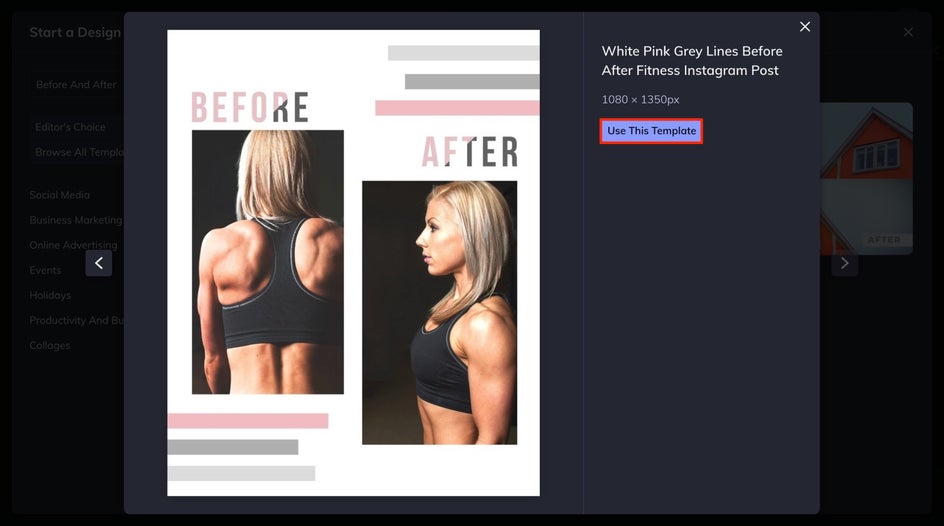
Step 1: Choose a Template
Once you've found a template you like, click the Use This Template button. This will open your selected template into your canvas so that you can start modifying it to meet your needs.
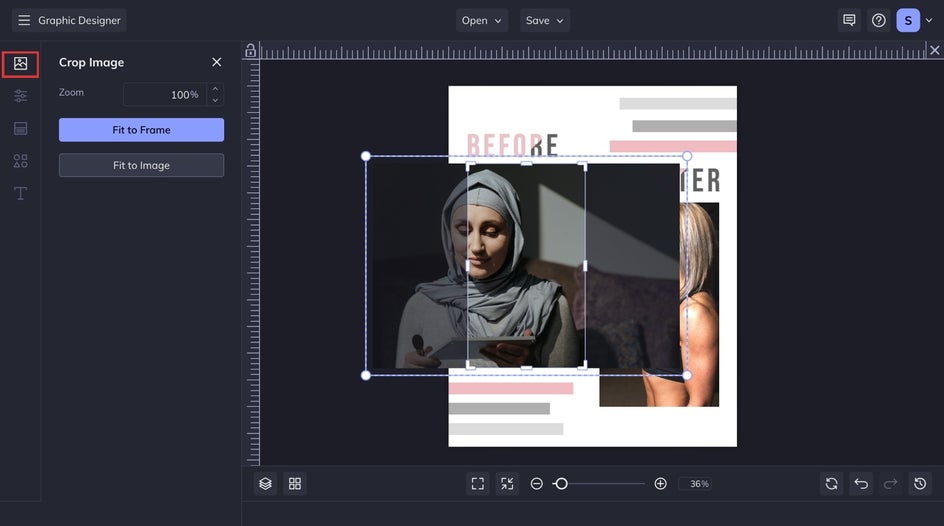
Step 2: Upload Your Images
Under the Image Manager tab, you can select the images from your computer, or you can drag and drop your images into the Image Manager. Once you have them uploaded, drag the images you want to use into the existing image cells on the canvas.
If your image is not centered in the frame that is on the canvas, you can double-click to move the pane of your frame. Then, drag the image back onto the appropriate position on your canvas.
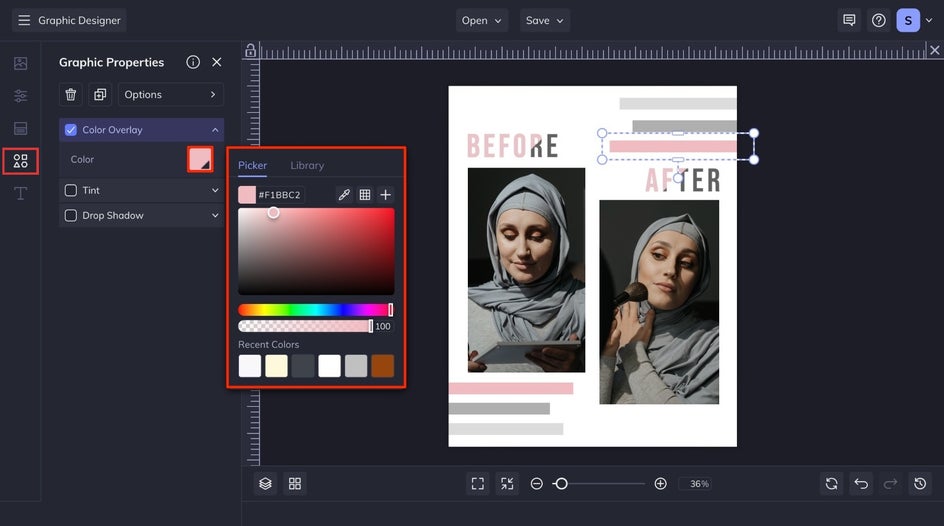
Step 3: Customize the Graphics
If you like the existing graphics but not the colors, you can edit the color by clicking on the graphic on the canvas, navigating to the Color Overlay drop-down, and selecting the color with the Color Picker you prefer.
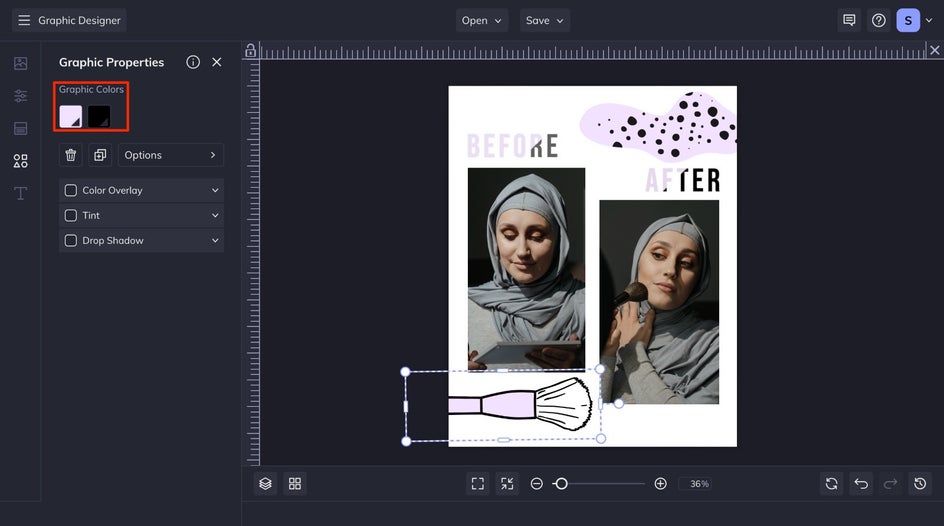
If you want to choose new graphics entirely, navigate to the Graphics tab and search our extensive Graphics Library for the type of graphic you prefer, and then drag and drop the graphic into your canvas.

For graphics with preset colors, you can edit them under Graphic Colors. You can also add an overlay, tint, or drop shadow as you would with any other graphics.
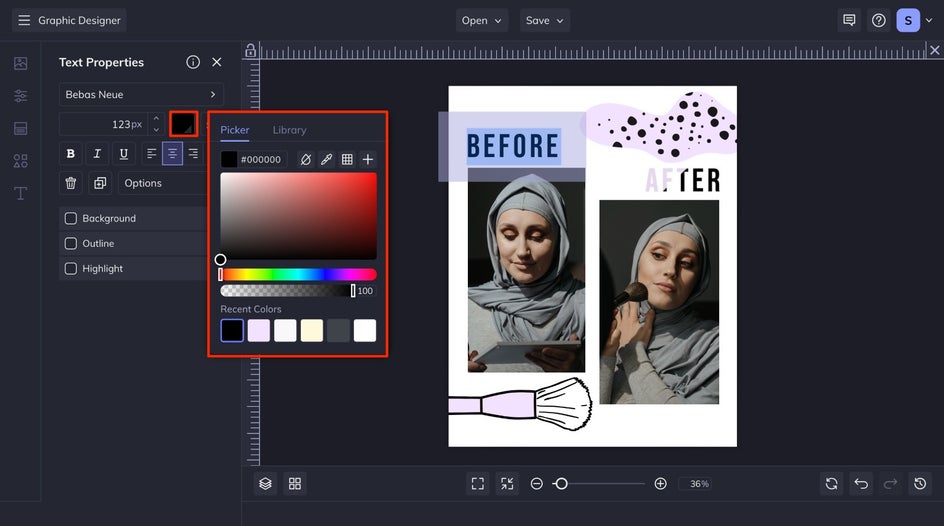
Step 4: Customize the Before and After Text
If you want to change the Before and After text style, you can double-click on the text box to customize elements such as size, color, font, and more.
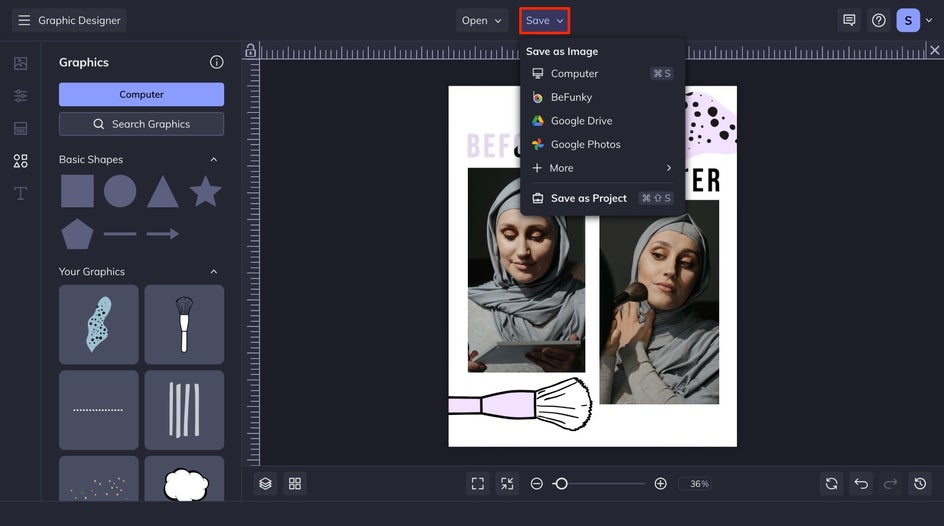
Save Your Before and After Design
Once you are satisfied with your design, click the Save button at the top of your interface and save it to your desired location.
BeFunky's Graphic Designer opens up a world of possibilities for effortlessly creating stunning Before and After images, making the process less daunting and time-consuming. With a diverse collection of templates, easy customization features, and a user-friendly interface, transforming your ideas into visually compelling narratives has never been more accessible.
Get Inspired to Create Your Own Before and After Designs
Find inspiration for your before and after designs by exploring these transformation ideas. These three examples can spark your creativity and guide you in creating your unique before and after narratives.
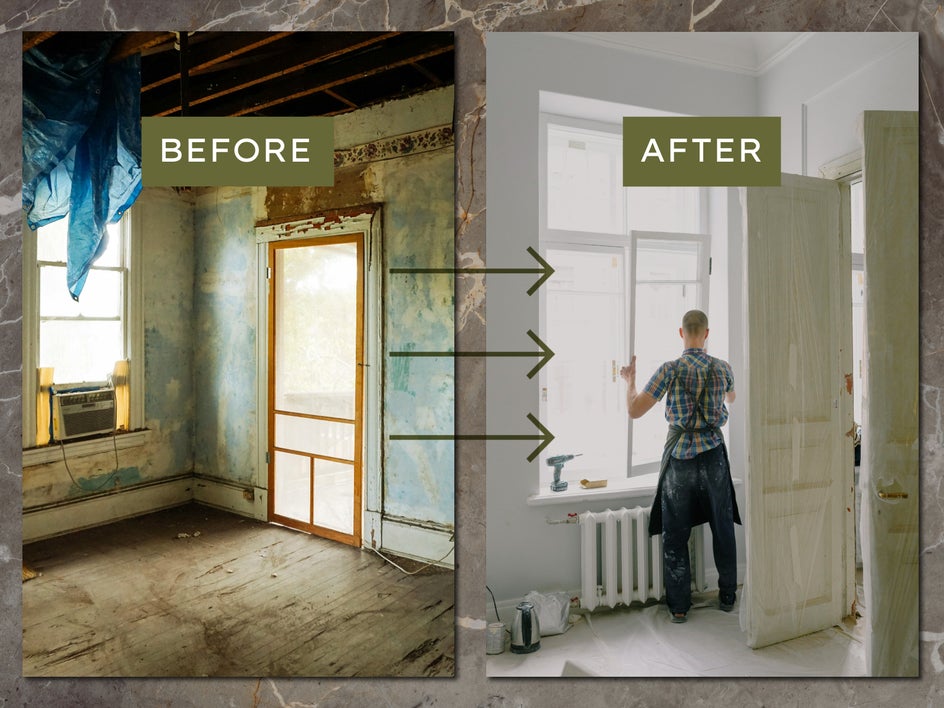
Home Transformations
If you are doing any type of remodel, making a transformational before-and-after design is a great way to show everyone how far your space has come! It isn’t just for sharing, but you can marvel at all your hard work when the same location is side by side with all your progress showing. You can even upload an image for your background to make it feel more homey.
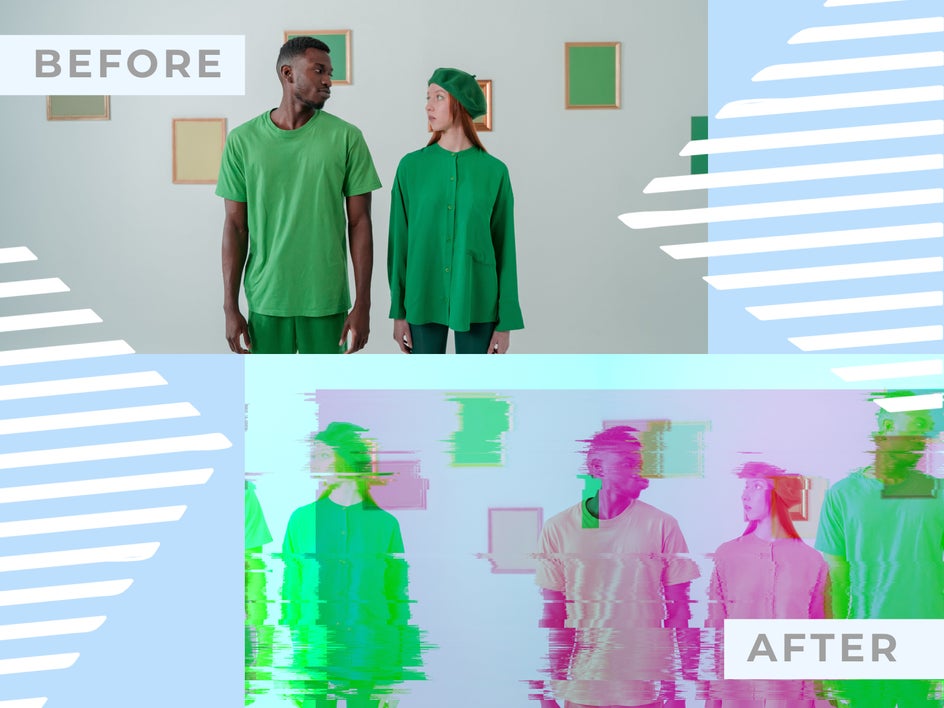
Show Off Your Editing Skills
Whether you choose to edit your photos for a more traditional type of edit, or you go for a more artistic edit, you can compare them and show off your skills. Comparing them next to each other can show off how much of an expert you are at editing. Add some design elements to it like a graphic of two from the Graphics Library to make it even more creative.
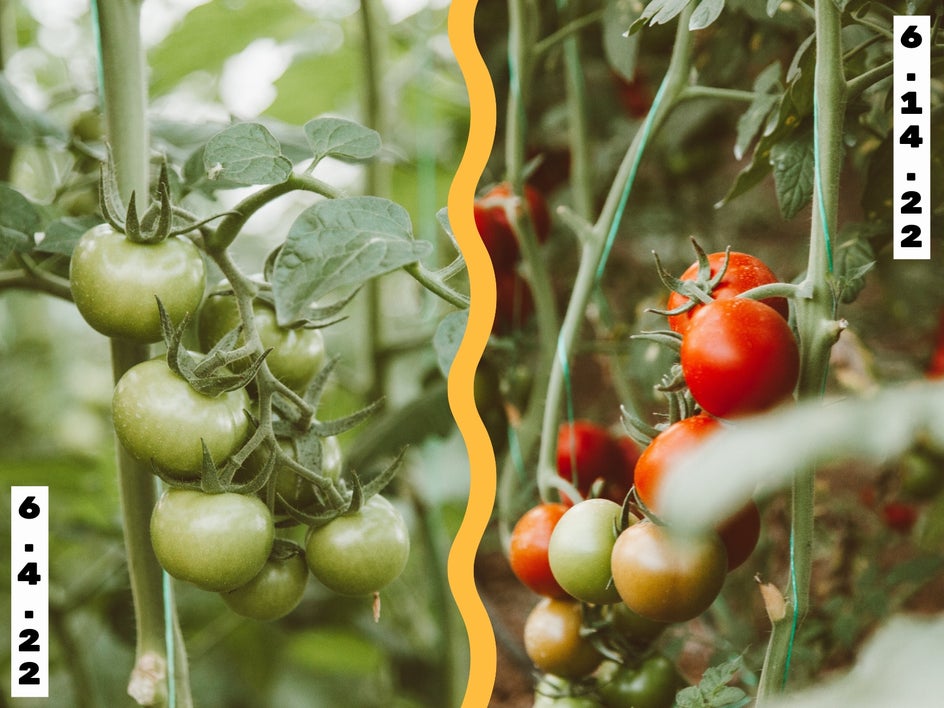
Garden Evolution
Show the progression of your garden growth with a side-by-side comparison! You can even add the dates as the text on the photos instead of the words before and after. Seeing the side-by-side with the dates is an impressive way to show off your garden’s evolution with a designed feel.
Create Before and After Images in Minutes
In just minutes, you can curate your own Before and After designs, showcasing the evolution of projects, edits, or transformations with finesse. Flaunt your skills, share your transformations, and inspire others with the simplicity and effectiveness of BeFunky's Graphic Designer. Start designing your before and after narratives today!