How to Make DIY Name Labels for School

We've all experienced the frustration of constantly losing school items, whether it's a pencil case, a water bottle, or a lunchbox.
Thankfully, personalized custom name labels are a game-changer for keeping track of school items – for both little and big kids alike. Not only are they practical, but custom name labels are also a stylish way to personalize your belongings. Additionally, using custom name labels can help instill a sense of responsibility in children. By taking ownership of their belongings and ensuring they’re properly labeled, kids learn the importance of organization and taking care of their things. It's a win-win situation for both parents and children!
Creating personalized custom name labels has never been easier thanks to BeFunky's Graphic Designer. Keep reading, because we’ll show you how to design and customize name labels in just a few simple steps!
How to Create Personalized Name Labels in the Graphic Designer
Ready to make your own DIY name stickers for school? To get started, head to the Graphic Designer.
Step 1: Choose a Blank Canvas
Click the Blank Canvas tab at the top of the page, then scroll down to locate Business Card within the Print section. This is a great size for custom name labels for items such as schoolbooks, lunch boxes, and more. If you wish to make your school name labels a different size or orientation, however, simply type in your desired dimensions within the Width and Height sections on the left of the screen.

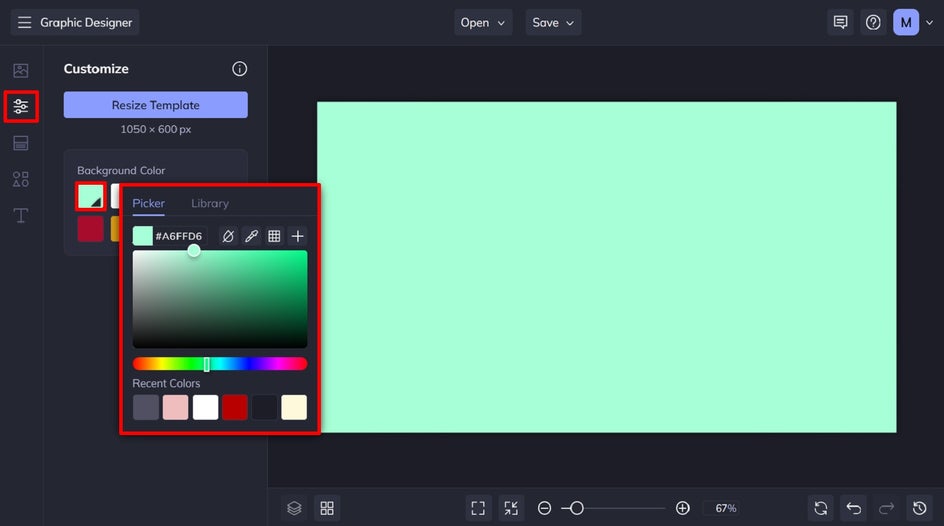
Step 2: Select Your Label’s Background Color
Navigate to Customize in the main menu on the left, then select a new color from the swatches underneath Background Color. Clicking on the first swatch will also allow you to select any shade you desire from the Color Picker.
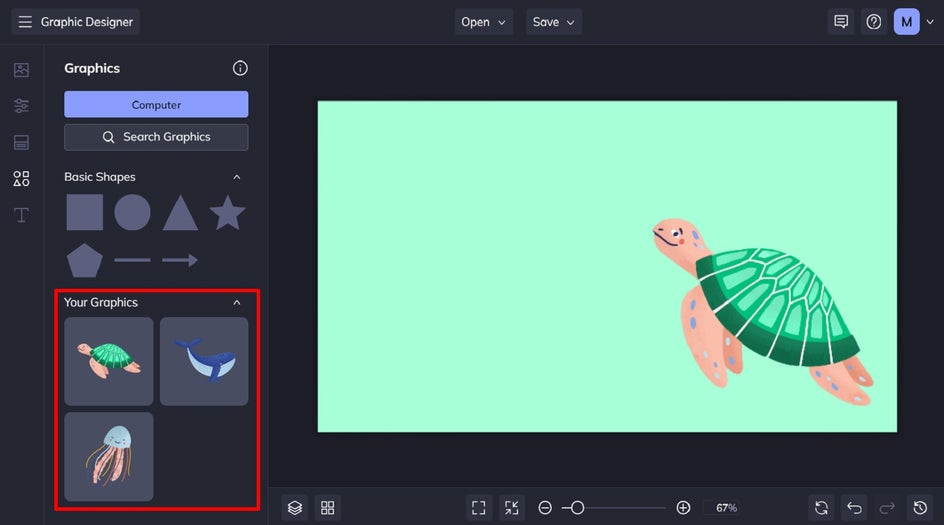
Step 3: Add a Fun Graphic
You can also add a wide range of graphics to your design by navigating to Graphics in the main menu. Upload your own from your computer, or click Search Graphics to access BeFunky’s own extensive library.
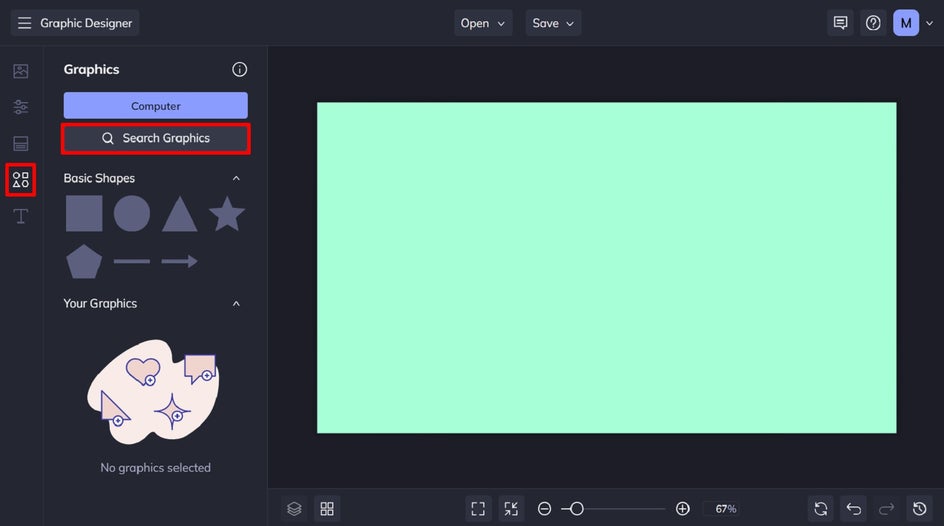
You can search for specific graphics using the search bar in the top-left of the screen.
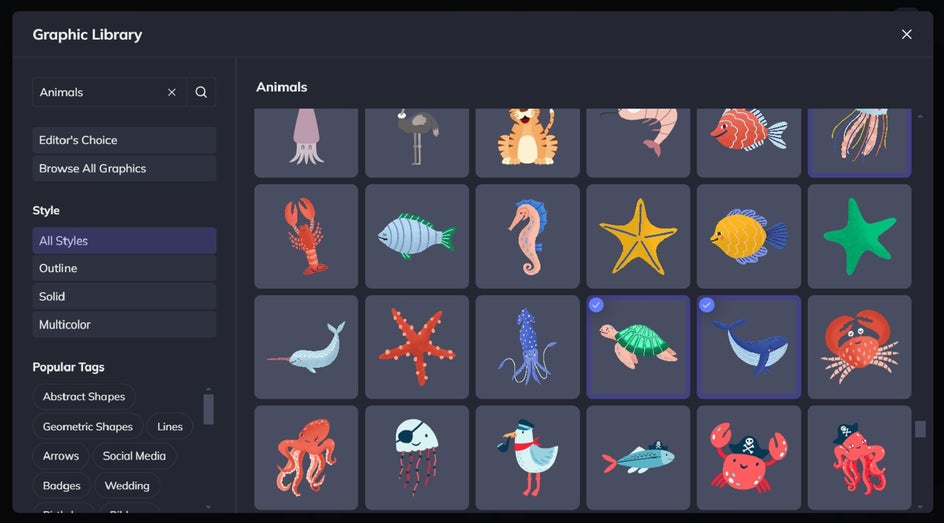
Click on the graphics you wish to use, and they’ll be available in the Your Graphics section once you exit the Graphic Library. Simply drag and drop them onto your design, then resize or reposition them using your cursor.
Step 4: Add Your Kid's Label Text
Next, you’ll want to add text to your label to include important information such as a name, or anything else you wish to add. To do this, click on Text in the main menu. Then, you can select one of our curated text patches or click Add Text to insert a new text box.
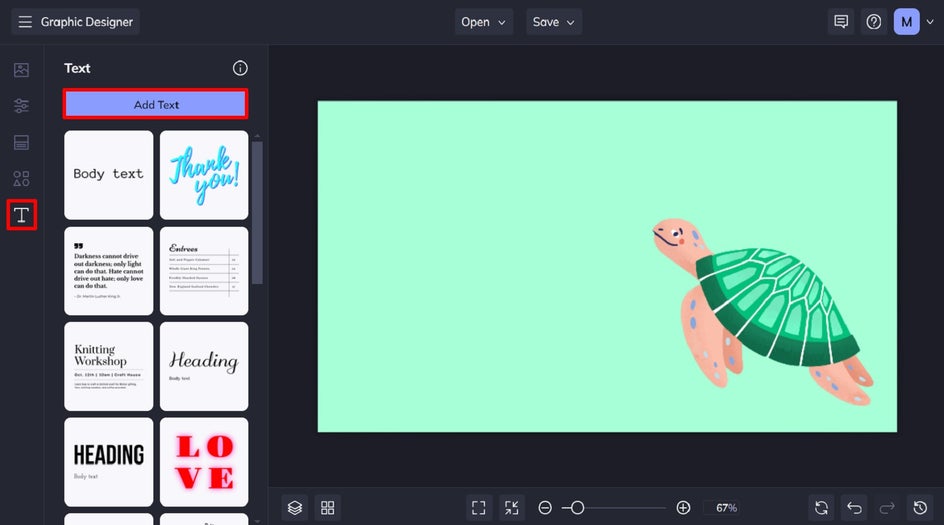
Simply double-click your text box to edit what it says. When you select a text box, you also have access to the Text Properties panel. From here, you can change elements such as the font, font size, color, alignment, and more.

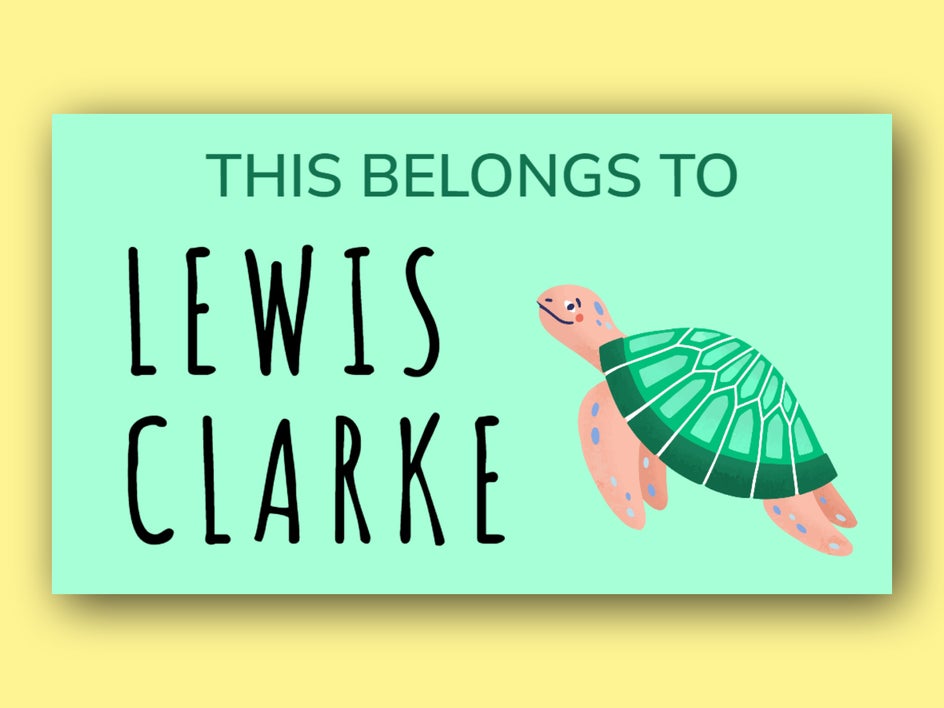
Step 5: Save Your Custom Name Sticker
Once you’ve finished creating your own school label, it’s time to save it. Click Save at the top of the screen, followed by Computer.

You can then create as many different custom label designs as you like! Once you’re ready to print your name labels, you have two options: use a home printer with adhesive paper or have a printing service print your stickers for you.
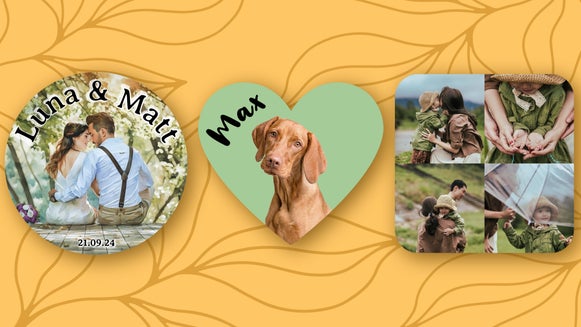
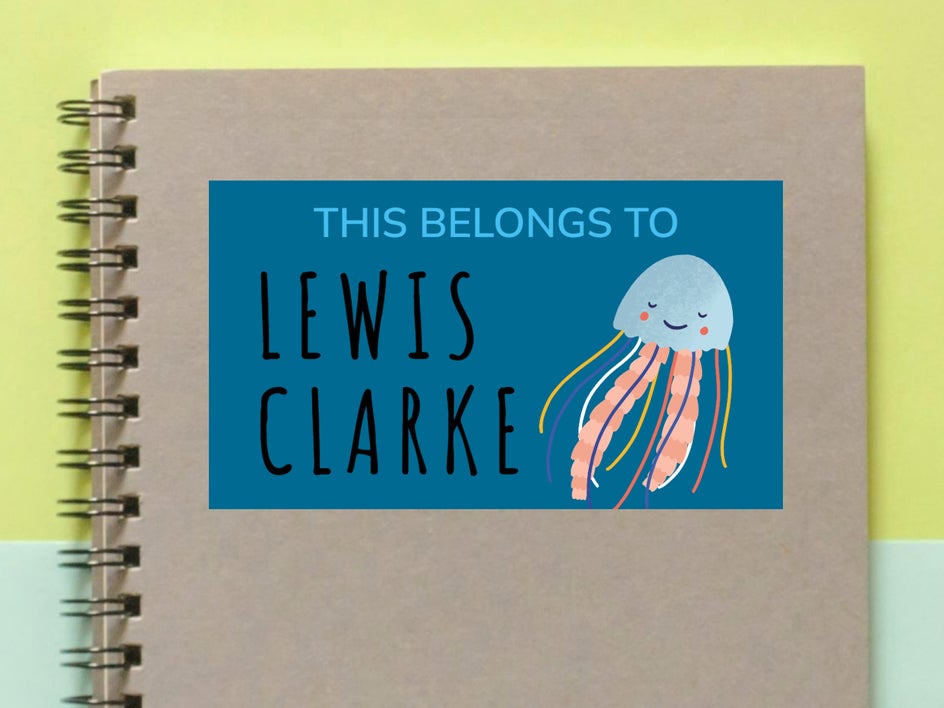
Final Results: DIY School Labels Any Student Will Love
Ta-da! Wasn’t that easy? Whether you’re creating school labels for a child or adult, there’s sure to be a design for you.
Ready to Make Your Own School Label Stickers?
Get creative with color palettes, typography, and graphics for one-of-a-kind school labels you just can’t buy. With BeFunky’s huge range of design tools and elements, creating your own labels for school has never been easier – or more fun!
Check out the Graphic Designer for yourself to see just how amazing it is!