Use a Brochure Template to Make a Restaurant Menu
With so many changes occurring each year, many individuals have decided to take the leap to pursue their life-long passion project –start their own restaurant. It can be a scary process to start a business, especially if it is a new endeavor. Thankfully, BeFunky's Graphic Designer makes creating the digital assets your business needs easy and intuitive.
When creating assets for your business, you need to ask yourself which ones you will be needing and which ones your business will benefit from having. Assets can include logos, business cards, brochures, and much more.
Let’s say you are a budding chef who has always had a dream of owning your own restaurant, complete with a catering business. After creating your logo and website assets, the next essential asset is to create a business brochure that highlights your menu options. This is important because it not only is able to include your contact information for networking purposes - acting as a business card, but because so many people are ordering out these days, it provides an easy takeaway for them to have so that they can refer back to your dishes, prices, hours, and photos from their home to make ordering a breeze.
How to Create a Brochure Menu
Creating your menu brochure is easier than ever with BeFunky’s Brochure Maker.
Step 1: Choose a Template
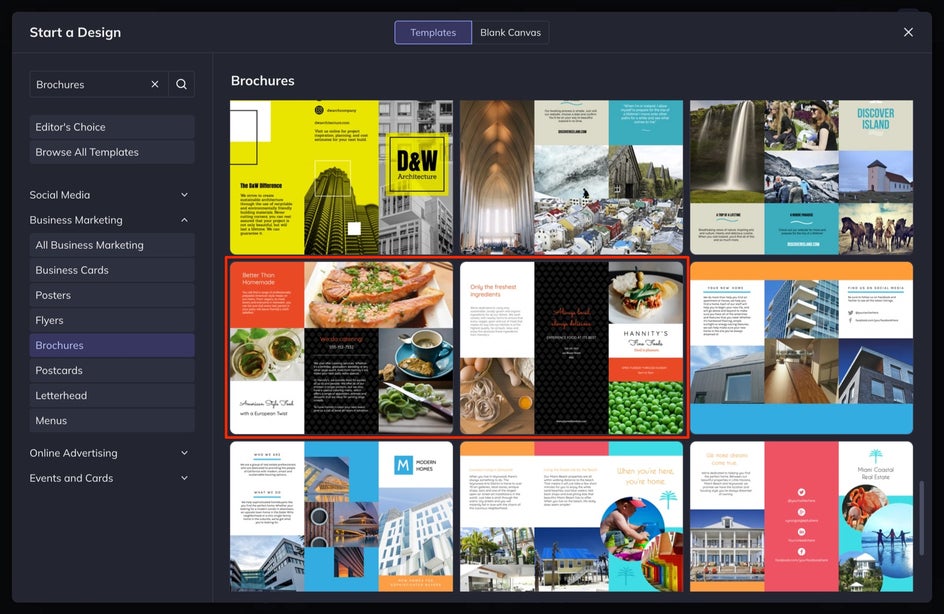
To begin, click here to open BeFunky’s Brochure Maker. Select Open, followed by Template. Choose the brochure that best fits what you are looking for.

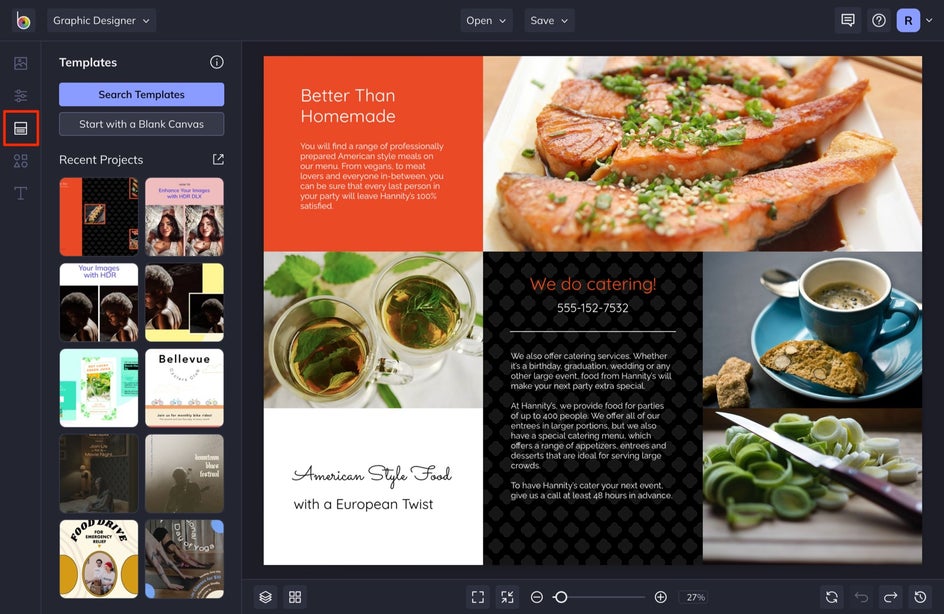
These brochure designs are set up to be a tri-fold menu. You will notice that there are two versions of each design. This is because brochures are often printed double-sided.
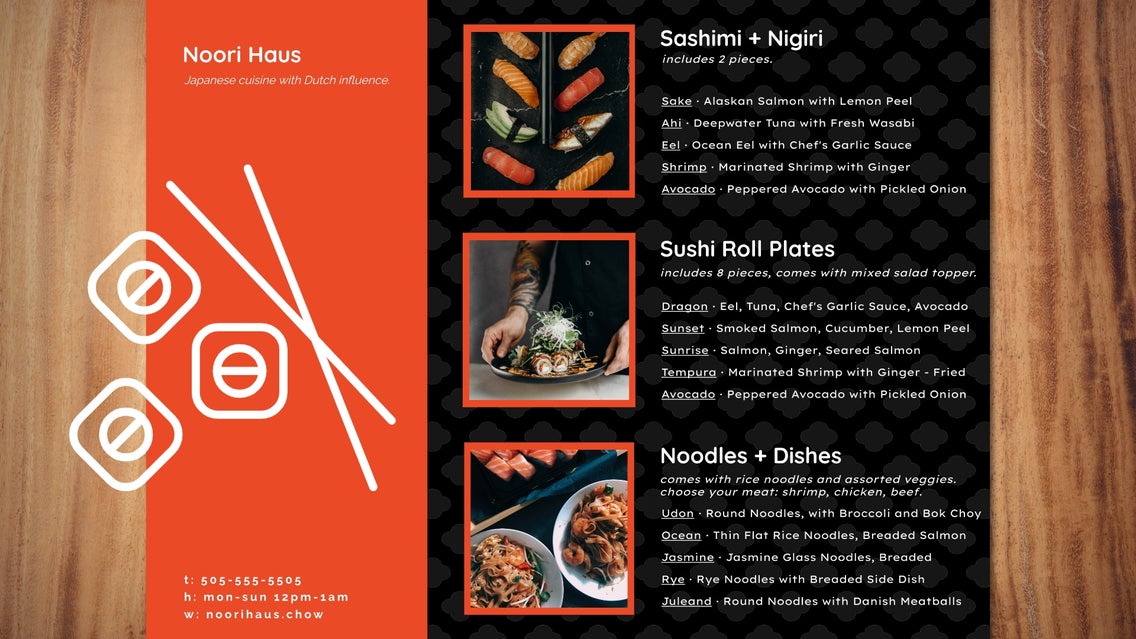
When creating a menu, you can create a tri-fold with information on both sides, or a single-page menu. For a single-page menu, you can include your logo and contact information in one section, while the other two outline your food offerings. For this tutorial, we will be doing a single-page option. Because it is a single page, you can decide if you want the backside of the brochure black or white. We are going to leave it white. If you want to see how to do a double-sided option, check out this tutorial.
Step 2: Design and Arrange the Menu
First, decide how you want your menu to be laid out. For this design, since we are creating a single-page menu, we will be adjusting the page so that the middle and right sections contain the menu offerings, while the left section contains contact information.
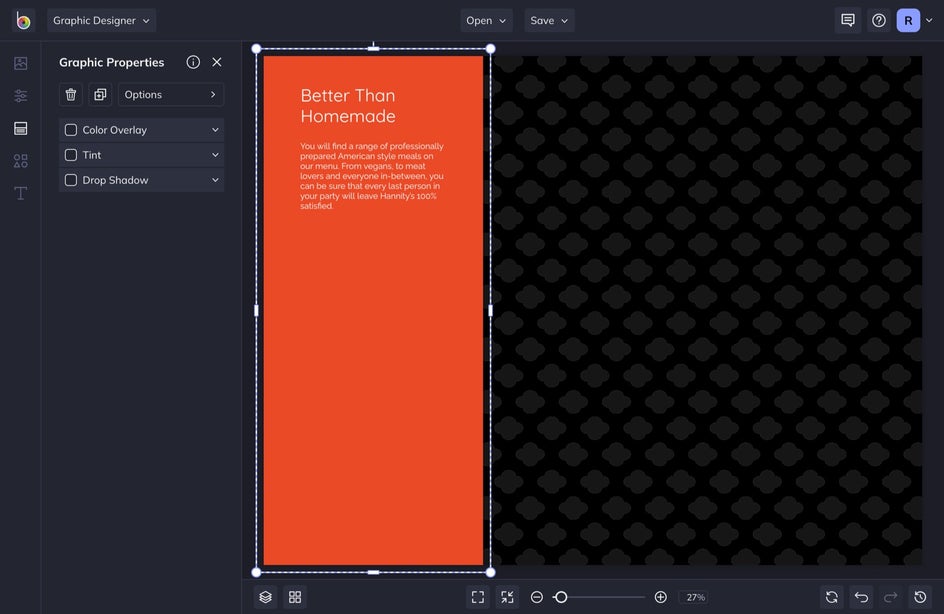
You can delete images and text boxes you don't need by highlighting them and clicking delete. But do note that you can easily swap your photos by dragging and dropping them into the presets. (More on that later.) You can also adjust the size of any pre-existing elements by clicking and dragging the corners.
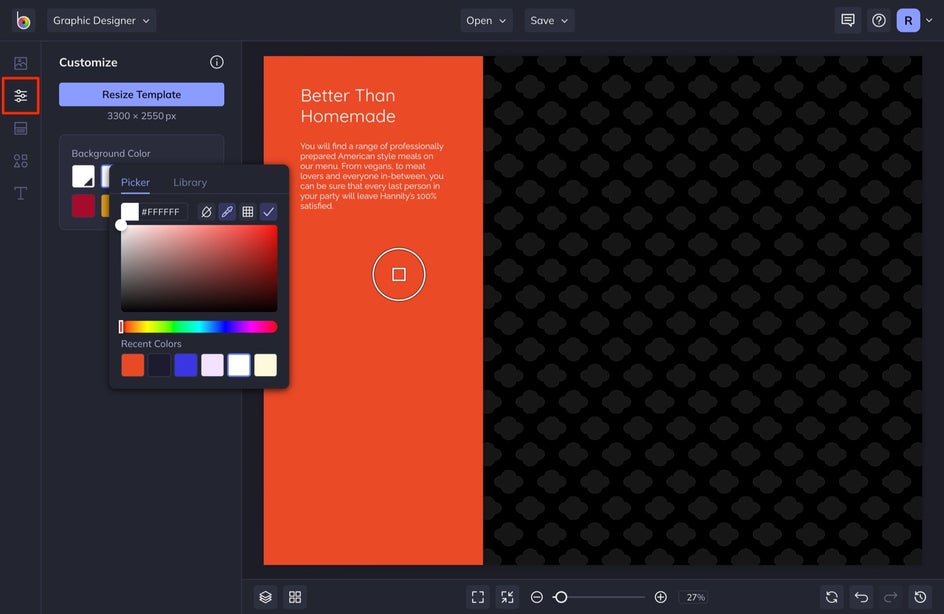
Change the colors of your design by heading to the Customize tab. Here, you can change the background color by selecting the first color swatch. Enter your brand color HEX codes into the corresponding field and then save them to your Color Picker Library for easy color coordination.
Step 3: Customize the Text and Add Your Logo
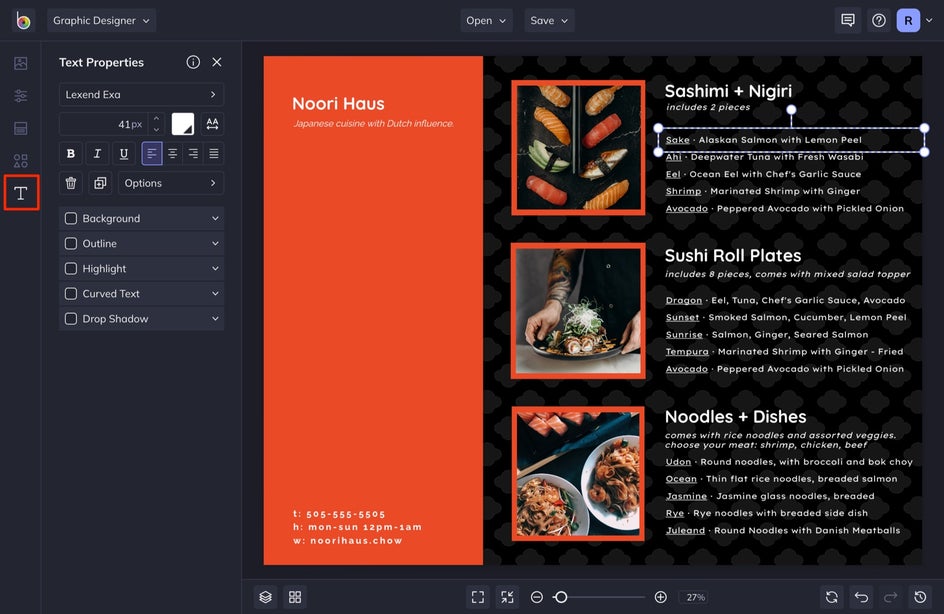
On the left-side section of the template, add your contact information and either the name of your business or your logo. To do this, simply click on the existing text boxes. With your text selected, you can adjust the font, color, size, and more in the Text Properties menu that appears.

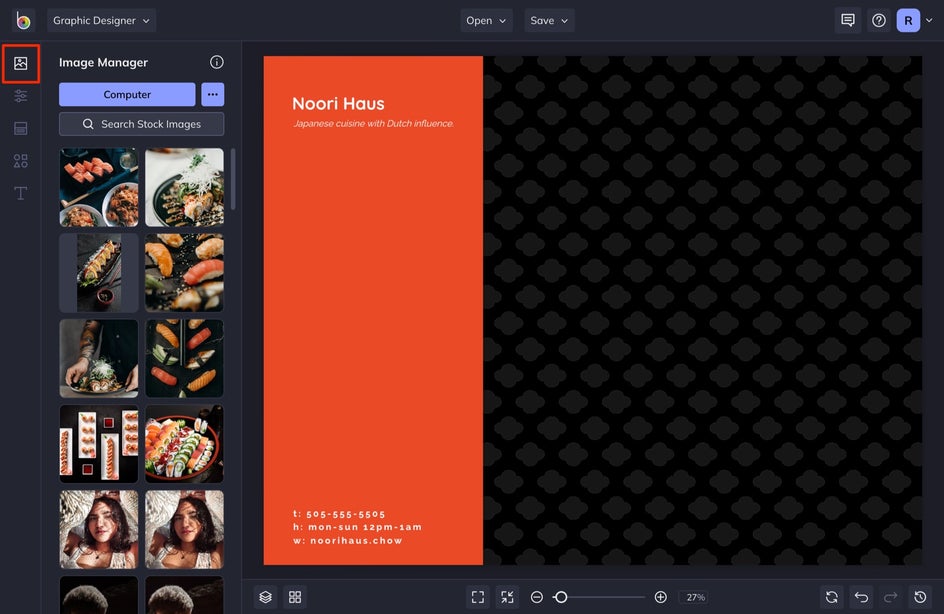
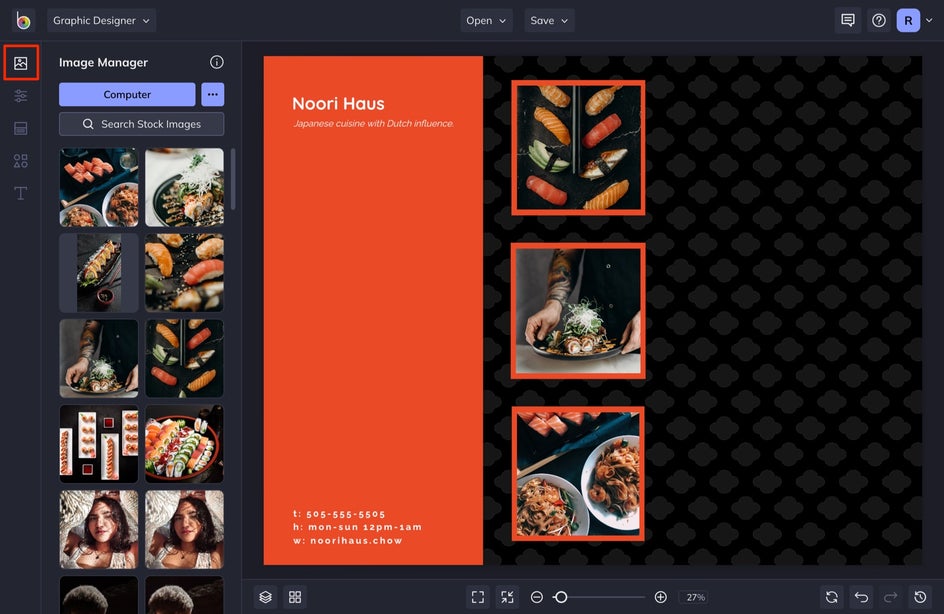
Uploading your logo is easy; simply head to the Image Manager and select Computer. Or, drag your logo directly from your desktop to the Image Manager. Then, either double-click the logo to add it to your design, or drag and drop it to wherever you like.
Step 4: Highlight Your Menu Offerings
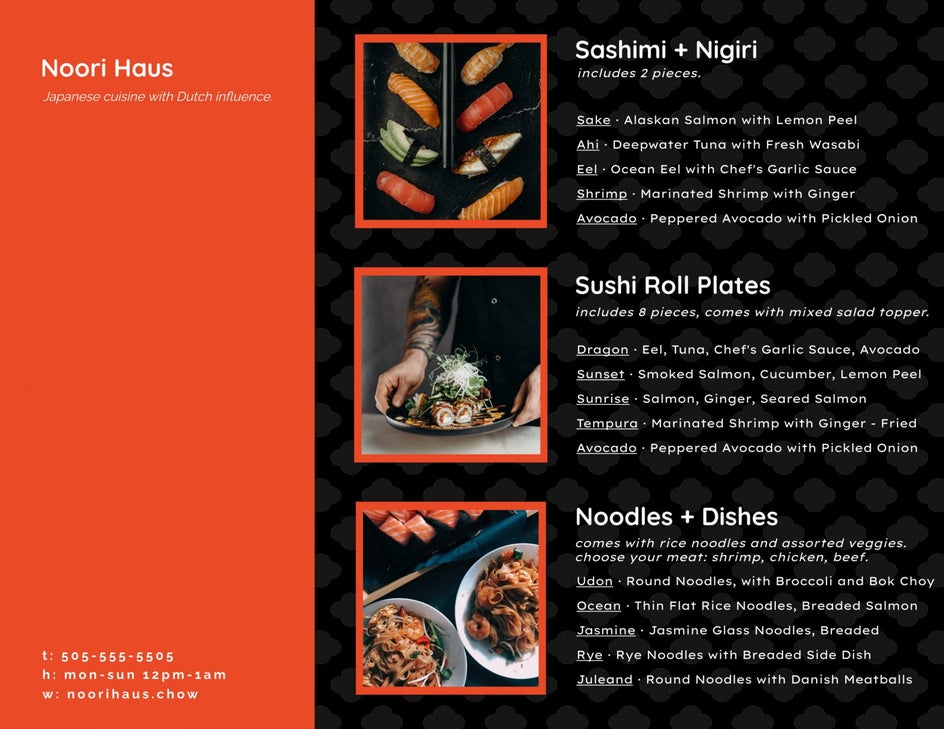
Decide if you want to showcase your top menu items or display a few key dishes as examples and then list out the rest of the menu in text form. We will be doing the latter. To add photos to your menu, follow the same flow as highlighted above for your logo. Here, we added a bold outline to our images by utilizing the Border option, found in the Image Properties menu that pops up when you click on an image.
If you want to add more text boxes, head to the Text tab. Make sure that the font you use here is easy to read. We have hundreds of free fonts available, and the Text Properties menu gives you tons of customization options.
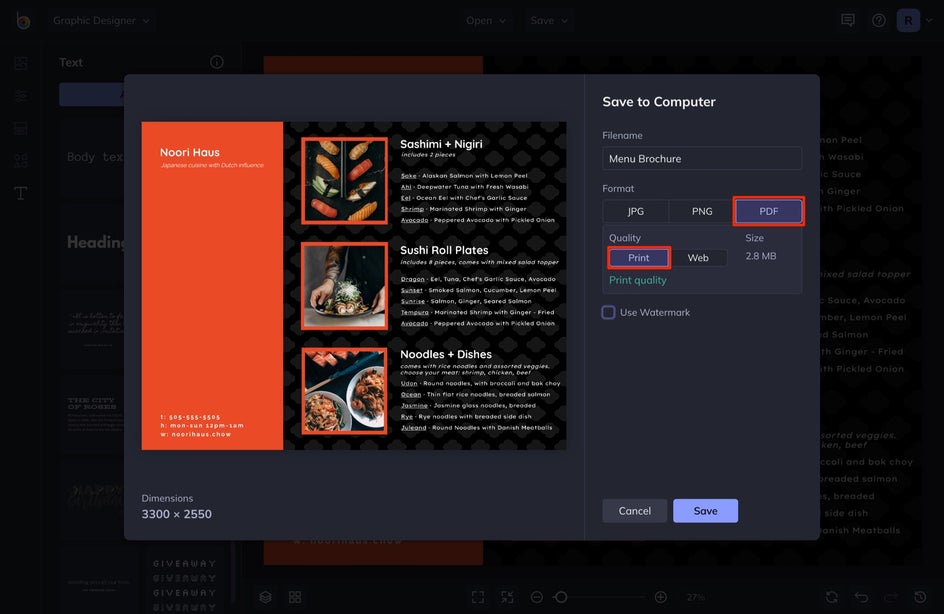
Step 5: Save Your Brochure Design
Once you are finished with your design, select Save at the top of the screen. Make sure that PDF and Print are both selected. You want your menus to print crisp and clear.
A Brochure Menu That Means Business
Check out your newly-created menu design! You are ready for the next step in your business development.
Whether it is a menu or business cards, BeFunky's Graphic Designer is here for all of your business-related design needs.