How to Design an Effective Brochure for Your Business

Ever since our world went digital, there has been a war amongst veterans and new designers on whether or not print material is still necessary when marketing your business. The argument amongst new designers is that not only is print material typically an extra expense, but it is difficult to measure its effectiveness.
The great thing about the digital age is that you can use designs both for digital and printed means. And to argue on behalf of veteran designers, if you create a printed brochure that includes an aspect that can be measurable, such as a coupon, you can utilize what has been thought of as an outdated method of marketing as a benefit for your business.
How to Design a Brochure for Your Business
Thanks to BeFunky’s Brochure Maker, you can take advantage of easy-to-use templates to design beautiful brochures in a matter of minutes. It’s a simple and effective way to share information and showcase your business in a beautiful way.
Step 1: Make a Plan
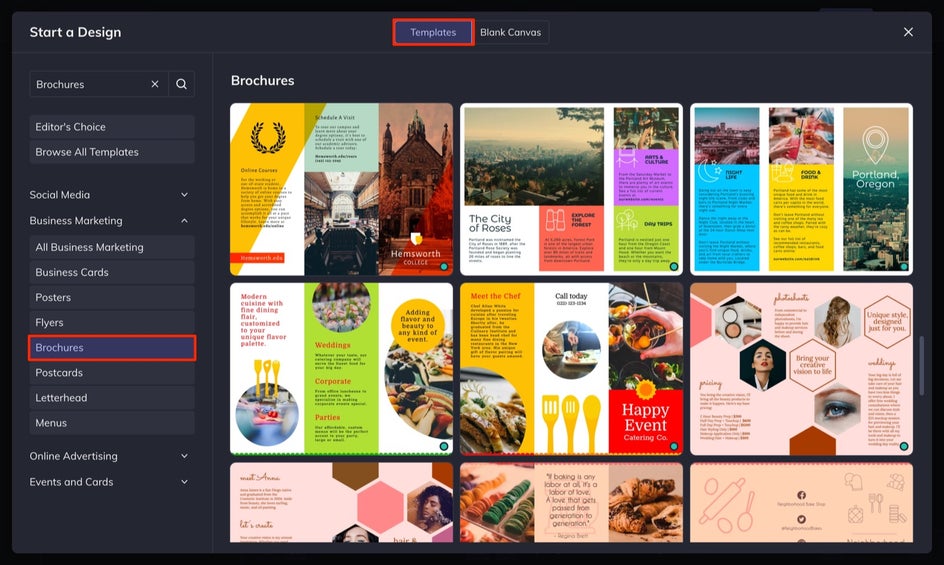
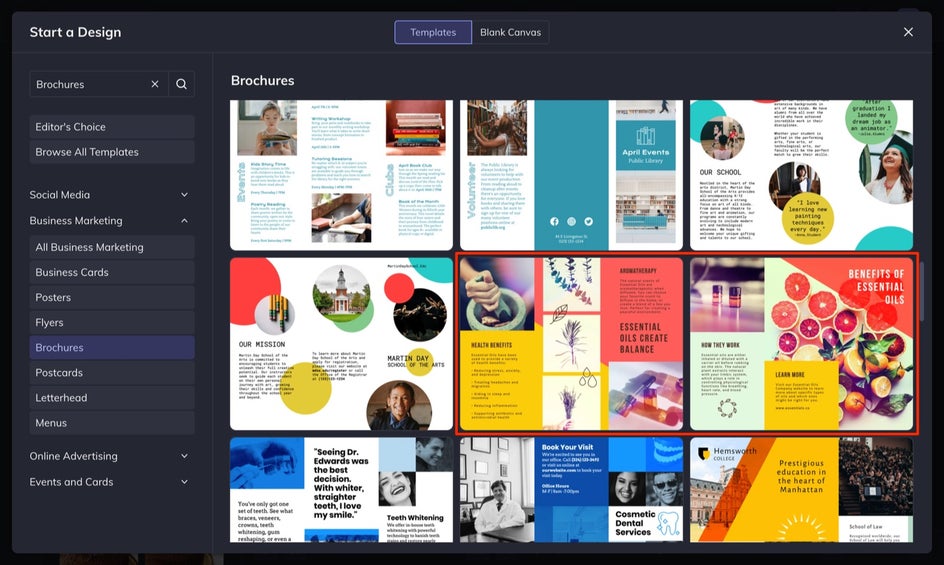
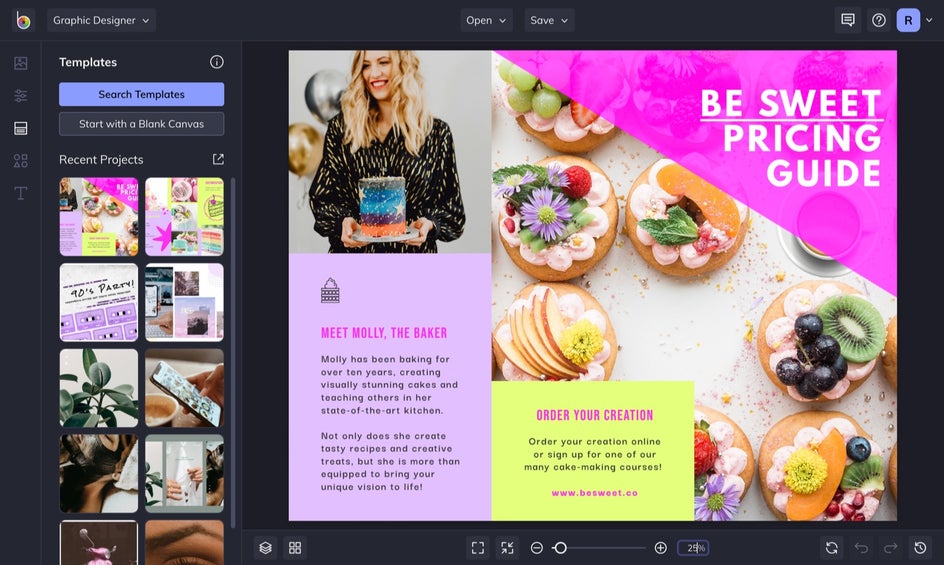
To create your own brochure, head to the Brochure Maker by clicking this link. Then, select a design that is the closest match to your brand. You will notice that templates designs come in pairs. This is because brochures are double-sided, and each side calls for different information and formatting. For this tutorial, we will design the inside template first.
Your brochure needs to have a message it is trying to communicate. This can be an easily-digestible pricing menu, or something more straightforward like a restaurant menu. Once you have your idea, make sure to organize your key points. Keep it limited to 3-4 blocks of information that you want to communicate.
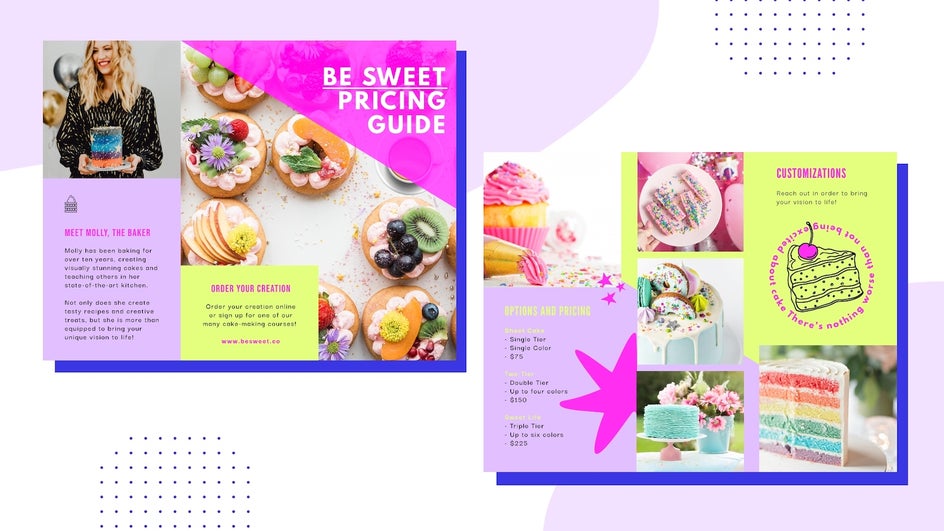
Now, let’s take the daunting topic of pricing and utilize our brochure’s design in order to turn this process into something that is less confusing and more informative.
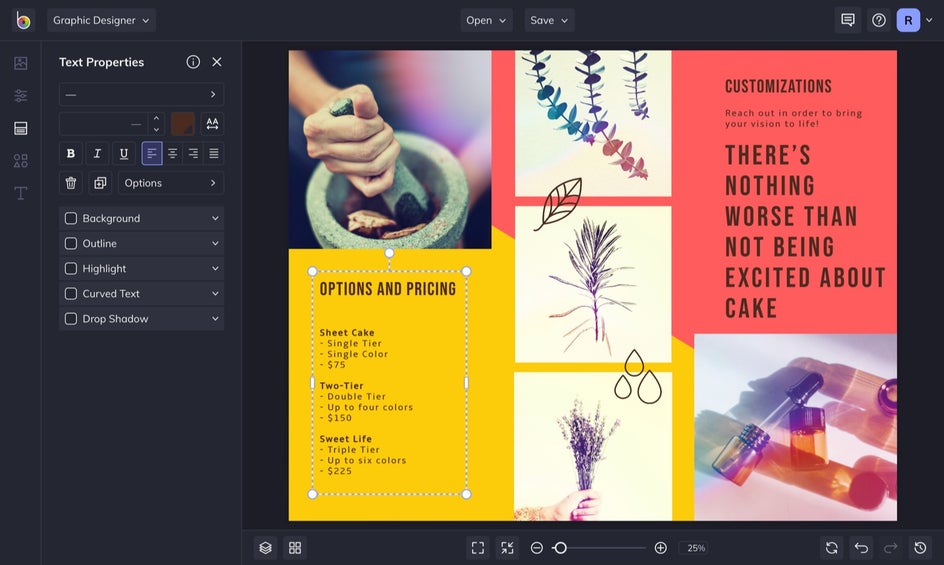
Select any of the text boxes and input your information. You can change the font, size, orientation, and more in the Text Properties menu that appears.
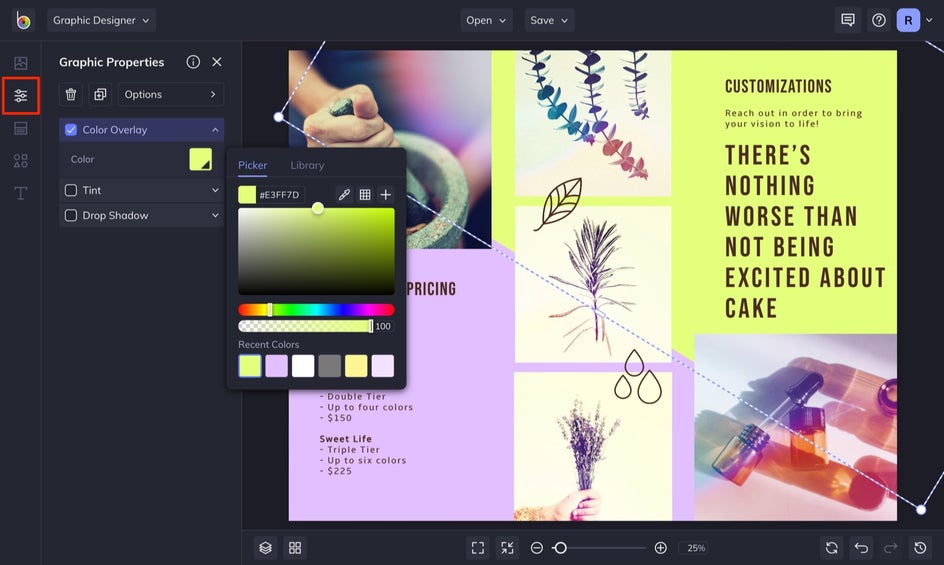
You can also change the color scheme in your brochure to better match your brand. Click on the the Customize tab on the left-hand menu to change the background color. After this, select each of the colored sections on your brochure to input a new color.
Step 2: Use Photos to Tell Your Story
When it comes to your business, perception is everything. Utilizing beautiful photos that tell a story is an effective way to create engaging materials.
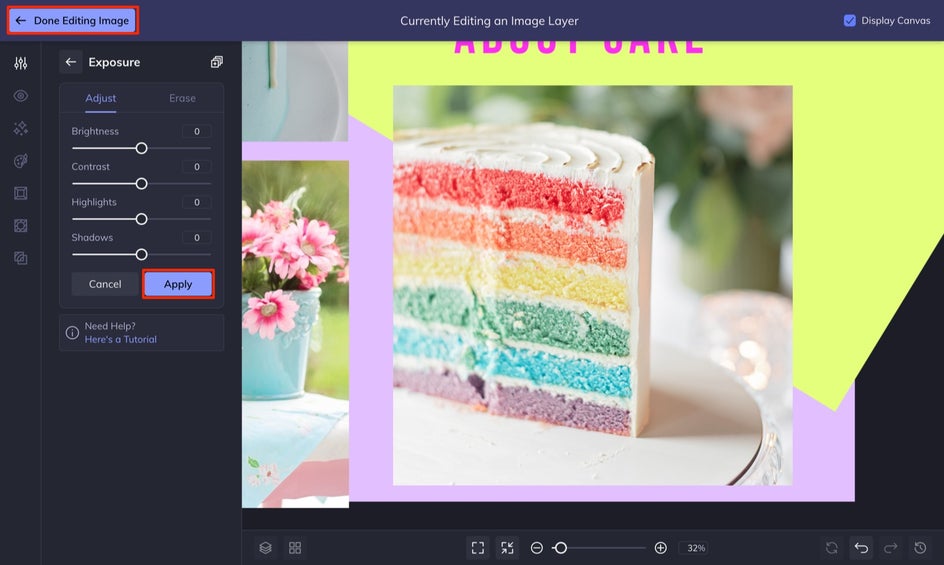
To replace the template images, select the Image Manager tab and upload your photos. Then, simply click on your new images and drag them onto the template – over the photos you are wanting to replace. If you have images that need to be edited or retouched, simply select it and locate the Edit Image button in the Image Properties menu. This will open them in the Photo Editor. Once you are finished, select Apply, followed by Done Editing Image, to head back to your brochure design.
Pro Tip: Think about the size and number of photos you want on each page. Pair denser paragraphs with a single photo, and lighter information like quotes or fun typography with a variety to create balance.
Step 3: Highlight Key Elements With Text and Graphics
Highlighting important pieces of information is key! You can do this with photos, graphics, and the written content in your brochure. Grab a couple of key phrases to highlight by making the text bigger or changing the font. Not only does this communicate important information, but it also breaks up your brochure visually, making the information easier to take in!
You can also utilize graphics to add intrigue to your design and draw your audience's eye to different parts of the brochure. To add graphics, select the Graphics tab. From here, you can search for and select many different types of graphics to use in your design. The selected graphics will be highlighted and feature a blue checkmark in the upper left-hand corner. If you see this, you have properly added the graphic to your Graphics Library.
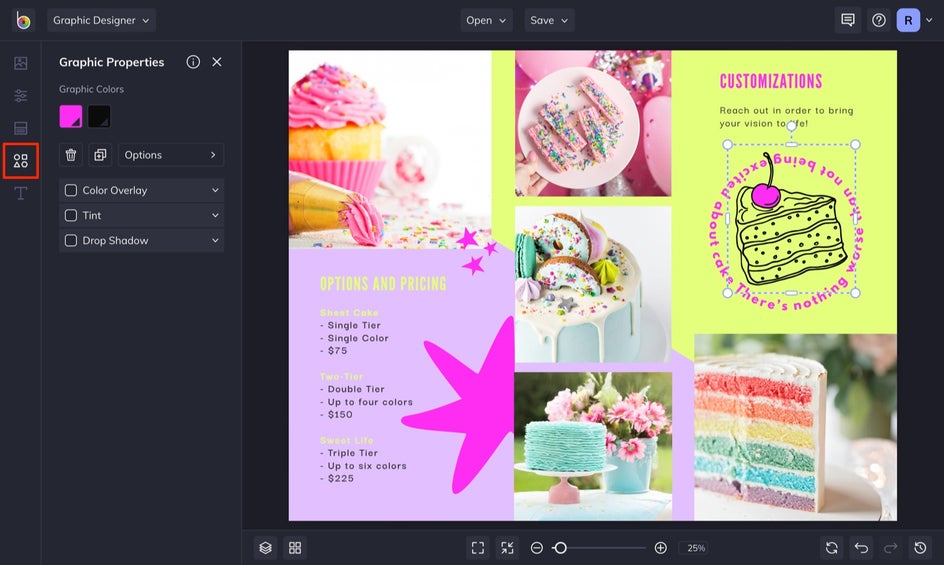
Once you find the correct graphic, simply select it and change its properties by utilizing the menu that appears.
Step 4: Save and Repeat
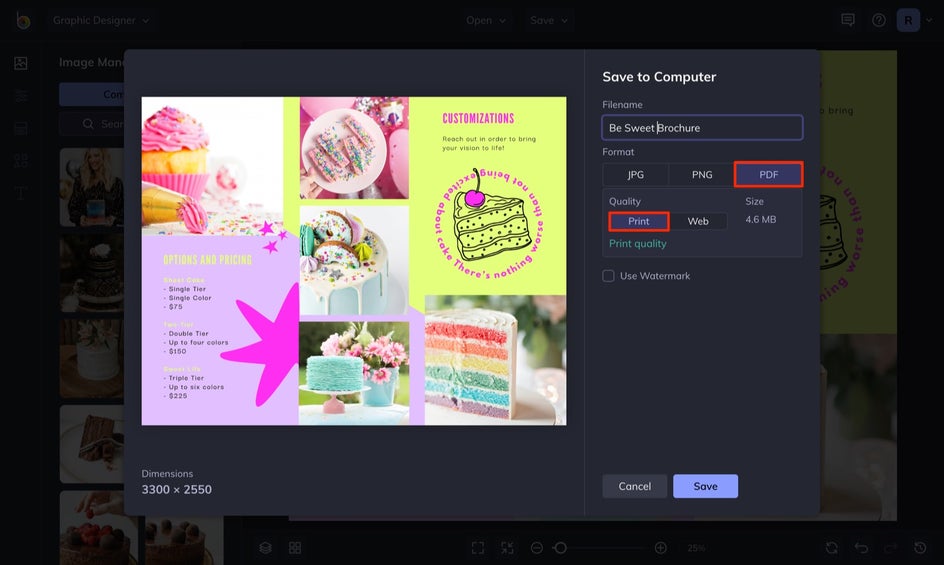
Since brochures are are double-sided, you will need to save your current file and repeat Steps 1-3. To save one side, head to the Save tab and save the brochure to your computer. If you are printing your brochure, make sure to select PDF and Print. If you are keeping it digital, you can save it in any file format. I prefer to save it as a PDF with the Web option selected. This keeps the quality of your image.
Once you have your first design finished, head up to Open and select Template. For each brochure, you will see its matching design close by.
Keep in mind that you will be folding these brochures into thirds. These templates already account for which position the folds will be.
Easy Marketing With Brochure Templates
With these templates, you’ll be able to design stunning brochures that’ll help market your business on and off the screen. You can use the Brochure Maker to customize your images, personalize your messaging, and create impressive brochures in a few simple steps.
Communicate your messaging in a deeper and more visually way! Try the Brochure Maker for yourself to see just how easy it is to enhance your brand marketing.