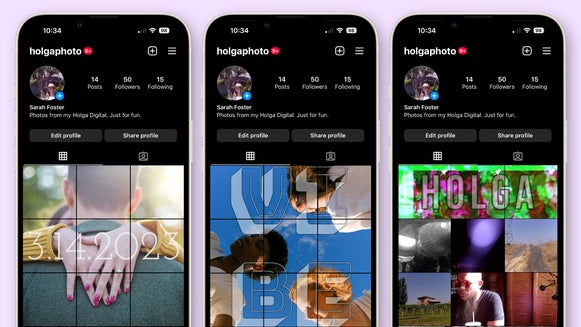
How to Create an Aesthetic Gradient Instagram Grid
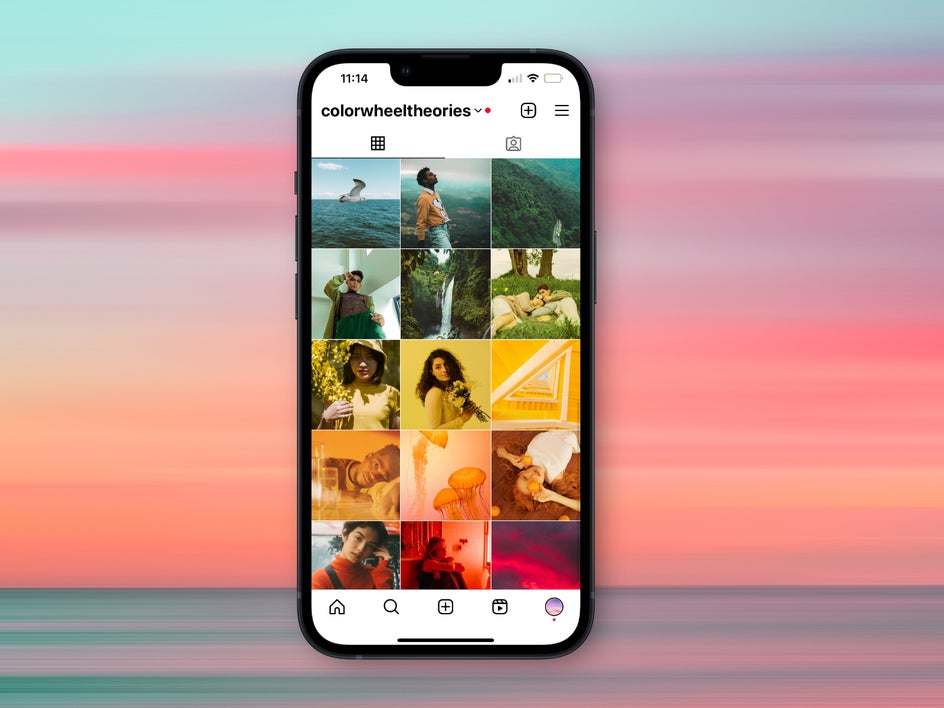
Have you ever scrolled through an Instagram account and admired the way the posts’ colors flow into each other? Are you trying to create a more consistent, aesthetically pleasing grid for your profile? Whether you’re using your personal Instagram or running a brand account, one of the best ways to create an impressive IG grid is to create color gradients throughout your posts. This requires a little bit of planning, but with the free BeFunky Photo Editor by your side, you can adjust the color of any photo to make sure it lines up perfectly with your Instagram theme.
What Is a Gradient Instagram Grid?
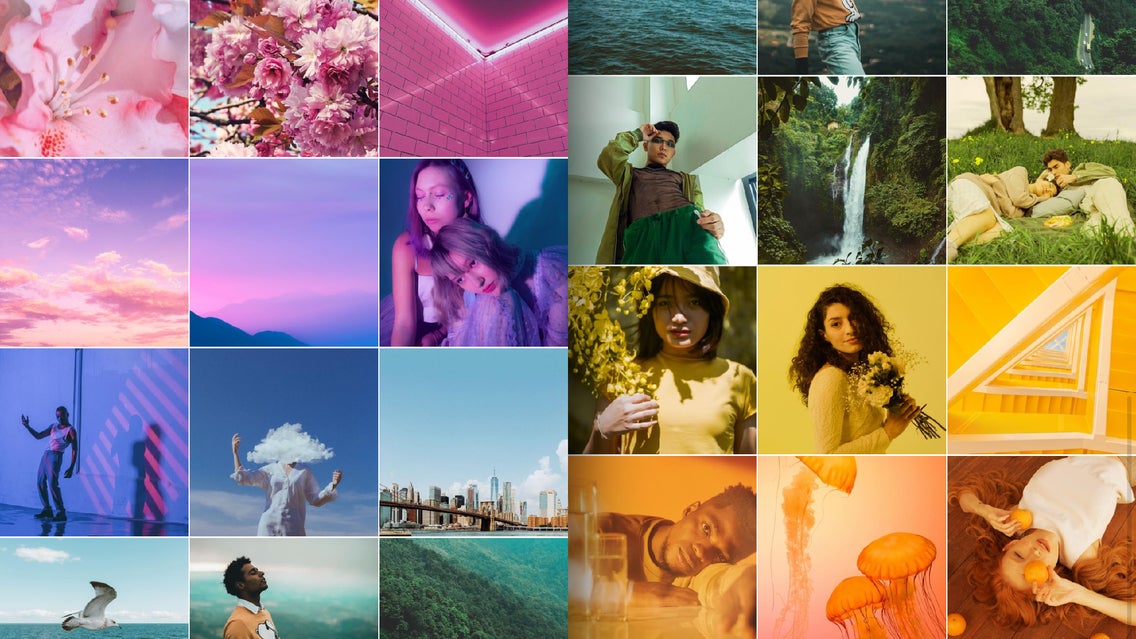
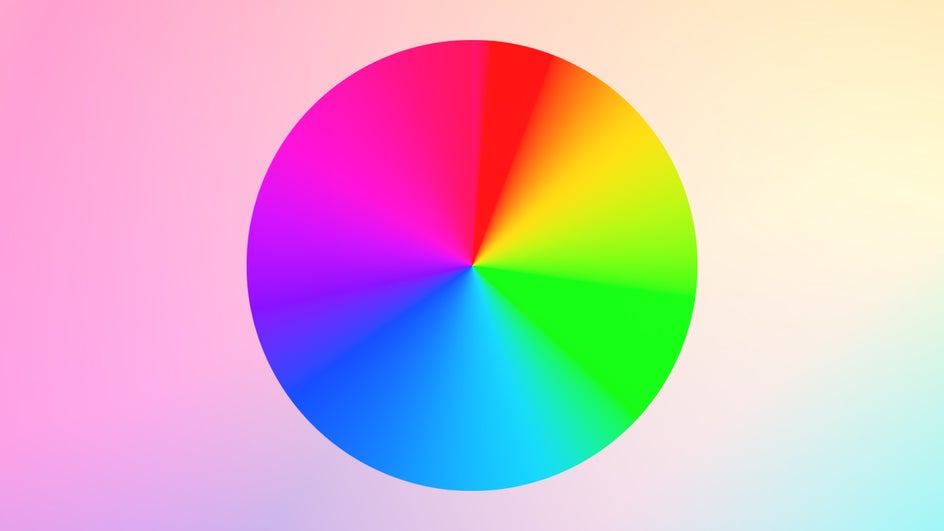
A traditional gradient Instagram grid is one where the dominant hue of each post is next to the dominant hue of the previous post on the color wheel. This creates a rainbow gradient or ombré effect when scrolling through the whole profile. If you’re not sure what colors are next to each other on the color wheel, here’s one for reference:
You can choose which hues on the color wheel to use – the whole rainbow, or just a specific section. For instance, you could choose to just use hues of pink, blue, green, blue, pink, and so on. The most important thing is that the colors are analogous, or next to each other.
Why Should I Use a Gradient Instagram Grid?
A gradient Instagram grid is a great way to catch the attention of anyone visiting your profile. The unusual and attractive nature of this type of grid can get potential followers to scroll further down your account.
If you want an “aesthetic” profile for your personal or brand account, a gradient grid is a simple and effective way to do it.
How Do I Plan an Aesthetic Gradient Instagram Grid?
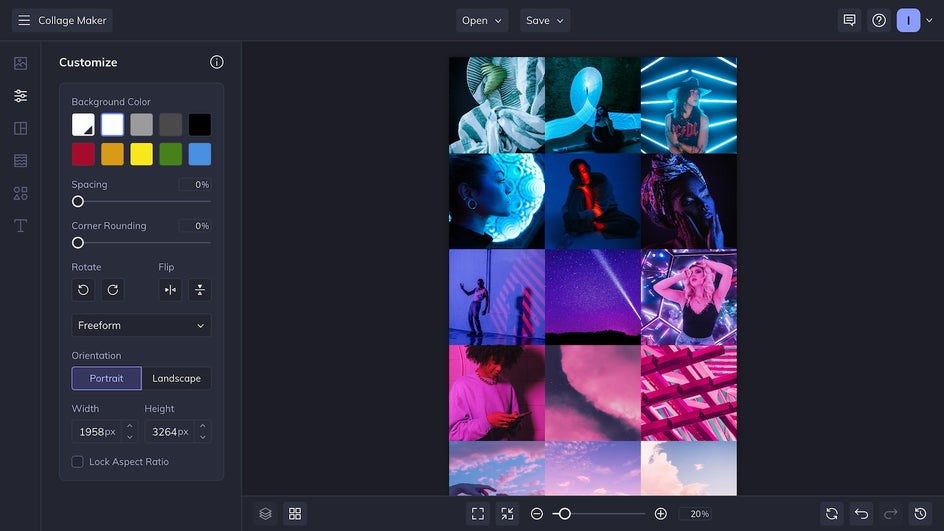
There are Instagram planning tools available online that allow you to plan your IG grid, but note that many of them cost money. Another option is to just create an album on your phone and reorganize it to plan your posts. You can also create a collage in the Collage Maker that imitates an Instagram grid. When starting a gradient, you can even seamlessly transition your old grid to your new grid by jumping off the color of your last post.
As of December 2023, you can also use Instagram’s “Preview” tool before posting to test how your newest post will affect your grid.
How Do I Create a Gradient Instagram Grid?
Actually turning your Instagram grid into a gradient is pretty simple: Just upload photos in the order that they appear on the color wheel. But how do you make sure that the color of your photo is right every time? What if you want to upload a photo that isn’t quite the right hue?
In an Instagram gradient grid, the changes between posts are subtle, but need to be consistent. It’s difficult to achieve a very specific hue for each post without a little editing. This is where the BeFunky Photo Editor comes into play. If you need a photo to be a specific color, you can go in and edit the hue. There are several ways to adjust color in your photos, and each gives a slightly different effect.
Method 1: Adjust the Hue
The most straightforward method of editing the colors in your image is to adjust the hue. Just make sure you’re in the Edit tab, click on the Color tool, adjust the Hue slider, and voila.
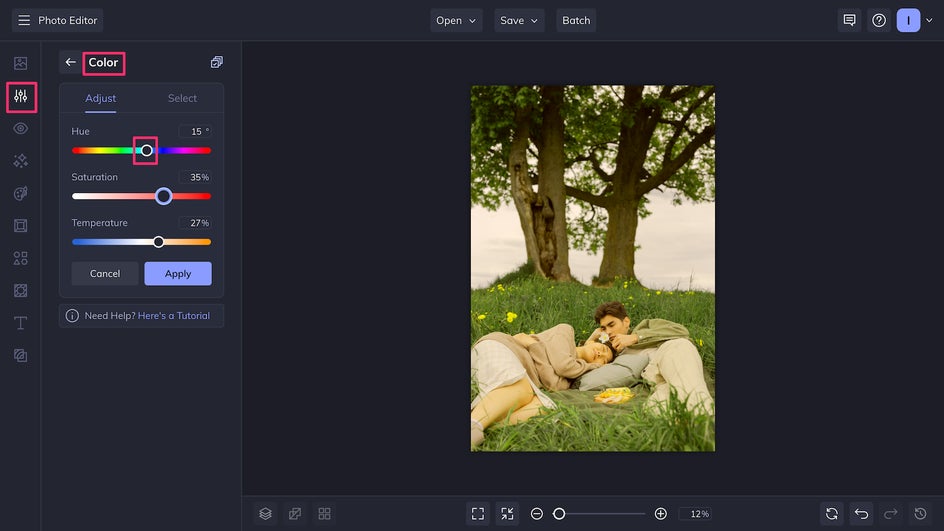
This method only works if you’re not drastically changing the color, and note that oftentimes you may want to adjust the saturation, brightness, temperature, and/or contrast in addition to the hue.
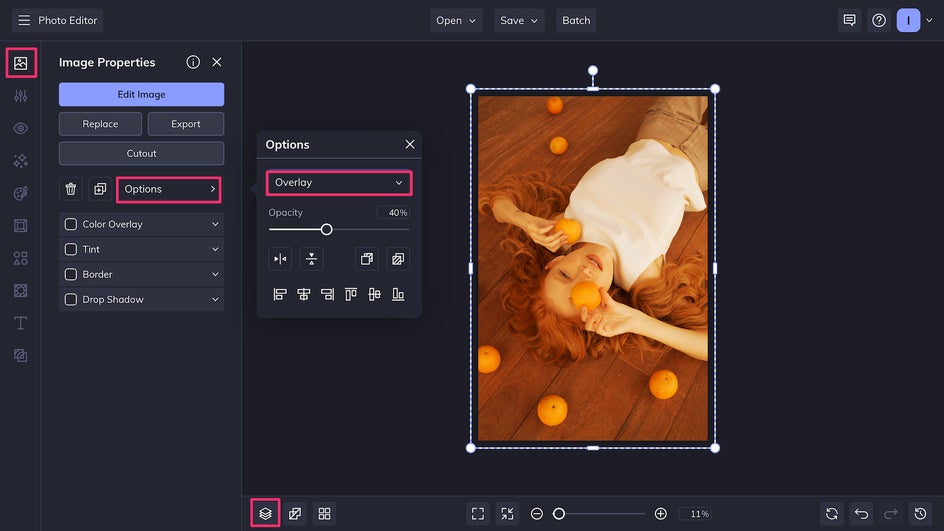
Method 2: Use an Overlay
Adding a solid color or gradient as a Layer over your original image and then changing the Layer’s Blend Mode to Overlay allows you to change the hue of the photo without losing the values and contrast. Don’t forget to lower the Opacity so that the color change is less intense.
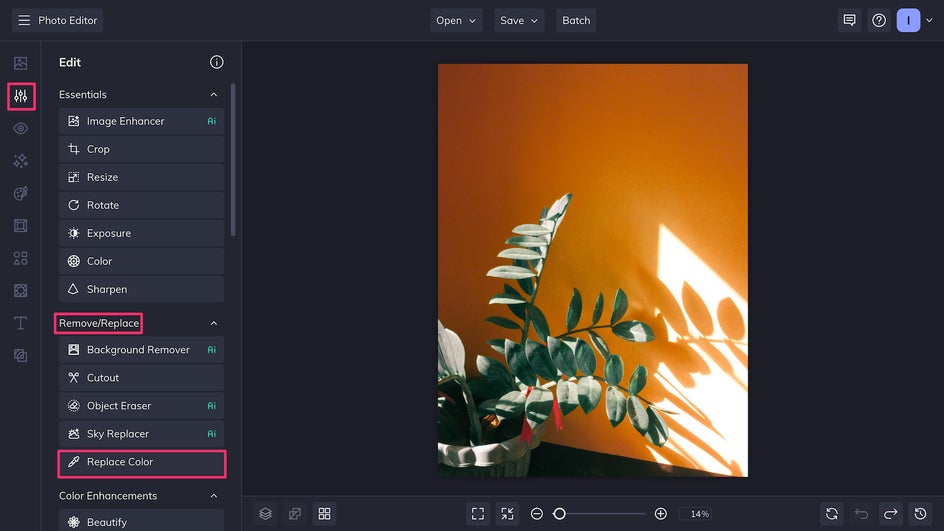
Method 3: Replace Colors
One amazing feature of the Photo Editor is the Replace Color tool, which allows you to quickly change any color in your photo from one hue to another. Whether you want to change the photo’s dominant color or adjust a distracting accent color, the Replace Color tool has you covered. You’ll find this in the Remove/Replace section of the Edit tab.
While these three methods should cover all your bases for creating an aesthetic gradient Instagram grid, there are also several other ways to adjust your photos’ colors – you can read this article on color-correcting to learn more.

Start Your Aesthetic Gradient Instagram Grid Today
If you want to make your or your brand’s IG account more unique, a gradient Instagram grid is the perfect way to do it.

With BeFunky, it’s easy to edit your photos’ colors without making them look unnatural, and you can also retouch faces or add cool effects while you’re at it. Start your gradient Instagram grid and create a more eye-catching feed with the free Photo Editor today!