Elevate Your Product Photography with 360° Product Shot GIFs
Having high-quality product photography is important now that people are purchasing products online more than ever. Customers who purchase online don’t get the chance to hold the product in person and determine the quality in a tangible way, so they depend on product photography to communicate what the product tastes like, feels like, etc.
If you are looking for ways to elevate your product photography and the experience your customers have with your brand, try creating 360° product shots. This is a simple way to enhance your online shop.
BeFunky’s Photo Editor has everything you need to edit your images and create 360° product shots. Our AI-powered tools are so intuitive. When you use our automatic Background Remover, you can create colorful or transparent backgrounds for your product shots, so that everything looks seamless.
How to Photograph a Product to Make a 360° Product Shot
There are two steps to this process: the photo shoot, and then the editing. We are going to walk you through the process of taking photos and then teach you how to edit them in BeFunky’s Photo Editor.
1. Set Up the Background
It is easiest to shoot your product on a white background and base. You can easily do this with poster board or with printer paper if you have that at home.
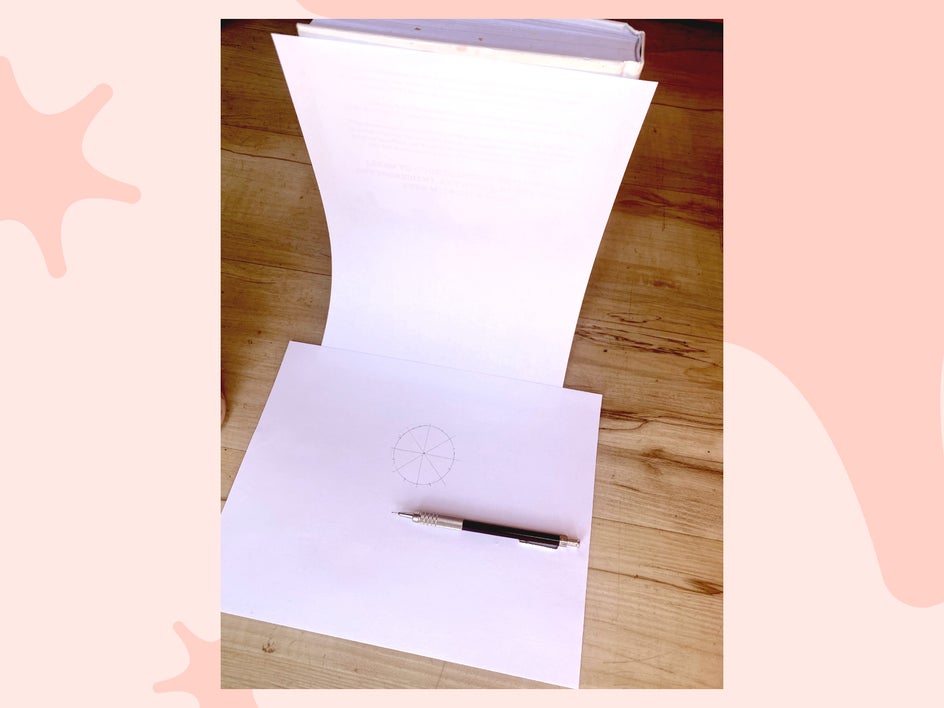
Luckily, our Background Remover is highly intelligent and can isolate your subject no matter the background your product is in front of – it might just need some touchups. You do not need a fancy setup. I did this in my van with a book and two pieces of printer paper that I grabbed from someone’s office.
2. Outline the Timing
Since we are doing a 360° photo, you want to draw a circle on your base paper. You can do this part on top of a lazy susan for easy spinning or you can move the object yourself, being careful to keep it in the same place each time. Next, we are going to slice this circle up into equal parts.
If you want the cleanest spin, you can divide the circle into 36 marks, having a 10° turn for each photo. This will mean that you will take 36 photos, one for each section. For me, this is a lot of photos to edit, so we are going to simplify it and divide the circle into 16 pieces.
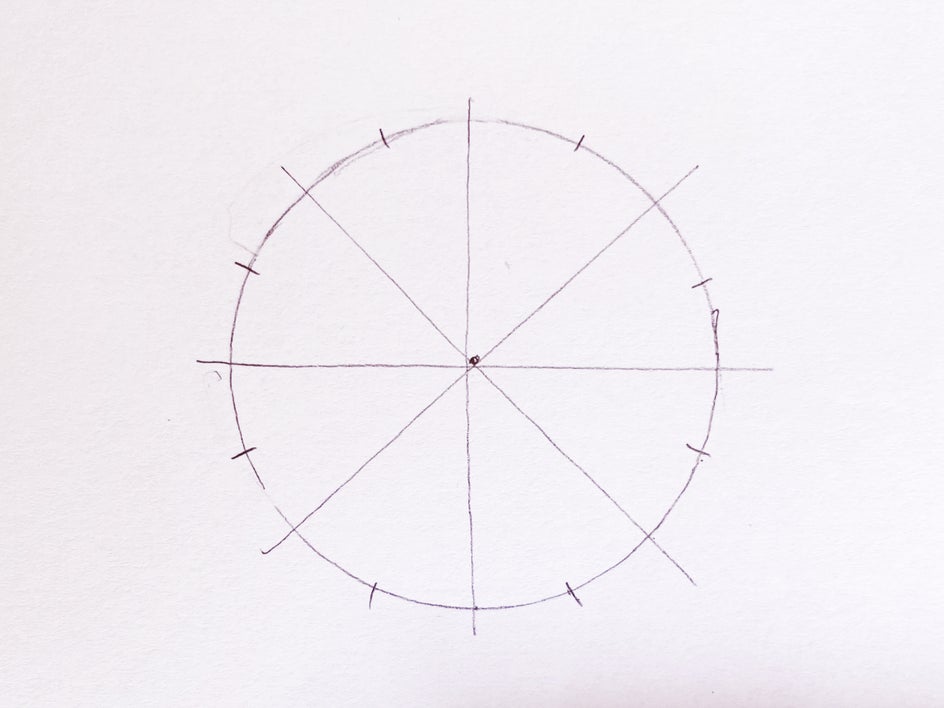
You can do this by tracing a circle and then drawing a dot in the middle. With a straight edge, draw a line separating the circle in half. Turn your straight edge sideways and draw another line through the opposing side. You will have four pieces. I then divide each of these sections again so that I have 8, then I place a tick mark in the middle of each section, giving me 16 ticks. This still gives us a 360° rotating product shot.
3. Take the Photos of Your Product
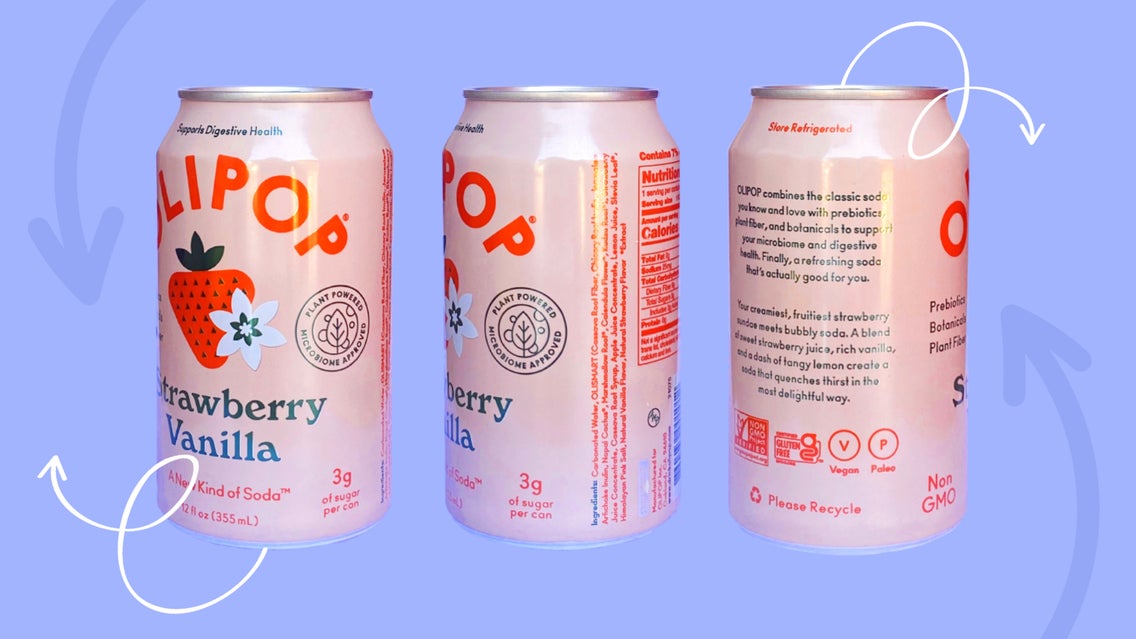
Once your circle has been divided into equal parts, we are going to set the product facing us. Make a little marker on your product so that you can line it up with each of your circle’s sections.

Take your first photo. Make sure to keep your phone on a tripod or in the exact same place for each photo. Once you take a photo, spin the product so the tick mark lines up on the next section, and take another photo. Do this repeatedly until your 16 photos are finished.
How to Edit Your Product Shots
Once you are finished taking your photos, the next step is to edit your product shots. Open BeFunky’s Photo Editor and select Batch.
1. Use the Batch Processing Tool
Drop all of your 16 images into the canvas. We do this because we want all of the colors to look the same before we use the Background Remover. We are going to edit the Exposure, Color, Vibrance, Temperature, and Contrast to make this product pop! If you don’t see the tool you need from the selections on the left, click Manage Tools and select the tools you want to include in the toolbar.
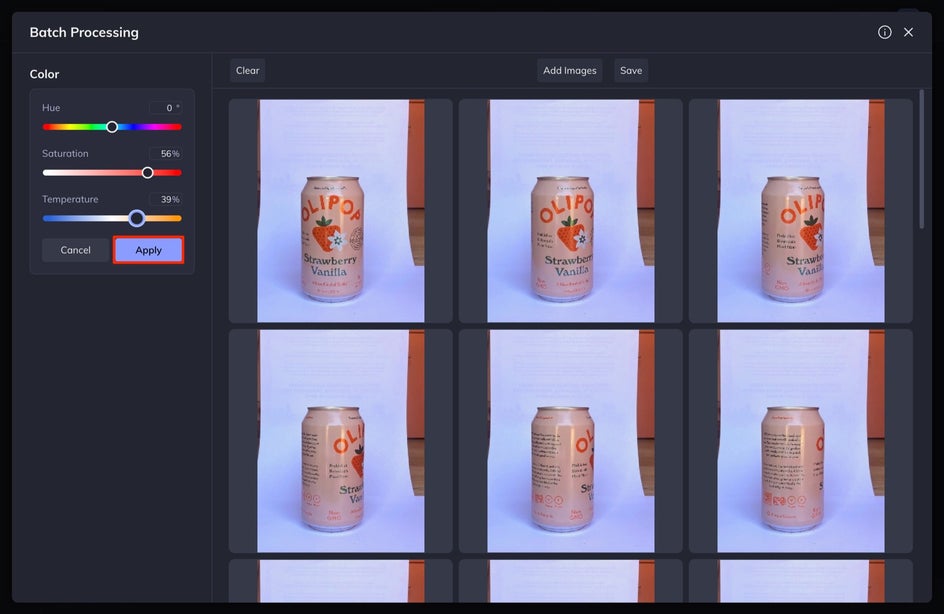
With each edit you do, make sure to select Apply. You will then see each photo being updated with the latest edit. When you are finished, select Save and then Save Images.
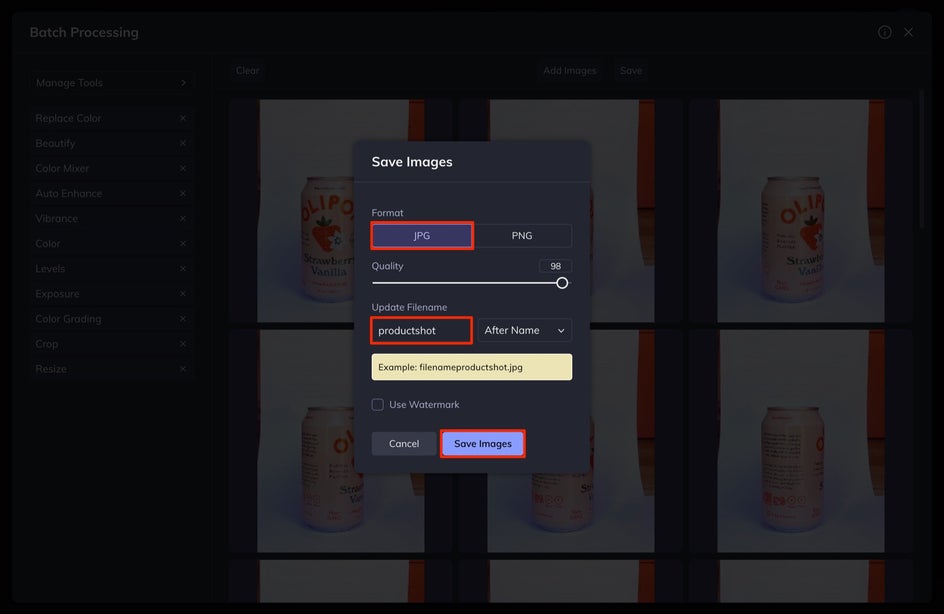
Hit Download images. This will download a ZIP file to your computer. You can usually find this in the Recent Downloads file on your computer.
2. Use Background Remover on Each Photo
Once you are finished batch editing, you are going to use the Background Remover on each photo. In the Photo Editor, you are going to select Open and then choose your first photo. You can also drag and drop this directly onto your artboard.
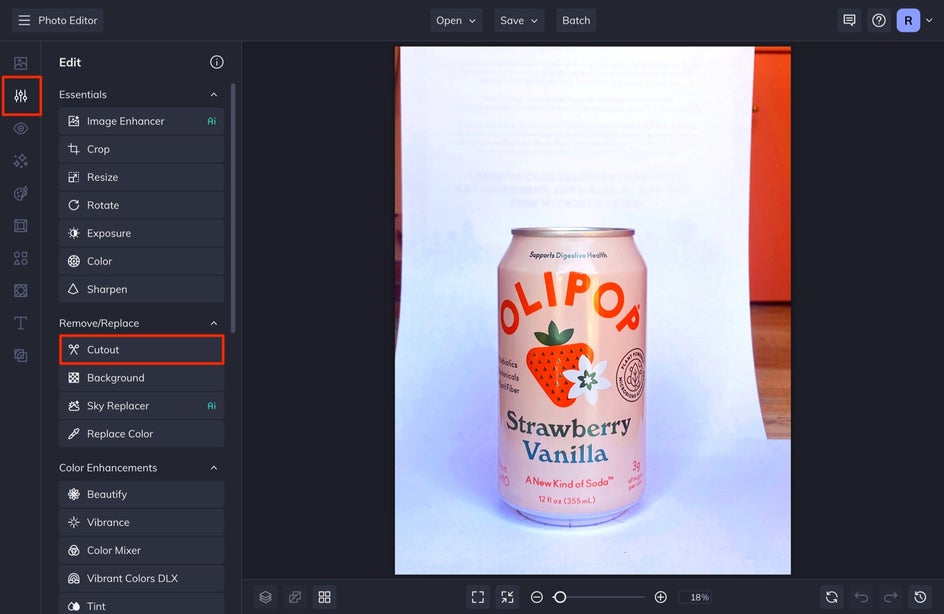
In the Edit tab, select Cutout under the Remove/Replace menu and then select Remove Background. You may need to clean this up a bit by using the other selections within this tool. For further help with the Background Remover, check out this article.
Make sure that after you select Apply, you choose Trim Transparency and Export as Layer so that the image gets saved to your Image Manager.
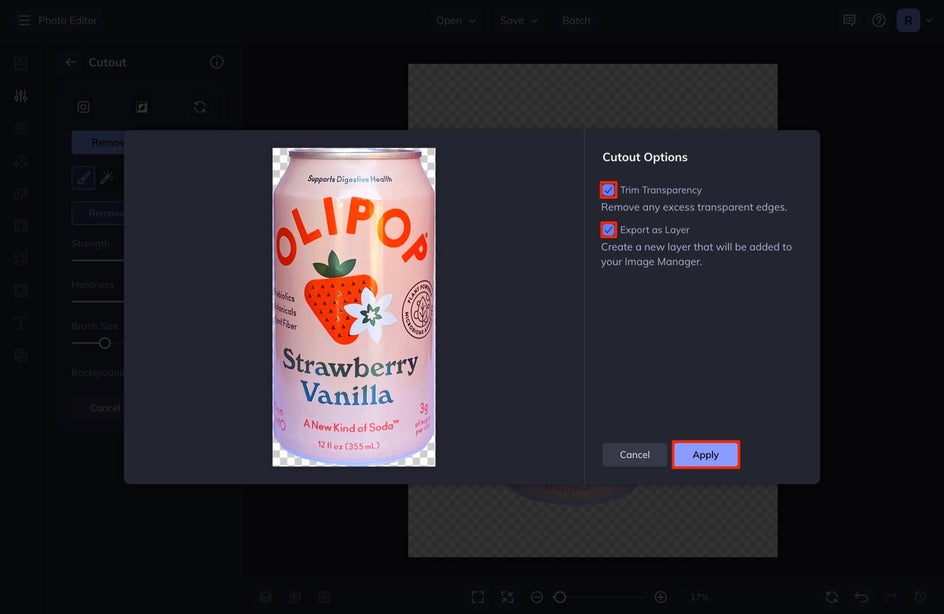
Do this with each photo until you have 16 photos of your object in your Image Manager. This is the tedious part of the process, but I promise it will look great in the end and will be worth it!
3. Create Your GIF Photos
The next step is to create your GIF photos. We want to put these on a nice background and are going to take each of our images in the Image Manager and line them up, exporting each one.
In BeFunky’s Graphic Designer, select Open and then Blank Canvas. Choose your canvas size for your product shot. Ours is a 1:1 ratio, so we are going to choose the square.

Choose a background color or photo and then add your first product photo to your canvas by heading into the Image Manager, clicking on the first image, and then clicking Add Layer. You can resize your image as necessary, just make note of the increase in size and increase each of the consecutive photos to the same size.
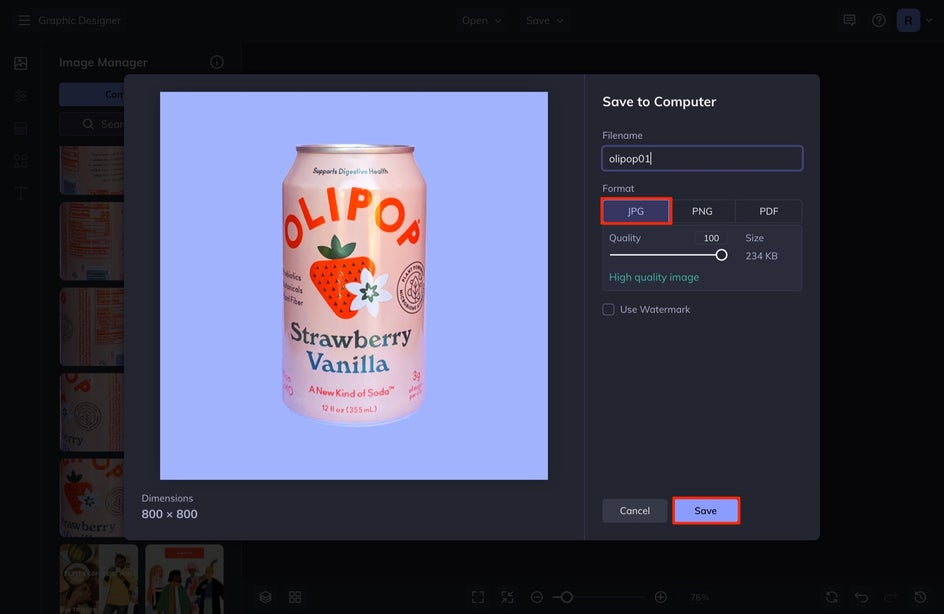
Make sure it is centered in the middle of your canvas. Once it is, select Save at the top of the screen and then Computer. Name this after the product and then add 01 at the end of the name.
Do this with each photo until you have all 16 finished. You can choose to add in some foreground graphics if you want to, but let’s just keep it simple on this first go-around.
4. Create Your GIF
When you have all of your 16 final images, open a GIF-maker like Giphy, Ezgif, or Imgflip to turn those images into a GIF! I have been liking Ezgif lately because it is simple and it also doesn’t include any watermark on your GIF at the end.
If using Ezgif, you’re going to select Choose Files and make sure that you select both of the files that you saved. You can select multiple files at a time by holding down the shift key when selecting. Once here select, Upload, and Make a GIF.
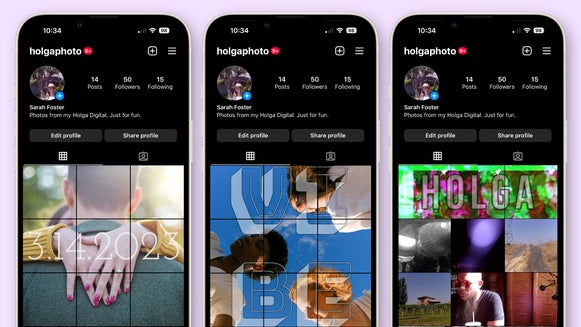
That’s it! You now have an animated GIF that you can use for your product! This is a great asset to have for marketing your products.
360° Product Shots Elevate Your Brand
With a little time, and BeFunky’s Photo Editor and Designer you can transform your product photography and also have some great assets to use during your next marketing campaign. I know it might feel like a lot, but all of this was done with printer paper and my phone! High-quality assets without using anything fancy. You don’t have to break the bank to make amazing assets for your shop.