A Beginner’s Guide to Using BeFunky for Your Business

After design and branding, photography is the next important step for your business growth. Whether you are an eCommerce site, a tech sales company, or a blog - having a collection of photos is so important to use for brand assets, considering the most popular marketing tools are email and social platforms that rely on photo content.
Editing software can begin to get expensive the more platforms you add to your suite. The perks of BeFunky are that you have all of your software in one easy-to-access location and it is easy to switch between platforms depending on your needs. If you are in the middle of a design that you’ve added a photo to but need to edit the photo, you can edit the photo directly in the Photo Editor without having to exit out of Designer.
Top 5 Photo Editor Tips for Your Small Business
If you are looking to access more tips like this that will make creating content for your small business easier, here’s our beginner's guide to using Befunky for your small business. When you’re ready, simply open BeFunky’s Photo Editor to get started.
1. Crop for Consistency and Composition
When you’re using the Photo Editor in BeFunky, it’s always best to work your way down the basic editing tools and then add filters and other effects towards the end.
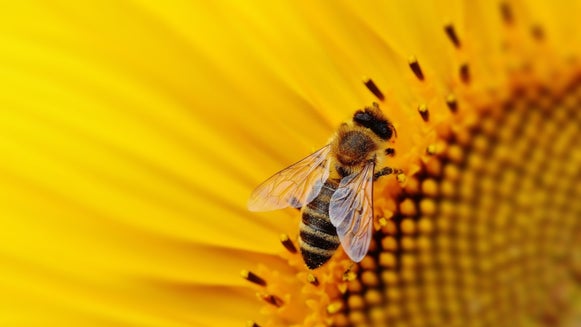
What seems like one of the most basic tools actually provides one of the biggest adjustments to a photo. This is the crop tool. Not only does cropping allow you to have consistent sizing, but it also helps you to zero in on what you want to highlight the most in your photo. This tool is especially important for product photography and eCommerce sites that need specific, consistent dimensions for their products. Having consistent dimensions makes sure that your customers’ shopping experience is seamless.
2. Exposure and Batch Editing
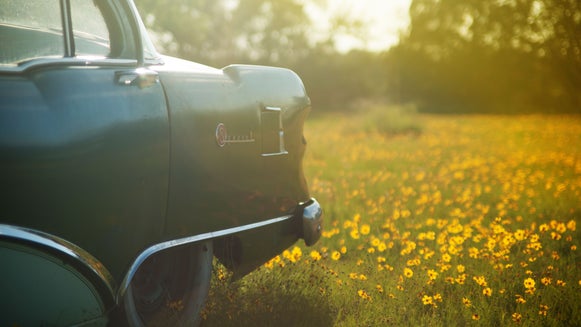
Having the correct exposure in your photos is vital for any business. Have you ever been shopping on a website or looking through photos on social media and the photos are either too dark or too bright to where it is difficult to make out what the subject actually is? This kills a good experience with a brand.

A lot of the time when shooting, photographers will underexpose an image so that they can bring up the exposure in post-production without losing any of the data or features in an image. When shooting like this, editing software is a must. The cool thing with BeFunky is that you can batch edit your photos. This means that you can take a group of unedited photos, edit one of them how you like it, and then apply that same effect to all of the other photos with just one click.
3. Adjust Product Color Options
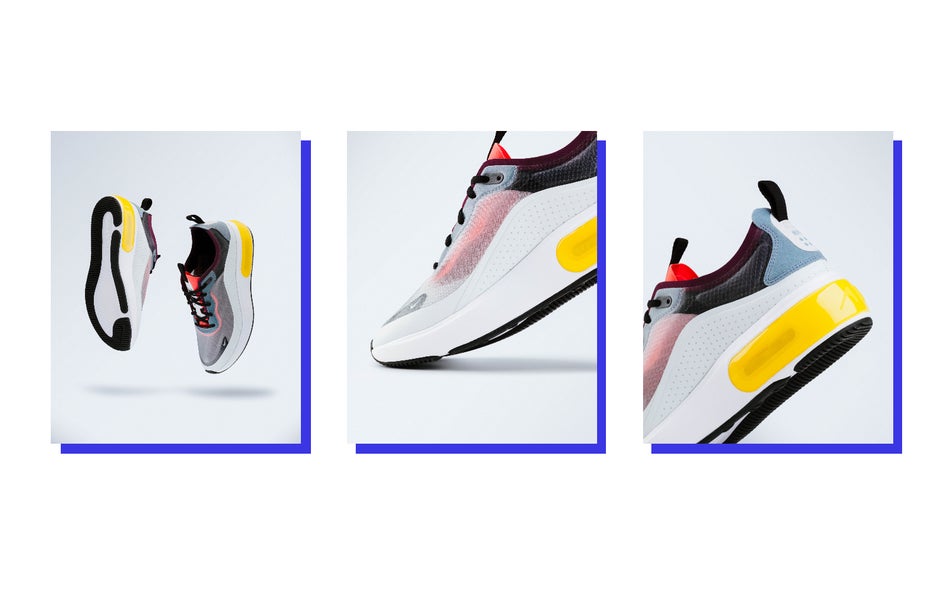
If you have the option to get a product in a new color but don’t want to have another photo shoot, this is an easy way to adjust the coloration of a product. In the Photo Editor, select Color and adjust the hue, saturation, and temperature. You can head into the Erase tab and Isolate Subject to get an even more perfect selection. You may need to clean up with the brush tool, but this is the quickest and simplest way to change your product’s color selection!
4. Adjust Depth of Field for Focus Control
Depth of field helps to make photos more interesting and also allows you to control what your audience sees. When using this for lifestyle product photography, you are able to blur the background so that the focus point is on the product itself.
Adding a blur to an image is simple. Find the Blur tool in the Photo Editor and then drag the slider all the way to the right. Head into the Erase tab and select Isolate Subject. Do some cleaning up with the brush, then press apply. You may want to do this a few times to get the desired amount of blur.

5. Create a Photo Library
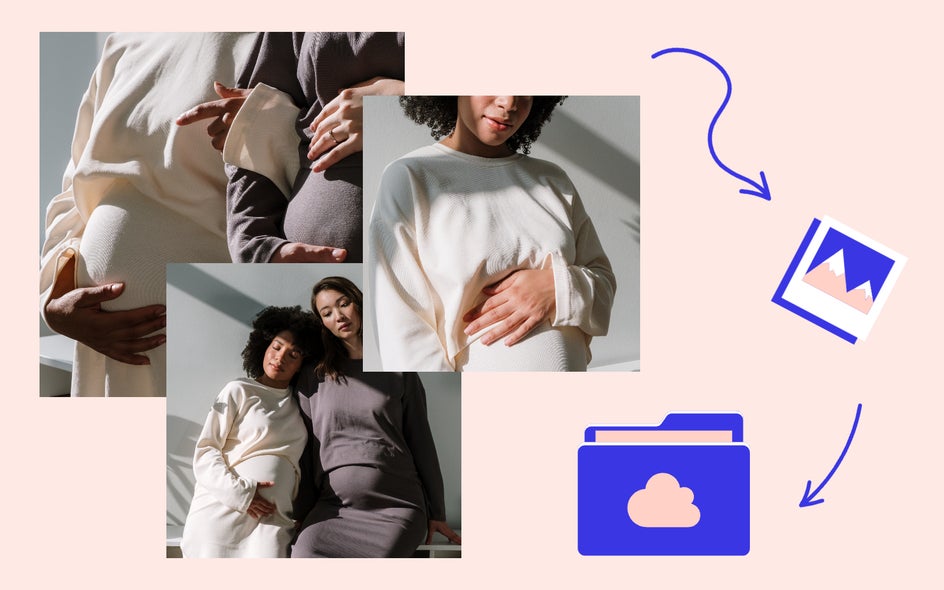
Most people will not do this, but this is especially important for small businesses! Create an organized photo library so that you have photos to use in the future. There will come a time when you feel you don’t have anything to post. This is when having a library is essential and will make your job so much easier. All you do is search for the type of photo you want and drop it into a design or post, and you are good to go. This will save you so much time and energy in the future if you start it in your early stages. I will usually create a main folder per photoshoot of the final images and then will keep a handful of the originals so that I can edit them how I want in the future.
Use the Photo Editor to Create Amazing Business Assets!
Utilizing Photo Editor to create amazing assets by cropping, editing blur and color, and saving images to add to your library will make your job as a small business easier than ever. Getting into a good photography flow is vital to growing your business in the way it needs in order to flourish for years to come. If you are looking to get some design work done for your business, check out How to Brand Your Business With BeFunky.