Holiday Card Templates for Spreading Extra Cheer

Come first snowfall, do you immediately get anxious thinking about all the holiday preparations? Check one thing off your list by sending an old-fashioned holiday card to your loved ones. By using BeFunky, you can quickly and easily create your own holiday cards – all within a few clicks. Read on to find out how!
How to Create the Perfect Holiday Card With a BeFunky Template
Ready to create your own holiday card? To get started, head to the Graphic Designer.
Step 1: Choose a Template
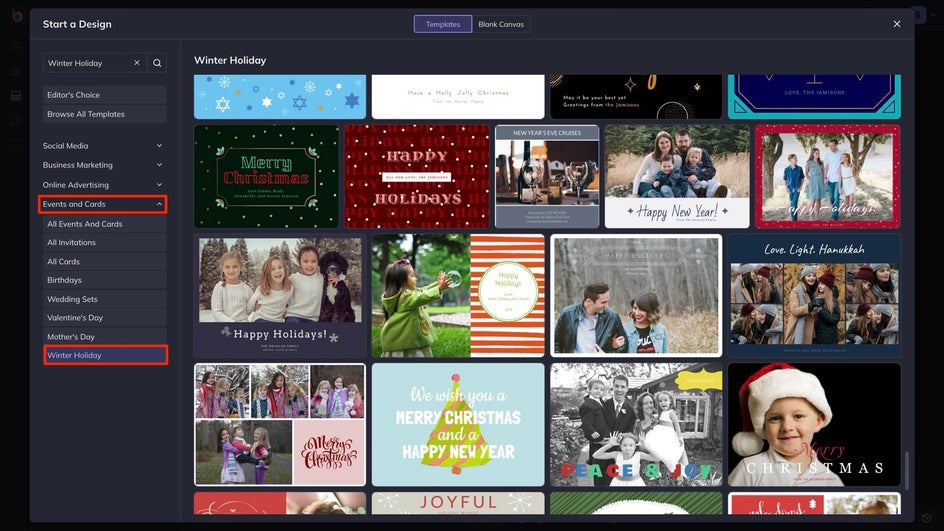
From the Templates Library, navigate to Events and Cards in the menu on the left, followed by Winter Holiday.
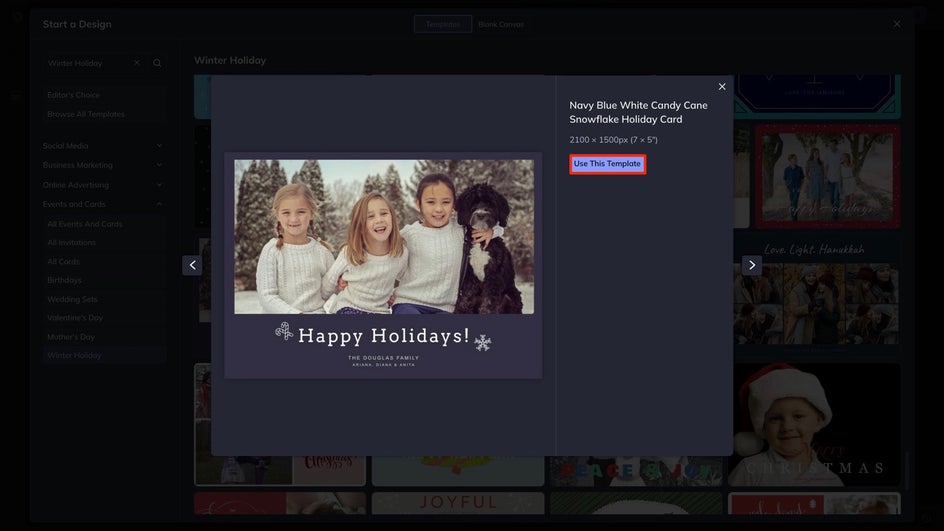
From here, you can select the design that takes your fancy. Just click Use This Template to begin.
Step 2: Add Your Own Photo(s)
First, you’ll want to swap out your template’s existing photo for one featuring you and your loved ones. You can do this by dragging and dropping from your Image Manager or computer, and by clicking the Computer or ellipses buttons.
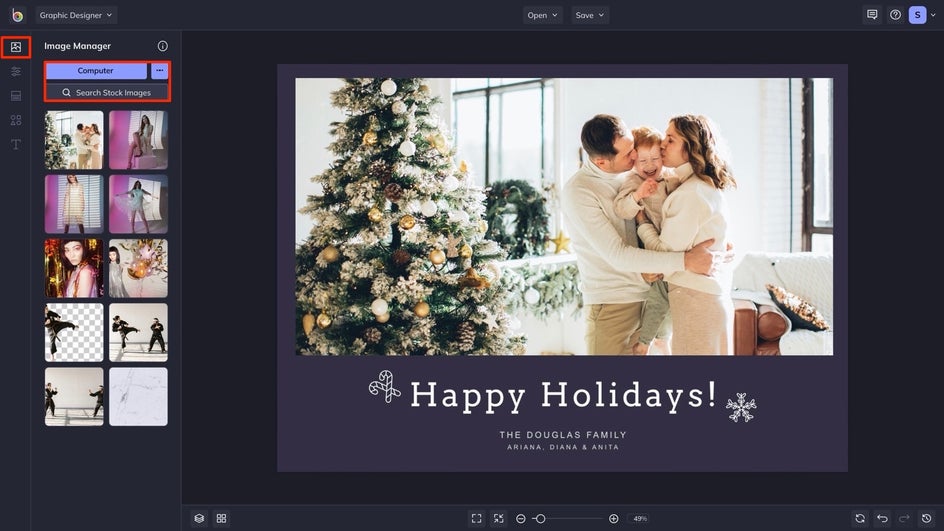
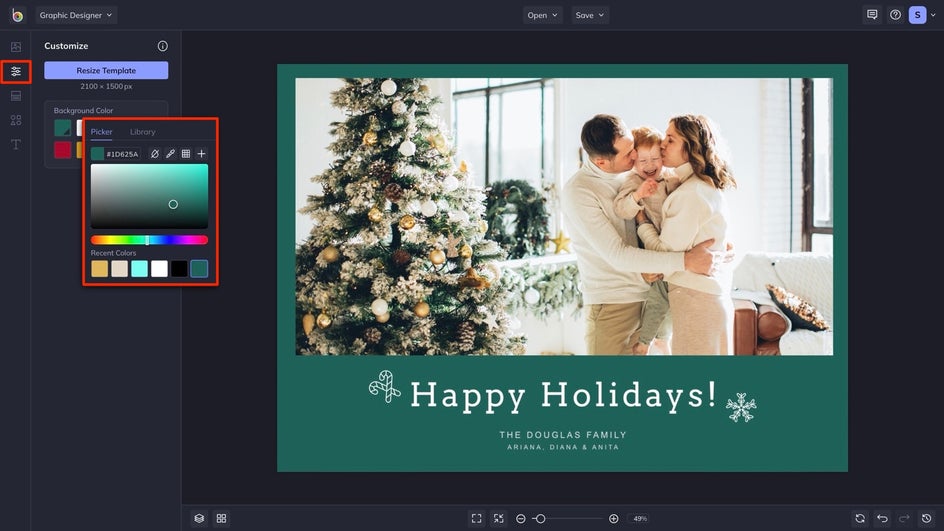
Step 3: Change the Background Color
If you want to change the preset background color, head to the Customize tab and click on the top-left color swatch to open your Color Picker. From here, you can plug in a HEX code, use the Eye Dropper Tool to sample a color from your photo, and more.
Step 4: Customize the Text
With your photo in place, it’s time to change the existing text to feature your own information. To edit text, all you need to do is double-click the text box and type what you wish for it to say. You can also head to the Text tab to add your own text boxes.
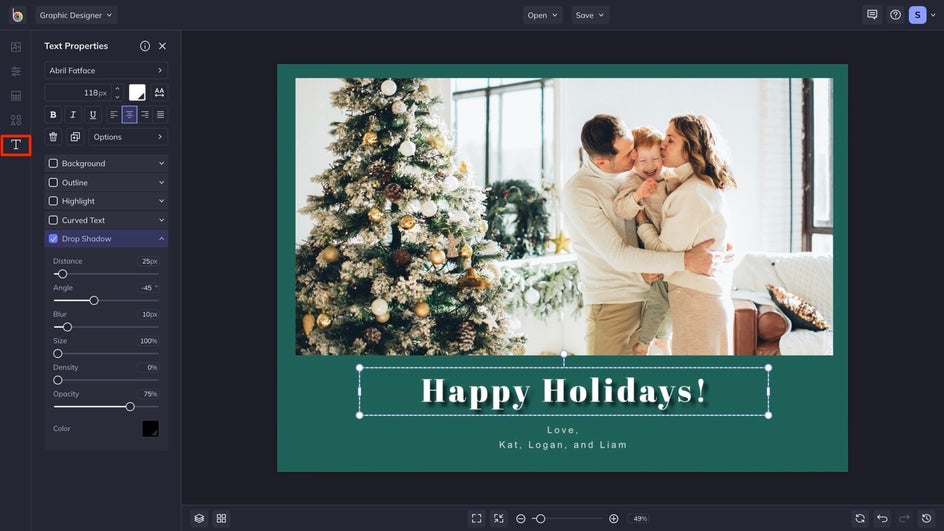
You’ll notice that when you click on a text box, a Text Properties menu appears. From here, you can change things such as the font, size, text color, spacing, and more. Here, we've added a drop shadow for emphasis.
Step 5: Customize the Graphics
Now, you have the option of adding or editing the preexisting graphics. If you want to add your own, head to the Graphics tab and open the Graphic Library to browse our massive library. Or, you can upload them straight to your My Graphics collection.
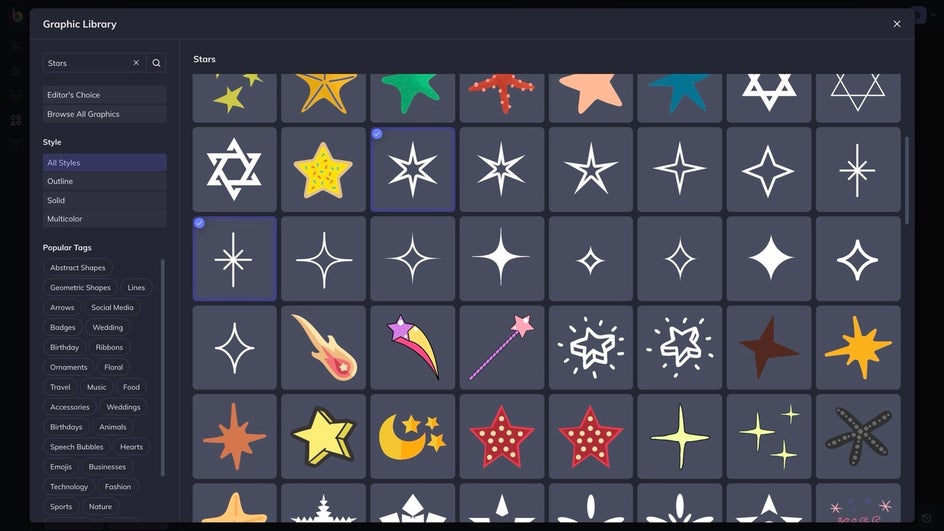
Simply drag and drop your selections onto the canvas to start customizing. To change the color, simply click on the graphic you wish to change, and from the Graphic Properties menu, click on Color Overlay. This will allow you to choose a color just like how you did with your background.
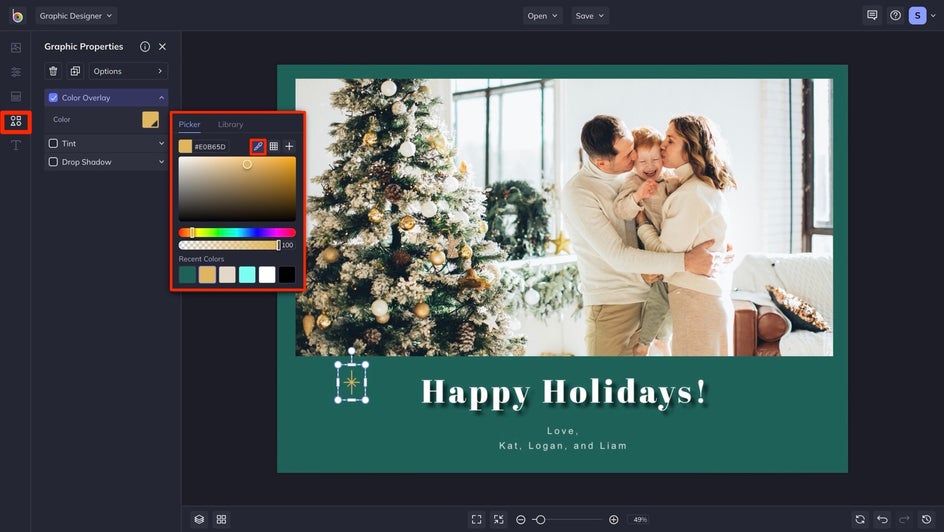
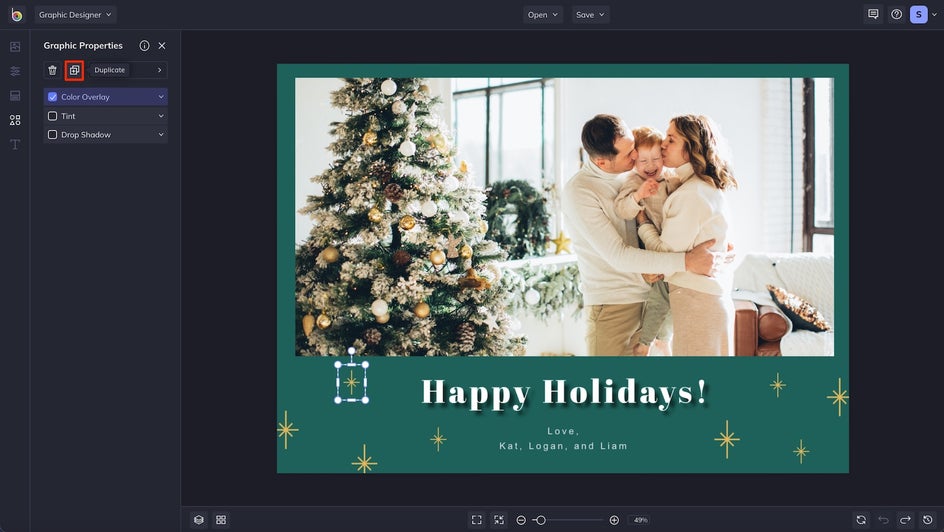
Here, we also used the Duplicate button to make multiple stars of the same sizes in just seconds.
Step 7: Save Your Holiday Card
Once you’re happy with how your holiday card looks, it’s time to save your design so you can send it digitally or print it for mailing.
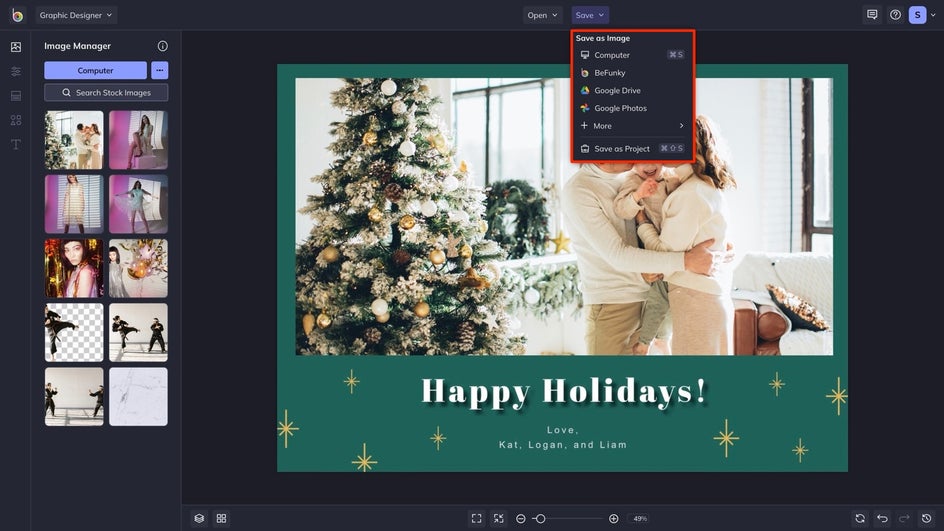
Click Save at the top of the screen, then choose your desired location. To save your card in the best resolution, we recommend saving it in PDF format. Simply select Print if you’ll be printing your card to send a physical copy, or Web if you’ll be sending it digitally.
Final Results
By simply swapping out presets and adding some extra flair, we've transformed a template into a unique holiday card that perfectly represents our sweet family. And it only took a few minutes!

Check Holiday Cards Off Your List
With BeFunky's Winter Holiday Templates, it's easier than ever to create a unique holiday card to send to your friends and family. Check this task off your list by heading to the Graphic Designer. Or, read on for more holiday card inspiration!
Holiday Card Inspiration
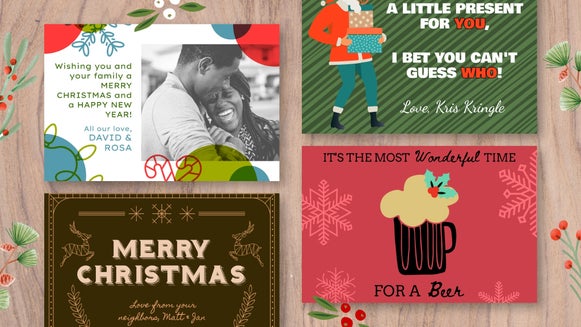
It doesn’t matter what holiday you or your loved ones are celebrating, BeFunky’s Graphic Designer has plenty of customizable options to get them feeling merry. In fact, if you’re looking for some additional inspiration yourself, we’ve rounded up three amazing ideas to get you started.
Share a Personal Photo
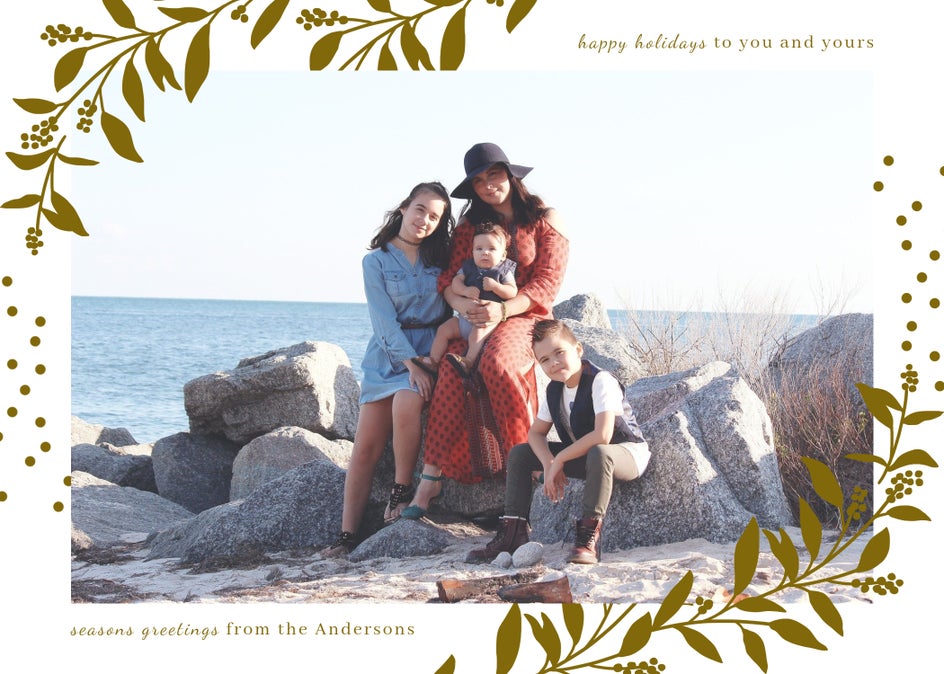
Personalize your holiday card with a photo featuring you and your family for something unique and sentimental. Recipients will instantly know who’s sending them well wishes. It also gives you a great excuse to gather the gang and organize a holiday-themed photo shoot. Trust us, it’s something you and your recipients will treasure for years to come!
Create a Photo Collage
Now, what if you love multiple photos from your family photoshoot and just can’t choose one for this year’s holiday cards? With a collage, you can choose them all! You can use your photos to tell a story about the year that was, or display each individual family member in a photo of their own – pets included.

Keep It Classic
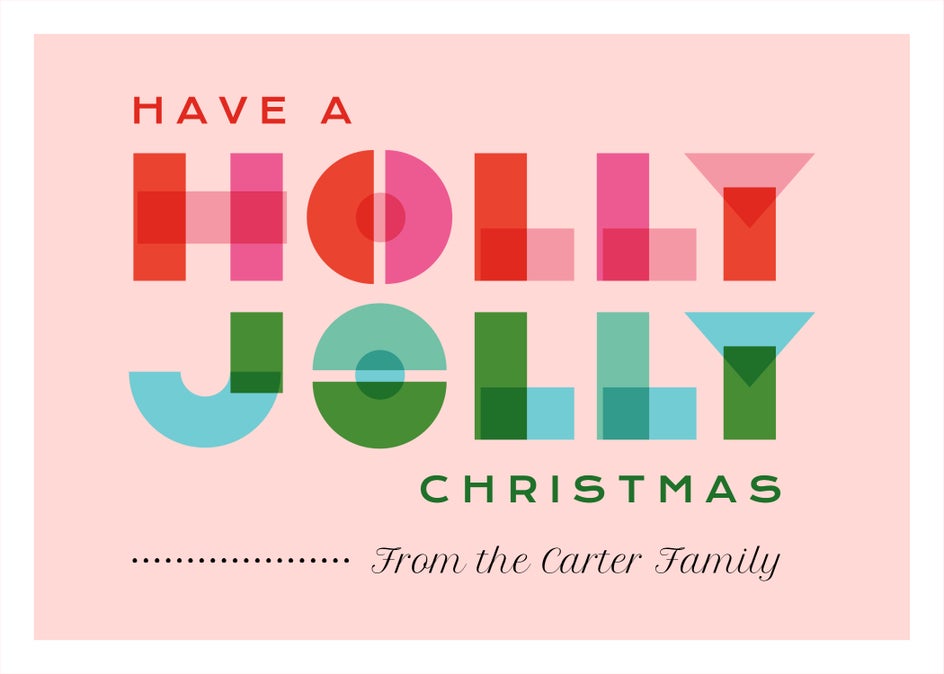
Not a fan of photo-clad holiday cards? That’s ok! You can also choose a classic, text-only holiday card template to spread the end-of-year cheer. Keep it traditional with shades of green, red, silver, or gold – or mix it up with a modern and on-trend color scheme, like the pink-dominant palette featured in this template.
