


How to Edit the Sky of a Photo With the Sky Replacer Tool

Have you ever captured a beautiful landscape or portrait, and then realized the sky within it was looking a little bland? Perhaps a sunny day left if looking overexposed, or your lens simply couldn’t do justice to the soft and swirly clouds.
It’s a common dilemma: You don’t want to edit your entire photo, yet manually isolating just the sky is tricky and time-consuming. Thankfully, this is where the Sky Replacer tool in BeFunky’s Photo Editor comes in handy. Using Artificial Intelligence, it isolates both the sky and foreground within your image. Not only does it allow you to replace your sky entirely, but it also has several options for editing your existing sky to perfection!
Keep reading, because we’ll show you how you can take a boring sky within your photo to totally new heights.


How to Edit the Sky in Your Photo Using BeFunky
Head to the Photo Editor and open a photo containing a sky you wish to edit. Alternatively, if you don't need to make any additional stops beforehand, you can click here to open the Sky Replacer immediately.

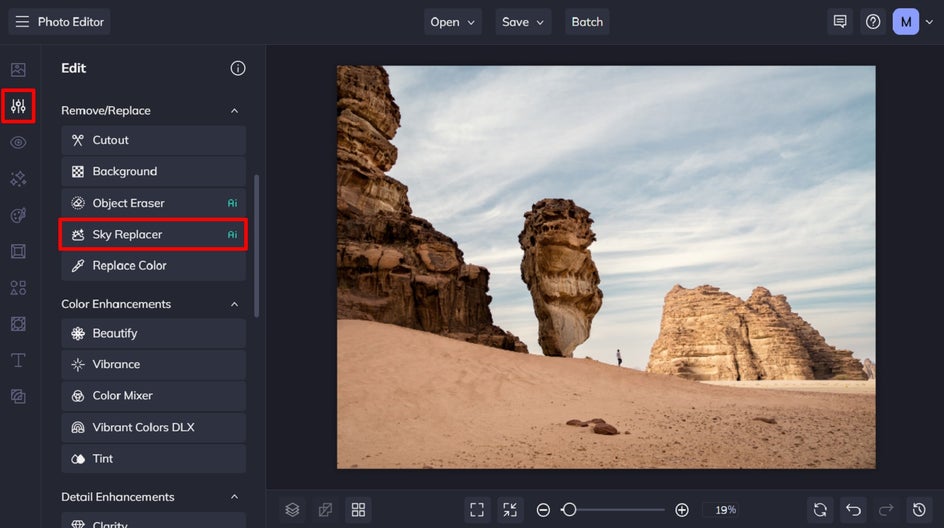
Step 1: Navigate to the Sky Replacer Tool
You’ll find this within the Edit menu, underneath the Remove/Replace category.
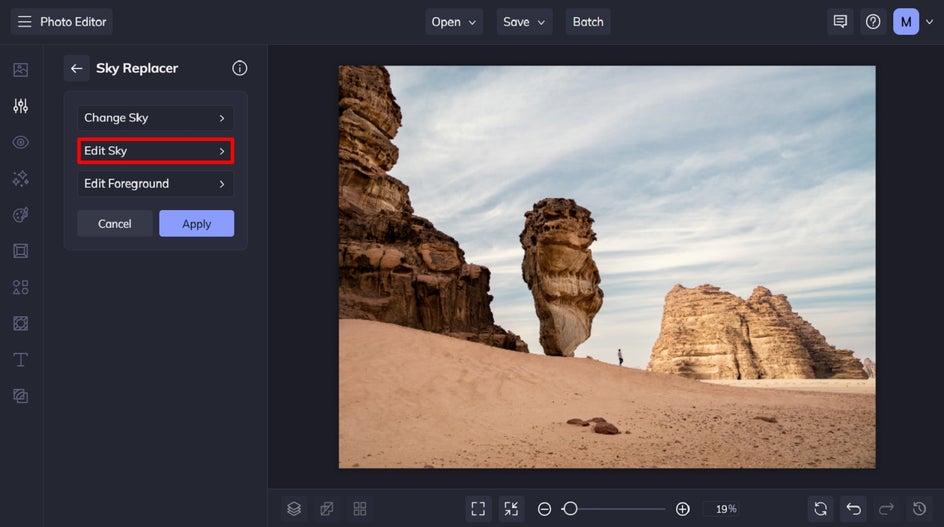
Step 2: Edit Your Sky
The tool will start by analyzing your image to isolate your sky and foreground so they’re ready for editing. Then click Edit Sky.
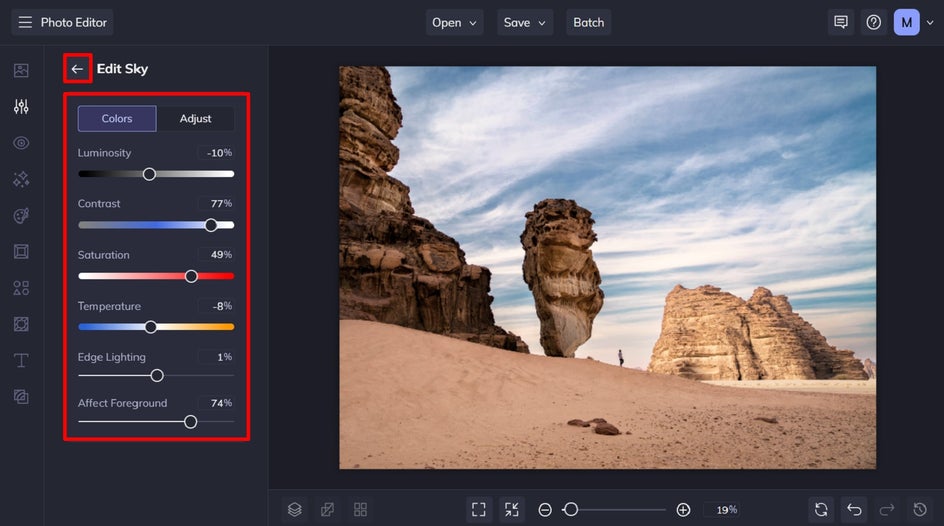
Within the Edit Sky menu, underneath the Color tab, you’ll have plenty of editing options. These include Luminosity, Contrast, Saturation, Temperature, Edge Lighting, and Affect Foreground.
Pro Tip: The Adjust menu is only available when you have replaced the sky within your photo.
While the first four options are pretty self-explanatory, Edge Lighting lets you adjust the lighting on the edge of your sky to add realism. Additionally, the Affect Foreground slider lets you determine how much your sky edits will apply to the rest of your image. Doing so can allow the two parts of your photo to blend together well, adding additional realism.
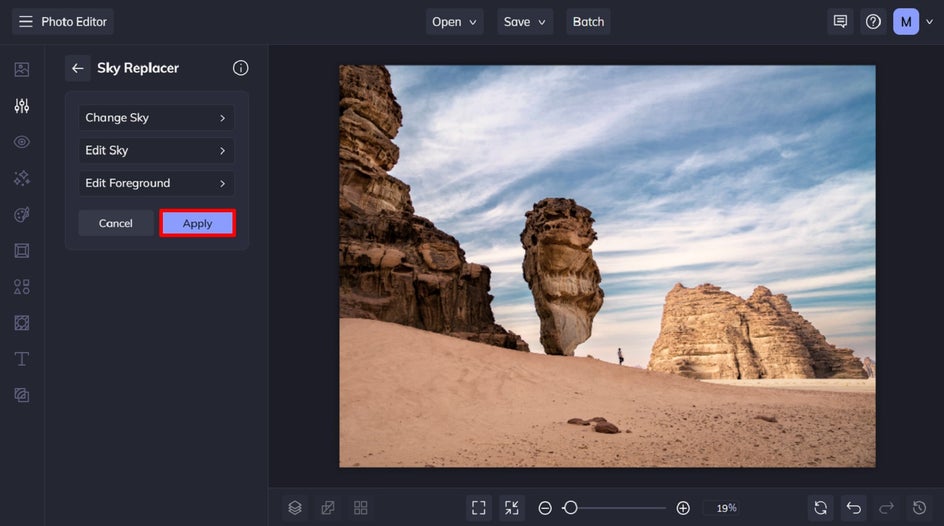
Once you’ve finished making those adjustments, click the back arrow to go back to the Sky Replacer menu. Then, click Apply.
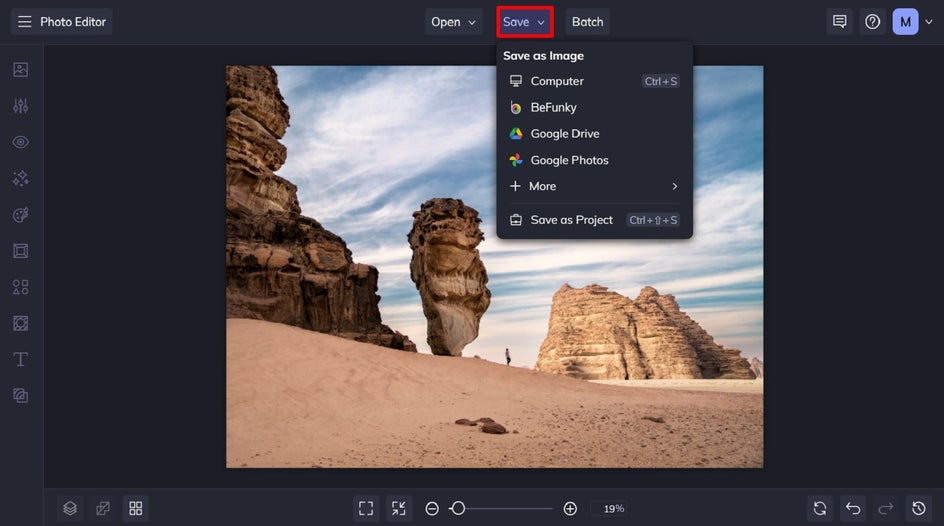
Step 3: Save Your Edited Sky Image
To save your newly adjusted sky photo, just click Save at the top of the screen. Then, select your desired save location.
Final Results: A Stunning Sky in Seconds
Sometimes, you don’t need to replace the sky within your photo entirely to make it work. A few simple adjustments to elements such as contrast, saturation, temperature, and more can give your image the wow factor it needs.


Selectively Edit Just the Sky, Thanks to the Sky Replacer Tool
Forget deleting an otherwise beautiful photo just because the sky wasn’t up to scratch. With BeFunky’s Sky Replacer tool, you can make any necessary adjustments with ease.
When it comes to photo editing, the sky’s the limit! Go on, try the Sky Replacer tool within the Photo Editor today.


