Edit Image Layers With BeFunky
At BeFunky, we’re always looking for ways to make your photo editing experience smoother, more intuitive, and of course, fun. That’s why we’re thrilled to introduce new ways to edit image layers, making it easier than ever to create stunning designs. Whether you’re working on a collage, creating digital art, or simply fine-tuning a photo, these features will give you the flexibility and control you need to bring your creative vision to life.
Let’s dive into the three key methods you can use to edit your image layers with ease!
Method 1: Edit Your Image Layer in the Photo Editor
The first way to edit your image layers is a tried-and-true favorite. When you add an image to your canvas as a layer, you can open the image directly in BeFunky’s Photo Editor. This seamless transition allows you to make adjustments (like tweaking brightness, contrast, or applying effects) without leaving your current project. Once you’re happy with your edits, the updated image is instantly reflected on your canvas, making it a breeze to fine-tune every detail.
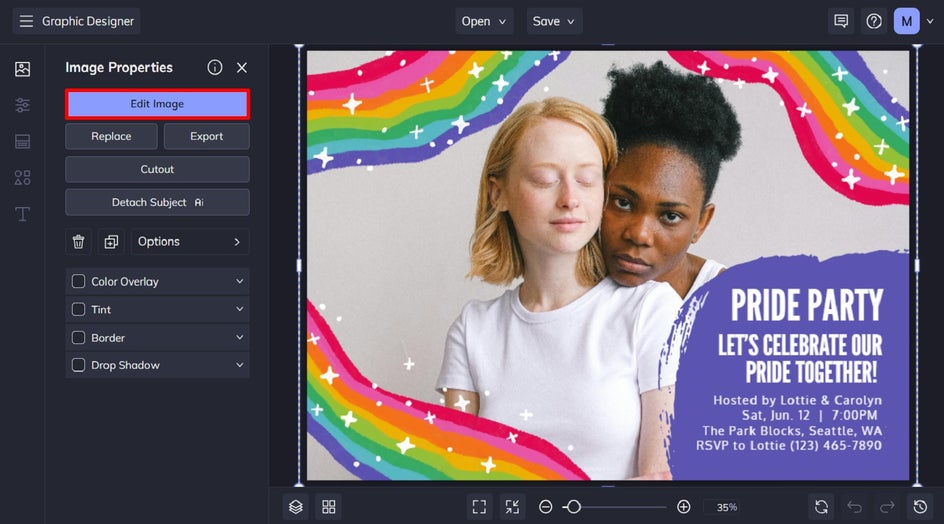
Step 1: Select Edit Image
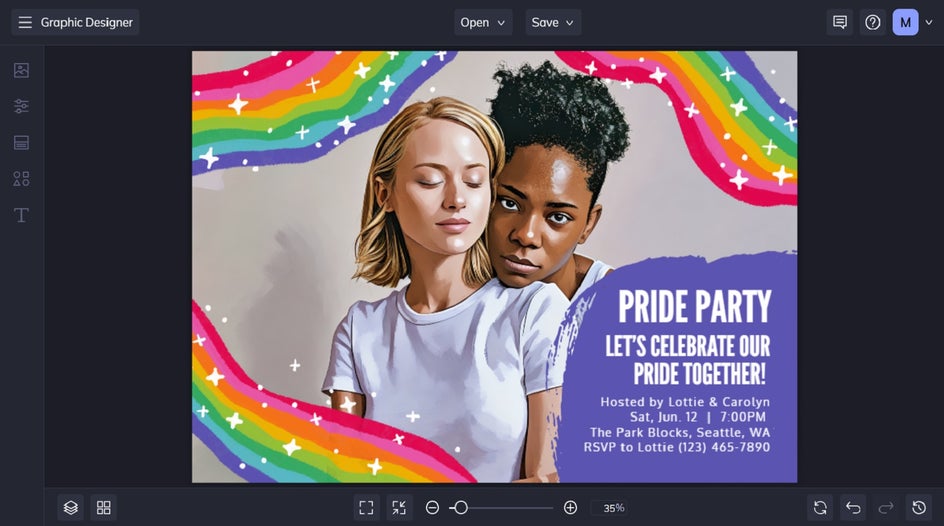
Click on the image layer you wish to edit. In this example, we’re editing a photo in a graphic design template. From the Image Properties panel that appears, click Edit Image. This will open that image in our Photo Editor.
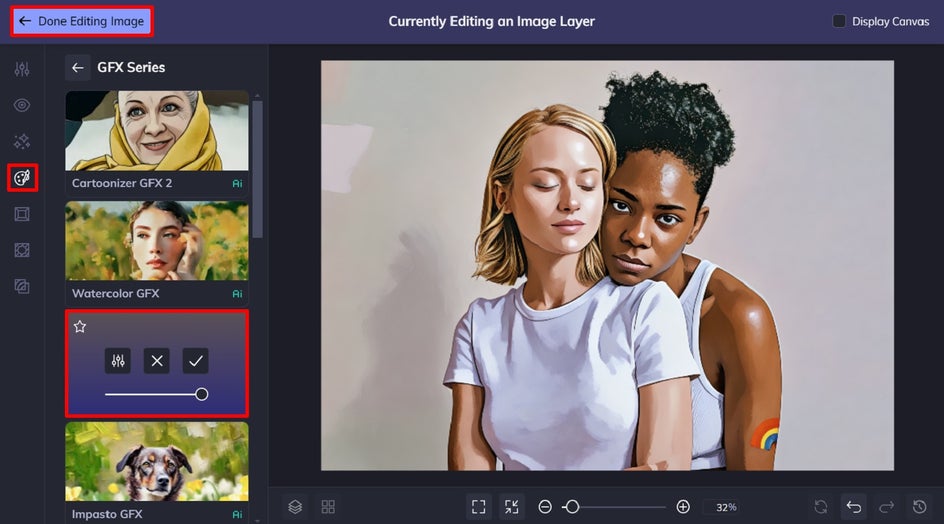
Step 2: Make Edits to Your Layer
Within the Photo Editor, you can utilize a wide range of photo editing tools and features. For this photo, we’ve navigated to the Artsy tab to apply the Vector Painting GFX effect.
Once you’ve finished making your edits, click Done Editing Image in the top-left corner.
Step 3: Return to Your Canvas
You will then be brought back to your main project, whether it’s a graphic design, collage, or photo. Your image layer will reflect your new edits, so all that’s left to do is continue editing your project or save it.
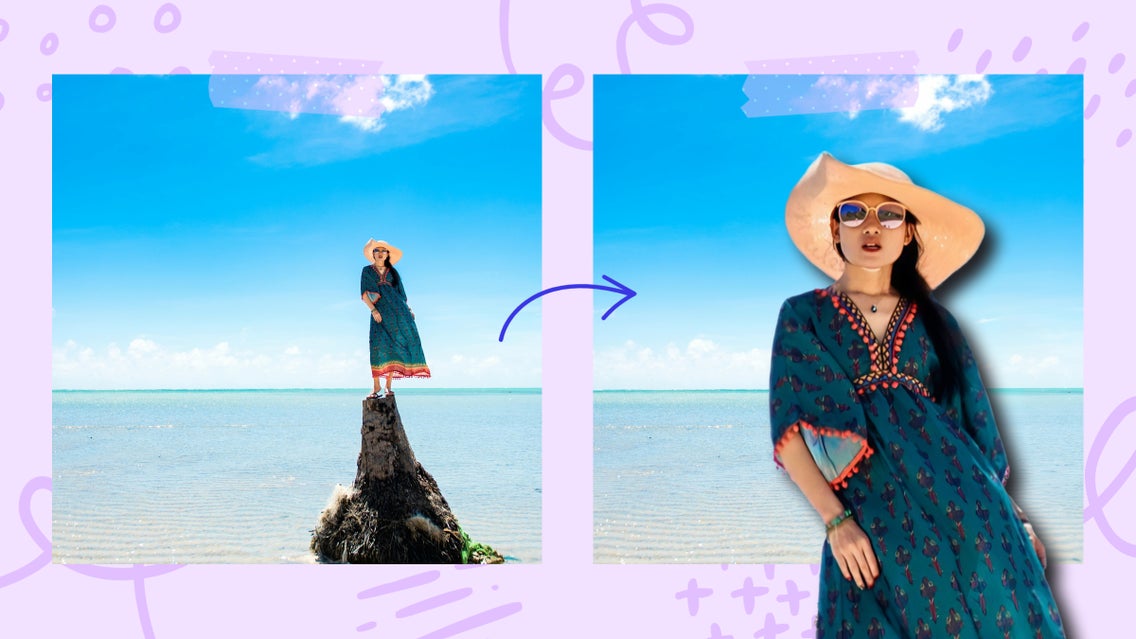
Method 2: Use Detach Subject for Ultimate Layer Flexibility
Say hello to one of our most exciting features: Detach Subject. This tool is a game-changer for anyone who wants more control over their layers. With Detach Subject, you can easily remove your subject from the background, giving you the freedom to move, rotate, and resize the subject as a separate layer while keeping the original background intact.
The magic doesn’t stop there though. Our AI technology fills in the background where your subject once was, so you can continue editing without any gaps or inconsistencies. Whether you’re creating dynamic compositions or simply want to reposition your subject, Detach Subject offers a new level of creative freedom.
Step 1: Navigate to the Detach Subject Tool
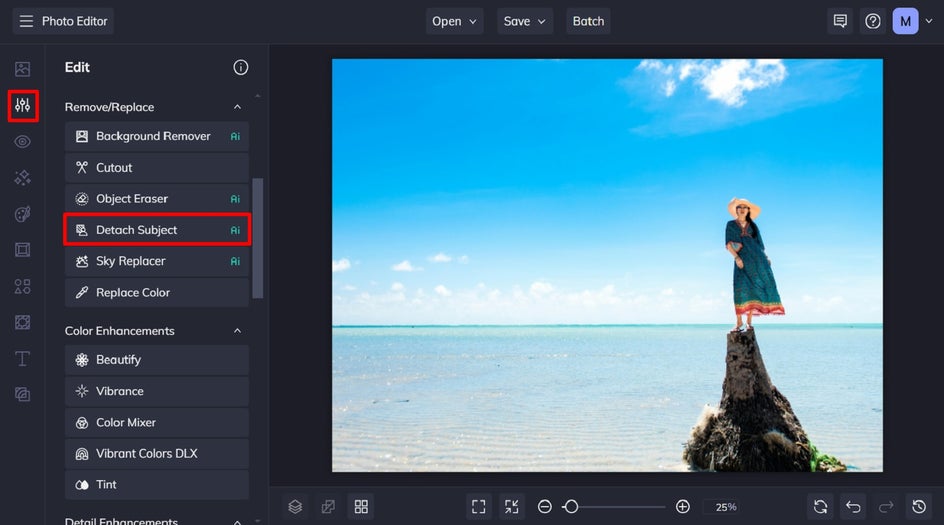
Head to the Detach Subject tool, which can be found in the Remove/Replace category of the Edit tab.
Step 2: Detach Your Photo’s Subject
A selection box will appear around the subject. Simply move, resize, or rotate the subject layer however you want. If you need to, you can also adjust your selection.
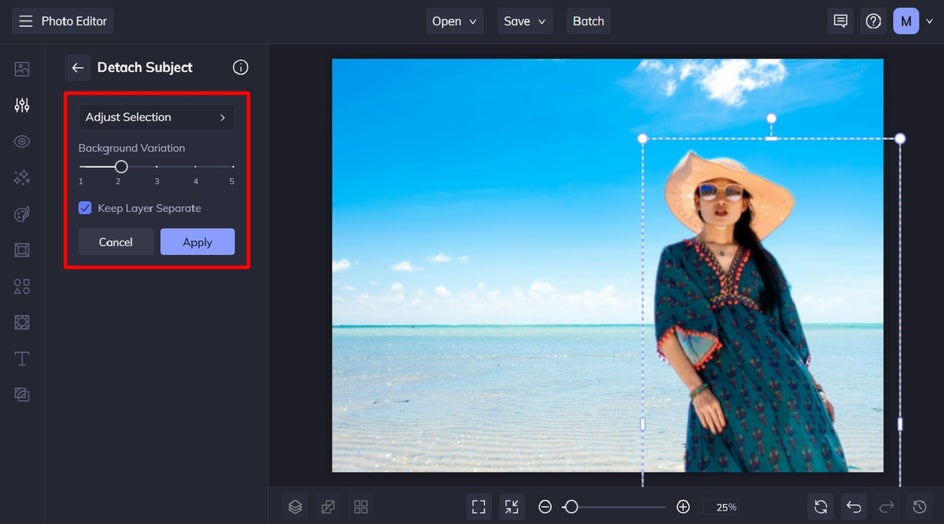
By default, the Keep Layers Separate option will be selected with a checked box. This feature ensures that the subject layer remains separate from the background even after you apply changes. This allows you to continue making adjustments and edits to each layer independently. Additionally, a copy of the subject will be added to the Image Manager.
Click Apply to apply your edits.
Step 3: Edit Your Detached Subject
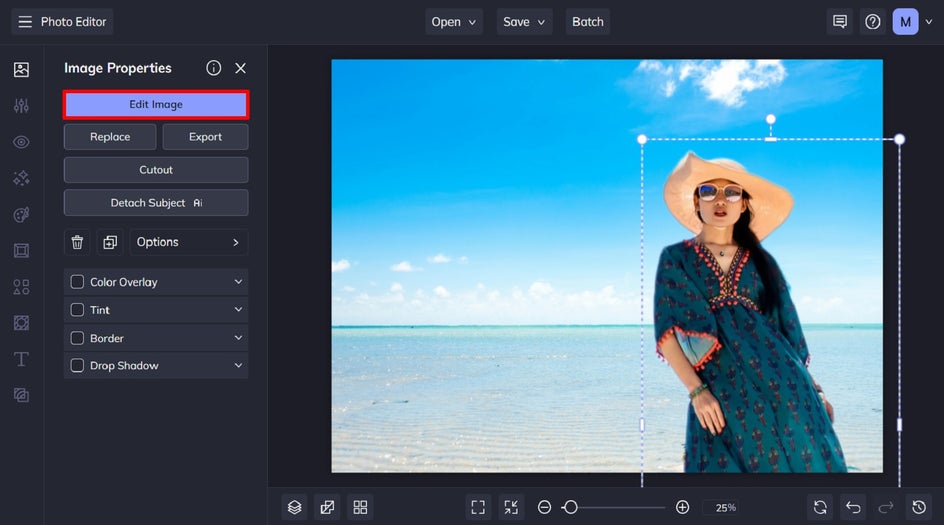
Once you apply your changes, you can then click on the image layer and select Edit Image from the Image Properties panel. This will allow you to selectively edit this image layer (your subject) in any way you see fit. Pretty neat, huh?
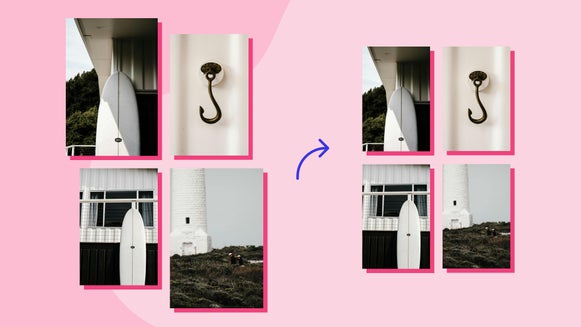
Method 3: Convert Graphics to Image Layers for Enhanced Editing
Last but certainly not least, our option to convert graphics to image layers opens up a whole new world of possibilities. This new tool lets you right-click on any graphic in your project and instantly convert it into an image layer within the Image Manager. Once converted, you can add it to your canvas and edit it just like any other image layer.
One of the most powerful aspects of this feature is the ability to erase parts of the graphic you don’t want, giving you unprecedented control over your design elements. Whether you’re refining a logo, adjusting an icon, or customizing any graphic, converting your graphic to an image layer makes it easier than ever to achieve the perfect look.
Step 1: Insert Your Graphic
You’ll find our wide range of graphics in the Graphics tab within the main menu of the Photo Editor, Graphic Designer, or Collage Maker. Click Search Graphics to access our huge library filled with symbols, lines, illustrations, and so much more.

Step 2: Click Save to Image Manager
Select the graphic you wish to edit, right-click, and select Save to Image Manager from the drop-down menu. This converts your graphic into an image.
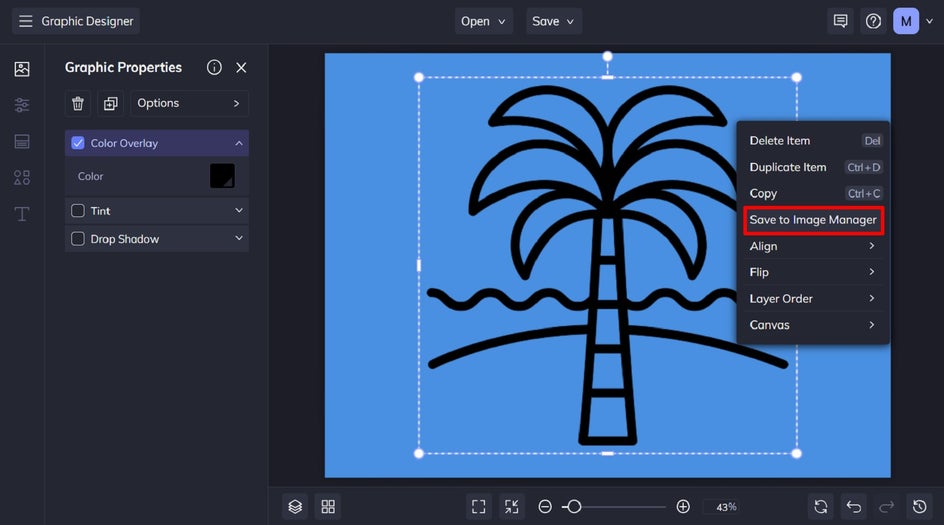
Pro Tip: Before converting your graphic into an image layer, it's crucial to make any necessary adjustments via the Graphic Properties panel first. If your graphic includes multiple colors, for example, be sure to choose your preferred colors prior to this stage.
Step 3: Add the Converted Graphic
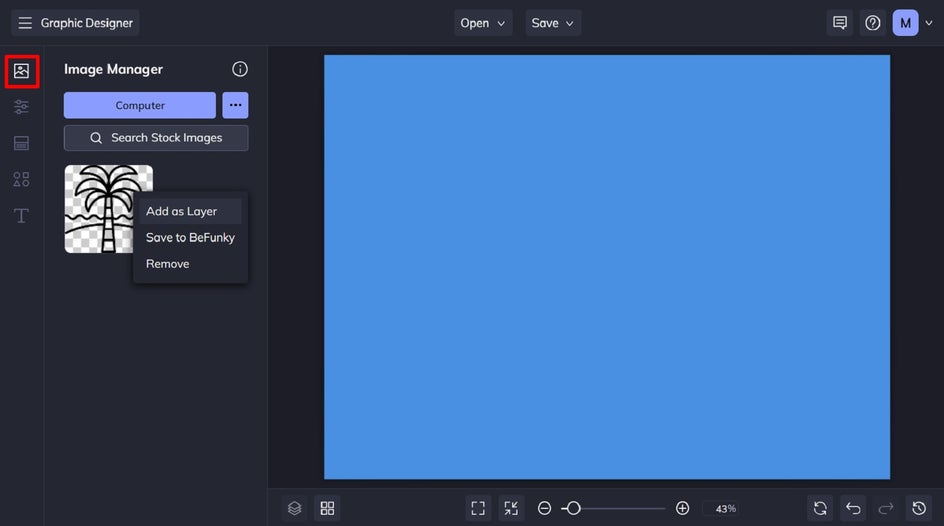
Delete the graphic layer from your canvas, then add the converted graphic (located in the Image Manager) to the canvas instead.
Step 4: Use the Cutout Tool
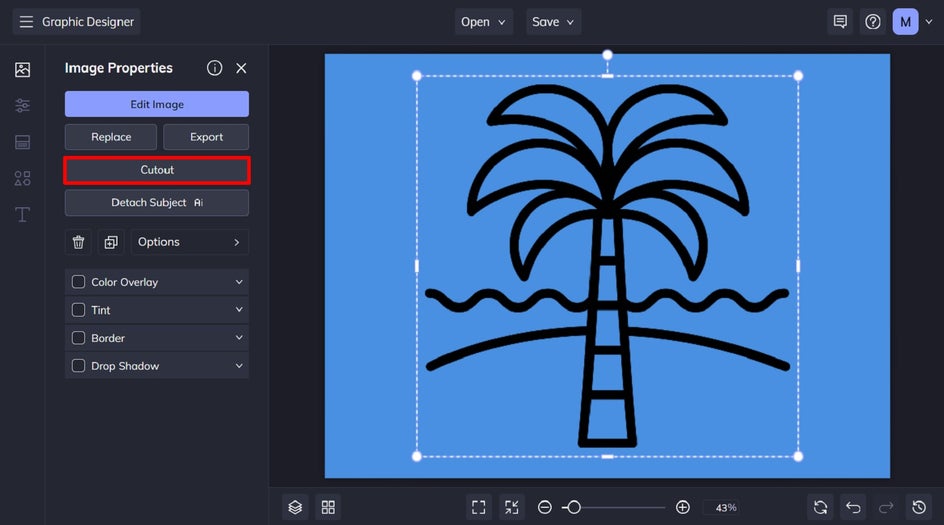
Click on your graphic layer, then select Cutout from the Image Properties panel that appears.
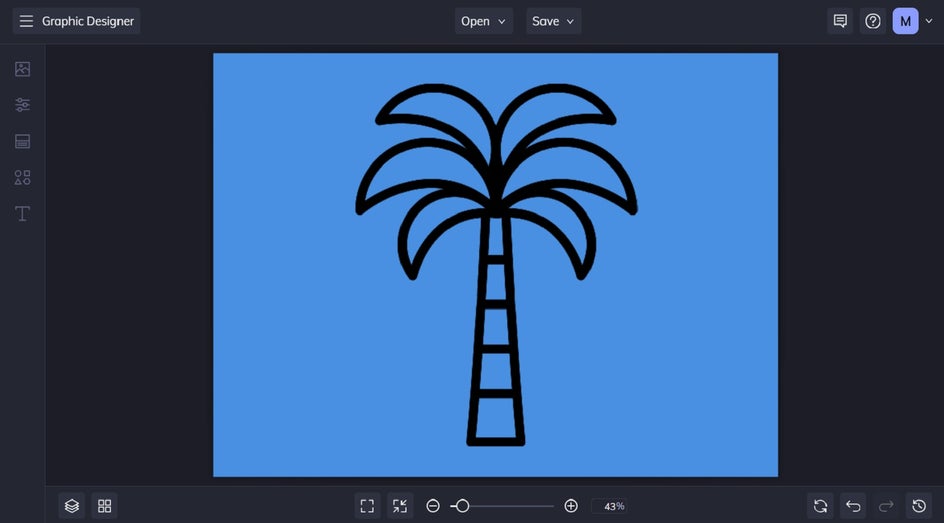
Using the Cutout tool, simply brush over the areas of your graphic that you wish to remove. Once you’re done, click Apply.

Step 5: Incorporate Your Converted Graphic as Desired
Once back to your canvas, you can move, resize, or rotate your graphic layer as needed.
BeFunky Lets You Edit Image Layers Like a Pro
With these three powerful methods for editing image layers, BeFunky continues to push the boundaries of what’s possible in photo editing and design. Whether you’re editing an image with the Photo Editor, detaching subjects for maximum flexibility, or converting graphics for enhanced control, these tools are designed to make your creative process more efficient and enjoyable.
Ready to give them a try? Jump into your next project and experience how easy it is to edit image layers like a pro!