How to DIY Canning Jar Labels
We’re entering the height of abundant summer produce: Berries, peaches, melons, tomatoes, corn, radishes, garlic, and more are all available at peak ripeness and flavor. This means that canning season is right around the corner! Jams, jellies, syrups, pickles, infused oils, and wines all make for great pantry staples as well as thoughtful homemade gifts – and they’re not even difficult to make! But whether you’re a seasoned homesteader or a new-time canner, there’s an easy way to elevate your homemade food: Canning jar labels.

These handcrafted labels will help your pantry stay organized, personalized, and beautiful. They can also turn a simple gift for family and friends into something even more memorable. Canning labels are extra easy to make with BeFunky's Graphic Designer.
The Graphic Designer provides hand-drawn graphics, dozens of fonts, and an easy-to-use interface that will help you quickly create beautiful canning labels for all your jars.
What Types of Canning Jar Labels Are There?
For canning labels, you have two options: A lid label, a jar label, or both.
Lid labels are circular and adhere to the jar lid. Because jar lids can’t be reused for canning, this makes it easy to replace for the next year. However, jar labels are more easily legible and can add a professional flair to your homemade canned goods.
What Should Be Included on a Canning Jar Label?
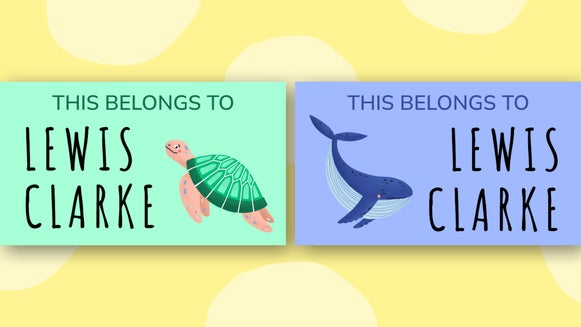
The main things that need to be included on your canning label are the contents of the jar, and the date it was canned. This will help you to stay organized and not accidentally open a jar too early – or too late. If you’re going to be gifting a jar, consider including your name and the name of your recipient. You can even include a little printed message, or leave space for a handwritten one.
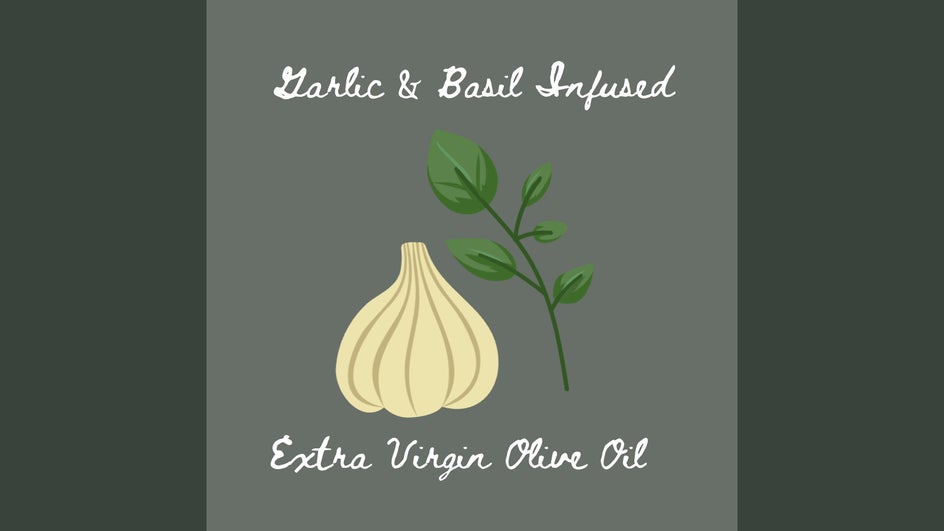
To make your jar label more attractive and professional, consider including one of our hand-drawn graphics. You can make them specific to each canning batch, like a strawberry for your batch of strawberry jam, or create your own personal “logo” for every jar. (If you’re a professional and you sell your produce locally, here’s info on creating an actual small business logo!)
How Do I Print and Stick Canning Labels?
For printing and adhering your handcrafted labels, you have two options.
- Option 1: Print 4-6 labels on regular or heavy-duty printer paper, or even card stock if you’re only adding a label to the lid. Then, cut each label out and use double-sided tape or glue to affix the label to the jar.
- Option 2: Print 4-6 labels on sticker paper, cut them out, and stick one on each jar.
Printing on sticker paper is a little more efficient, but will cost a little more, so what you choose depends on how much DIY you want to do! For round labels like those for your lids, you can always use a circle cutter.
How to Design Your Own Canning Jar Label
To design your own canning label, first, open a Blank Canvas in the Graphic Designer. The size should be about 2:3 for pint and quart jars, and 1:1 for half pints. For this project, we’re using a 1000 x 1500 px canvas.
Step 1: Add Graphics
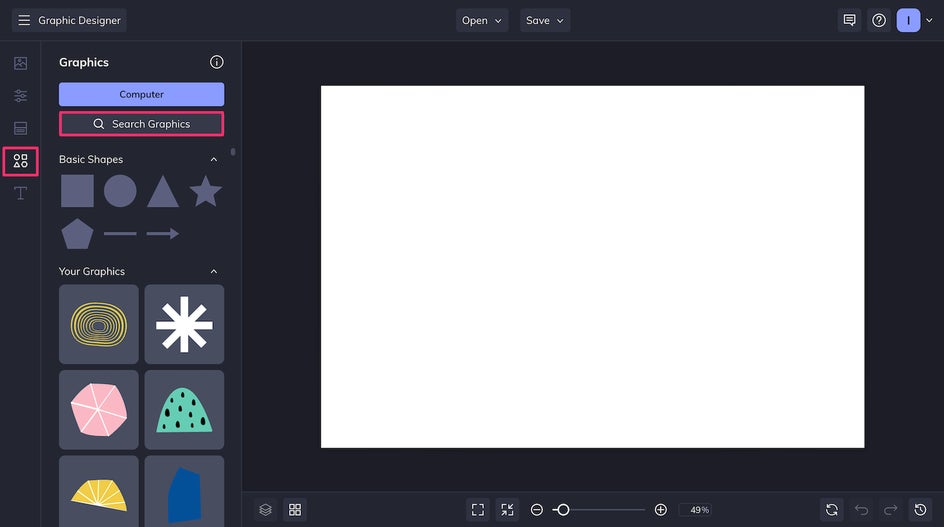
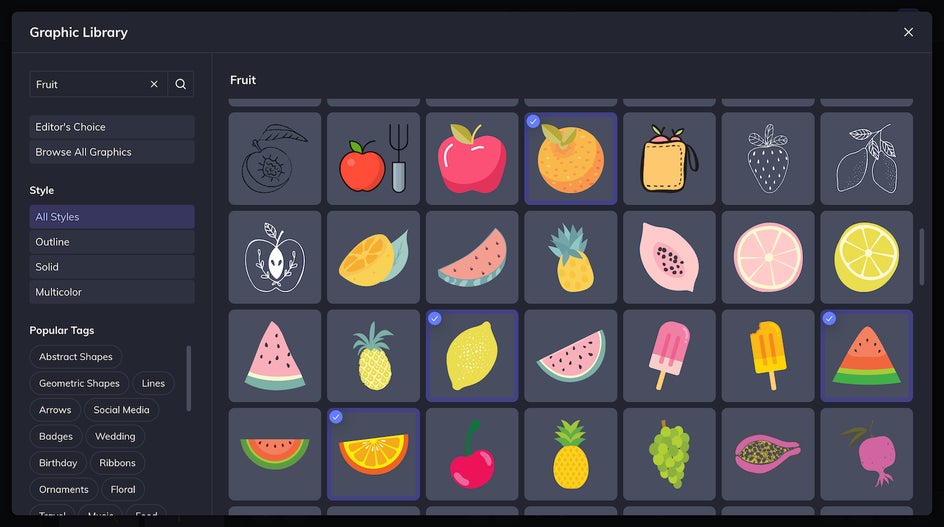
Steps 1 and 2 are interchangeable: It’s up to you whether the text or the graphics are your main focus. For this particular design, we’re going to start with the imagery. Use the Search Graphics tool to browse our library of hand-drawn graphics.
To add graphics and symbols to Your Graphics for easy access, just click on them. The blue check marks indicate the graphics you’ve already chosen.
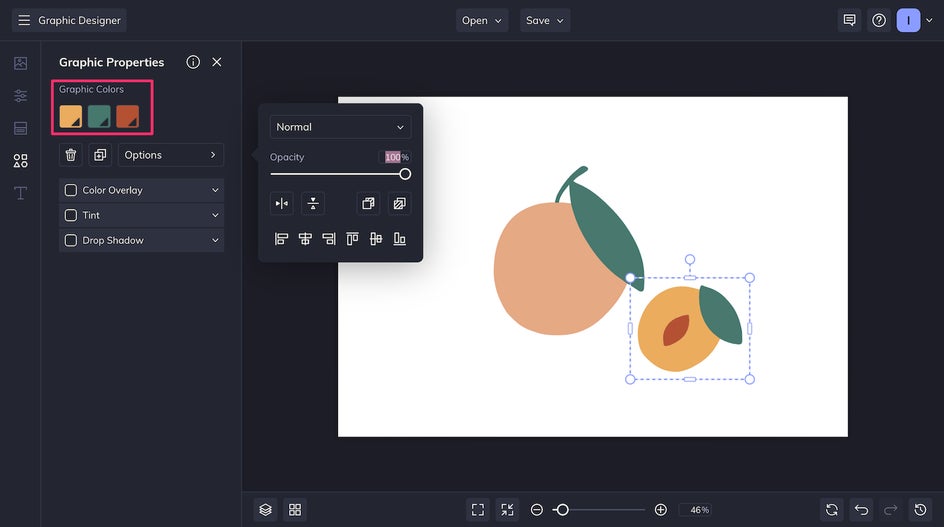
You can change the individual colors of most elements in the Graphic Properties tab.
Step 2: Add Text
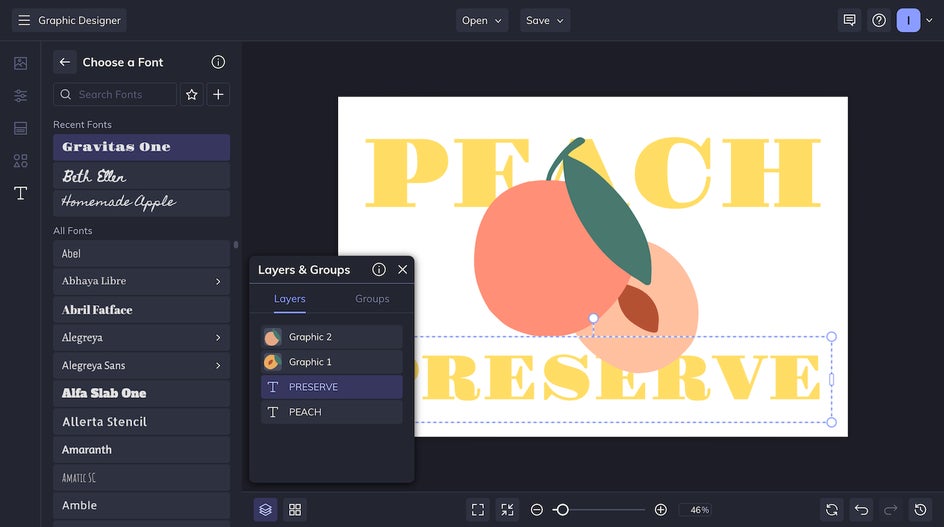
After adding your graphics and changing the color if need be, it’s time to add text to your canning label. The Graphic Designer has a wide variety of typefaces to choose from.
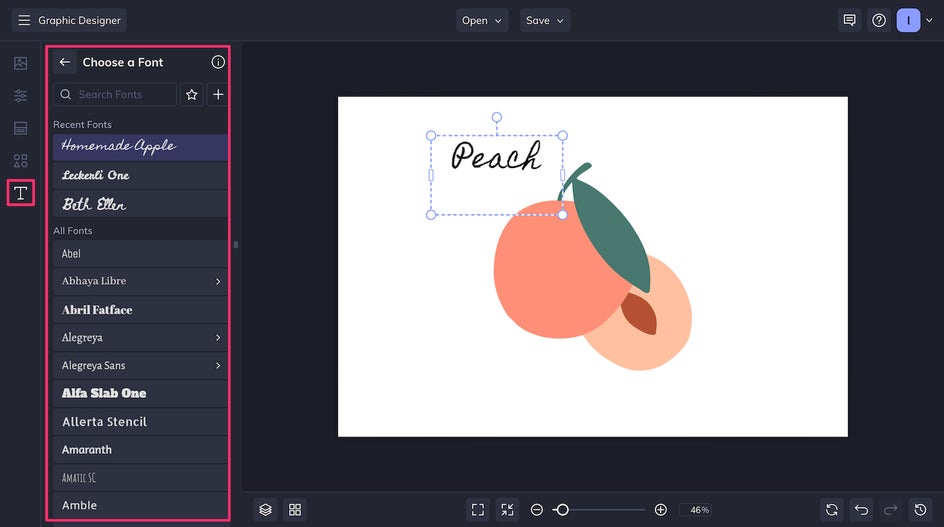
To use up all the negative space available, we’re going big and bold with the font. You can change the color in the Text Properties section, which you can access by clicking the text.
To move elements behind or in front of each other, just click the Layers button in the lower left corner. You can click and drag a layer to any position you want.
Don’t forget to add the canning date as well!
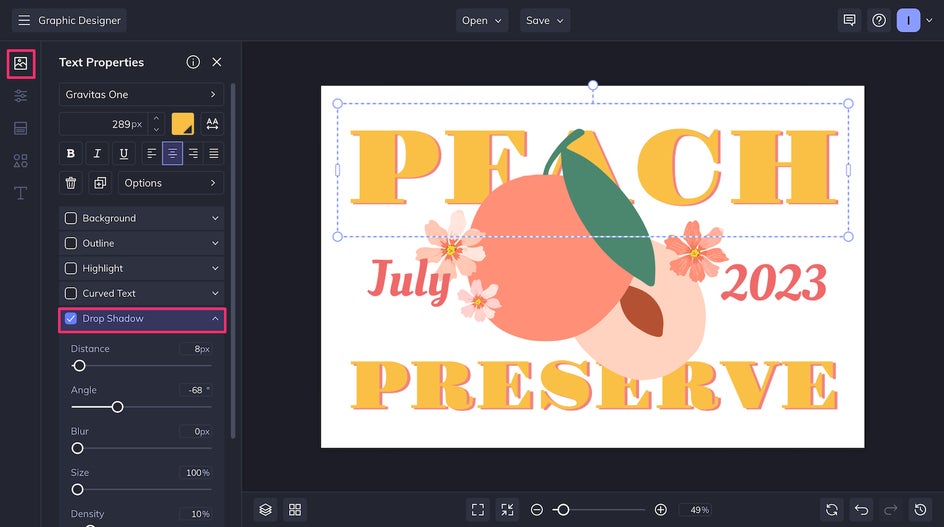
Step 3: Add Finishing Touches
Now that the main work is done, it’s time to add any borders, embellishments, and extra graphic elements. At this point, you can also add Drop Shadows and other effects to the text.

The Outline, Highlight, Background, and Drop Shadow effects can all make your text and other visual elements stand out even more.
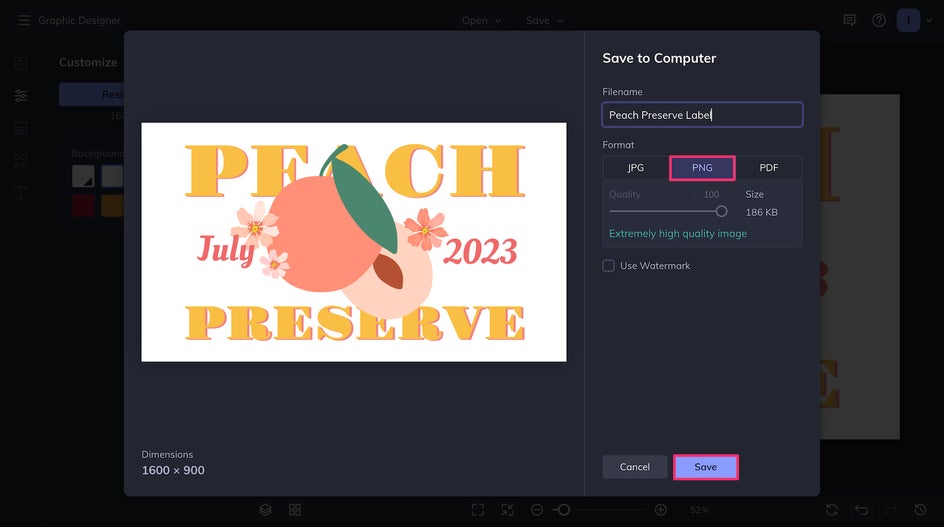
Step 4: Save Your Canning Label
And that’s it – just a few steps and you have your own beautiful canning label. The last step is to save your design as a high-quality PNG or PDF.
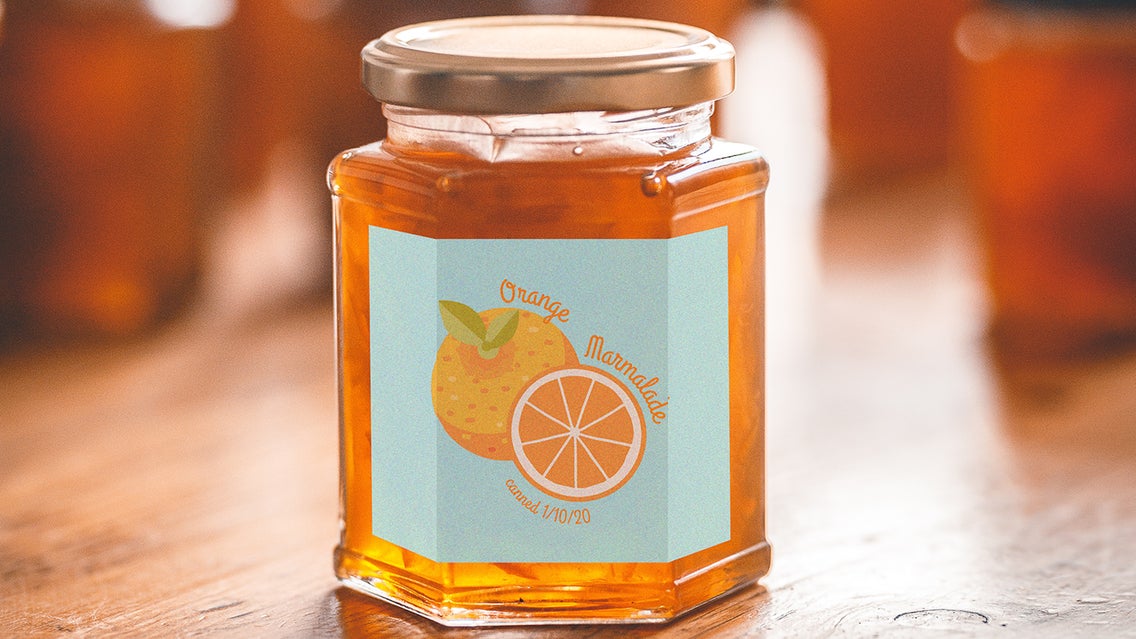
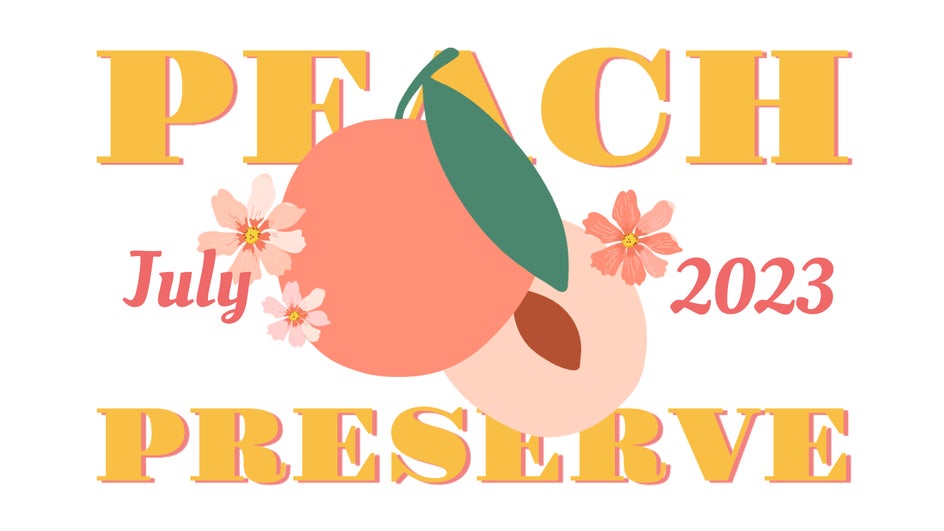
And here’s the finished product!
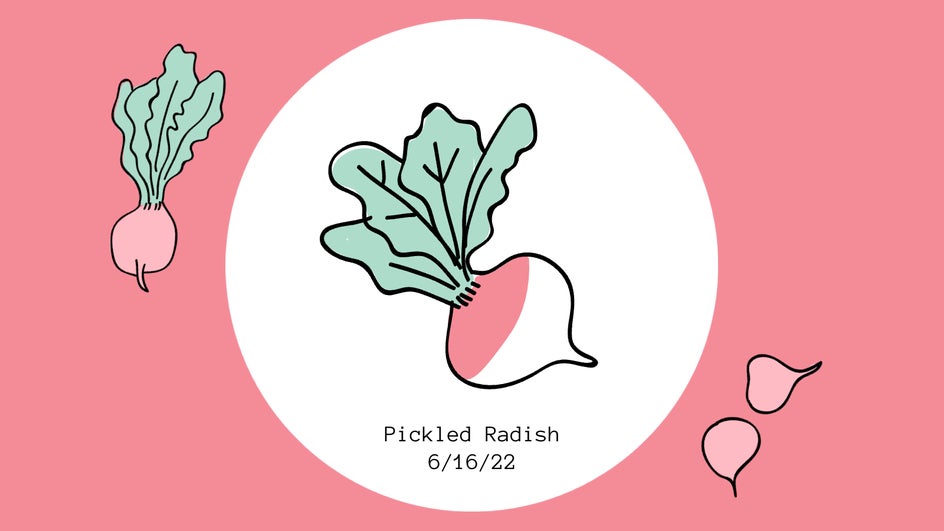
How to Design a Canning Lid Label
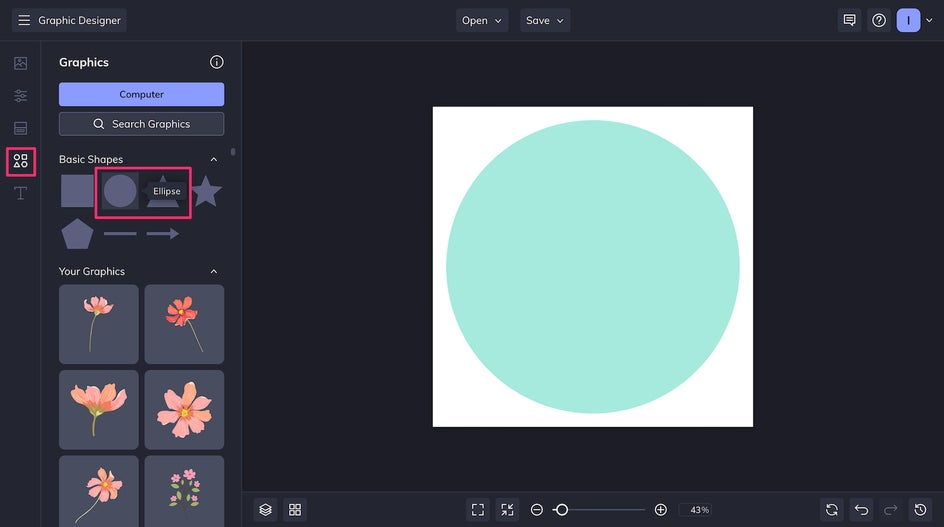
Designing a label for your lids is just as easy as designing one for the sides of your jars. Just start with a 1:1 canvas – we used 1000 x 1000 px - and add a circle from the Graphics tab.
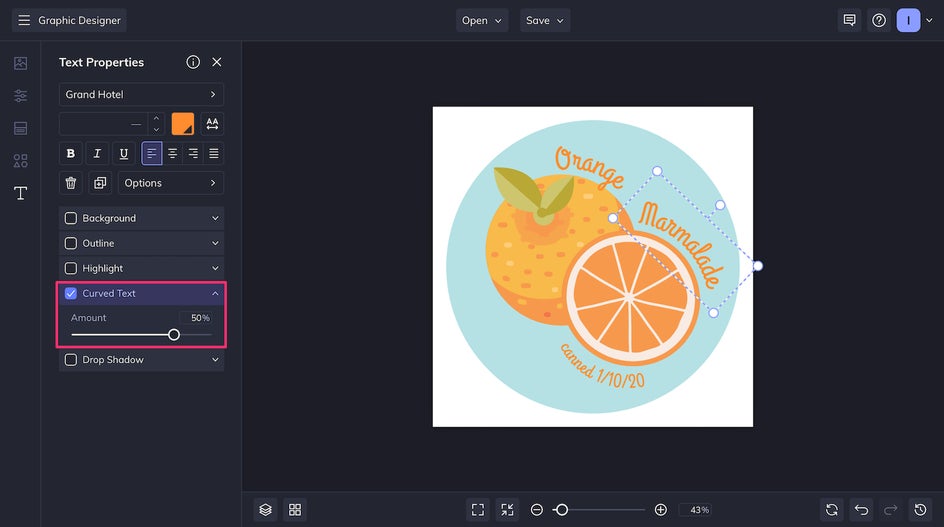
Then, add your graphics and text. You can select Curved Text to make your text fit the round label better!
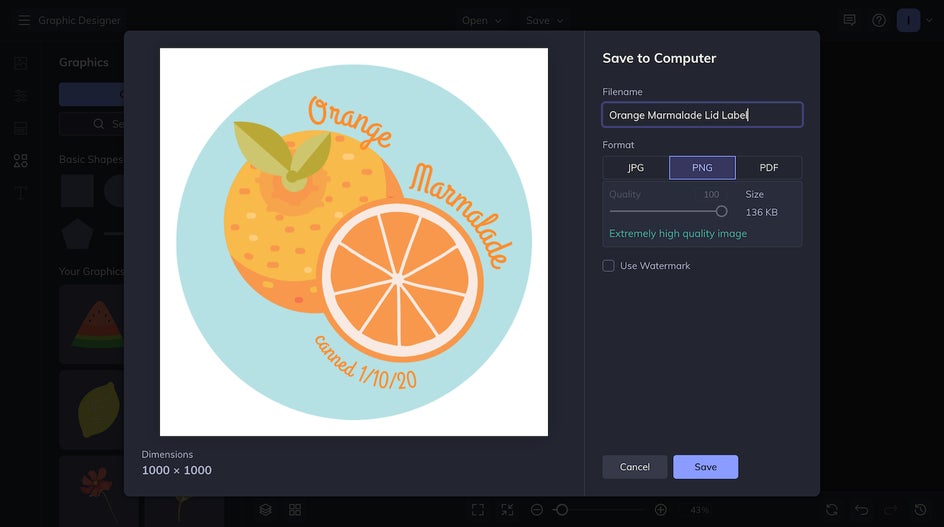
Save your file as a PNG and you’re good to go! Just tape, glue, or stick this label onto your canning lids.
Elevate Your Canning Jars with Handcrafted Labels
Canning is a great way to preserve the fresh tastes of spring and summer all winter long, but just because it’s DIY doesn’t mean your jars have to look boring and bland. You can organize your food storage in a way that’s both charming and practical by adding your own labels to your homemade preserves. Design your own canning labels today with the Graphic Designer!