The Top 5 Tips for Making Your Depop Product Shots Look Professional
Depop is a peer-to-peer e-commerce store where users sell everything from fashion to fragrance, books to sporting equipment. Most of what online users are selling on Depop is their gently-used clothing. Influencers with a good following use the platform to re-sell their items. I would classify it as “the influencer’s thrift store.”
In order to have a popular Depop store, you need to gain the trust of online customers. The way you can do this is to either have a good following on other social media platforms where other people get a peek into who you are or if you don’t have a social media following, these are some steps you can do in order to create consistent photos for your online shop. Most of these steps can be achieved with BeFunky’s powerful editing tools in Photo Editor.
How to Edit Photos for Your Depop Store to Make Them Look Professional
As we’ve discussed with branding and marketing imagery in the past, consistency is key. Customers grow trust by seeing shops that have a consistent spread of images. Here are some helpful tips for shooting and editing your photos with BeFunky’s Photo Editor to create a consistent Depop shop selection.
1. Shoot on Consistent Backdrops or Use the Cutout Tool
Most people on Depop are shooting their products on the back of their doors and on top of their beds. By going the extra mile to shoot on consistent backdrops and making sure that your product placement is consistent, your shop will look professional and trustworthy.
Do you like clothes that are folded or hung? If you don’t have a great place to shoot photos, you can use the Cutout tool to remove the background from any image, isolating the subject. Simply upload the photo by selecting Open, followed by Computer, or just drag and drop the image directly onto your canvas.
Select Edit from the left-hand menu and then select Remove Background. You can adjust the Strength, Hardness, and Brush Size for those detailed sections you need help removing. You can also select a Background Color to end with a completed look!
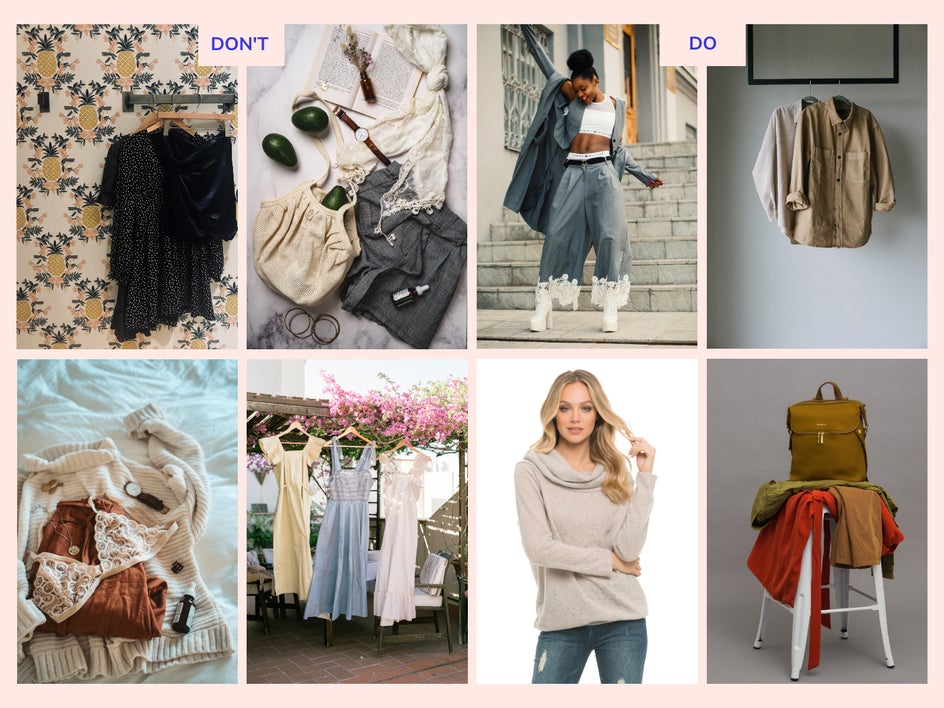
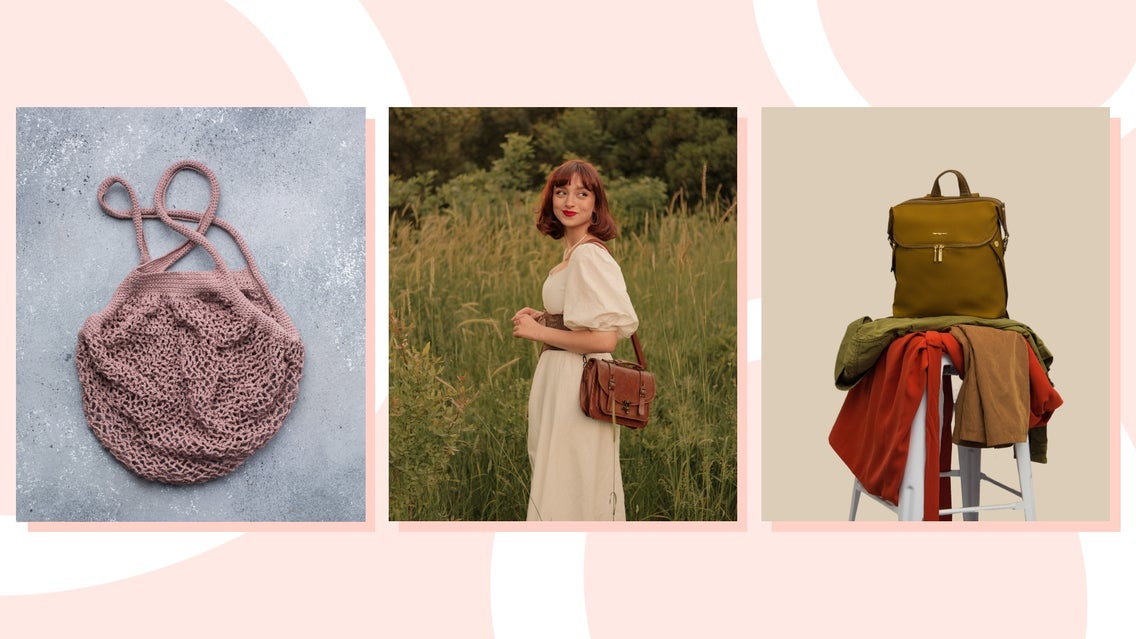
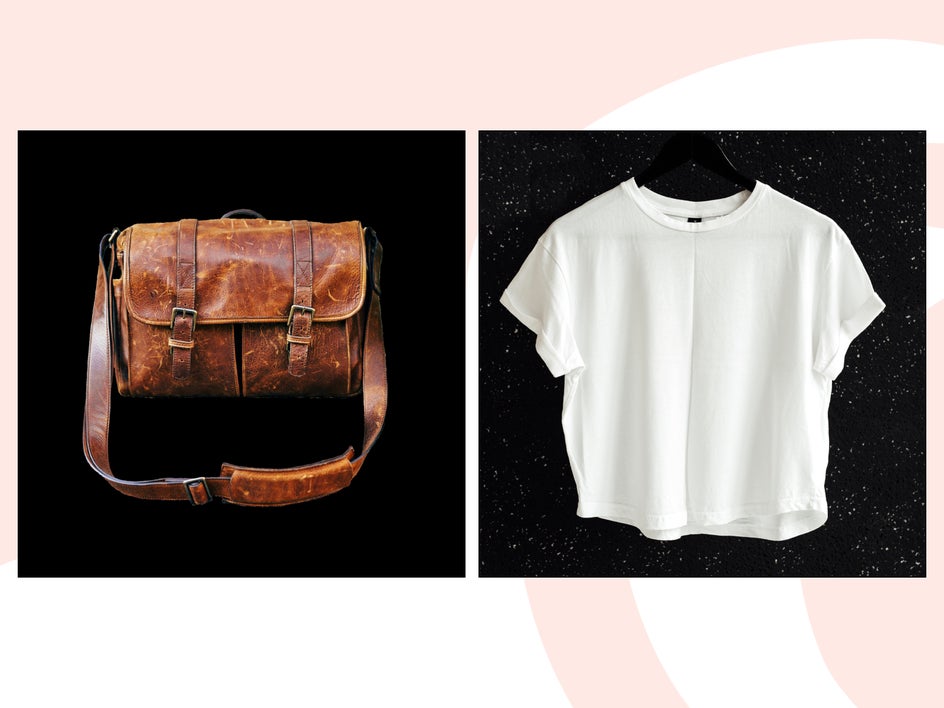
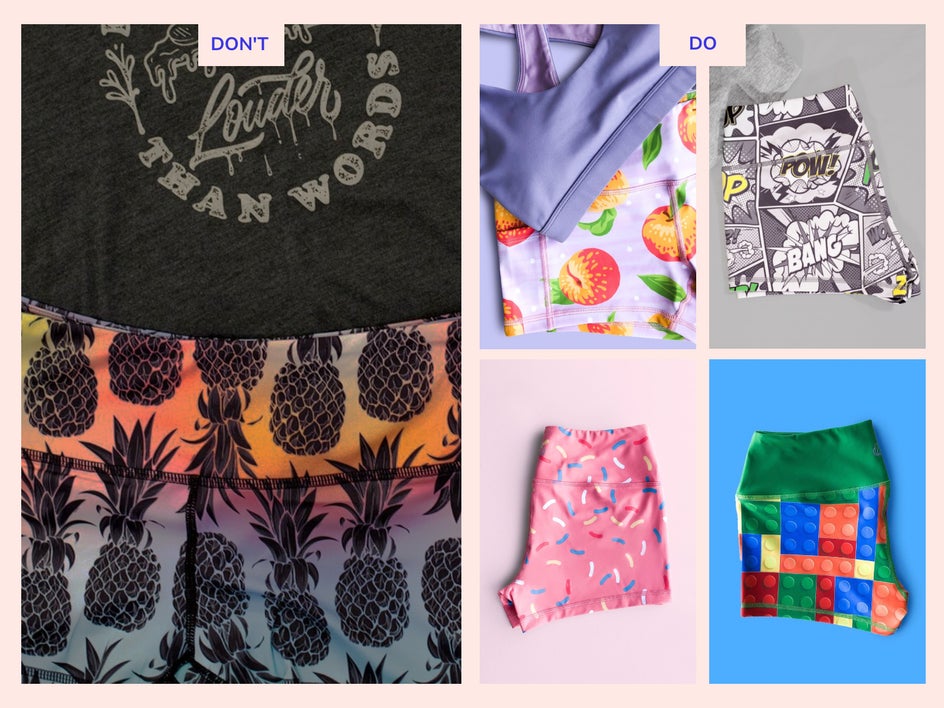
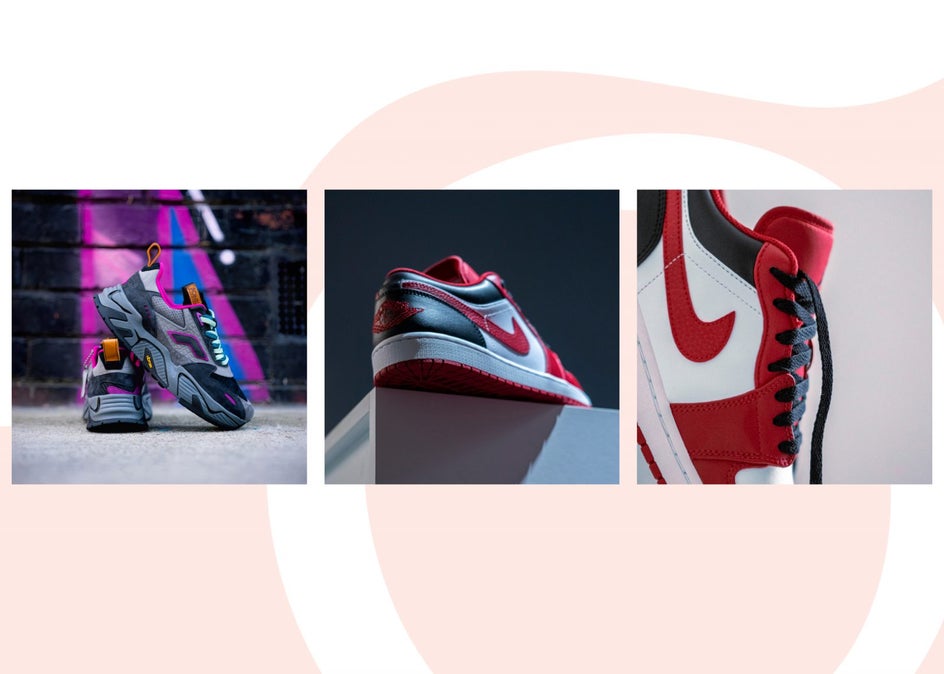
Take a look at these examples. The images on the left are cluttered and do not showcase the item well. Flat-lay photos might look aesthetic on your Instagram Feed, but on your Depop Shop, it doesn’t transfer well. Consider the right images that are simple and showcase each item clearly. You don’t have to take the standard product photo on a white background. You can, but these are examples that work without having to do that. If you need to, just follow the steps above to utilize the Curout Tool.
2. Shoot Different Angles and Placements
What do you like to see in a shop’s product photography to help you shop? Does it help to see the product on someone or simply hung up or draped over something?
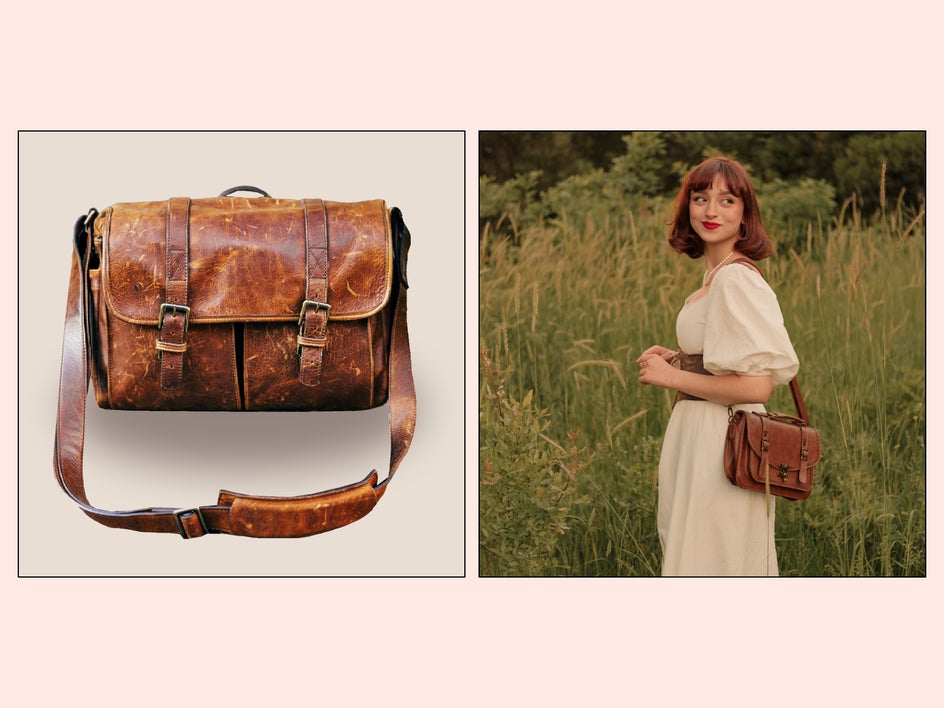
Getting up to five different shots is key to your customer's online shopping experience going well. Don’t forget to take some close-ups to show the quality of the fabric and any issues with the piece if there are any. Transparency is key. Since people can’t see or feel the product in person, your photos are the main way of communicating the texture and style of the product.
I usually have four product shots and one lifestyle-type shot. If you choose to stylize the shot, you want to make sure that the product is always the main highlight of the image. You can even choose to wear the product and be a model for your own shoot.
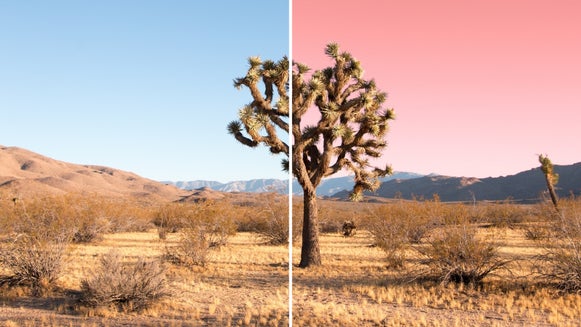
3. Shoot In a Well-Lit Area or Edit Your Exposure
Product shots that are well-lit can also be a differentiating factor if someone purchases from you or not. They look more professional and high-quality. Although it is helpful, you don’t need expensive lighting equipment. These photos were taken on a bed sheet in poor lighting. The background was edited as well as the exposure in order to get the shot.
When you see a dimly lit photo, not only does it look less appealing but it looks like the person taking the photo doesn’t know what they are doing and this directly affects how the customer judges your shop.
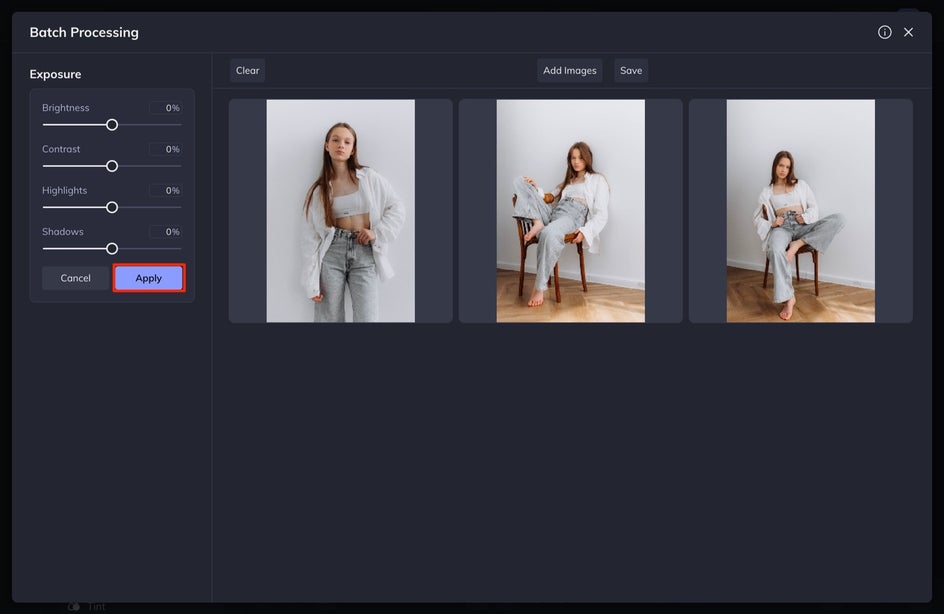
You can batch edit your photos to quickly edit the exposure for your shoot at one time. This greatly reduces your editing time! Select Batch from the top menu and then select Exposure. Adjust your Exposure and then select Apply.
4. Adjust the Colors for Accuracy
When editing the colors of your photos, you want to stay consistent with what the product looks like in real life. Sometimes when taking photos, the camera can’t quite capture the colors of your product correctly, so make sure that you edit the colors to look like what the item looks like in real life. You can do this by using the Color tool!
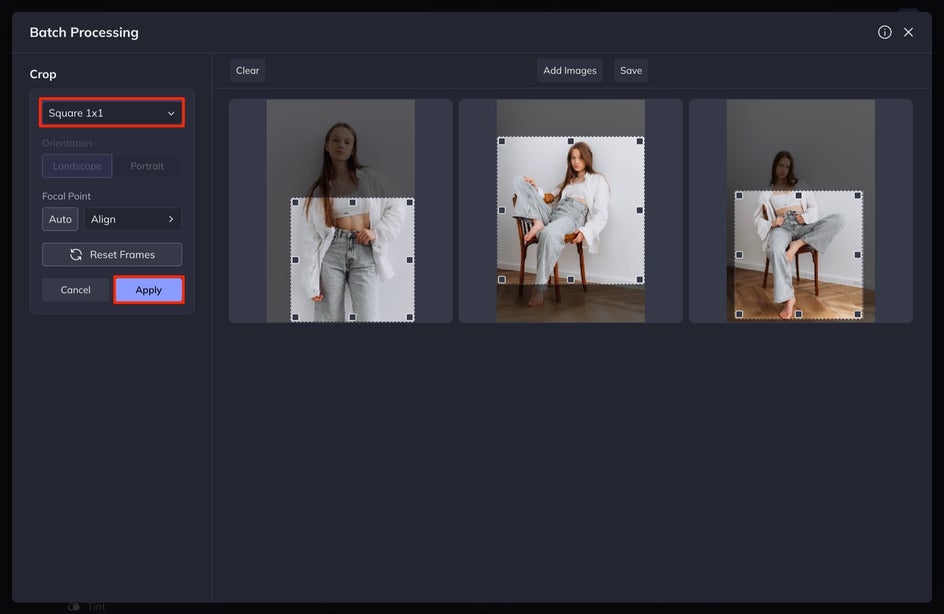
5. Resize the Photos to a 1:1 Ratio
This is a simple and quick way to make all of your photos consistent! Depop requires product photos to be square at a 1:1 ratio. You can use the Crop tool in batch editing. To do so, select Batch at the top of the screen and then Crop. You can adjust the size and composition of the crop. When you are finished, select Apply.
Make Your Product Shots on Depop Look Professional
You don’t need an expensive setup to take good photos for your Depop account. Even if you don’t have a great environment for photos, you can use BeFunky’s Photo Editor tools to enhance your images after you take them.