


Mastering Low Light Photography: A Guide to the Denoise Tool
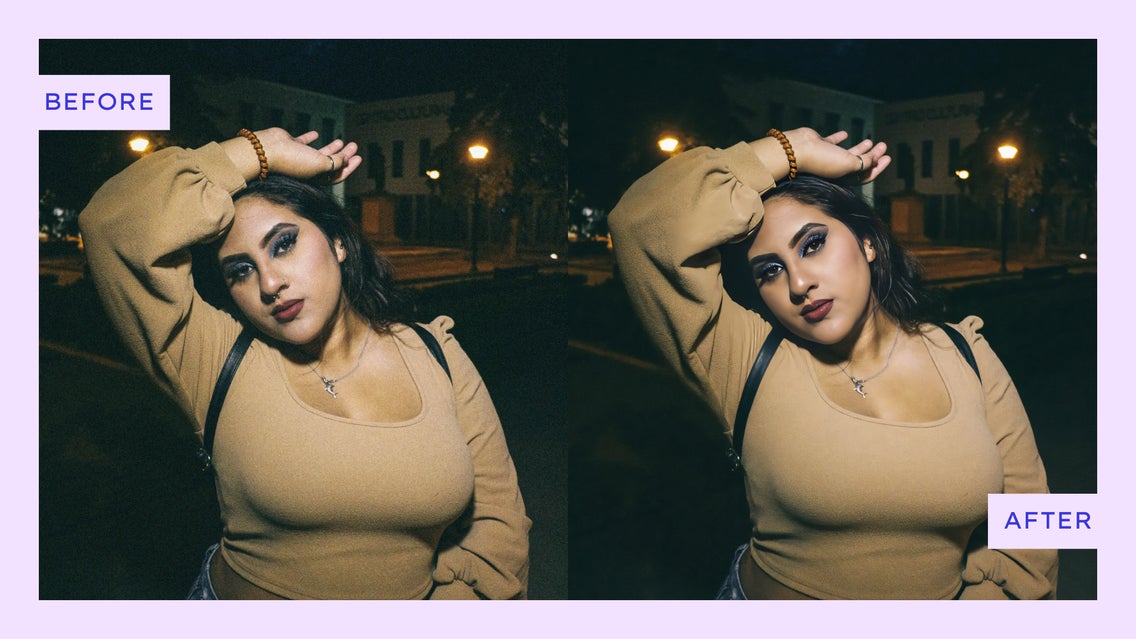
In the world of photography, every click of the shutter captures a moment in time, preserving it for eternity. Yet, amidst the play of light and shadow, within the realm of pixels and color, a subtle intruder often seeks to disrupt the purity of our images. The notorious "noise" makes its way into images in low-light settings and can make your images grainy and nearly blurry. You know the feeling: your perfect sunset shot, the candid smiles at a dimly lit party, or the stunning night cityscape – marred by those pesky speckles.
Whether you're a photo pro or just an amateur enthusiast, there exists a powerful ally in the quest for visual perfection – BeFunky’s Denoise tool in the Photo Editor. This magical wizardry at your digital fingertips can transform your noisy, grainy snaps into polished works of art in just a click of a button, ensuring that your photographic moments shine as brightly as they did when you first pressed the shutter.
What Is Noise In Photography?
In photography, "noise" refers to the random variations in brightness or color in an image, which may appear as grainy or speckled patterns. Noise is a common issue in digital photography and can be caused by limitations of the camera sensor or the image processing on your camera or phone. Luminance noise is the type of noise we will focus on, also known as "grain," which appears as random variations in brightness or intensity. It's often more noticeable in areas of an image with low light or shadow. Low light can create luminance noise and can make an image appear less sharp and reduce its quality.
How to Fix Your Low Light Photos
When you reminisce over your night-out photos, your attention is drawn to the distracting noise and speckles that obscure your cherished memories rather than the moments themselves. Those pesky light flecks in your lowlight photos have a simple solution, BeFunky’s Denoise tool! Get started by opening up your photo in the Photo Editor by dragging and dropping your image into the canvas, or by clicking the Open tab at the top of your interface. Or you can head straight to the Denoise tool by clicking here.

Step 1: Apply the Denoise Tool
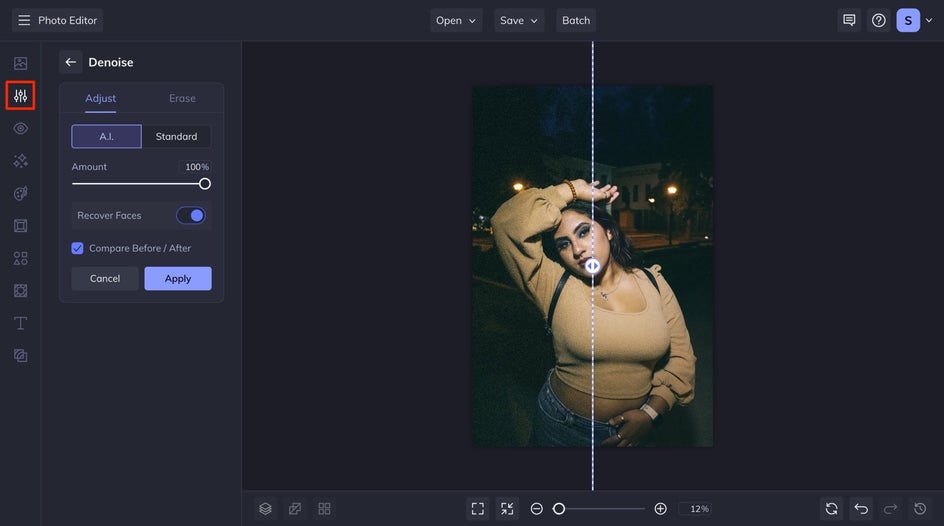
To get to the Denoise tool, look under the Edit tab, and locate it found under the Smoothing section. When you click on the tool, it will take you to the A.I. version of the tool and it will automatically apply. If you are using an image with a face in it, be sure to toggle the Recover Faces button, this will ensure that your faces will be clear and the focus of the image. You can adjust the slider for the amount of the tool you want to apply. Use the Compare Before/After button to have a slider on your image to see how the effect is applied to your photo.
Step 2: Edit the Denoise Effect
Toggle over to the Standard section of the tool. You can adjust every aspect of the tool from this section, slide the Amount tool to where you feel fits your image, and adjust the Smoothness slider, or the Fine Details slider till you find the perfect result for your Picture.

Step 3: Utilize the Erase Tab for Stylistic Choices
If you want to keep the noise in the background of your image but want your main subject clear, use the erase tab. Click on the Isolate Subject A.I. button and it will make sure to keep your subject as the main focus. If you want to see where the tool has worked, click on the Show/Hide mask button. This will show you where the tool will be applied and where you can retain the lowlight noise for aesthetics.

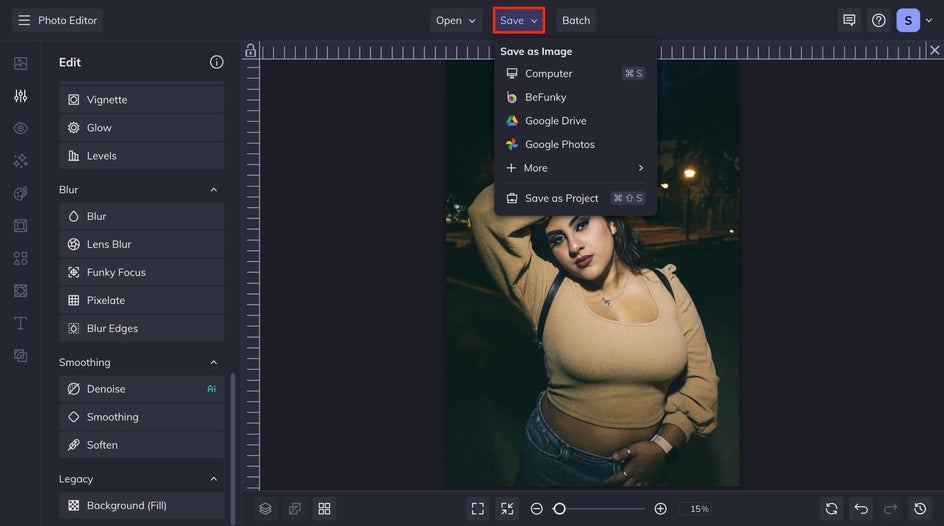
Step 4: Apply the Tool and Save
When you are satisfied with your outcome in whatever method of denoising you have chosen, click the apply button to apply the tool. Click the Save button at the top of your canvas and save to your desired save location.
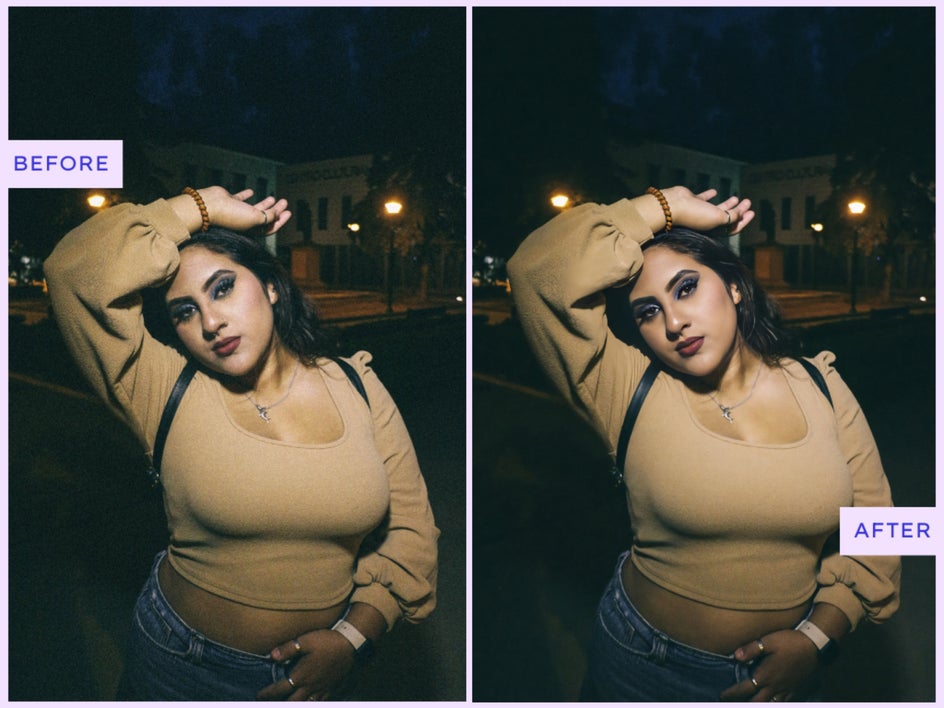
Final Results – A Denoised Low Light Image
In just a few clicks you can transform your image from a grainy low-light photo to something that is clear and beautiful! Take a look at how this image was transformed.
Inspiration for Low Light Settings
These three settings are the most common for noisy low light settings, your photos don’t have to be ruined by these fuzzy pests.
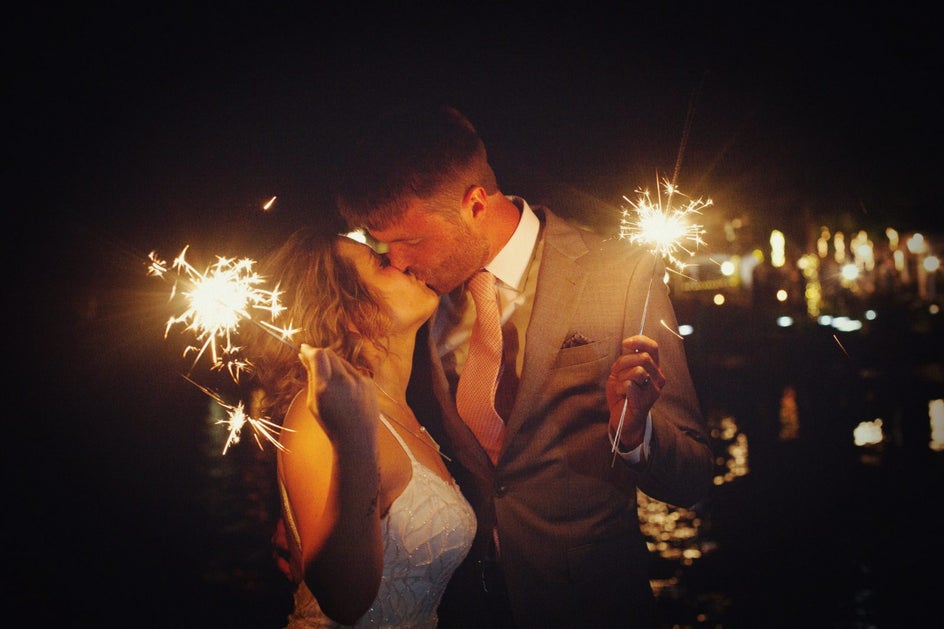
Weddings
As the evenings wind down and you start snapping photos of the end of the big day, you can preserve the moment by removing the noise from it!

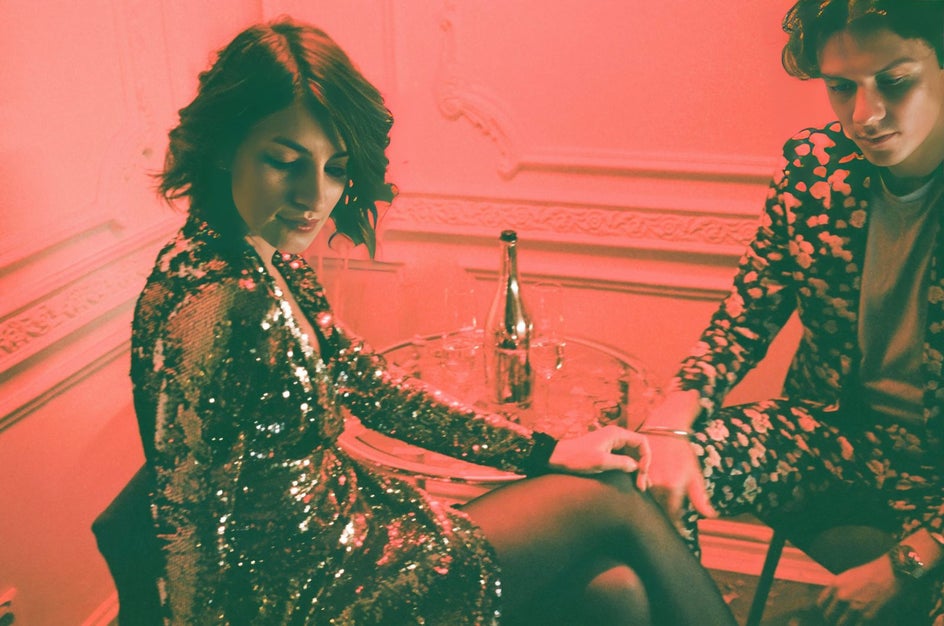
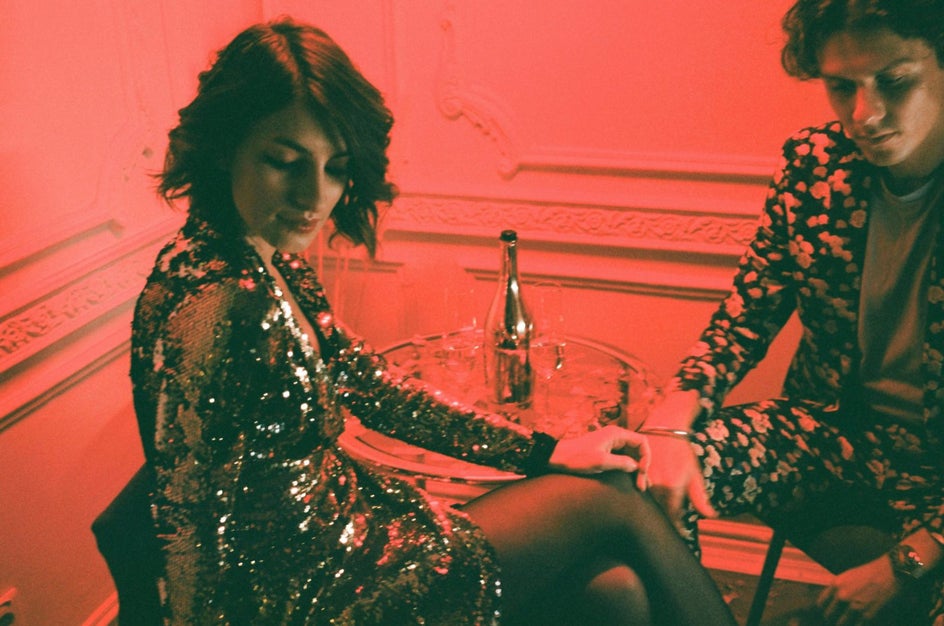
Parties
Parties or events at clubs are places where it is complicated to capture raw images and have them turn out okay. By adjusting the exposure and using the Denoise tool you can get an awesome final result that will make the memories last a lifetime.
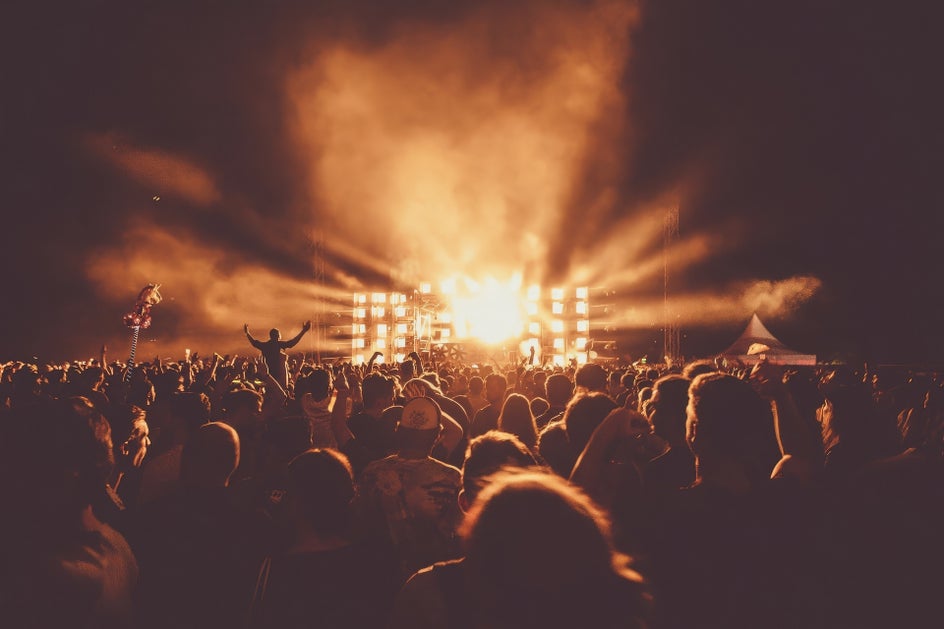
Concerts
Concerts are really hard places to get clear photos. With the irregular light patterns between the dim house lights and the constantly changing stage lights, you can get large amounts of noise in your photos. With a click of a button, you can be sure to keep your photos as proof of your experience.

Start Taking the Noise Out of Your Images
Now that you know how you can tackle taking the noise out of your photos. At the click of a button with the A.I. technology of the Denoise tool, you can take all the fuzziness out of your photos so that the memory can live on. Get started now to free your photos of noise!


