How to Customize Graphic Design Templates in BeFunky

Starting a graphic design project does not have to feel overwhelming. Choosing a layout, finding colors that work well together, and arranging text or graphics can take time when you are starting with a blank canvas. Luckily, the templates in BeFunky's Graphic Designer provide you a polished starting point so you can focus on creativity instead of complex setup. Whether you are personalizing a greeting card or producing social media posts for your brand, these templates help you build balanced, professional designs with far less effort.
In this article, you will learn how to open a template, customize it with your own images and text, adjust colors and graphics, and export a finished design – in just a few clicks. These steps apply to any template in the Graphic Designer, which makes this workflow a helpful foundation for all future projects.
Customize a Template in 3 Easy Steps
Start in the Graphic Designer to browse our library of templates – all created in-house by seasoned graphic designers!
Step 1: Choose Your Template
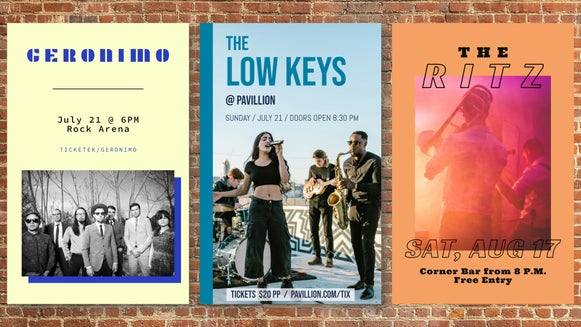
Utilize the left-hand menu to search for specific templates or explore broader categories. No matter where you land in the Template library, each layout has a unique combination of elements, which makes it easy to find something that fits your vision.

Click on a template to preview it. When you find one you want to use, select Use This Template to open it on your canvas. All text, graphics, colors, and images stay organized in layers for straightforward customization.

Step 2: Make It Your Own
Once you have your template selected, it's time to start shaping it into your final design. Follow along as we walk through each section of the Graphic Designer and show you how to make meaningful edits and stylistic choices.
Add Original Images
Begin by replacing any placeholder images. You can upload images your computer, drag and drop a file directly onto the canvas, or choose a stock photo all from the Image Manager. If you need to make edits to your images, simply click on one and select Edit Image to open it directly in the Photo Editor!

Choose a Background Color
Next, the background color has a big impact on your final design. Many templates start with coordinated hues that already work well together. To change things up, open the Customize tab and choose a new background that matches your personal style or brand identity. Even a single color adjustment can shift the entire mood of your project.

Customize the Graphics
You can also adjust any background shapes, icons, and decorative elements. Select any graphic to change its color or replace it with something new from the Graphic Library, found in the Graphics tab. Feel free to experiment with multiple options until you find a combination of elements that fits best.

Personalize the Text
Finally, click on any text box to personalize it. You can rewrite headlines, descriptions, quotes, contact information, or captions to match your message. Adjust the font, size, color, alignment, and spacing until everything feels polished. To add additional text, head to the Text tab to explore premade typography combinations and styles.

Step 3: Save and Share
Once your design is complete, click Save at the top of the canvas. Choose a JPG or PNG for online use, or a high-resolution PDF for printing. Saving your project as a BeFunky file (BFD) also allows you to return later and make further edits.

A Professional Start for Any Creative Project
BeFunky's designer templates give you a reliable structure so you never have to begin from scratch. You can customize them lightly or transform them completely. Either way, you get a polished look without spending time on complicated layout work. With the Graphic Designer, every project starts with a strong foundation that helps you focus on creativity.


Ready to try it for yourself? Open any template in the Graphic Designer to see just how easy it is to create something uniquely you in seconds.