Create Custom Photo Filters With Color Grading

When it comes to photo editing, particularly for social media, it’s becoming increasingly important to have a signature look. Take a look at the Instagram feed of your favorite brands or influencers and you’ll see a consistent aesthetic that’s present in all of their images. Typically, this cohesive look can be achieved through applying the same set of hues to every photo. But in a world where everyone is using the same filters and presets, how can you stand out?
Whether you want to develop a unique aesthetic for your own social media feed or just switch up the tone and vibe of your photo, BeFunky’s Color Grading effect is the way to go! By allowing you to choose any colors you want for the highlights, midtones, and shadows in your photography, the Color Grading effect is ideal for giving your image its own unique look.
We’ll show you how to do it all below!
What is Color Grading?
Typically used in film and videography, color grading is the process of adjusting the color, saturation, highlights, and shadows in order to alter the appearance and mood of what you see on-screen. When you think of the most successful movie directors – like Wes Anderson, for example – you’ll notice that they typically have a similar mood throughout their entire movie portfolio. In other words, they’ve used color grading to create a signature filter for their movies, helping their work stand out in a unique way.
How to Use Color Grading in Your Photos
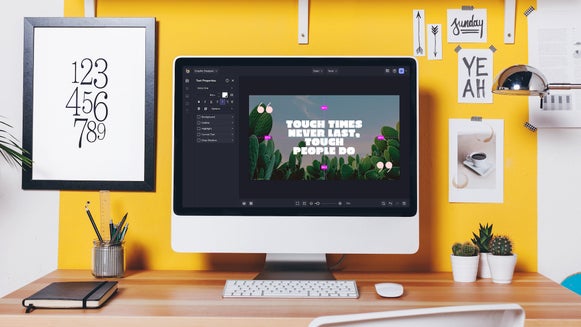
To get started with your Color Grading session, head directly to the Effects tab of our Photo Editor. Upload your image using the Open tab at the top of the page or simply drag and drop your image file into the interface.
Step 1: Adjust and Apply the Color Grading Effect
You’ll find the Color Grading effect within the Cinematic category. When you click on it, it immediately adds more contrast to your photo. This is because the effect has auto-assigned black to the shadows, grey to the midtones, and white to the highlights.

You can use this effect as-is and simply adjust the slider on the thumbnail to increase or decrease the intensity.
Alternatively, click the Settings menu (the mixing board icon) to choose new colors.

Clicking the tile next to Shadows allows you to choose a new hue for the dark areas of your image. Clicking the tile next to Highlights lets you assign a new color to the light areas of your image. And clicking the tile next to Midtones allows you to choose a new hue for every space in between. You can choose three colors that are in the same color family, experiment with warm and cool tones, or do whatever your heart desires to get a totally custom photo aesthetic.

If you want to assign a color to the Shadows, Highlights, or Midtones that’s already within your photo, you can use the Eyedropper tool.
Want to apply the Color Grading effect to only a part of your image, rather than the whole thing? Just click Select (next to Adjust) and use the dropdown menu underneath Apply To. Alternatively, you can use your cursor to “paint” the effect onto parts of your photo.
Finally, click Apply to keep your changes.

Step 2: Save Your Photo
Once your Color Grading effect has been applied, you can continue your photo editing session or save your final results. Click Save at the top of the screen, then choose your desired format and location.

The cool thing about creating custom photo filters with the Color Grading tool is that you can also use it in your Batch photo editing sessions and apply your specific color palette to multiple photos all at once! To use it in bulk, click the Batch button at the top of the Photo Editor.
Before and After: A Retro Photo Aesthetic Using Color Grading
This 70’s-inspired photo called for earthy brown tones to recreate the sepia-toned film photography of decades gone by. Even the smallest of tweaks to the colors of your highlights, midtones, and shadows can create a drastically different vibe, so don’t be afraid to experiment!


Color Grading Inspiration
The possibilities are endless with color grading. From clean and crisp lifestyle shots to warm and inviting travel photos, you can truly get any look you want! Here are some of our favorite ways to use the Color Grading effect.
Bright Lifestyle Photography
This is a great aesthetic for lifestyle photos – whether you want to showcase moments in the kitchen, your outfit of the day (#ootd), or light-filled spaces within your home.
To get this look, opt for brighter whites and neutrals for the highlights and midtones, with a darker neutral color for the shadows to add some contrast.


Rich Food Photography
Don’t settle for less-than-appetizing food photography. It’s commonly said that we “eat with our eyes”, so you want your food photos to feature warm tones that are inviting to look at.
To get this look, opt for rich reds and browns for the midtones and shadows, then use a brighter neutral for the highlights.


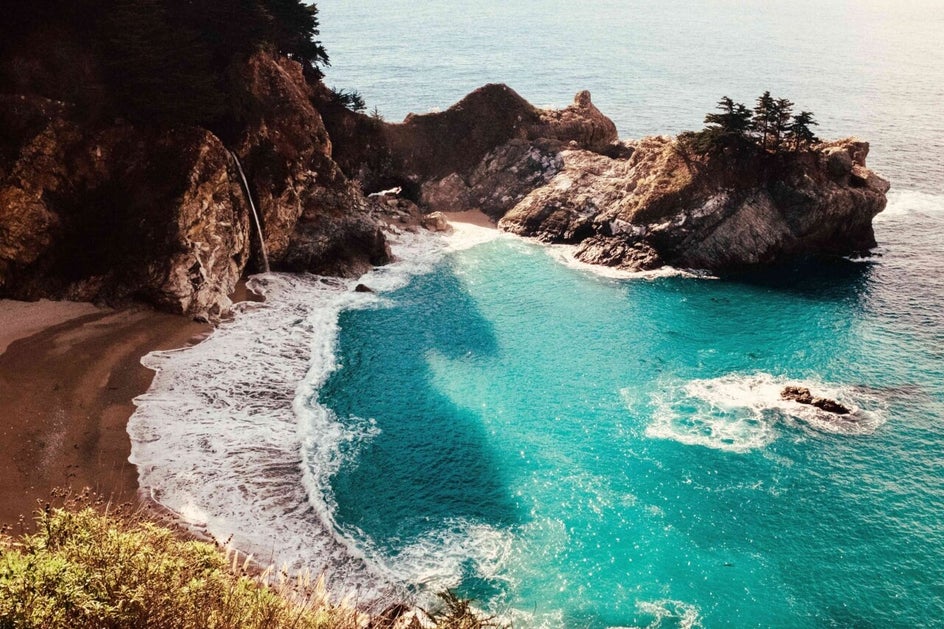
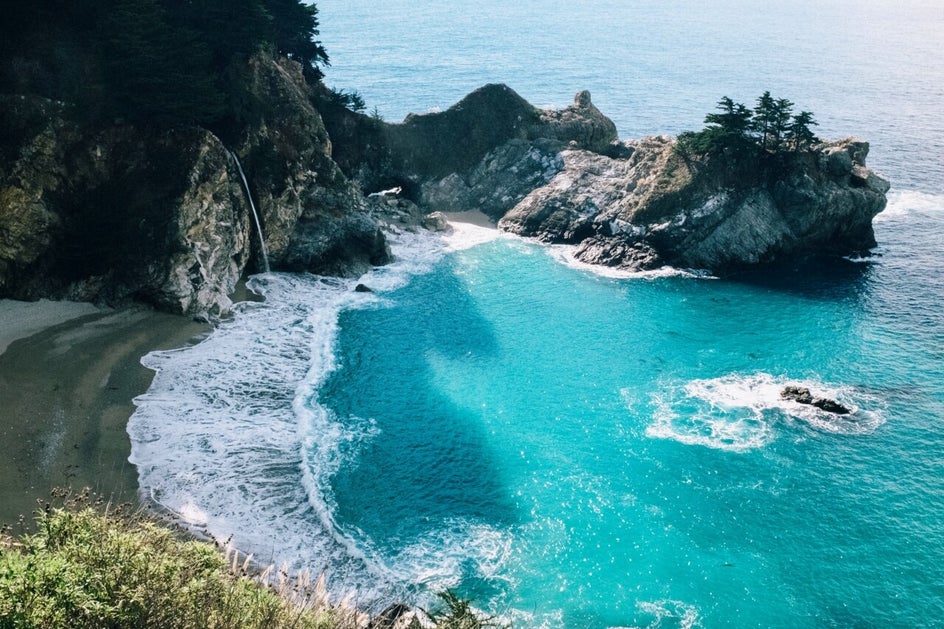
Warm and Luxurious Travel Photography
Mixing warm and cool tones is a really cool aesthetic and very popular amongst luxury travel brands and travel photographers or bloggers. These tones are particularly effective in photos featuring warm climates.
To get the look, opt for warm colors for the shadows and midtones, then assign a cool-toned color for the highlights.


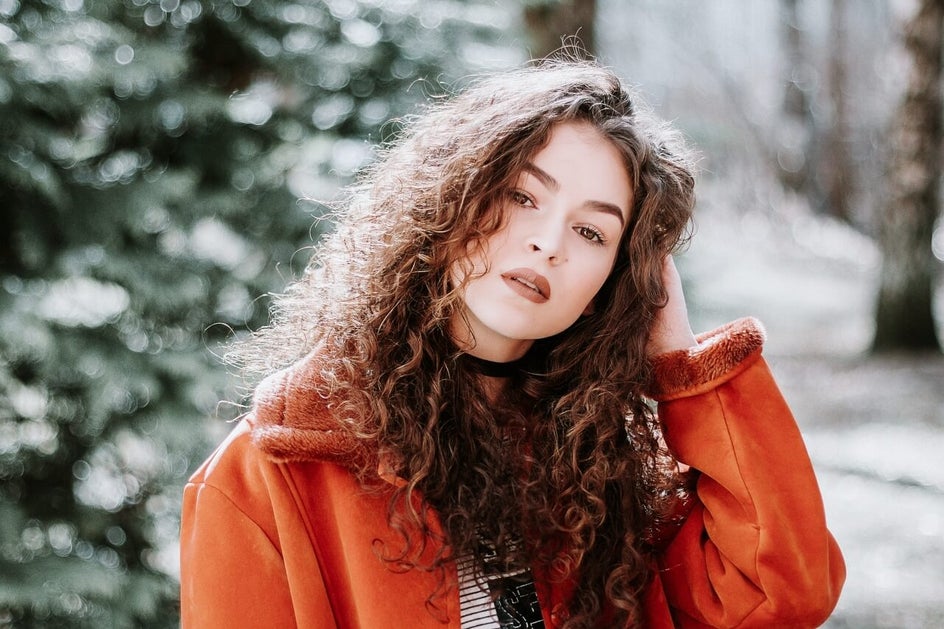
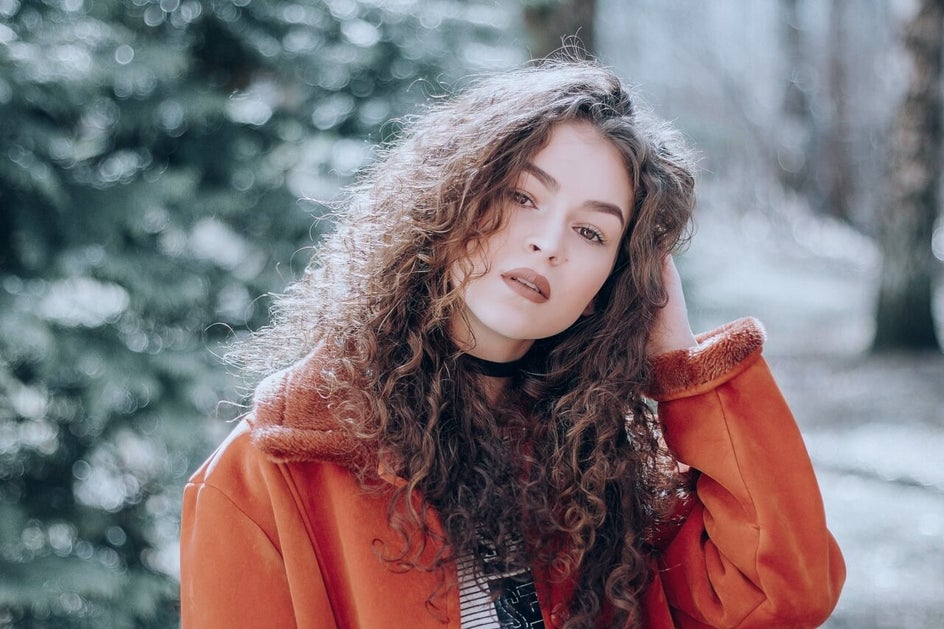
Cool Toned Winter Portraits
Many types of photography benefit from adding rich, warm tones. However, wintry portraits or photos taken of the snow benefit from the addition of cool, bright tones. This compliments the often-stark landscape, as well as the way the light reflects off the snow or ice.
To get the look, opt for cool colors for the shadows and midtones, as well as a brighter neutral (white or grey) for the highlights.


Experiment with Color Grading and Toning
Whether you’re craving a custom look for your social media feed or want to apply the same highlight, midtone, and shadow tones across an entire photo shoot you’ve recently snapped, the Color Grading tool makes this quick and easy. Just think of it as your own custom photo filter creator!
Ready to adjust the grading of your photo and create an entirely unique vibe? Check out the Color Grading tool in the Photo Editor today!