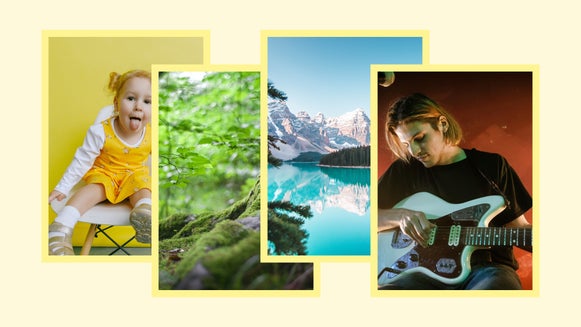
Color Correcting Made Easy With the Color Tool
As you watch a sunset surrounded by friends, you capture a few photos to relive the memory over and over again. The next day you look at the photos, and the sunset isn’t as beautiful as what you recalled. This is the perfect opportunity to utilize the Color Correcting tool in BeFunky’s Photo Editor!
BeFunky has made Color Correction so simple. In just a few steps you can take your sunset photo with hues that are washed out, desaturated, and dull to an exquisite masterpiece that is just just how you remembered it.
Tools for Color Correcting and Enhancing
Capturing an image with the colors as striking as when you view them with the naked eye is rarely done behind the lens. Instead, the process of editing that you see in before and after images show how perfecting color is masterfully done with an editing tool, not captured with a click!
In the photo editing process, the term “color” means more than just depicting the shades of the rainbow. Rather, color is actually composed of saturation, temperature, and hue and the relationship between the three of them. These three elements of color work together to help you get the right tonal balance for your images, and BeFunky's Color tool has the functionality to edit each individually – so you're sure to get the right balance.
Saturation
Color saturation refers to the intensity of the colors in your images. It plays a primary role in your photographic style and can easily change the mood of a photo. For example, some photographers prefer to desaturate their images, meaning they go for a more muted color palette in their imagery or even black and white! Desaturating colors can make a scene look more moody and emotional because it pulls the color out of the image. On the contrary, some photographers prefer to add intensity to the colors in their images. This can be important for emphasizing color as the main focal point in the image, making it a more bright and cheery image.
It’s important to note that when it comes to saturation, less is more. Small adjustments make for a more realistic end result. Colors can become muddied when undersaturated or shockingly bright when oversaturated. Make sure that your adjustments are slight and look natural, whether you’re going for a moodier look or a more colorful one.
Temperature
Temperature refers to an image's coolness or warmth. Due to the limitations of a camera’s light intake, even in superb lighting conditions, photos can come out way cooler or warmer than expected. Adjusting the temperature of your images is a quick way to give them some life and transform dull photos into something warm and buttery or cool and muted.
It’s important to note that when adjusting temperature, making a photo cooler will add more blue and green tones to the final image, while making a photo warmer will add more yellow and brown tones. It is possible to overdo it when it comes to temperature, so make sure that changes made are slight to make your end result look more balanced.
Hue
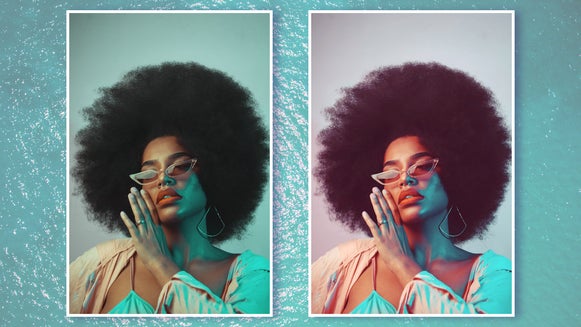
Hue can be the most difficult of the three to master when trying to achieve perfect tonal balance. Adjusting it too much can easily lead to an unrealistic technicolor image. You’ll see that the slider in BeFunky’s Color tool is marked with a rainbow of color, but when adjusting the slider, the color you land on will do the opposite on the color wheel to the hues in your image. For example, sliding the scale to the green range will produce more purples in your image, the red range will give you more blues, and so on.
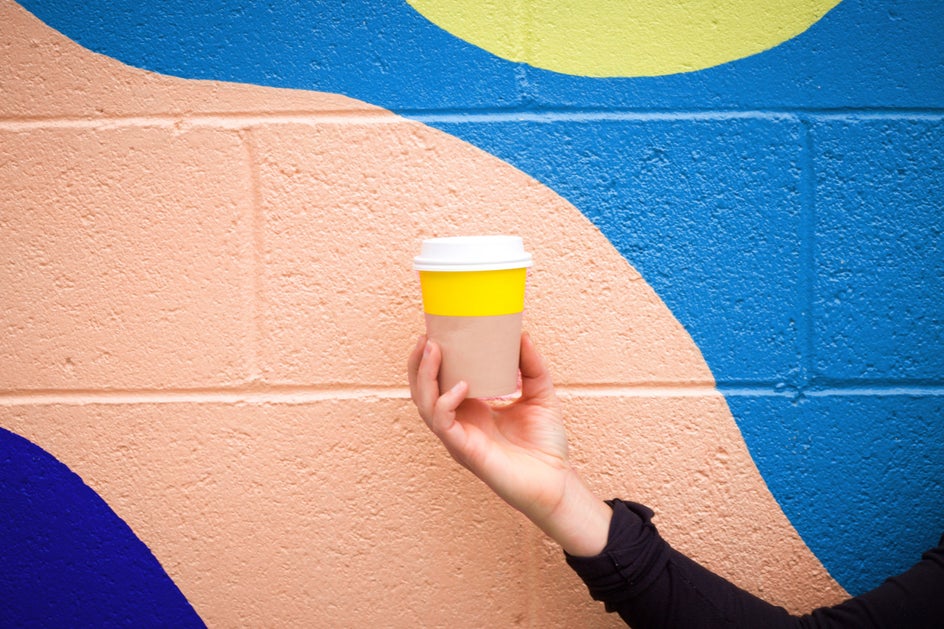
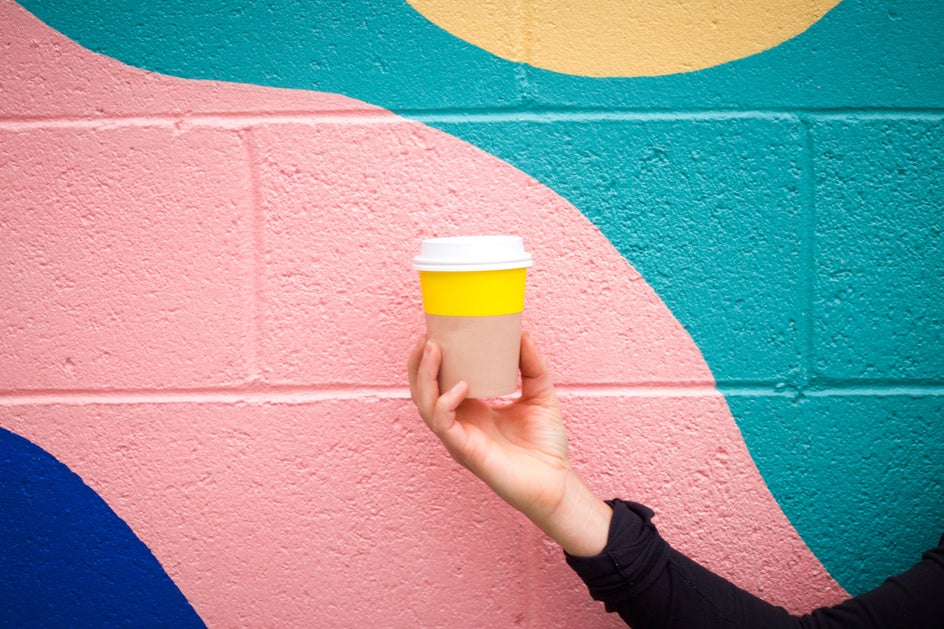
The hue scale makes it easy to make dramatic or slight changes to the colors of your photograph. However, slight changes can be used to correct the colors in your image. To create more balance, it’s best used in slight increments or in Paint Mode, so you can selectively edit the colors in your photo rather than as a whole. Just look at how the Hue tool changed the background colors of this image while being used in Erase Mode to ensure that the colors of the hand and the coffee cup were not altered:
Even though there is a lot that goes into editing image color, it does not have to be an intimidating process! With this background info in mind, we’ll show you how to adjust each of these sliders in BeFunky’s Color tool so you can see them in action.
How to Use BeFunky's Color Tool
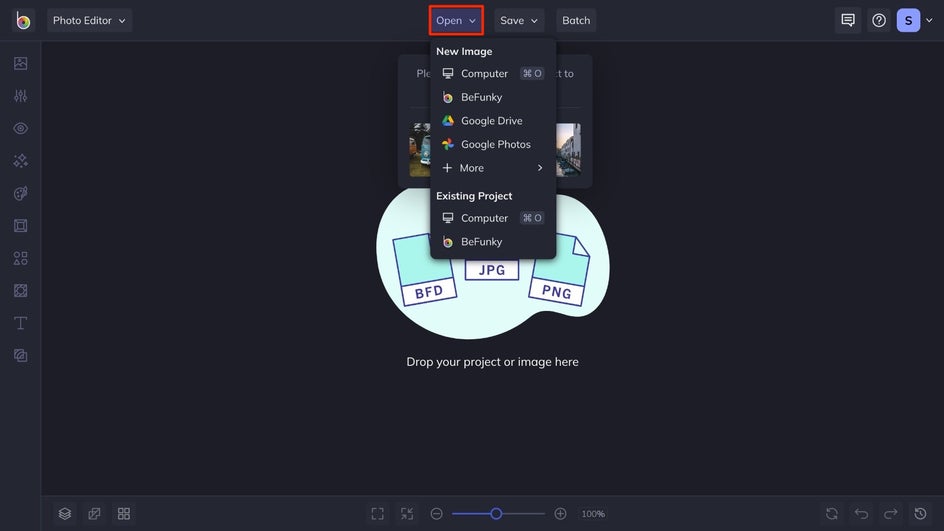
When you are ready to try your hand at color correcting, click on BeFunky’s Photo Editor and open up your image to get started. You can use the open button at the top of the interface, or drag and drop your image into the canvas to start color correcting!
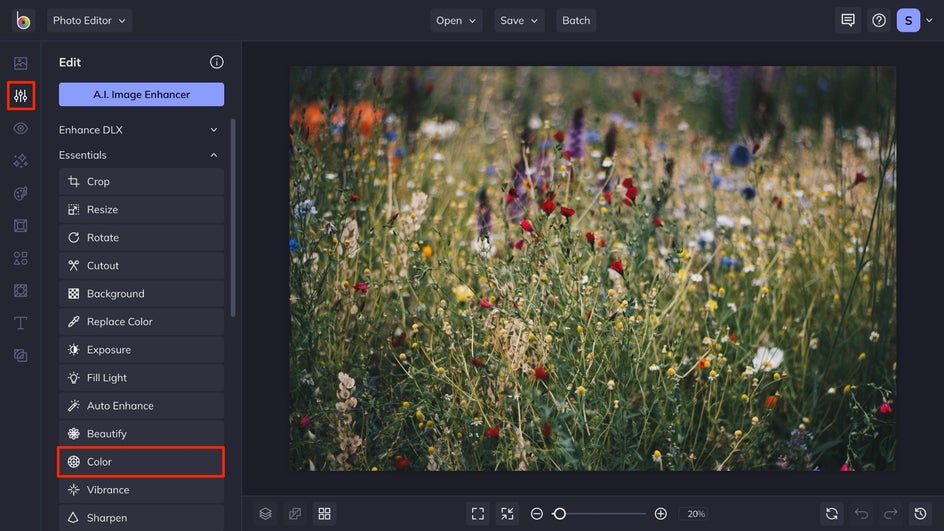
Step 1: Select the Color Tool
From the Edit tab, navigate to the Color tool. Once selected this will bring up a box that has sliders for Hue, Saturation, and Temperature.
Step 2: Adjust the Color and Apply the Effect
Next, you can play around with the sliders to color correct your image. Keep in mind what was mentioned earlier about each color element; Saturation is the boldness of the color that is in the image, Temperature will affect the coolness or warmth of the image, while Hue adjusts the colors directly making it responsible for the primary color you see coming through the image. Have fun creating the perfect colors in your image!
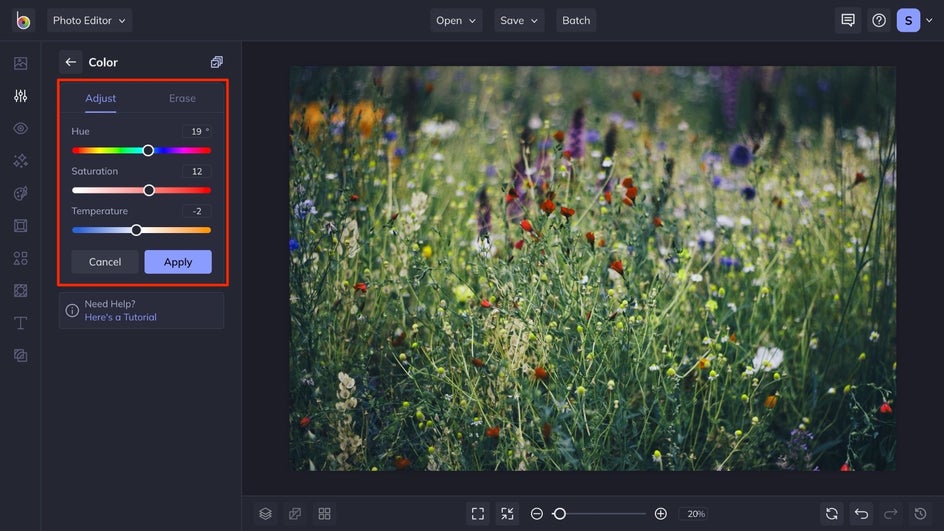
After you have achieved the color that fits your aesthetic, click the apply button to apply the correction to your image.
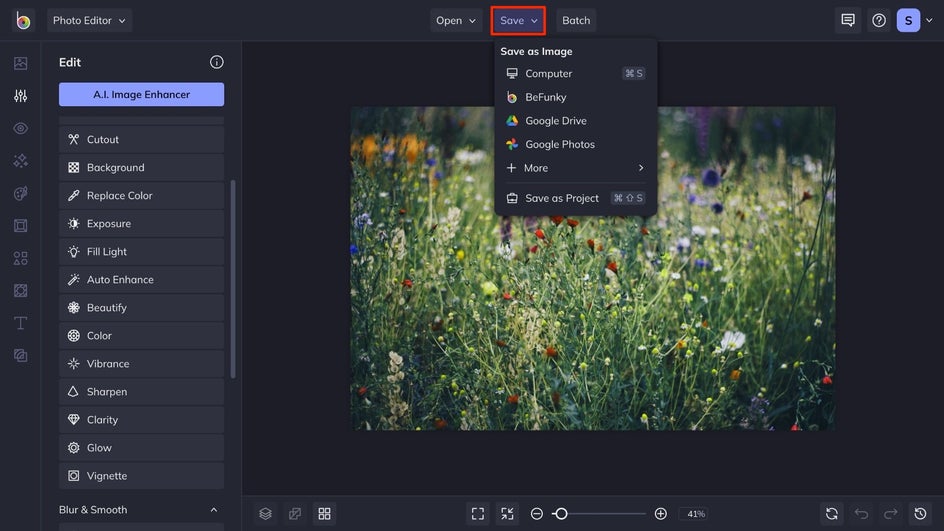
Step 3: Save Your Image
Once you have finished applying your color correction, click the Save button at the top of the interface and choose your desired location. Share it directly to social media, or as a project to come back to later!
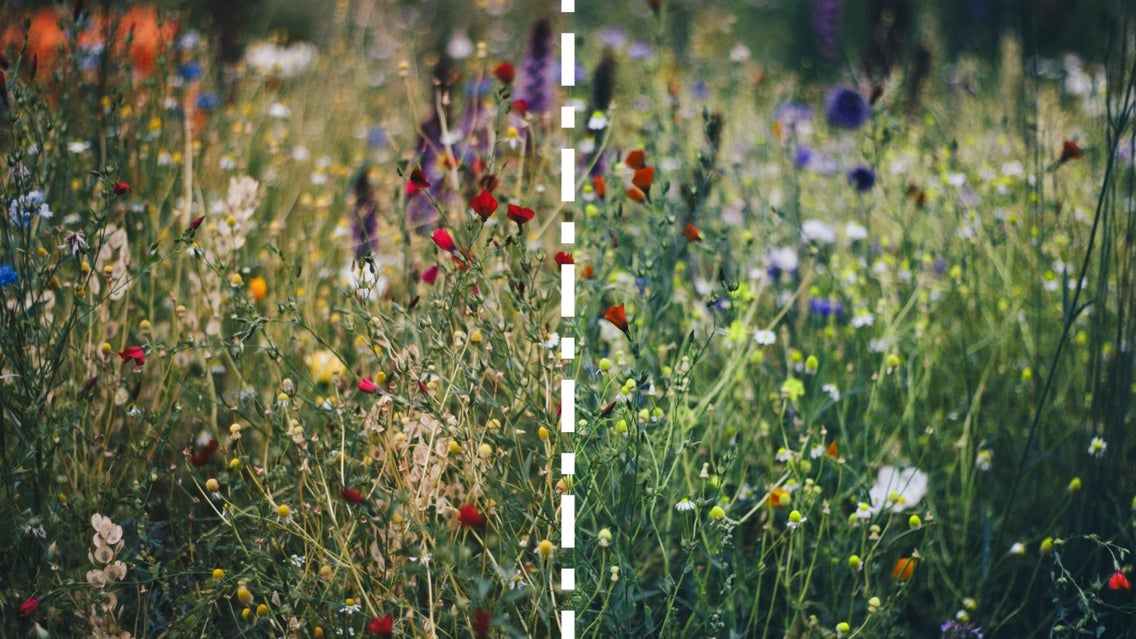
Final Results
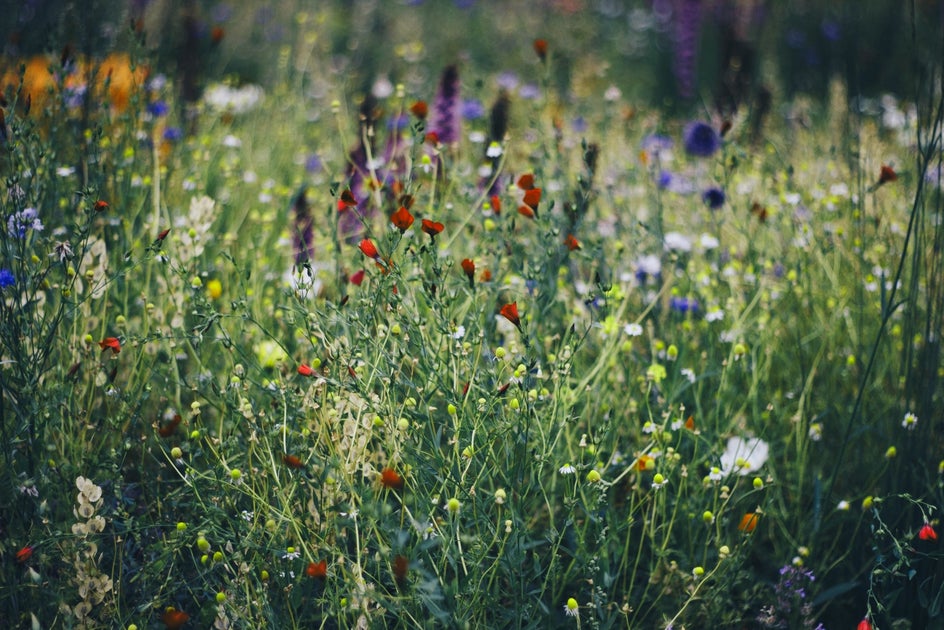
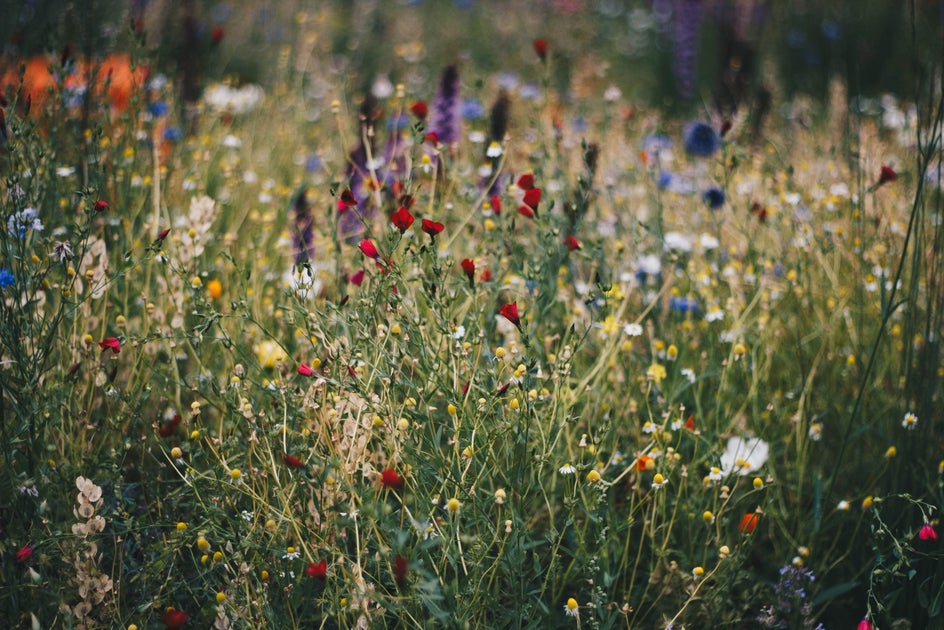
Look at how we transformed the color of this image in just a few simple steps! We took this field of flowers that was pretty muted and dull, to a cheery place to be.
Color Correct in Just a Few Clicks
Say goodbye to dull photos, and hello to images that are just as your eye saw it in person. BeFunky’s Color Correction tool is simple and quick to use. You’ll never have to be frustrated with image color again, get started correcting the color in your photos now!