The Best iPhone Photography Tips for Better Photos
With iPhone cameras providing 48MP cameras, you no longer have to invest in a professional camera to get high-quality images. Now, you can get high-quality images straight from your pocket.
Now, like with every camera kit, it doesn’t matter what camera you have if you aren’t taking photos skillfully. In short, you can have the best camera on the market and still take bad photos. It isn’t about the camera but how you use it to capture your subject or scene. I have seen amazing photographers capture incredible photos with outdated camera setups, and I have seen incredible iPhone photography, even back when all we had was an iPhone 8.
We are going to go over the best practices when taking iPhone photos. Put some of these to use and your iPhone photography will become better!
9 Best Practices for High-Quality iPhone Photography
The greatest part about iPhone photography is that you have everything you need to take amazing, high-quality photos right from your phone. Let’s go over some iPhone photography tips that you can use to take better iPhone photos this year.
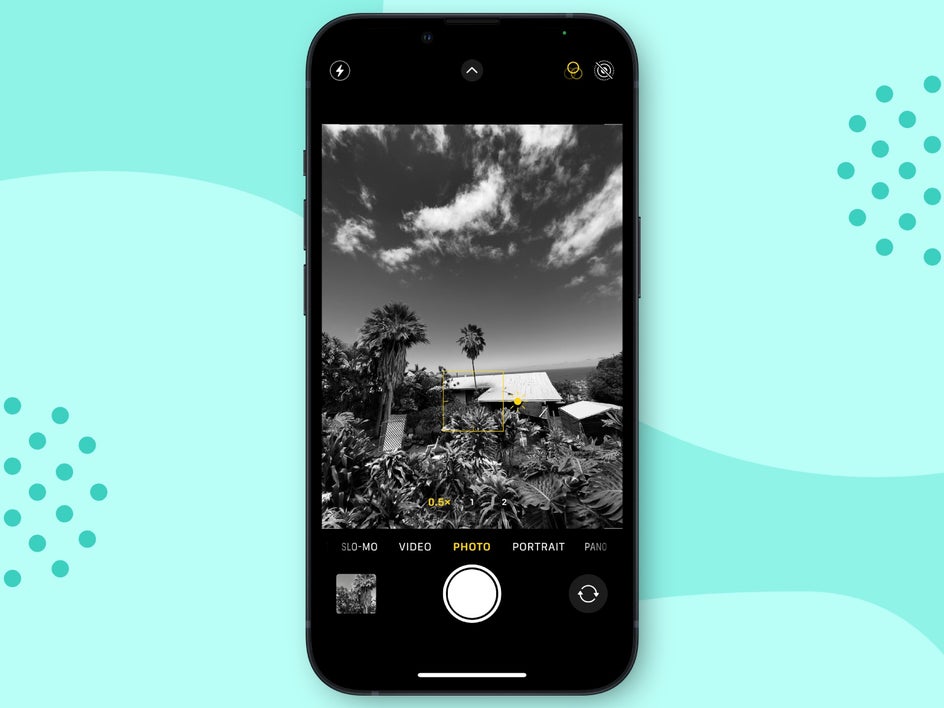
1. Use One-Touch Exposure for Better Detail
Just like in regular photography, you have to get your exposure just right to take the best photos. If your exposure is too high when taking your photo, you will lose details in your image that you cannot edit back in later. It is best to take a photo under-exposed and then bring up the exposure later on.
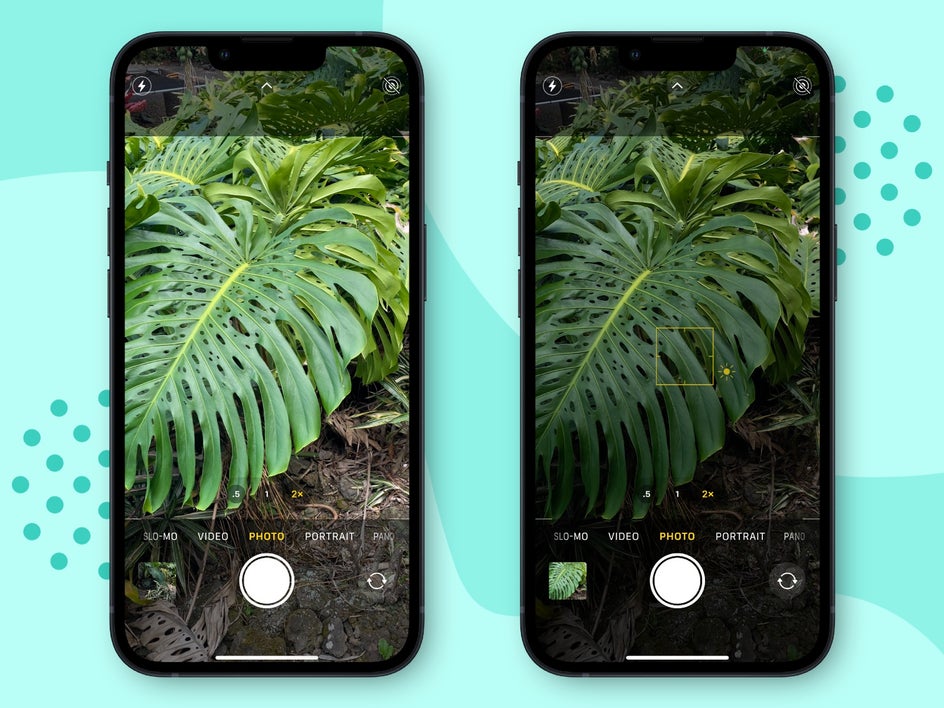
The cool thing with your iPhone is that you can lower your exposure while you are taking the picture, ensuring that all of the detail is captured. To adjust the exposure, when you tap on the screen to focus, you want to drag the little sun image down to lower the exposure. Taking a photo at a lower exposure will give you the option to bump up the exposure later in your favorite editing app without losing detail.
2. Take Burst Images and Choose the Perfect Photo
Using Burst mode on your iPhone allows you to take multiple photos simultaneously. When you do this, you can then choose a single image out of the burst options to choose the perfect photo.
Activate Burst mode by swiping the shutter button to your left and lifting your finger to stop.
This option is great for capturing movement or if you’re just trying to make sure everyone’s eyes are open in the photo. You can take Burst photos with both the back and front-facing cameras.
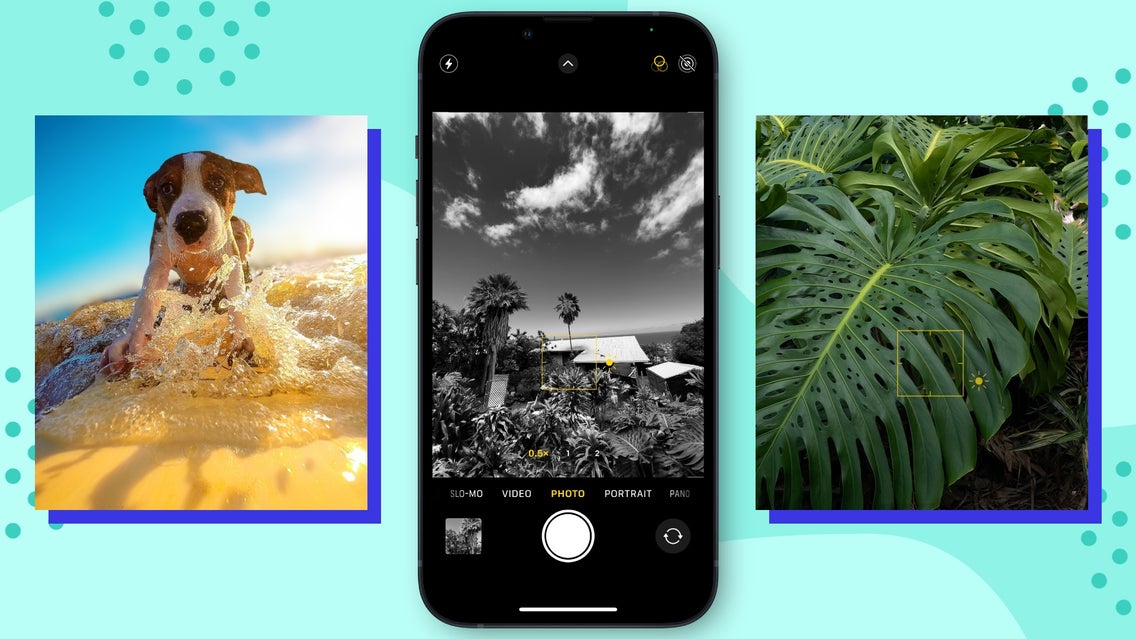
3. Get Detailed With Macro Mode
Macro shots are shot super close to a subject like a leaf, flower, or mushroom. These shots are great for capturing tiny details and making your subject pop.
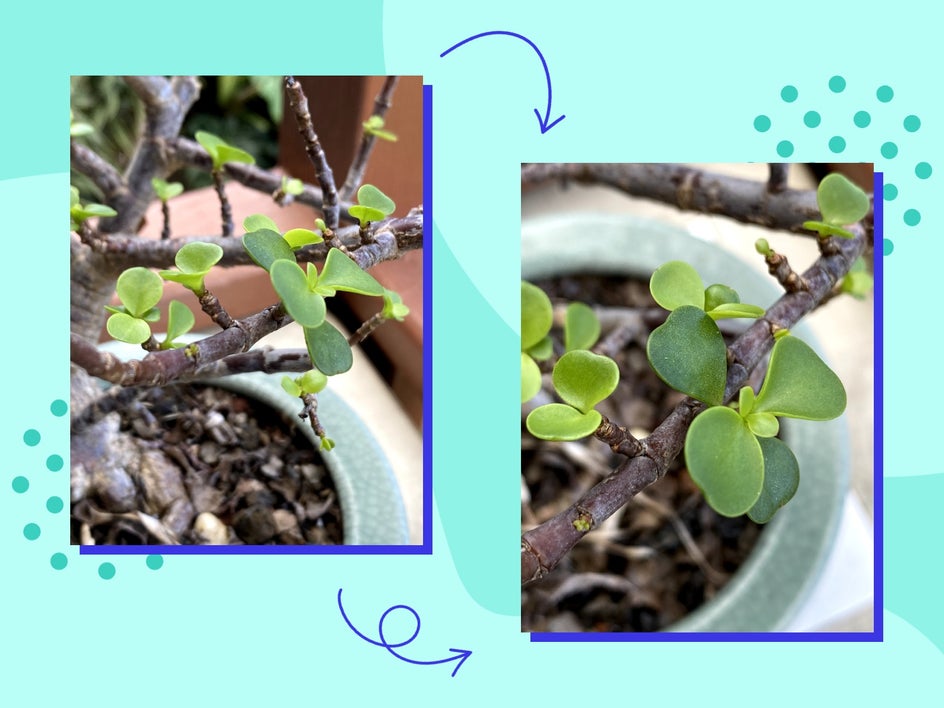
Macro mode uses the Ultra Wide camera, so make sure your iPhone has that. To activate this, you must be positioned at least 2cm from your subject, activate your Ultra Wide camera, and then zoom in on your subject. Make sure to focus on it for the best results.
4. Activate Night Mode for Better Night Photography
Night mode helps you take better photos in low-light situations. The exposure time is automatic. Make sure to focus and keep your iPhone still by using props or a tripod. This will reduce shake and make sure you have a clear low-light image.
Activate Night mode by tapping the upper left symbol next to the flash button on your open camera.
5. Take Stunning Portraits With Portrait Mode
Portrait mode is the best way to take portraits. The reason is that it creates a blurred background to mimic depth of field so you can really focus on your subject. You can take portraits on the back and front-facing cameras.

Activate Portrait mode by swiping to the left when you open your camera. Make sure to focus on your subject’s eyes.
6. Set Your Camera to 2x Zoom for Better Portraits
Smartphone cameras are wide-angle by default. This makes your subjects look far away from your camera and the scene a distorted around the edges. To take better iPhone photos, you want to set your camera to 2x zoom and then focus on your subject or scene.
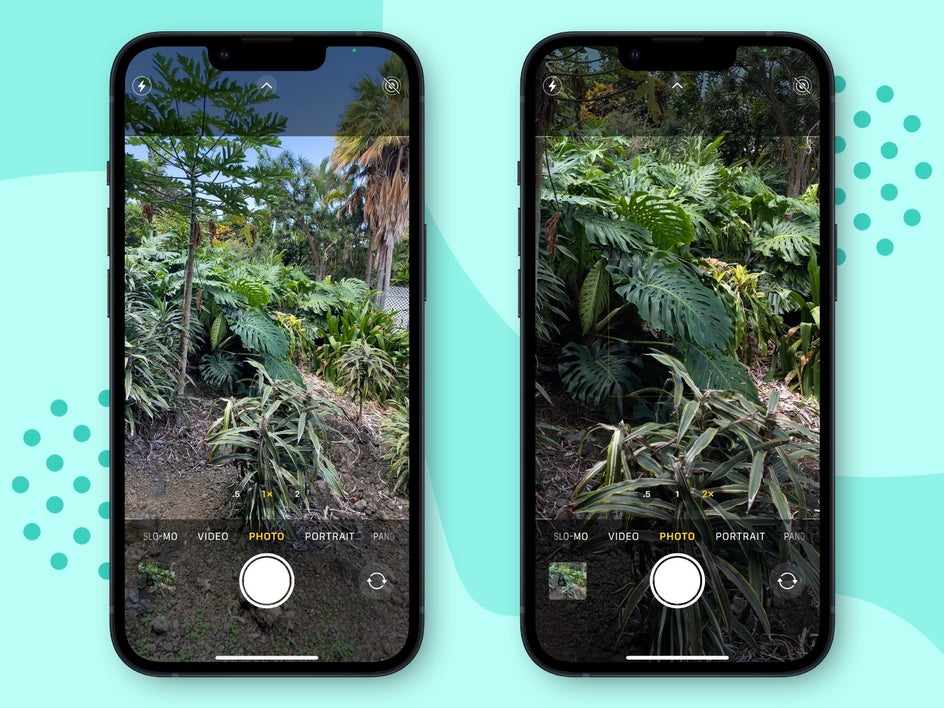
To activate this, select 2x near the bottom of your screen. You will see the difference once you apply this.
7. Shoot Live Photos to Pick the Best Shot
Live Photos capture what happens right before and after your photo is taken, including the audio. This is great for capturing movement or isolating one of the stills. It is a foolproof method for taking the perfect photo, just like Burst Mode.
Make sure that the Live Photo option is activated. All you have to do is take the photo like normal. To see the Live Photo, tap and hold the photo to watch your scene play out. You can also select a single photo by clicking Edit. Next, select the Live Photo icon, move the slider to the still you like, and select Make Key Photo.
8. Adjust Your Angle
Most people stand when taking their iPhone photos. One of the best and simplest tricks I use is to change my angle when taking a photo. Get low to the ground to get a better depth of field in the foreground of your image. Hold the phone above a subject to capture better angles on their face. Experiment with different angles when taking photos. I promise that this trick will really enhance your iPhone photography.

9. Enable Camera Grids
The most popular composition rule is the Rule of Thirds. iPhone Grids are a great way to make sure the composition is dialed by applying the Rule of Thirds grid layout to your photo in real time.
Enable camera grids by going to Settings, Camera, and then Grid on your iPhone. Open your camera and you will see the Grid in your live view.
You can adjust the composition later by using a crop tool, but it is better to get it right at the beginning while you are taking the photo so you don’t have to cut out any important details. Do it right the first time and you won’t have to do it in the editing process.
Take Better iPhone Photos Without Upgrading Your Phone
You can take clear, high-quality photos with your current iPhone. You do not need a new camera or better equipment – if you have an iPhone, you can start taking better iPhone photos today. When you are ready to start editing, use BeFunky’s Photo Editor in the mobile app.